Unlike the front end conversion, the rear is simpler in the sense that there is less modification needed to the chassis to make it fit. However, there’s a lot more body work needed and that’s never a fun task but the results are well worth the added effort.
For the full how-to on the front end Euro conversion visit: BMW e28 Euro Bumper Conversion Part 1
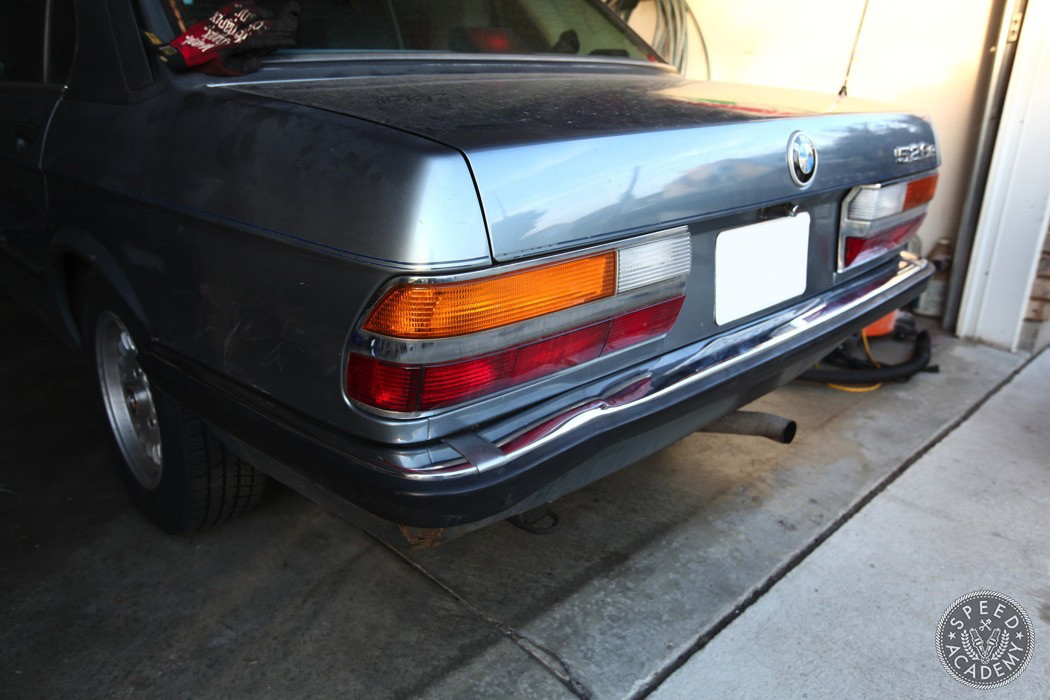
She’s not much of a looker is she? Aside from the obvious dent in the corner there’s a lot of surface rust on the chrome. However, this was the best and only rear bumper I could find at the time so it’ll have to do.
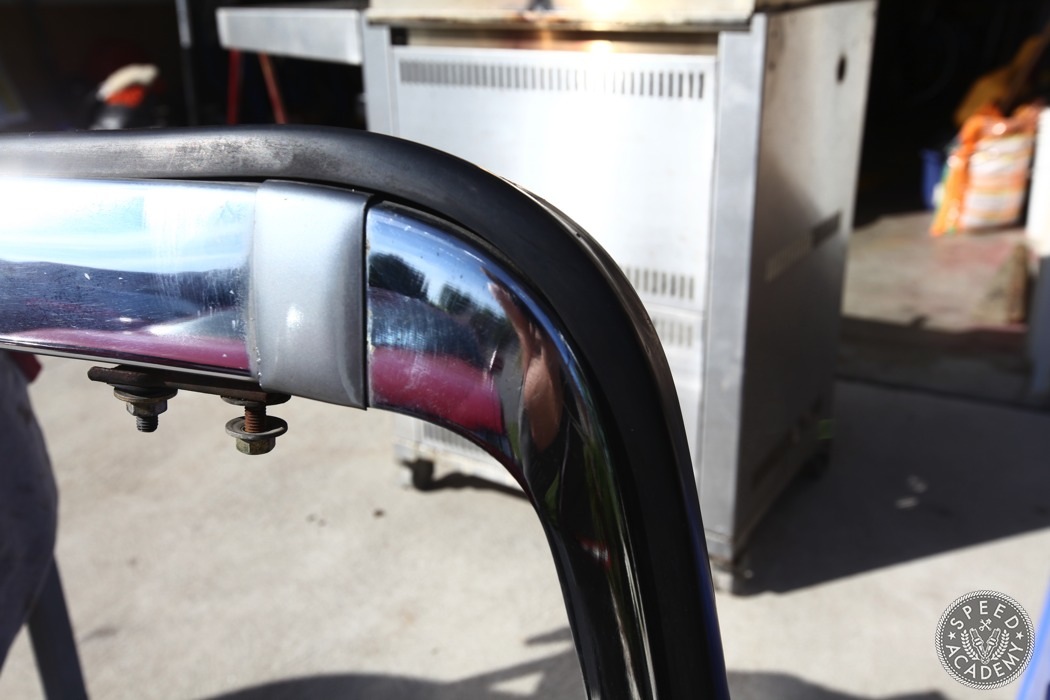
Besides, a little polishing compound and Mothers Power Brush did wonders to the finish of the chrome and brought it back to life again!
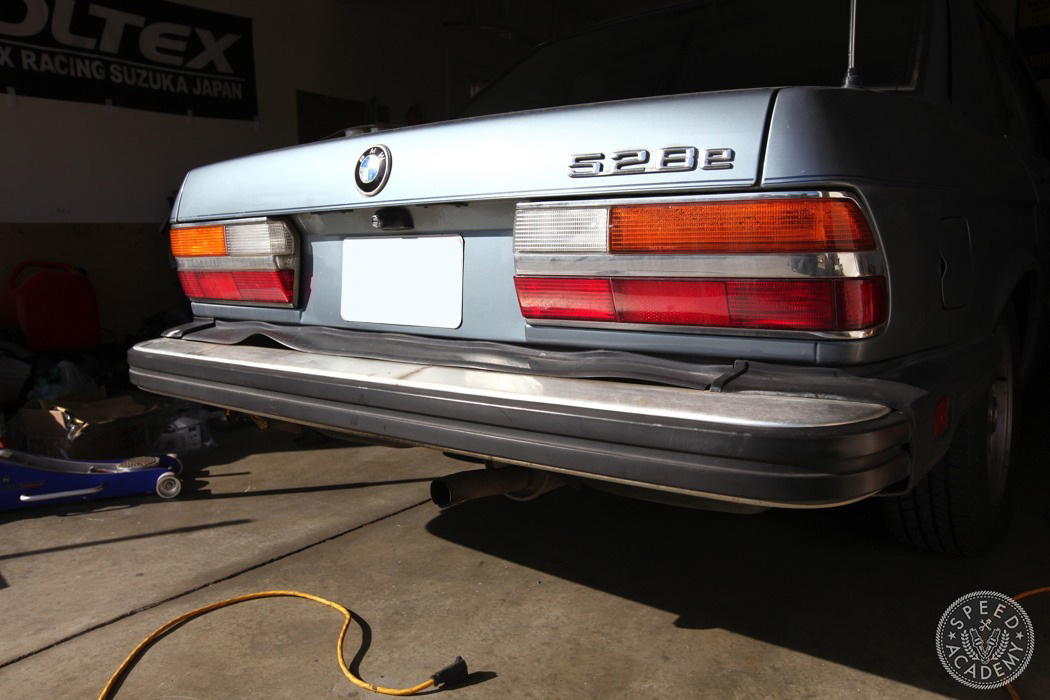
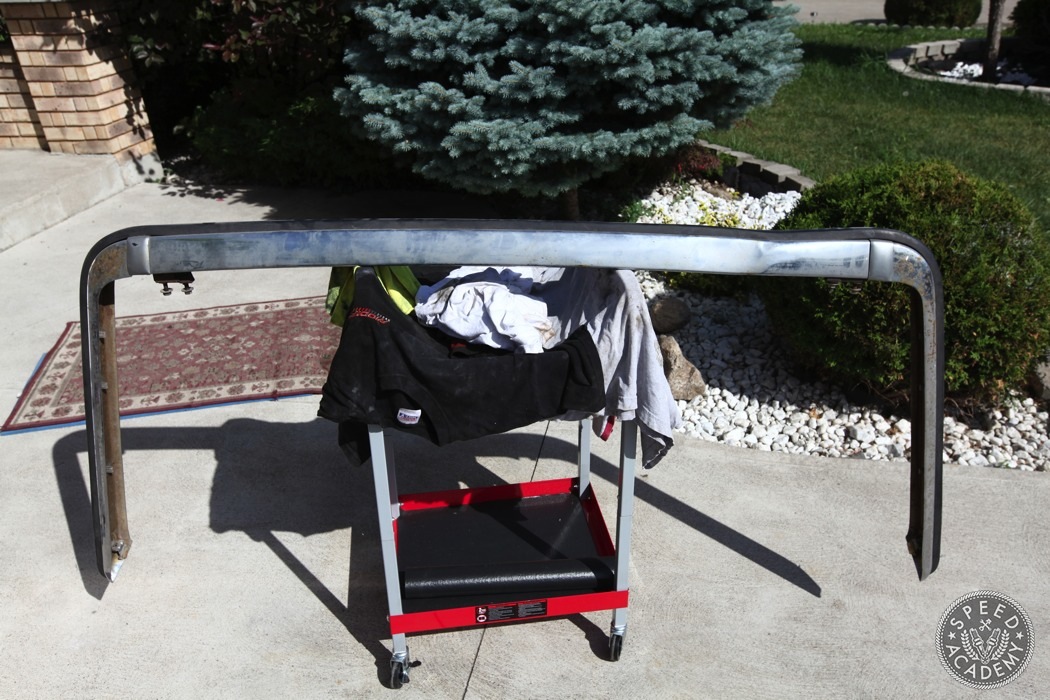
With the Euro bumper cleaned up, it was time to get down and dirty and remove the US spec behemoth.
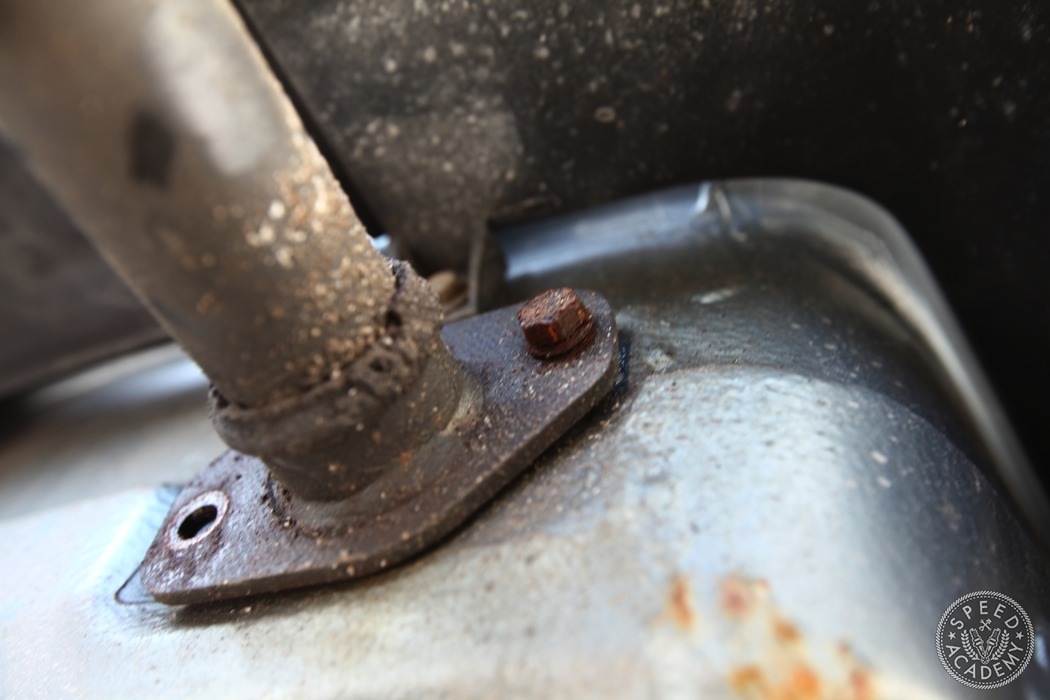
There are 3 impact bars with 2 bolts each holding the bumper to the chassis. Remove them and the bumper slides right out.
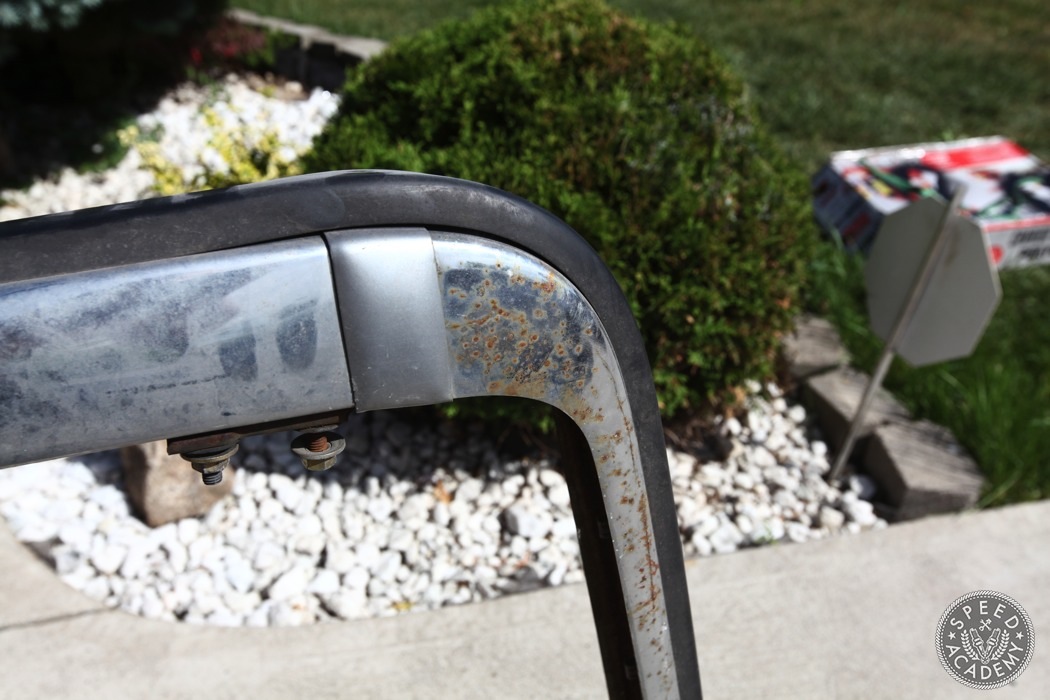
In my case there was quite a bit of corrosion going on inside the bumper beam and the chassis so it came apart in multiple pieces.
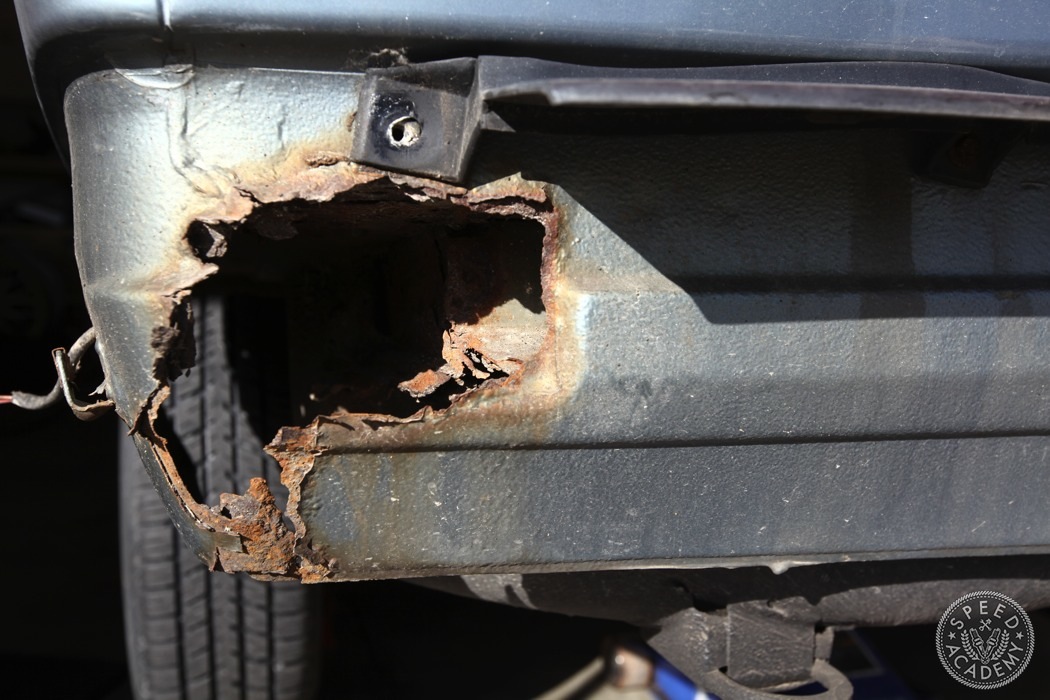
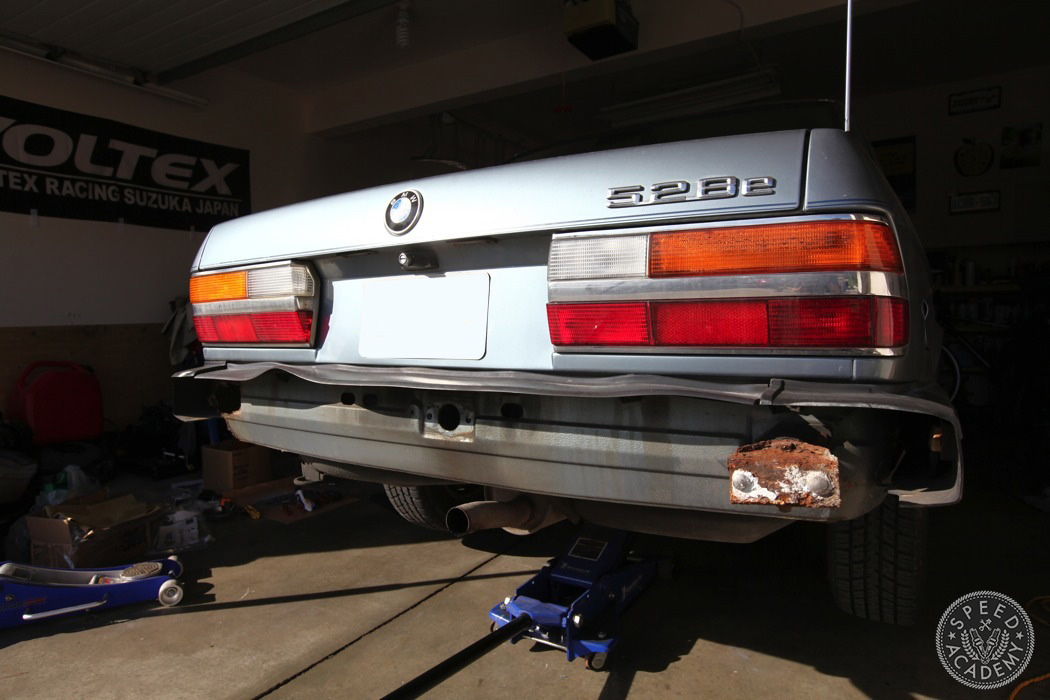
Oh hello! No need to unbolt the bumper from this side as there was nothing holding it on! This rusted mess created quite an issue for me during this conversion but more on that in another post.
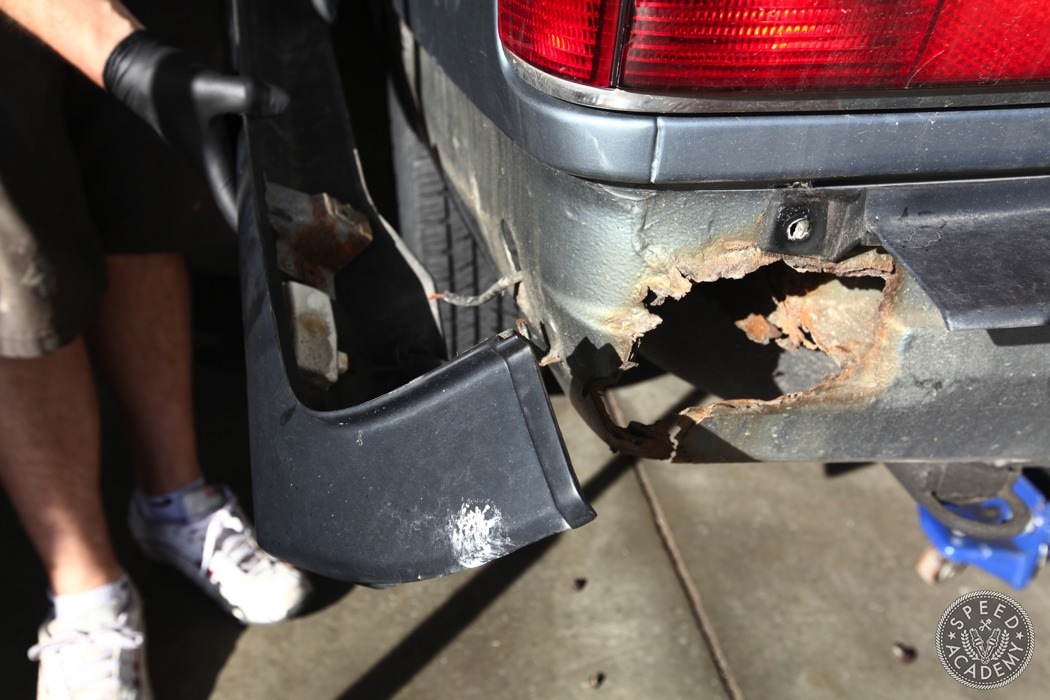
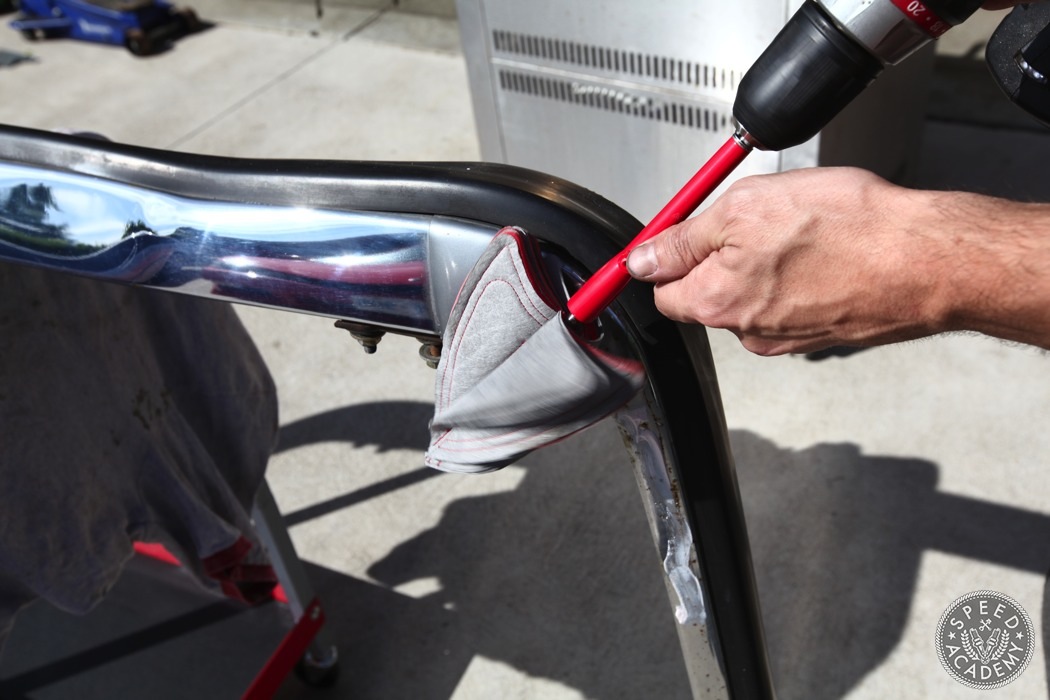
Next, remove the black plastic bumper trim. Thankfully I didn’t find any other crazy rusted out areas lurking underneath the trim.