

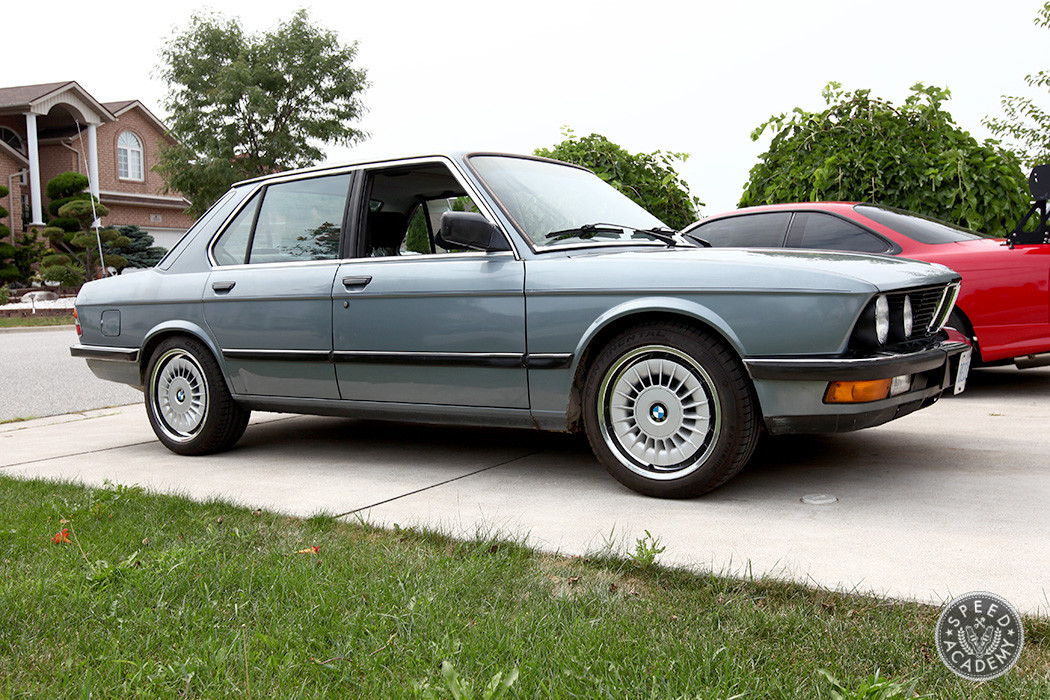

For the final installment of the Euro bumper conversion, I’m going to show you how to patch the holes in the rear of the e28 chassis to give it a true Euro appearance. Be forewarned though, I’m no expert body man or claiming to know the proper technique for this job. In fact, I’ll be the first to admit that I hate doing bondo and body work so my skills are definitely lacking. However, this guide should suffice for 90% of you out there looking to do the same.
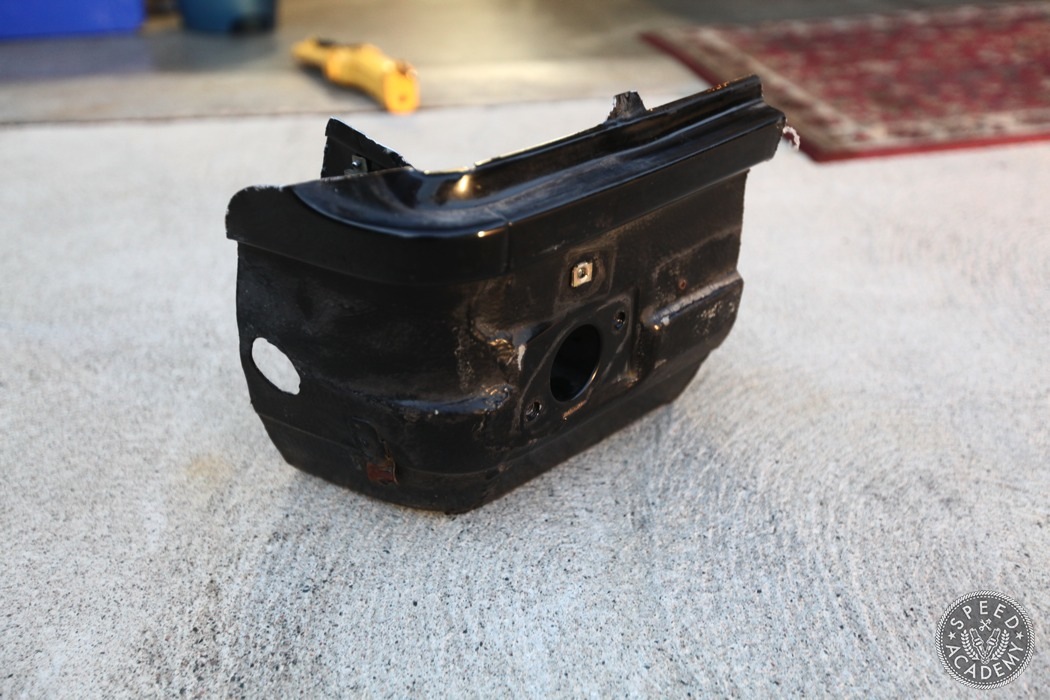
Before I get into the cutting, grinding and filling of metal, I had to source this wonderful piece of rust free metal. The massive rust hole in the back lower corner panel needs fixing and finding a clean rust free donor piece was the most effective solution for me. There was no way I could bend and warp a piece of flat sheet metal to resemble what I needed, it’s too complex a shape so I asked around on the mye28 forums and found a member who was parting out his California based e28 and he cut the rear section out for me. Thank you Doug AKA Photopark, you saved me on this project!
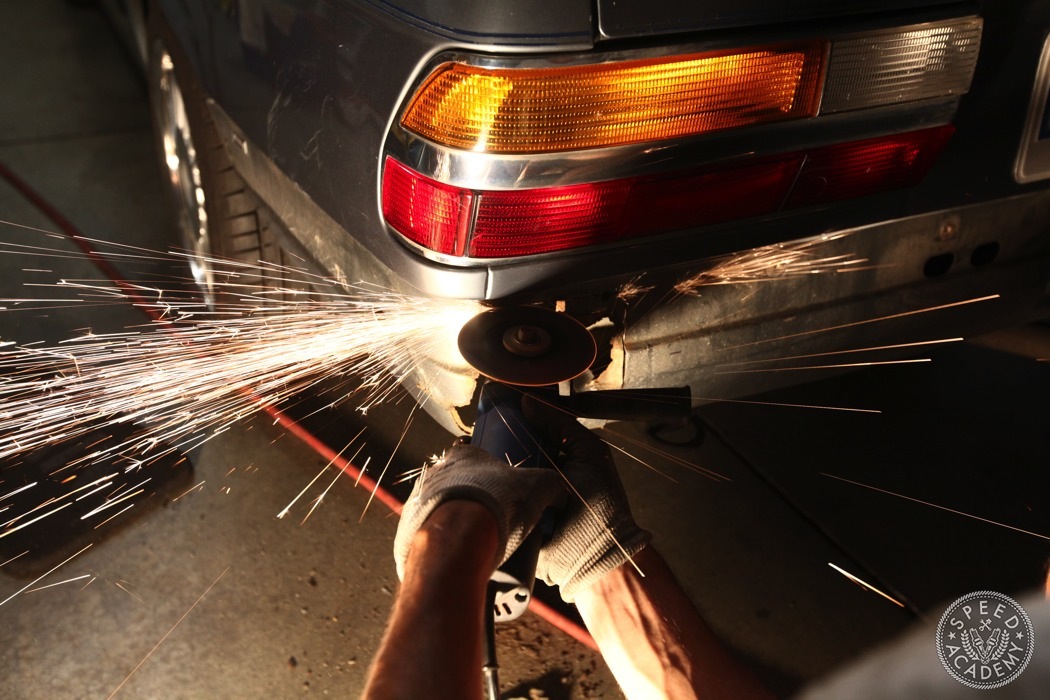
The first order of business was to cut out the entire rotted area.
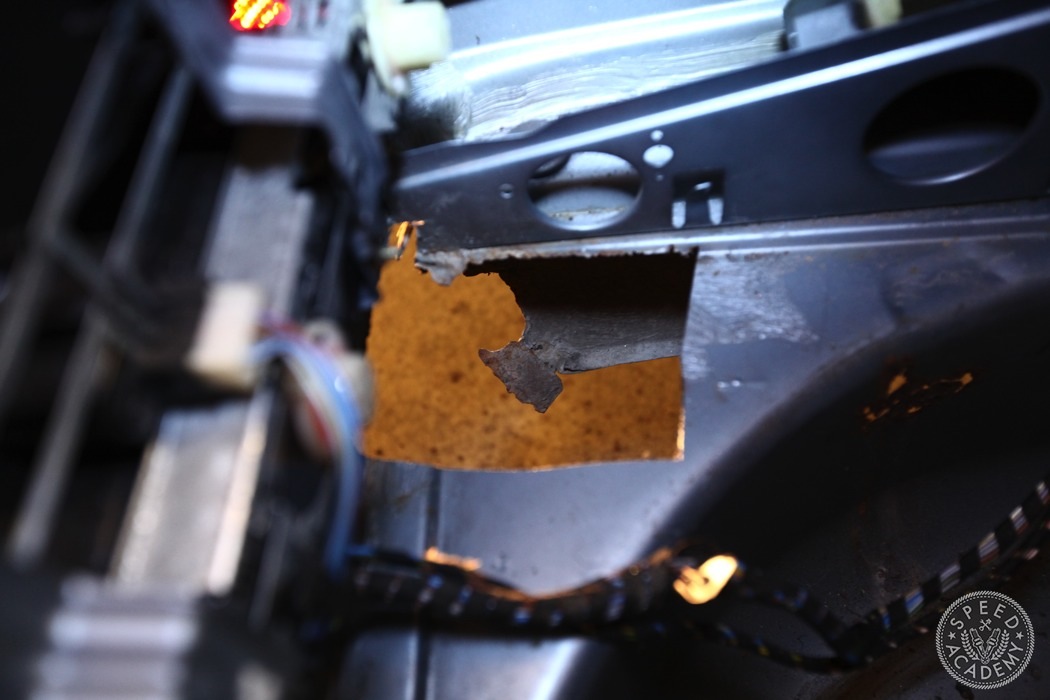
The rot was bad… really bad, which meant I had to cut quite a bit into the inside of the chassis. Looks closely and you’ll even see the spare tire well had rusted through in a small area.
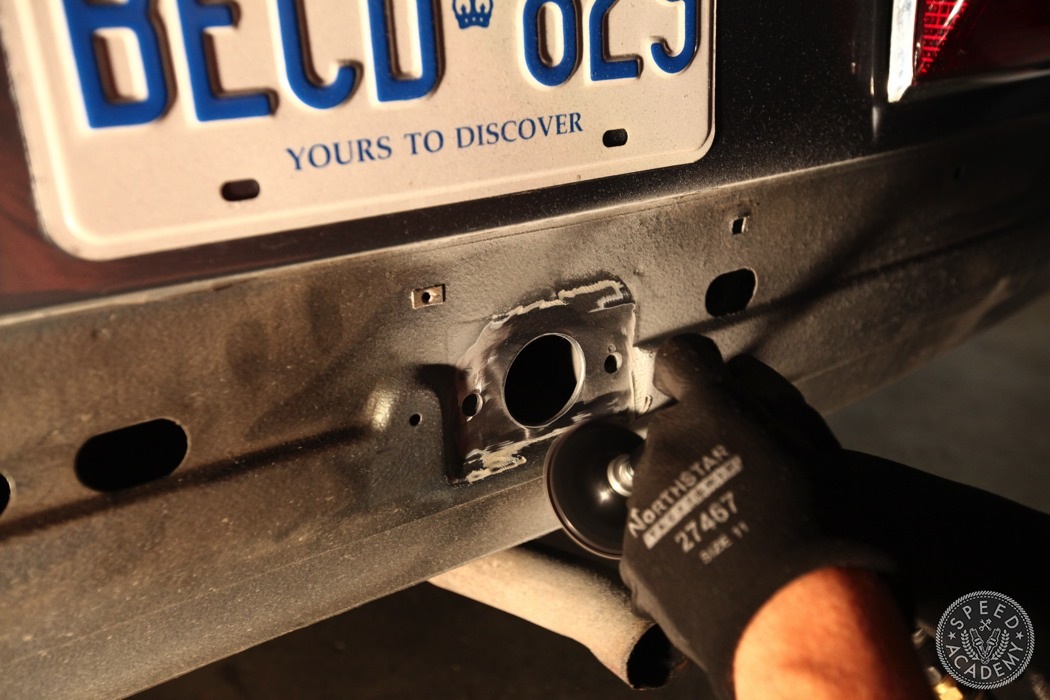
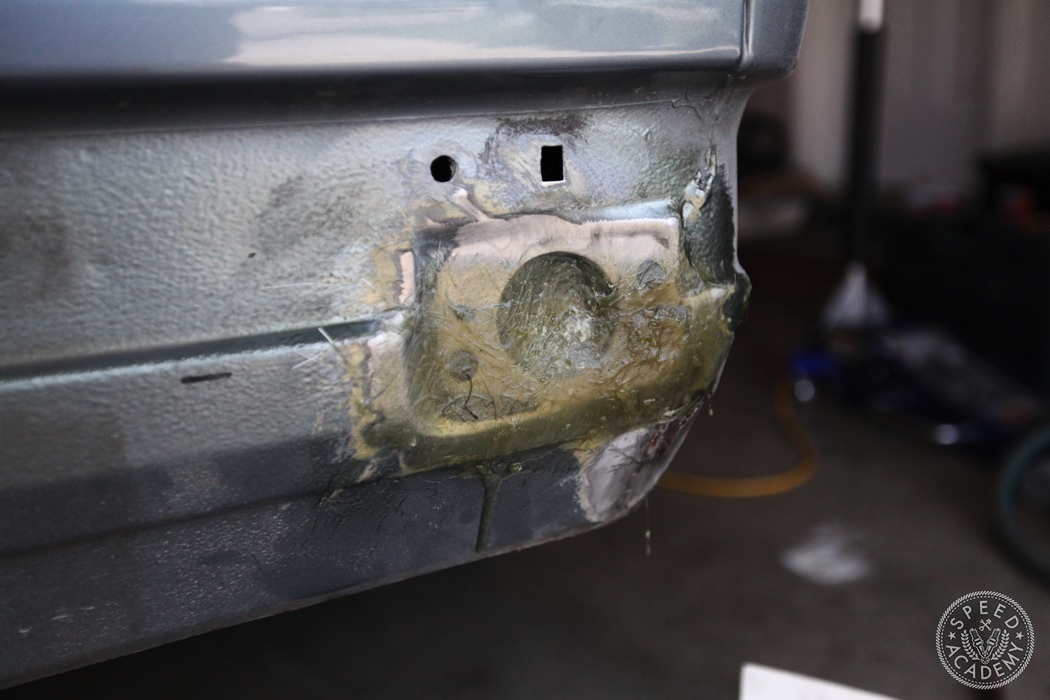
For the remaining holes, I planned to fiberglass them, which meant prepping the surface to be clean of any paint or residue.
Fiberglass resin is messy but it’s easy to work with so don’t be scared of it.
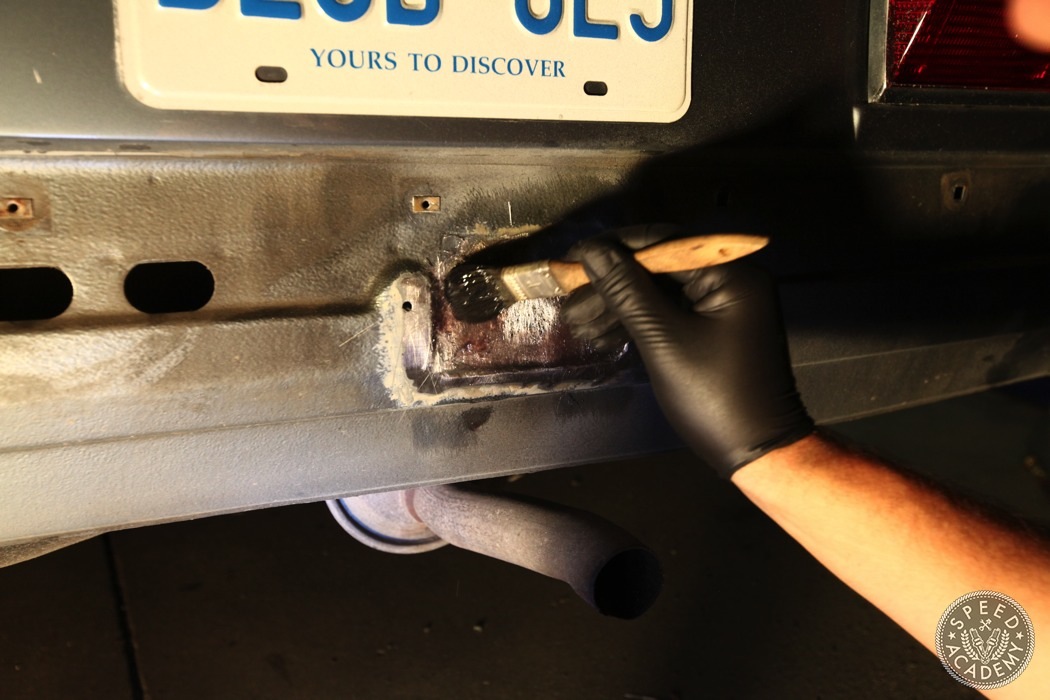
 This is the first coat of many needed to build up the material to match the lines of the valance.
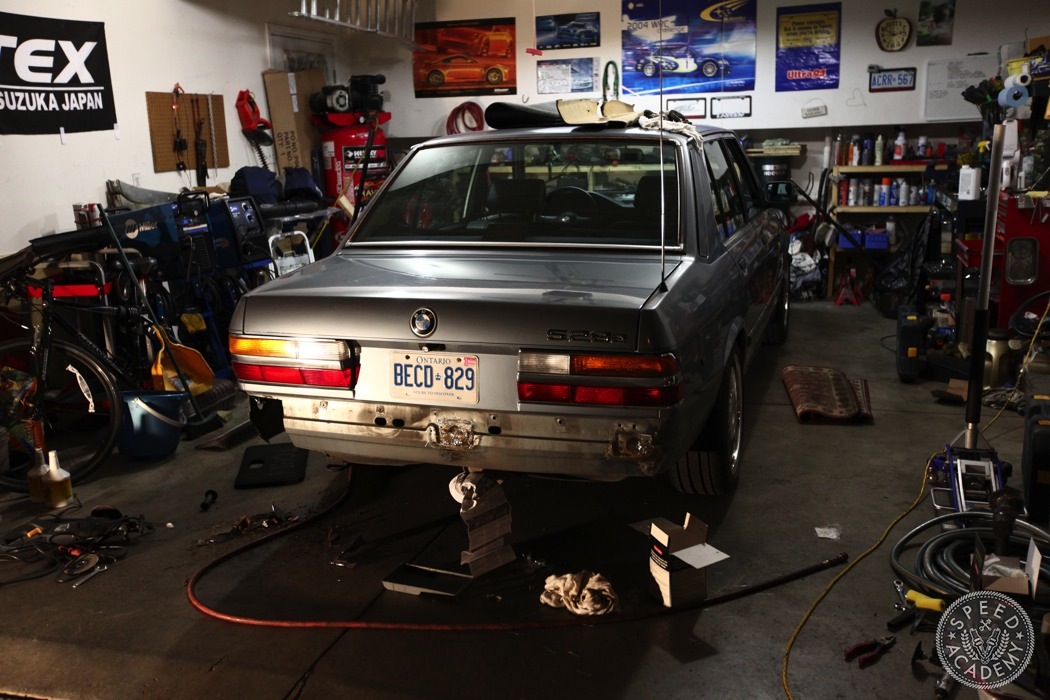
While the resin was drying I’d work on cutting more metal so it would match the rust-free piece. It’s a time consuming procedure to have the panels line up with as little gap as possible but it’ll pay off later.
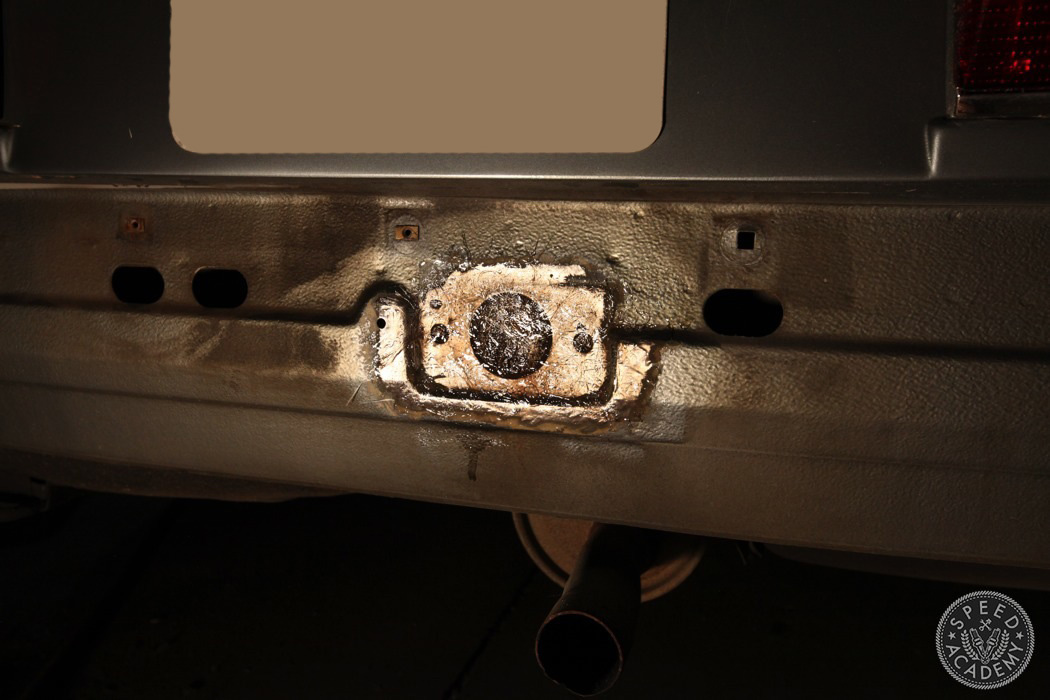
Here’s another look at the fiberglass after it has dried.
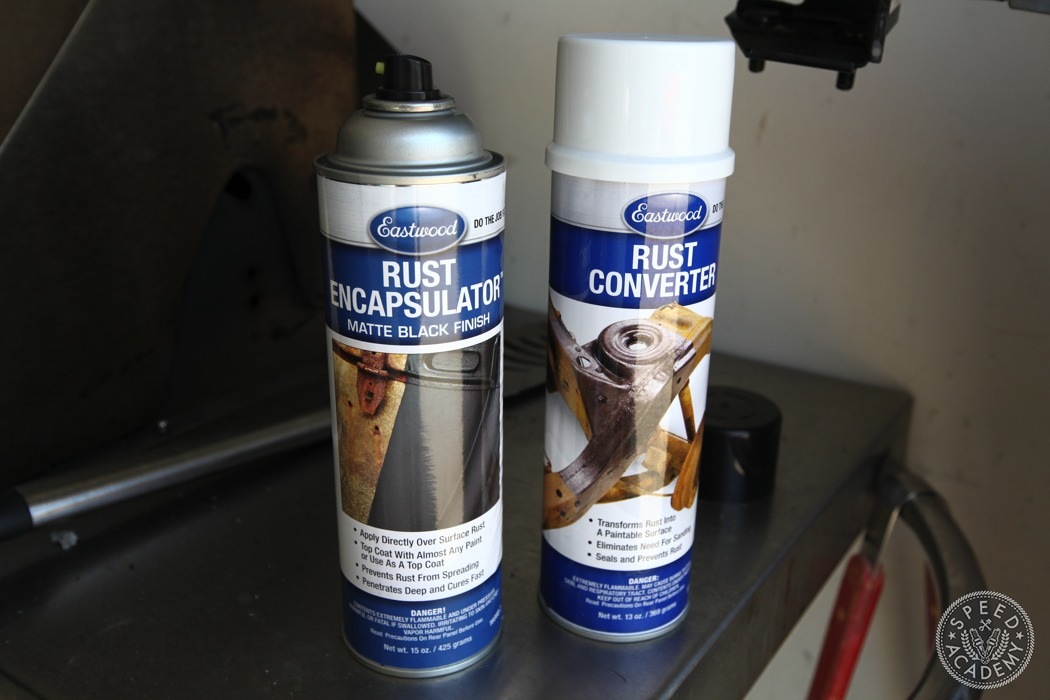
This car has rust starting on the backside of the entire rear valance and there was no way I had time to clean every minor spot up. Thankfully there are products to slow and even stop rust from spreading. Eastwood’s Rust Encapsulator and Rust Converter are two great options that I’ve had good success with.
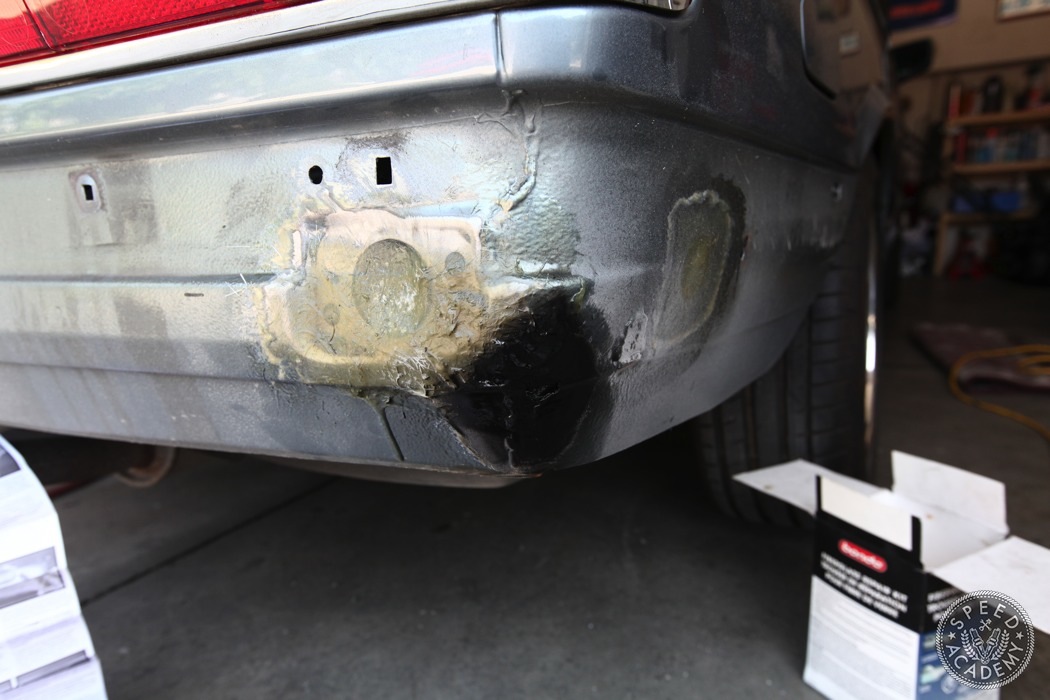
I sprayed the Rust Encapsulator on the corner seam here where I saw rust starting to peak through. To this day (2 years and counting) I haven’t seen any rust forming in the area.
Great post! Thanks for putting this online, all the other tutorials are so outdated that the pics are all gone.
Thanks for going through the effort to show all these steps. I’m getting ready to do my own conversion so I’m sure I’ll be referencing your photos along the way.
where do you live? will do similar bumper repair on my e28?!
We’re in the Toronto area.
And the repair is simpler than you think. Just takes a lot of time and patience!