
Having handled the interior upgrades in Part 1, Peter and I decided to move on to bolting up several of the key go-fast bits our Targa Newfoundland Scion FR-S would be treated to. I call these upgrades key because, lets face it, in most cases the OEM suspension and brakes are not designed for track use or for the kind of extreme pounding dished out at an event like Targa. That said, the FR-S’s stock suspension is actually very good, both in terms of handling balance and roll control. The OEM brakes, on the other hand, are a bit undersized when push comes to shove, so we knew a serious upgrade here would be especially useful.
Peter and I have both been in the aftermarket performance parts testing business for a long time now, and few products we’ve encountered offer a better combination of performance and value than KW Suspension‘s wide range of coilover kits. There are, of course, a number of other very good coilover kit makers out there and we’ve tried just about all of them, but we seem to keep coming back to KW for our project cars, and for good reason. They just work. And they don’t break. And their R&D is so extensive — including using a very high-tech 4-post shaker rig that can simulate virtually any road condition, along with real world fine-tuning at the Nurburgring — their off-the-shelf spring rates give us exactly the kind of neutral handling balance we prefer along with a totally civilized ride quality on the street.
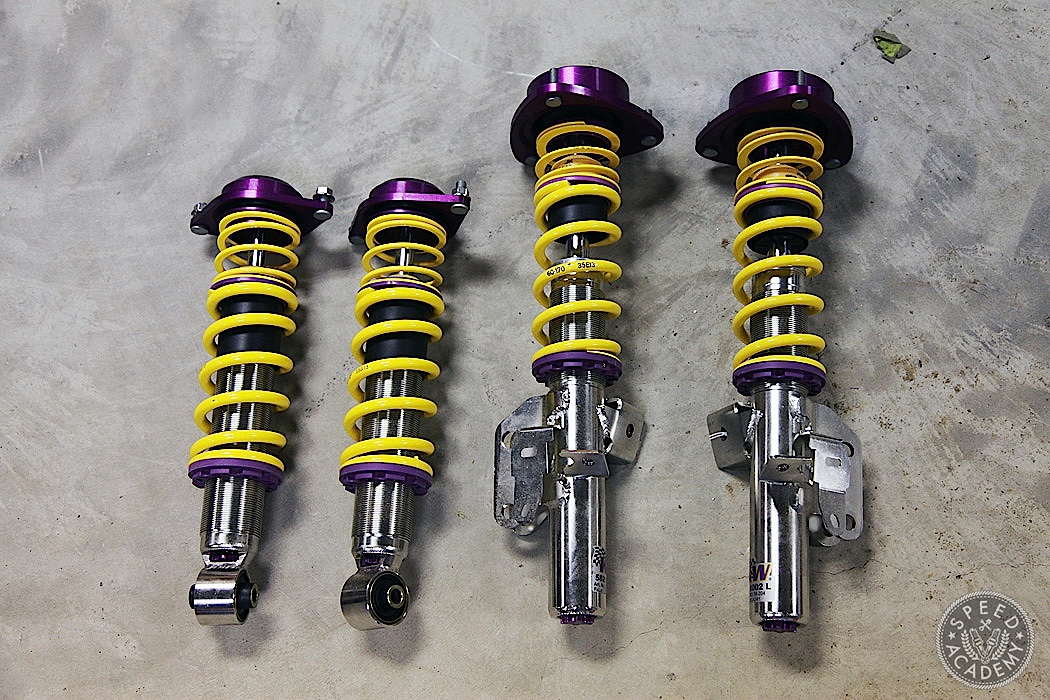
We opted for the Clubsport model, which is built around the same rugged stainless steel shock body as the Variant3. We could have gone with a lighter aluminum shock body from KW’s Competition product line, but with the roads being extremely rough in Newfoundland, we felt the heavy-duty stainless steel shock body was the smarter choice. Plus the Clubsport comes with spring rates and damper curves that are tuned specifically for a track day tire like we’ll be running but are still compliant enough to soak up the big bumps during Targa stages. In the case of the FR-S kit, the springs are linear rate, 6kg/mm up front and 7kg/mm out back, and use KW’s new high-performance race springs that are produced from specially alloyed and tempered spring steel that allows not only for a lighter weight spring but also a more efficient one. And by efficient we mean that with the same overall spring length, there’s more suspension travel possible (before coil bind) and higher block loading.
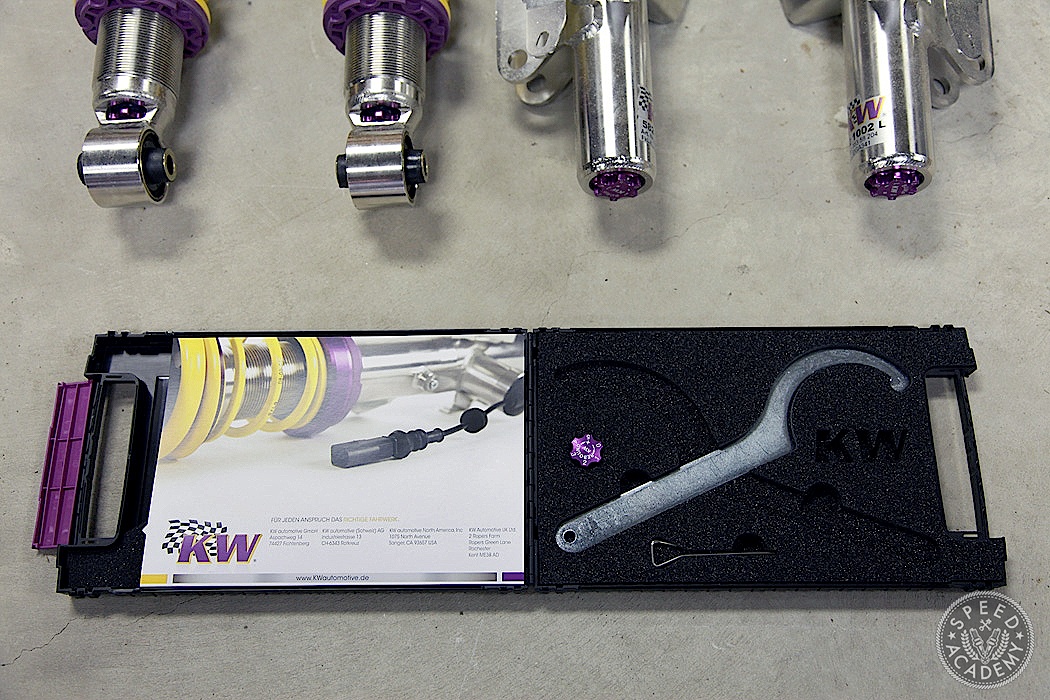
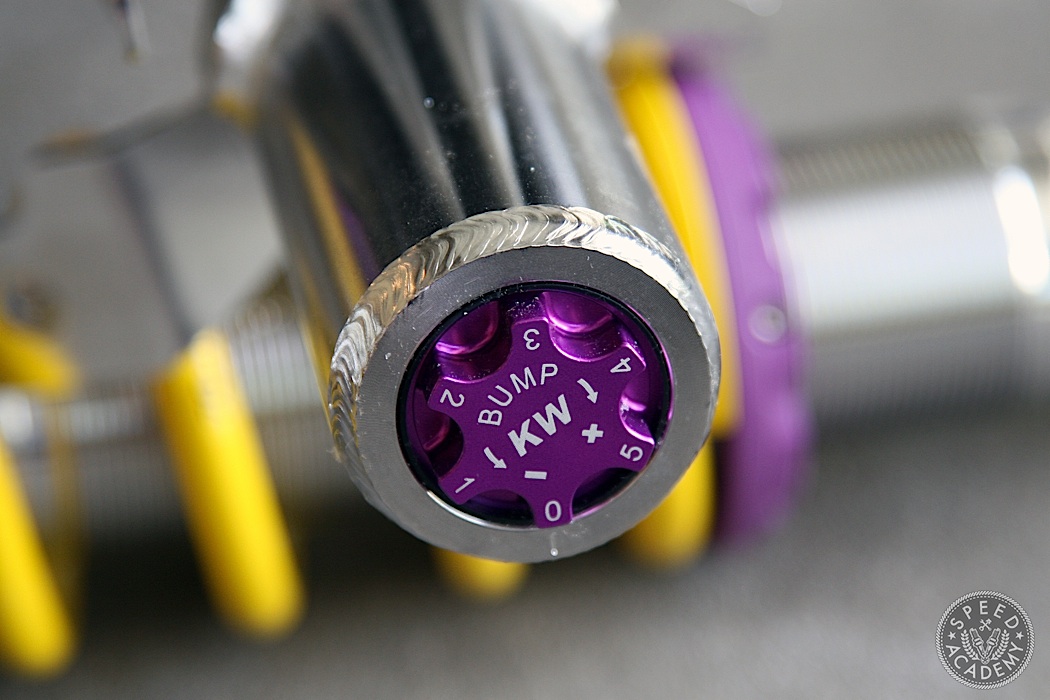
Having used Clubsport and Variant3 coilovers on a number of our other builds, we can also attest to the fact that the independent adjustment of bump and rebound damping really lets you dial in a car’s handling balance and overall road-holding by customizing damper response to the specific conditions at the track or on the road that day. Each position on the bump adjusters (on the bottom of the dampers) and rebound dial (a separate allen-head tool used on the top of the damper) results in a meaningful change in damper behaviour, which makes fine adjustments possible and also means keeping notes on damper settings come in really handy the next time you visit the same circuit.
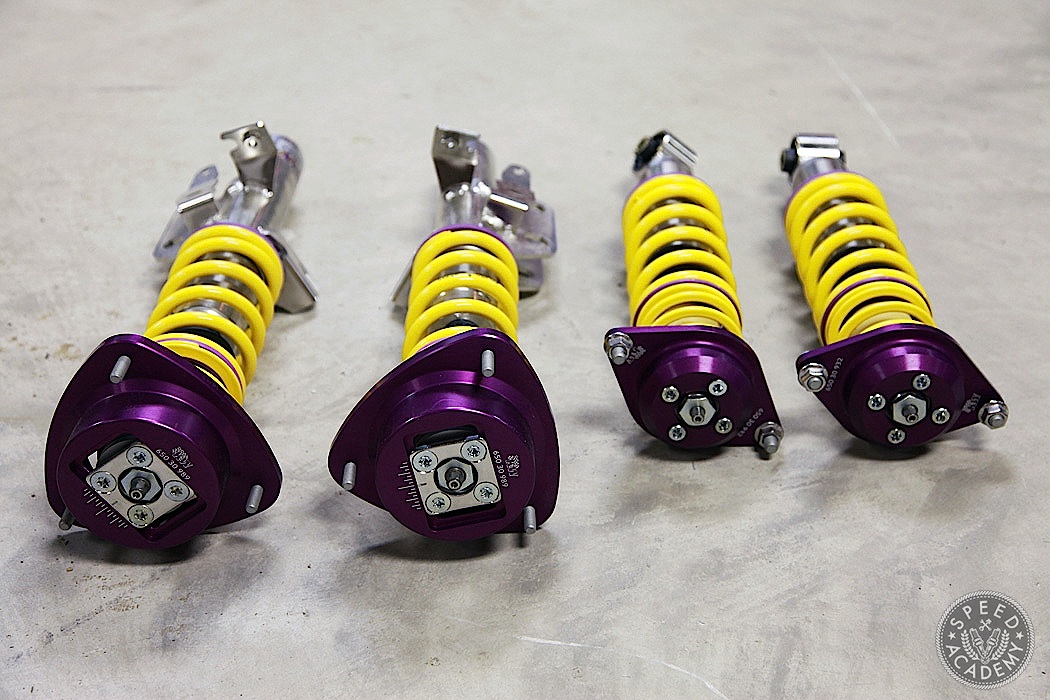
The FR-S KW Clubsport’s are also a great value when you consider that they include these cleverly engineered offset front top mounts, which allow for full shock travel at lower ride heights and offer scaled camber adjustability, too. These are made from high-grade aluminum and use an integrated gasket system that prevents dirt and moisture from getting into the free-from-play of the uniball-bearings, ensure free movement as well as preventing corrosion and wear.
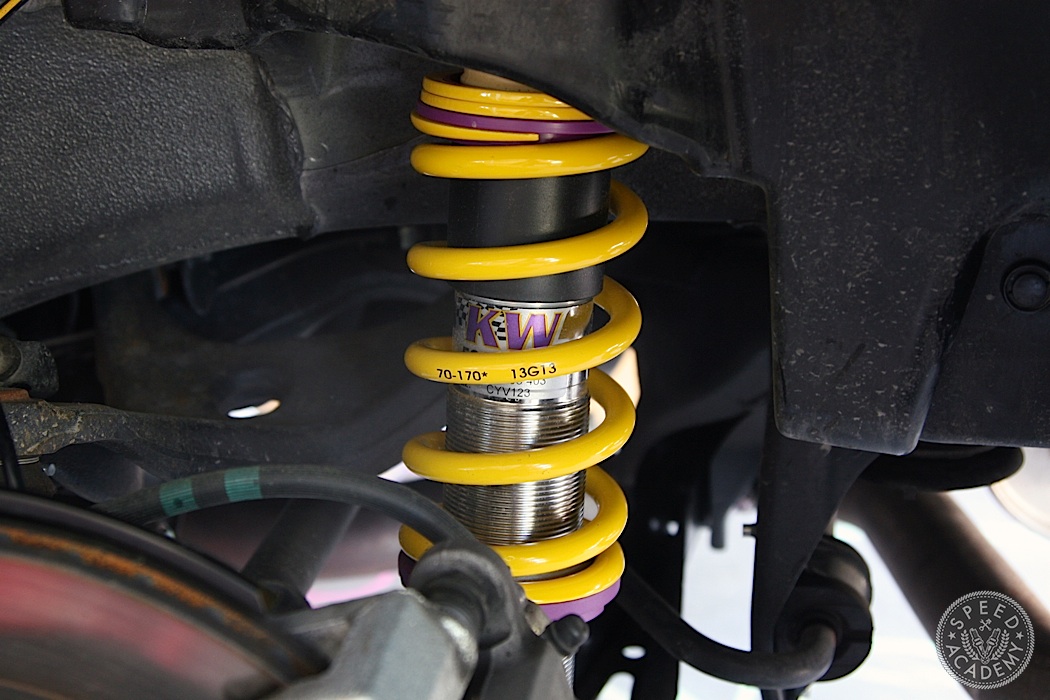
Installing the Clubsports on our FR-S is best described as easy-peasy-parcheesi. If you’re intimidated by the thought of swapping the suspension on your FR-S, don’t be. As you saw in Episode 3 of our series of build videos, to remove the front assembly there’s literally three nuts up top, the two big strut bolts, a couple fiddly little connectors/brackets to get the ABS line and brake line out of the way, and Bob’s your uncle. Oh, our car has no front sway bar yet, so that’s one more nut to remove for a typical install, but we’re pretty sure you can handle it. Out back it’s really no harder, just a couple of top nuts, sway bar nut, lower shock mount bolt and that’s about it. With the two of us wrenching at the same time, I think we swapped the Clubsports on in about an hour, including looking up the proper torque specs on our favourite device, the Internet, and dialling in Peter’s fancy-schmancy Snap-On torque wrench accordingly (he’s a baller when it comes to tools).
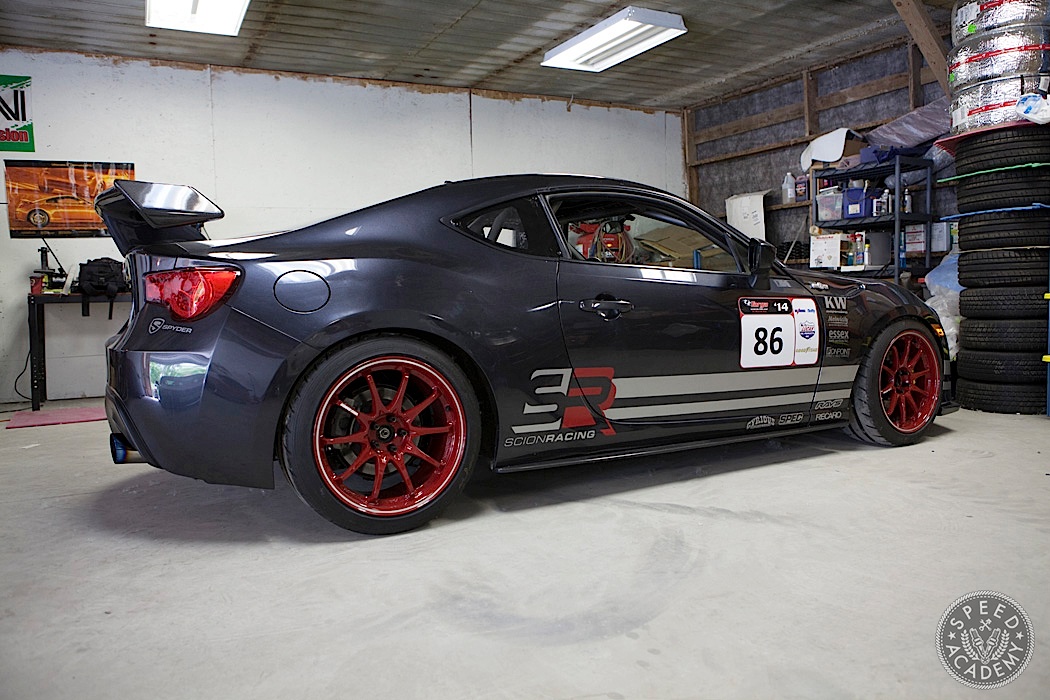
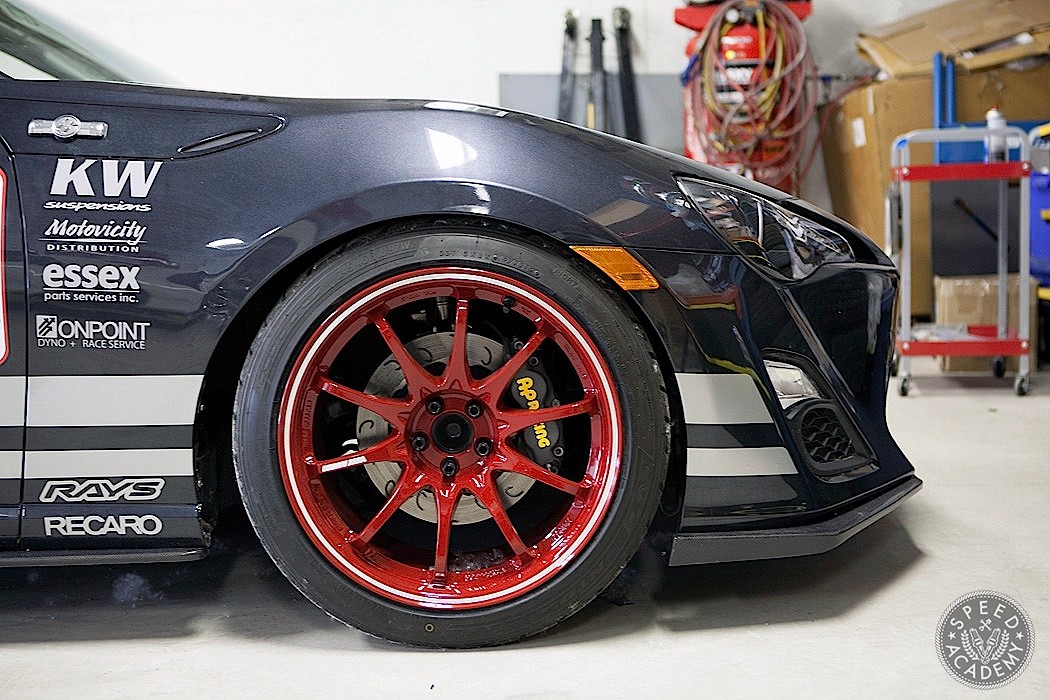
FYI, we set the ride height (using the supplied collar wrench and then lightly tightening the collar set screw, as per KW’s excellent and detailed instruction manual) to the middle of the recommended range. As you can see, the car is fairly low (and the rear settled lower than you see here), which looks great and will work well at the race track and even on Ontario’s semi decent roadways, but it’s too low for Newfoundland. We’ve already raised the ride height by 5/8” and we’ll likely go a bit higher, along with adding some custom skid plates to protect the oil pan and driveline. As for alignment, we used toe plates and a camber gauge to make sure we don’t burn the tires off the rims before getting it over to Dov at NV Auto for a proper corner balancing and wheel alignment. We’ll have a detailed story on corner balancing and wheel alignment soon.