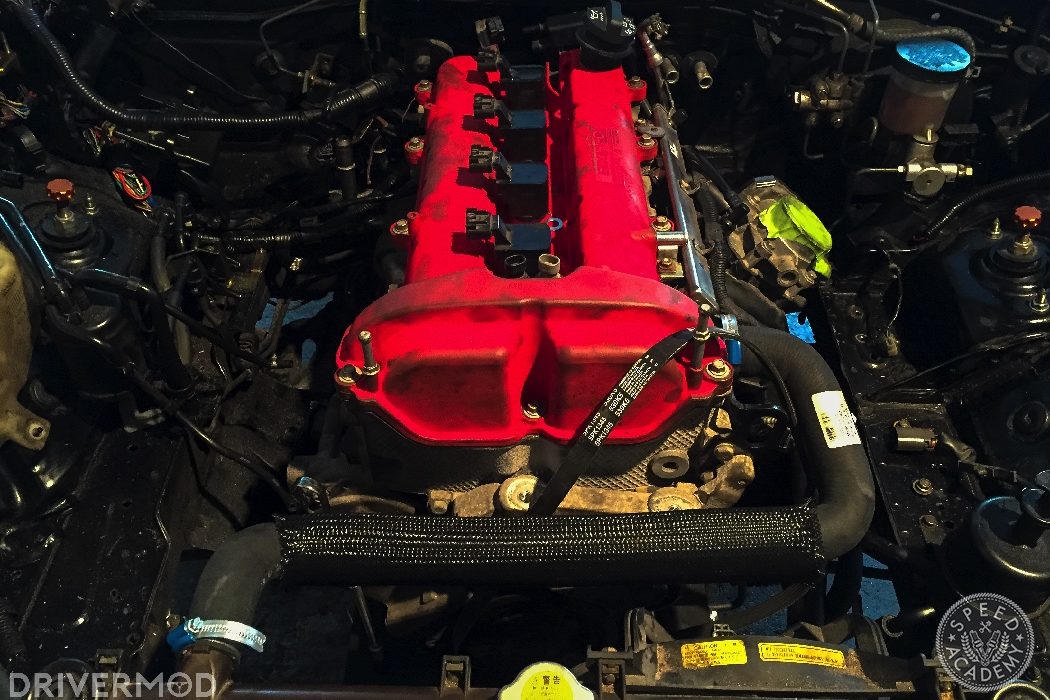
With the original BP engine out and having already prepped the LE5 Ecotec motor for installation in Part 2, now was a good time to thoroughly clean the engine bay.
 We took the car to a rally race this past October and about a pound of dirt clung to the car’s rust proofing oil. It’s been carrying it ever since.
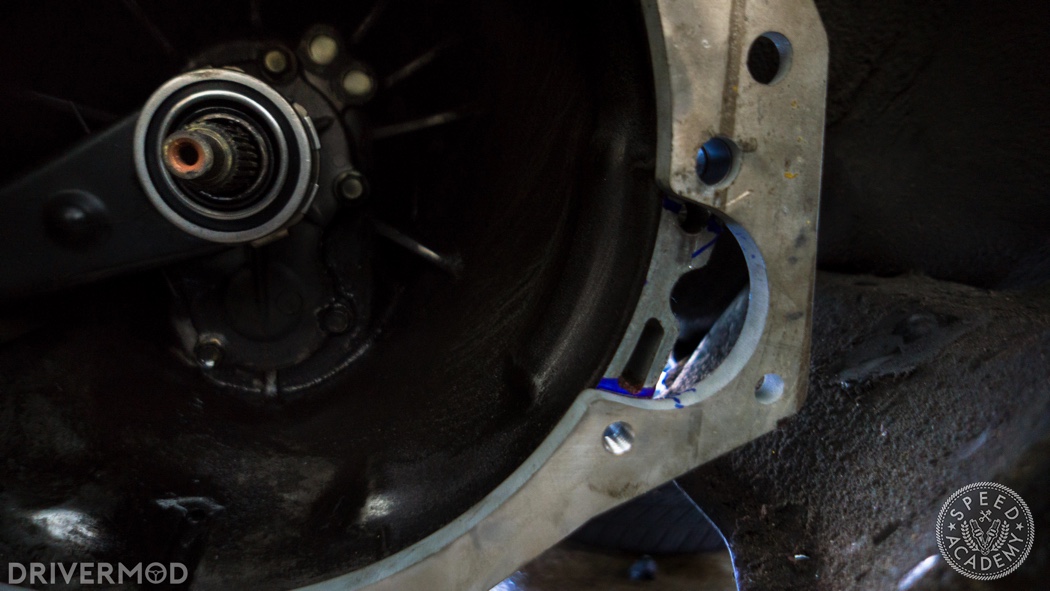
Before installing the engine, there are a few things you need to do. The starter motor on the Ecotec engine sticks out into the transmission by about an inch and a half, so you’ll need to cut a notch in the transmission to accommodate it. First, take the bellhousing adapter and place it on the transmission. Then take a marker and mark the location of the notch.

There isn’t really a precise way of doing this. MT Motorsport will hopefully be issuing a template that you can use to aid in the cutting process. The easiest way to do it is to cut two slits in the bellhousing as shown here. Then, cut one longer slit connecting the two along the back of the bellhousing, and knock out the chunk with a hammer.
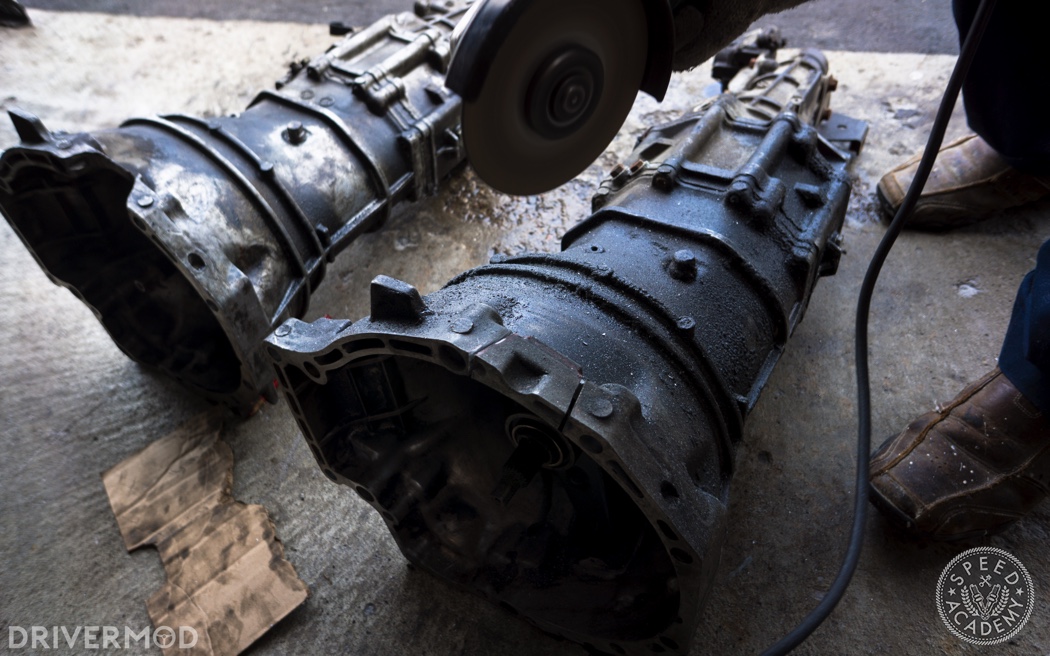 These pictures were taken a few months after the initial swap when we inevitably broke and replaced our transmission. Details to come.

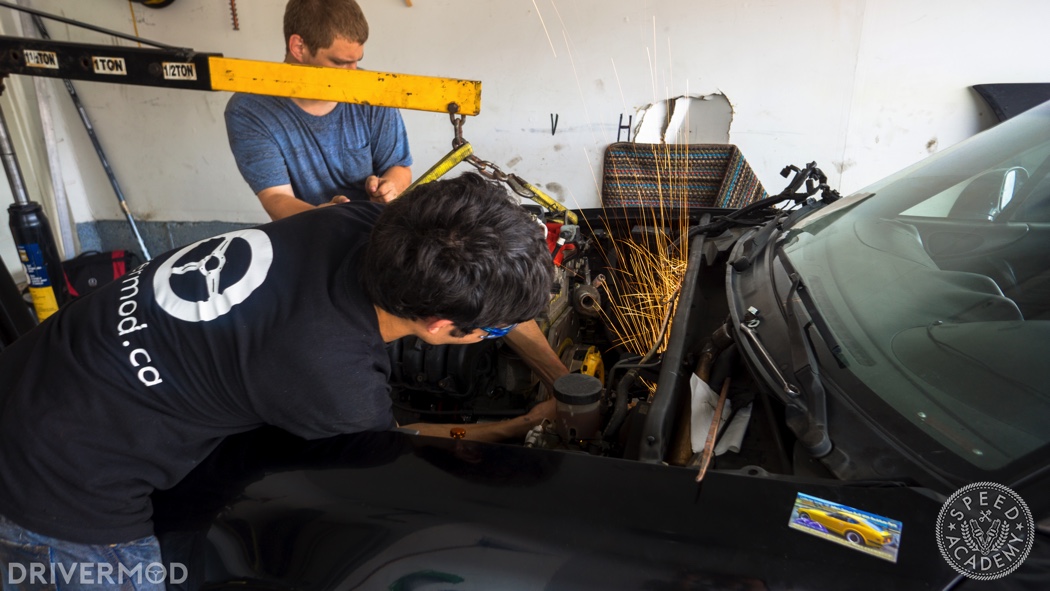
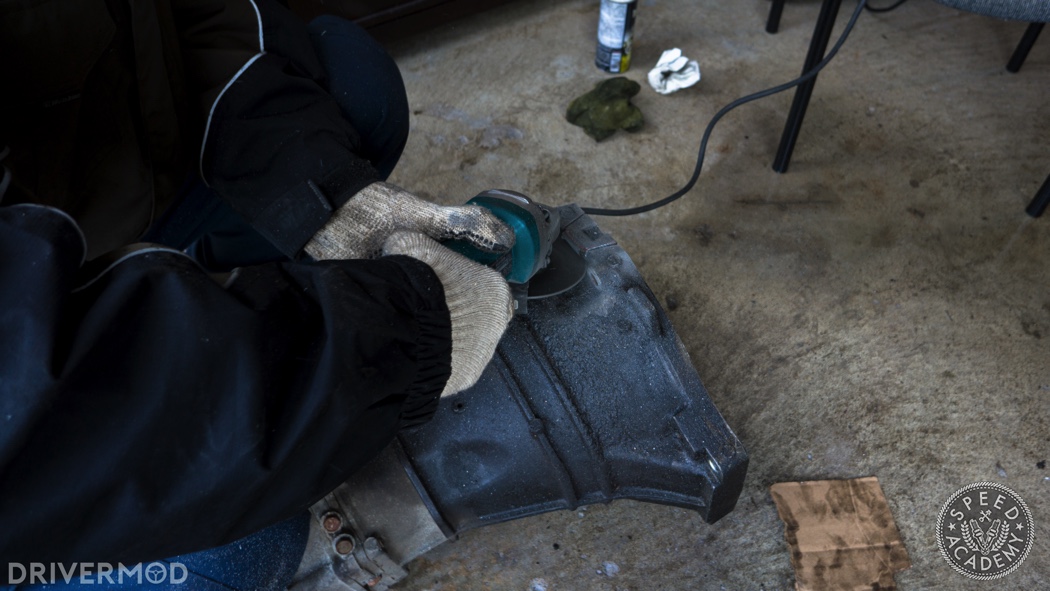
There’s a good chance that you’ll also need to trim a section of the rear deck for it to clear the engine. We did this using an angle grinder, sprayed the bare metal with some gray rust paint, and repainted it black later.

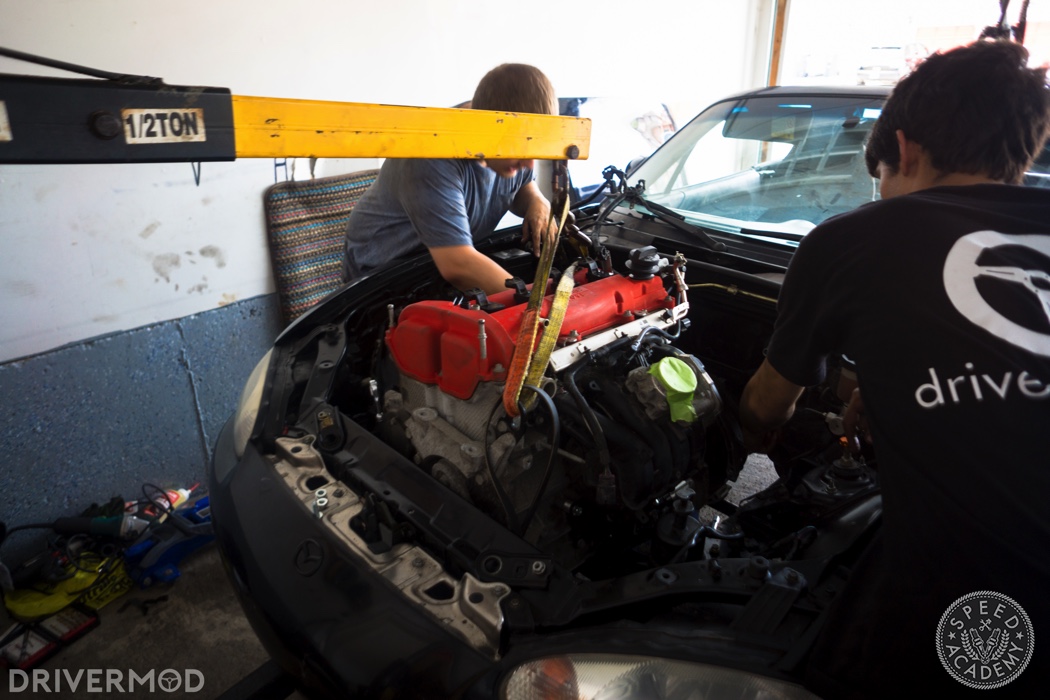
With the engine bay cleaned, a notch for the starter cut, and the back shelf trimmed, you can bolt the bellhousing adapter back on the engine and begin lifting it with an engine hoist. You’ll want to thread the bolts that will eventually bolt your new engine mounts to the body, through the engine mount, as they’ll be impossible to install once the mounts have weight on them. Make sure the engine’s level when it’s being hoisted up.

Before you lower the engine into the engine bay, you’ll want to place a pump jack under the transmission and raise it to the point where it’s higher than it’ll sit with the engine installed, but not so high where it’s touching the body. Your next challenge will be to lower the engine into the bay and line up your clutch and pressure plate with the transmission spline.
We found that the easiest way to do this was to have one person man the engine hoist, while the other lined up the engine and used a wrench to turn the flywheel bolt. With the parking brake disengaged and the car in gear, you’ll know that the spline is lined up when the rear wheels turn when you turn the flywheel bolt.
MT Motorsport specifically advises that you do not use the transmission bellhousing bolts to bring the engine and transmission together, as you could damage both the bolts and the bellhousing adapter. Instead, wiggle it back and forth and it should come together neatly. We ended up having to partially install and remove the engine three times in order to enlarge the notch in the transmission and trim the rear deck.