

Photos By Chili Mshlnsky
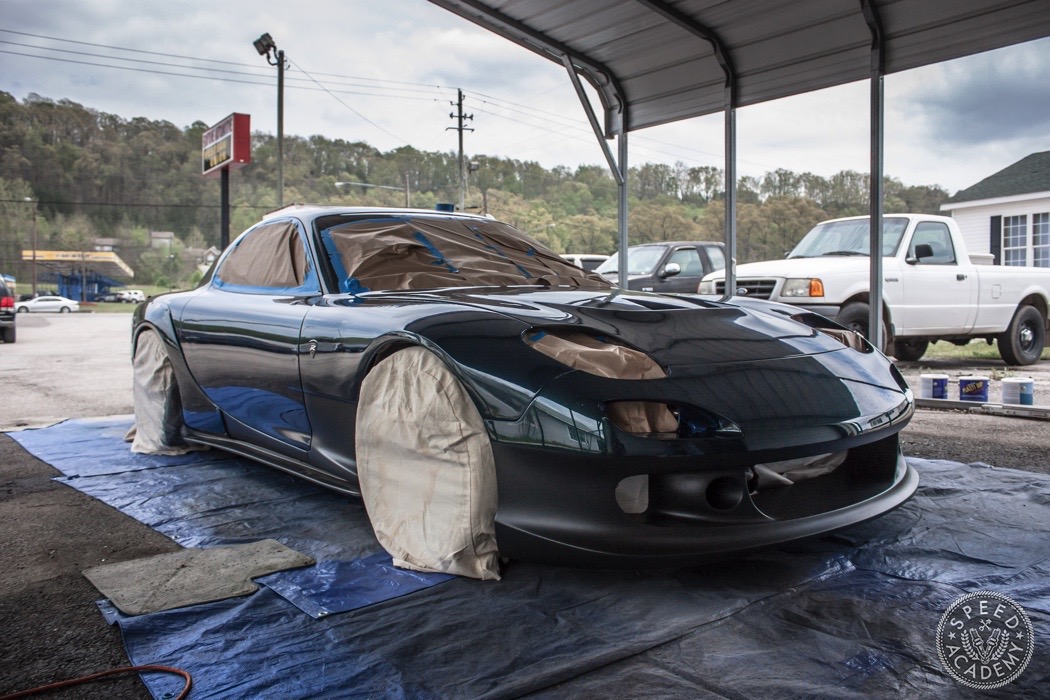
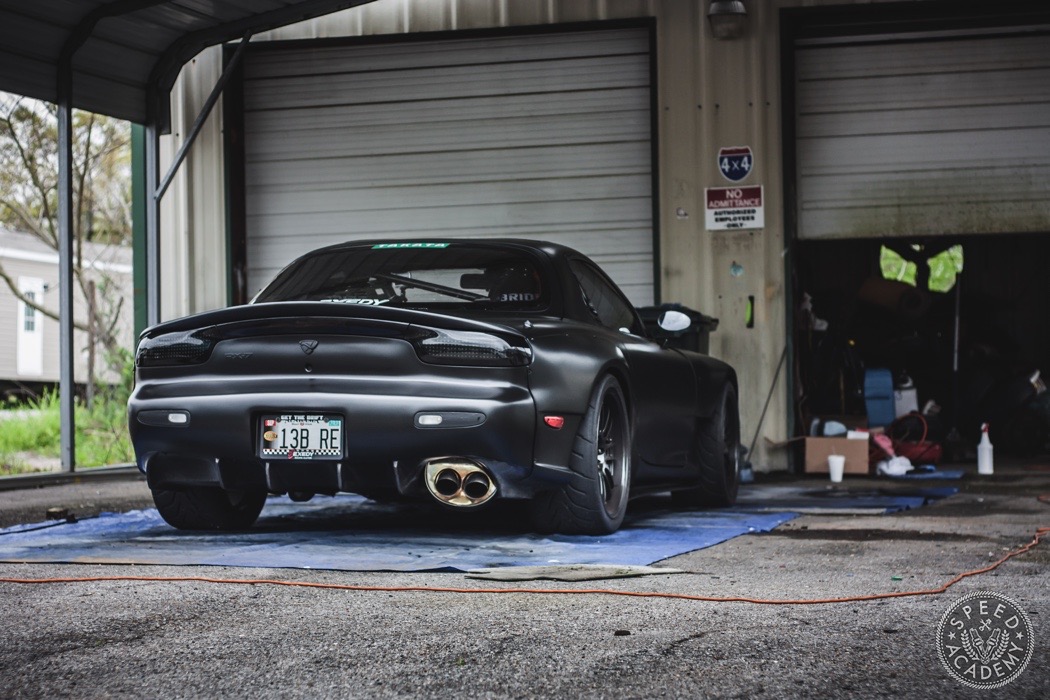
Our good friend Phil Sohn owns some of the nicest FD RX-7’s we’ve ever laid eyes on and has become one of the biggest advocates for Plasti Dipping a car versus wrapping it. We’ve always been curious about the entire experience, the pros and cons, so we asked Phil to write up a quick guide about Plasti Dip and here’s what he had to say:

Back in 2010, I looked into vinyl wrapping my car since it was a non destructive method for a color change, plus it would also protect the paint. Many high end cars were using it as a layer of protection for their expensive paint jobs. So I went out and bought a couple of rolls of vinyl (from a well known company) which I applied to my daily driver and tested it for 6 months. After it seemed to do a good job, I decided to wrap my RX-7.
Unfortunately, with horrific results! My paint pulled right off when removing the vinyl, which I was told was a direct effect of the aftermarket paint on aftermarket fiberglass panels. That instantly meant it wasn’t suitable for my RX-7. Also, vinyl has a very hard time holding its adherence to very complex shapes, especially convex to concave curves so that was another huge drawback especially since the curves of the FD are pretty much all like that.
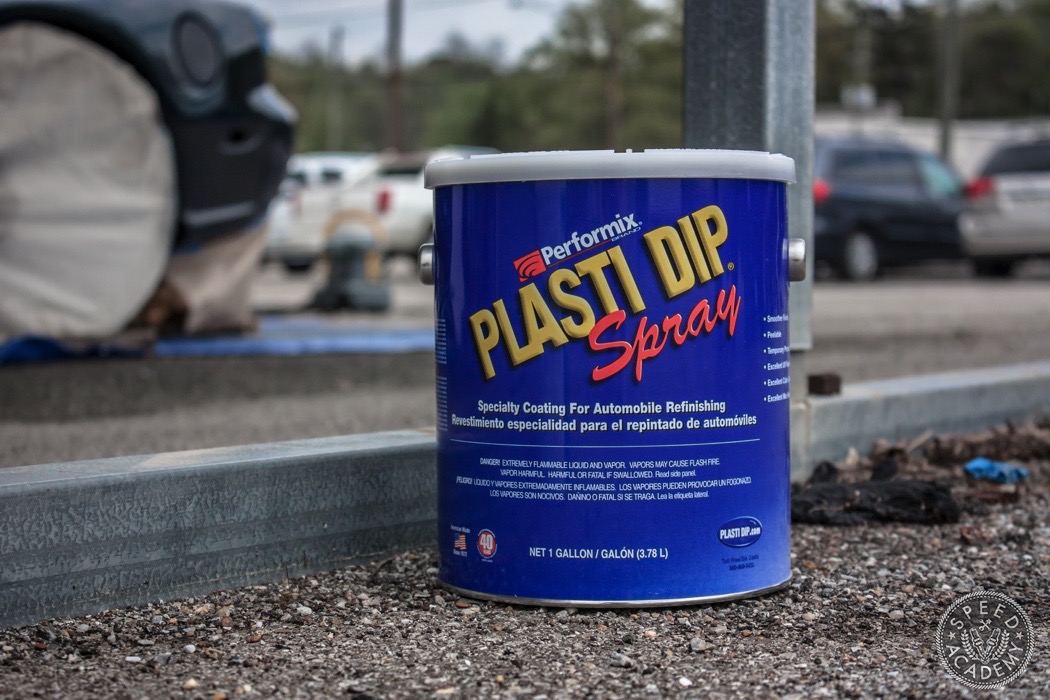
Around the same time, I heard about people using Plasti Dip paint (back then it was primarily used on tool handles) on cars to provide the same effects as vinyl, changing the color and protecting the paint. So I bought several cans and applied it to the RX-7 and then proceeded to test it at an event I run called Deals Gap Rotary Rally. Over 1000 miles later, it held up great and provided the paint protection I was looking for.
Keep in mind, Plasti Dip isn’t a replacement for a paint job. Instead, it’s a great and affordable alternative to vinyl wraps, especially for the average DIY enthusiast. Here are its main pros and cons.

Pros:
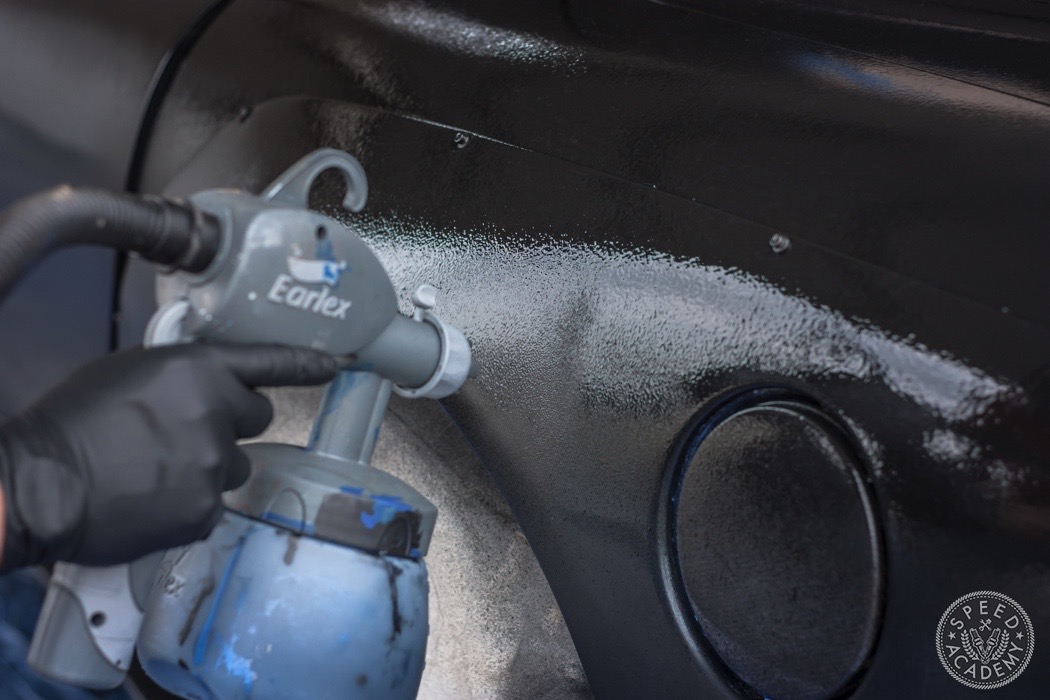
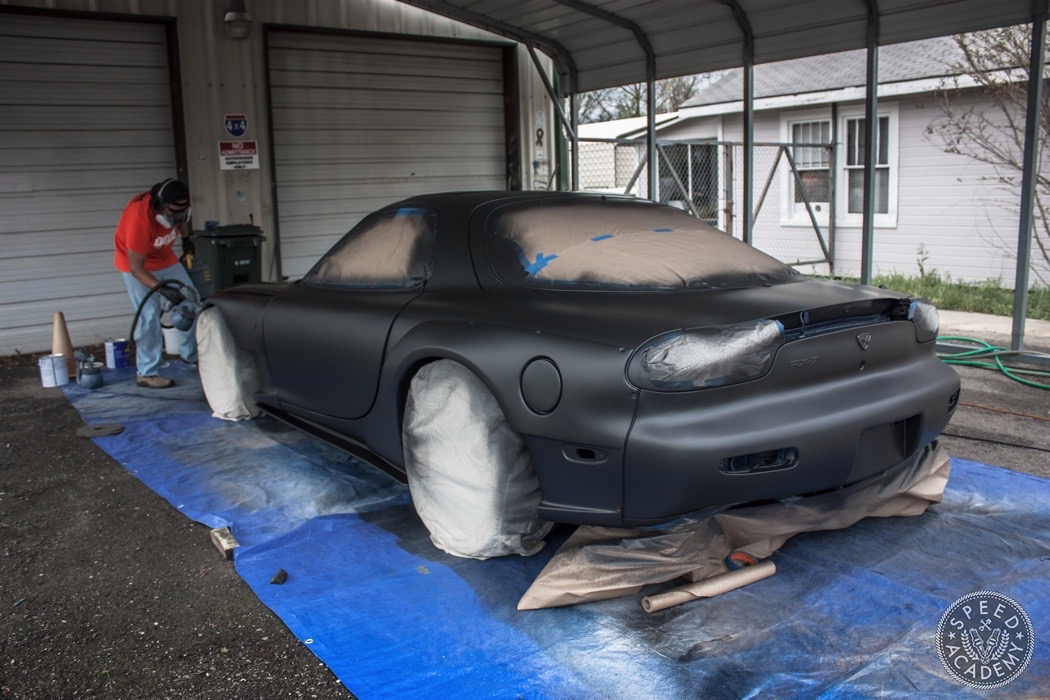
Ease of use – If you can use a spray can, then you can definitely pull off Plasti Dipping. Like I said, I’ve done vinyl wrapping and it’s much harder to do yourself. Plasti Dipping can easily be a solo job, but I recommend using a kit sold by www.DipYourCar.com if you plan to spray your entire vehicle. It’s much cheaper, easier, and will yield better result using a proper spray gun and Dip paint mix.
Cost – Vinyl is very expensive! Well over 2 times the price of Plasti Dip.
Durability – The more you layer your Plasti Dip, the more durable it gets and will protect against rock chips and road debris much better. How do I know this? I’ve tested it! Over the span of a year, I’ve put layer after layer (20+) onto the RX-7 and have done well over 10 track days and over 3,000 miles of street driving. After peeling it off, there was zero damage to the paint. With vinyl, you really don’t have this option without having noticeable lines where you added additional vinyl layers.
Color choices – Three years ago this would have been a con as color choices were extremely limited. Now, Plasti Dip offers a full plethora of color choices.
Cleaning – I used to do shows and have to haul my large bag around full of detailing products. Now, I just bring a bottle of water and microfiber towel. Just wet the towel and wipe the dirt away. That’s it!
Cons:
Durability – Yes, I mentioned durability as a pro, but the one bad thing about Plasti Dip is you have to avoid gasoline or any petroleum based product from contacting it as the dip will stain or actually dissolve. I’ve ruined two Plasti Dip jobs because either my gas cap was bad and leaking at the track or I’ve had an incident where fuel has spilled out onto the dip at the gas station.
How to Dip – Like anything, practice makes perfect. It’s important to learn your material and how it sprays, lays, and cures. It can take a few tries to get the hang of it and figure out how thick or light to apply it.
With that being said here are some of my tips:
Temperature – You want to make sure the temperature difference of the car’s surface is the same as the Plasti Dip you are spraying. Don’t spray cold Dip onto a scorching hot car.
Also, If you’re spraying outside, say in 90-degree summer weather, the Plasti Dip will dry much faster than early spring when the outside temp is only 50-degrees. You’ll always need to adjust in-between spray time depending on how hot it is outside.
Cleaning – Make sure that your vehicles paint surface is completely dry, so I recommend washing your vehicle a day or two before Plasti Dipping. Any wet surfaces or moisture will inhibit the Dip from attaching to the surface finish.
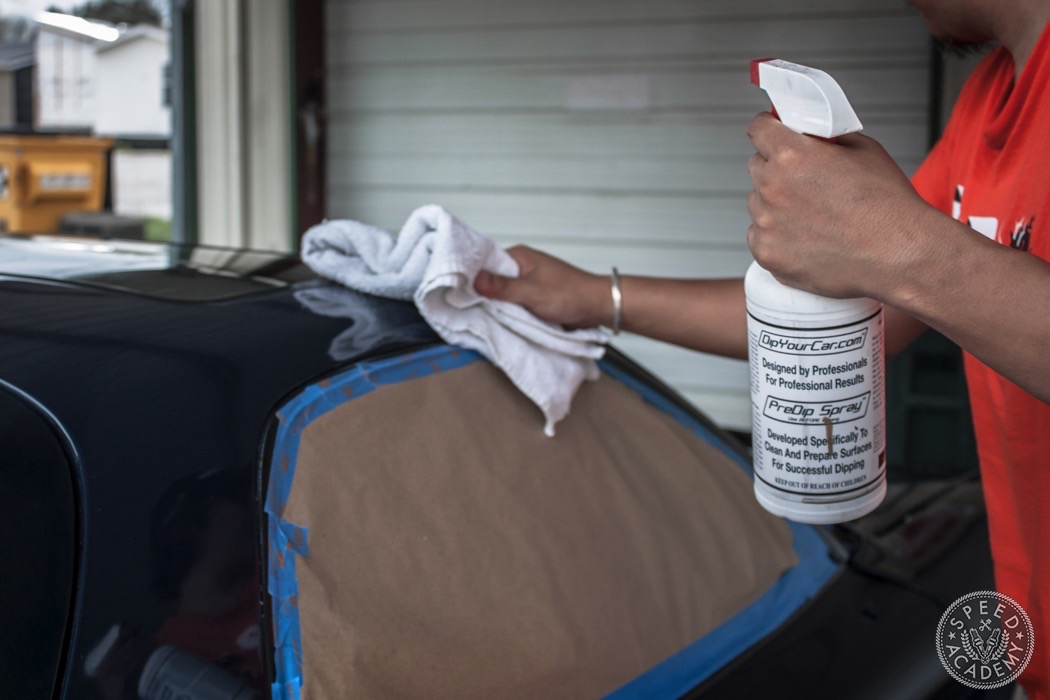
Wax and/or sealant will reduce Plasti Dip’s adherence. Especially if you are laying down 4 or less layers, so use a wax cleaner like DipYourCar (DYC) PreDip spray. I normally don’t wash the car but use this spray a couple of hours before Dipping. So far, I’ve had no issues when using this product. Another tip, don’t spray the PreDip directly onto the car but on a towel and wipe with it. Again, any moisture on the car will affect the finish.
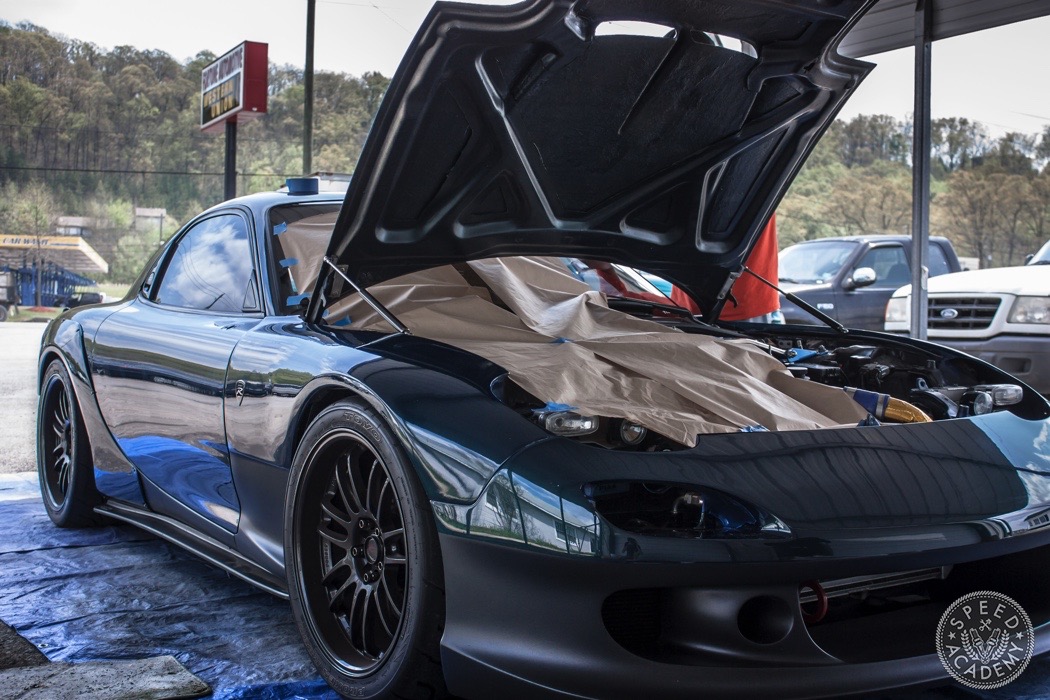
Taping – You don’t have to tape the car if you don’t want to, but it saves paint. You also don’t need to tape up small things such as badges and molding, as the Dip can be peeled off them very easily.
Spraying and Layering – There are many techniques to do this and even more videos out there on how to spray Plasti Dip. Most of them are worthwhile, so watch a bunch and practice on something small before you attempt spraying an entire car.
When you’re ready, you want to first put a tack layer down. It’s a thin layer that will allow more coats of Plasti Dip to adhere to better. Let this layer completely dry. Pending temperature, it could be as short as 10 minutes or as long as 30 minutes.
Spray and lay a minimum of 2 layers on hard to reach places such as wheel wells, bumper openings, etc. This will ensure proper coverage.

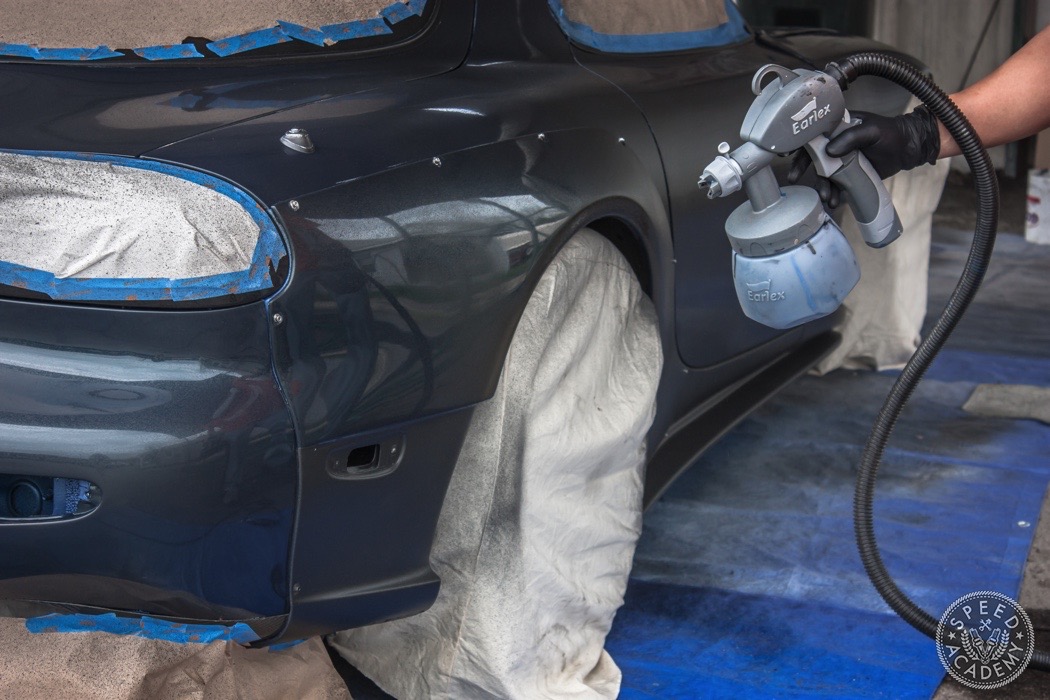
After the hard to reach places are sprayed on, you can now start laying the Dip on your paint. Test your spray pattern, the amount it sprays, and start by spraying the highest point of the car (roof) to lowest. A 30% to 50% pass over rate helps give a more even look.
Your LAST layer is the most important! If I decide to lay down 5 layers, I make sure my 5th layer is laid thick and even. I also try to make sure layer before (4th layer) to not be completely dry. This results in a much smoother finish.
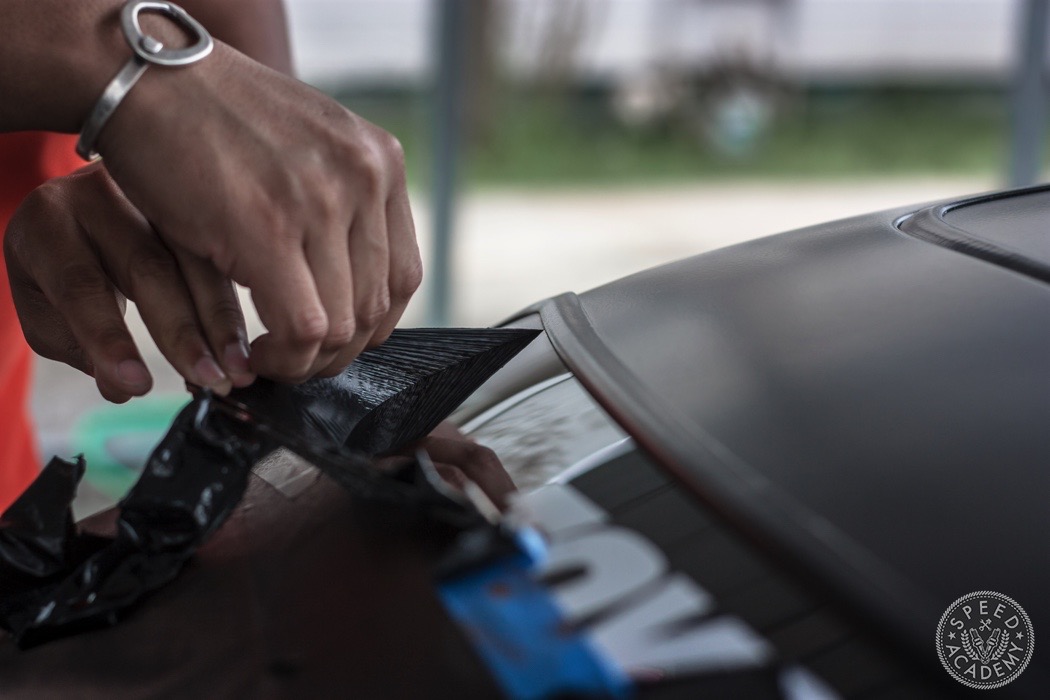
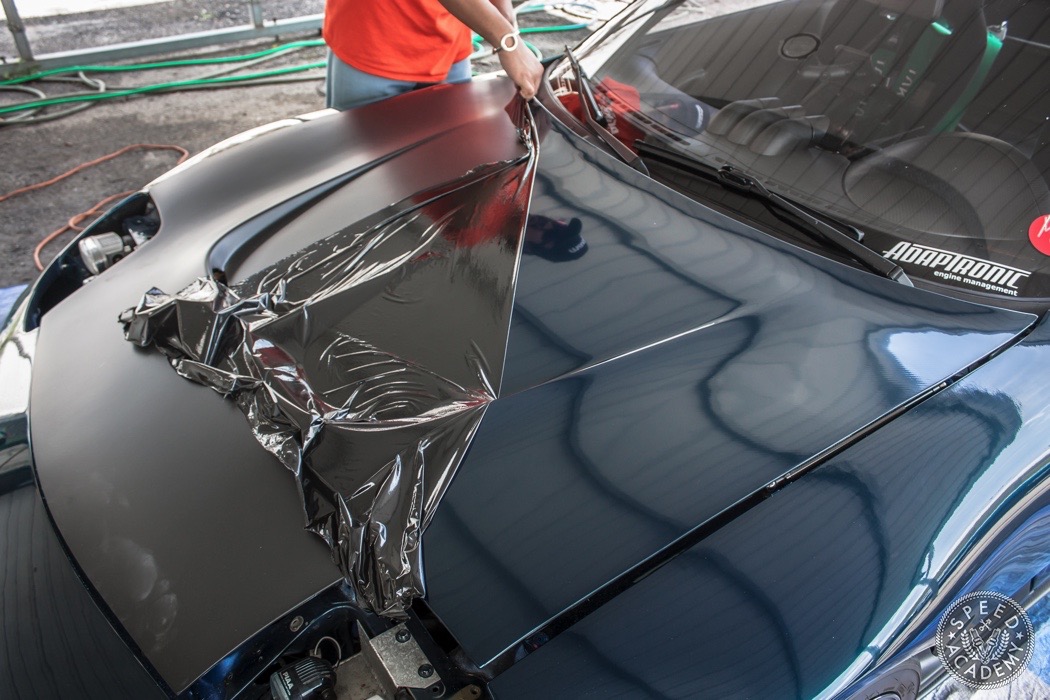
Drying and Peeling – Make sure the Plasti Dip paint is completely dry before peeling the excess off. However, In the case of a mistake, it’s almost better to peel minutes after drying (usually about an hour after spraying) than it is to peel it off days later. My guess is that the Plasti Dip is still in a softer phase and hasn’t adhered to the paint surface fully making the dip much easier to peel. Thicker or more layers will always make the peeling process easier because it doesn’t break apart when peeling.
Also, always test peel areas such as the windshield before peeling body panels.
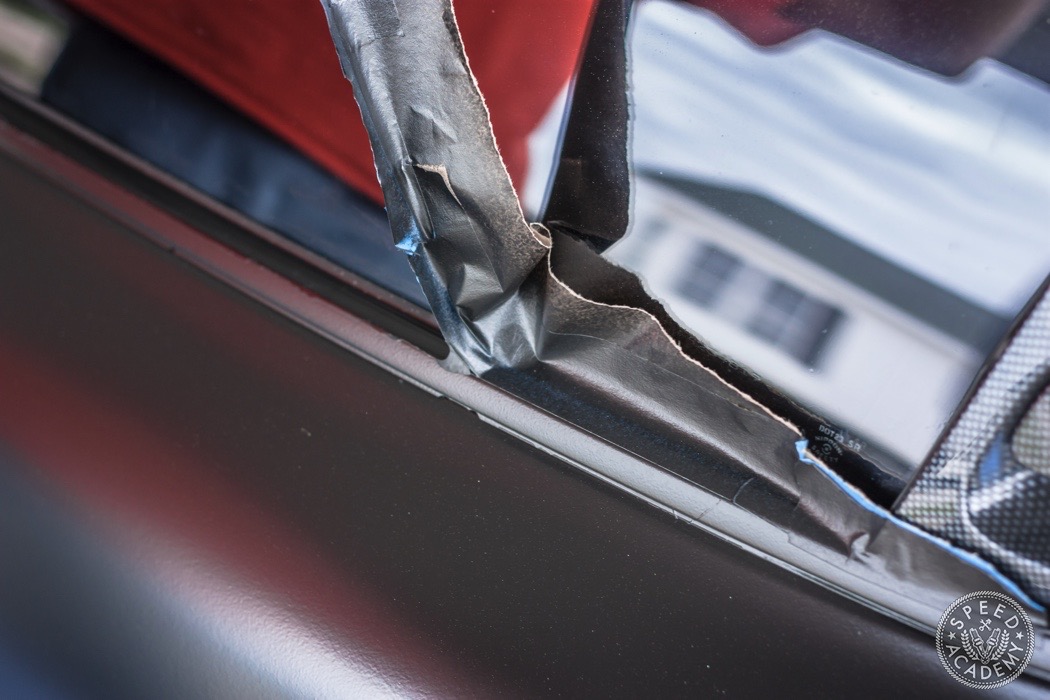
Some areas may need the use of a sharp razor blade to separate the peeling area from non-peel area.
Use your fingers or a microfiber towel to rub off thinly sprayed areas.
Once everything is peeled and dry to touch, you can go drive! Whether it be in the rain or in 100+ F degree weather.

Maintenance – Finally there is the upkeep. To clean the Plasti Dip, I use a microfiber towel and water. However, DYC makes a product called DipCoat that helps dip from minor scratches and also gets rid of that rubberish feel on the finish so it may be worthwhile buying it.
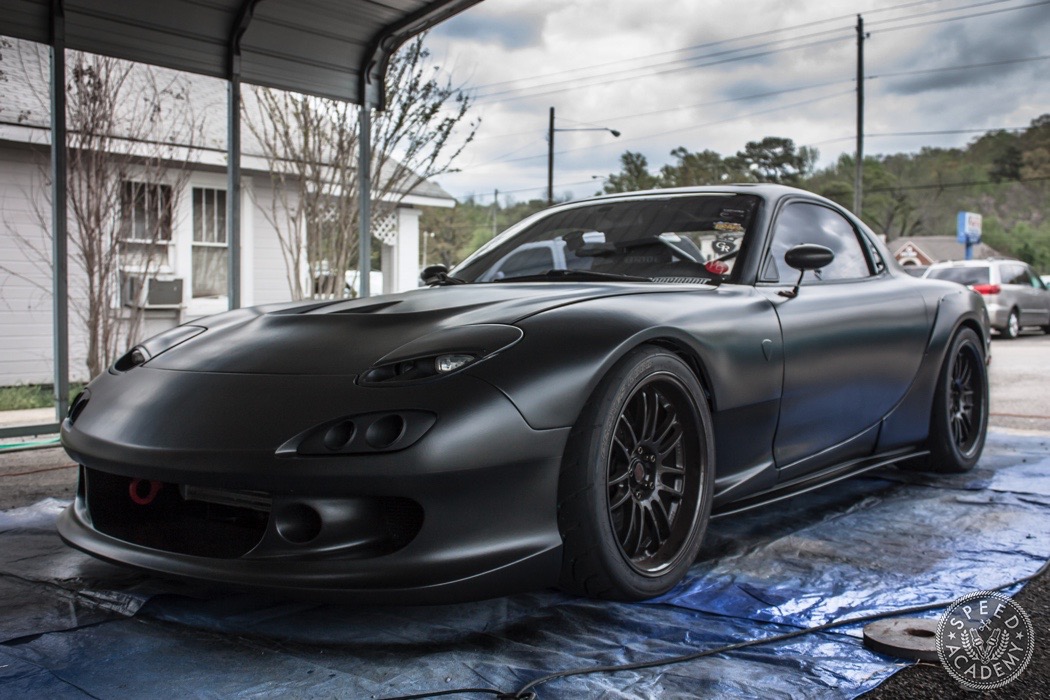
So there you have it. I hope this guide gives you the confidence and willingness you need to Plasti Dip your entire car! The cost of it can be under $500 if you do everything yourself, so it by far is the best and most affordable option for paint protection and color changing. Best of all, when you’re bored of it the Dip peels right off!
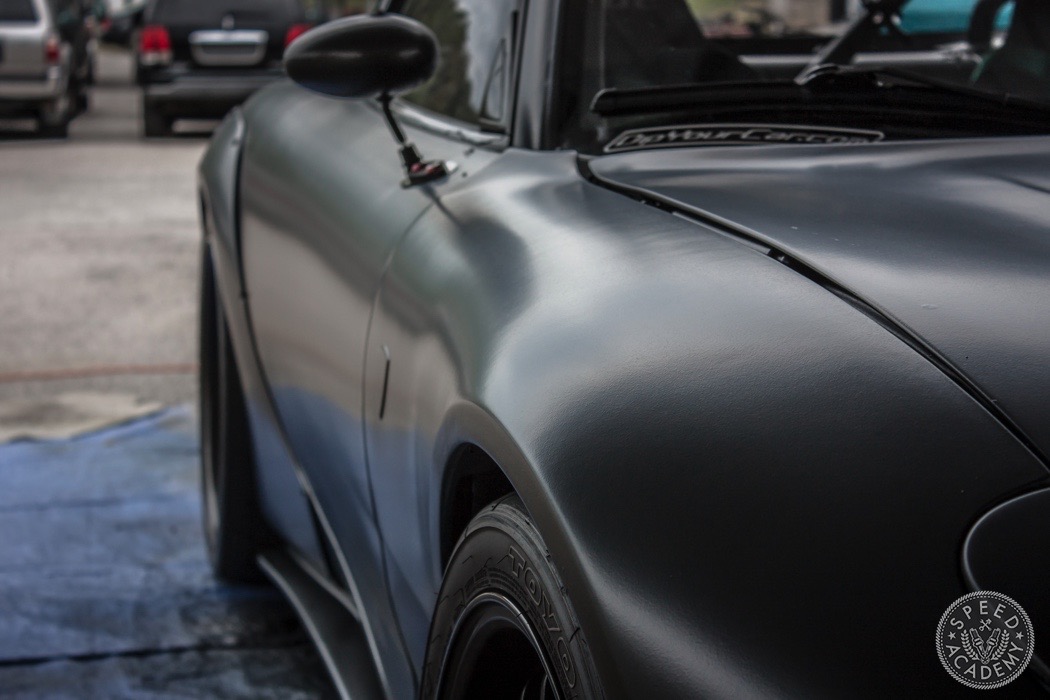
Very clean FD and appropriate vanity plate. How many coats did you have on the hood in the last photo to get it to peel that evenly? or is that vinyl?
I believe it only had 3-4 layers and on since October last year.
Hi, I wonder if you had removed the weatherstrips before dipping the car?
Most people don’t. They spray over it and either leave the dip on or peel it off if it’s not the look you’re going for.
Peter, that paint that you put on your car looks really good. How fast does that type of paint dry in order to make the car look all shiny? It seems that a paint like that would be something for me to get in order to finish my auto body repair on my car that my son accidentally crashed. http://www.autobodyhuntingtonbeachca.com
Hi! Really nice car. Can I ask which ducktail you have, looks great.
Nice tutorials and step by step instructions. My personal favorite plasti dip is metallic.
Sick whip brother!! Thank you for posting this info on line. How long did it take you to get to the point of mastery when you could easily lay down the dip with even, un-flawed coverage??
email me, i have some questions regarding heat tempature outside
This is very informative about spraying your car.