

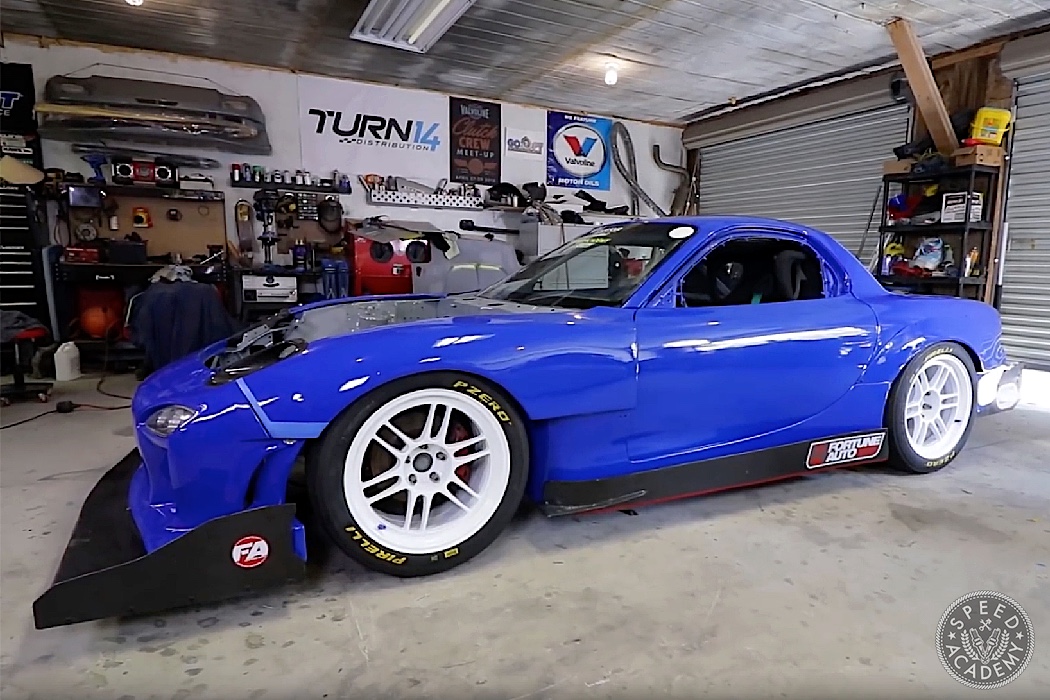
It has been a very long time since an update on the RX7 and surprisingly you guys and gals have still asking for updates on the car. I will try to show some of the work that we could not fully cover in the videos.
Every year it seems that I like to tear this thing apart and completely miss an entire season of racing and this year is no different. However, I have vowed that this is the last time I will do this to myself and make sure I am ready for a full season next year.
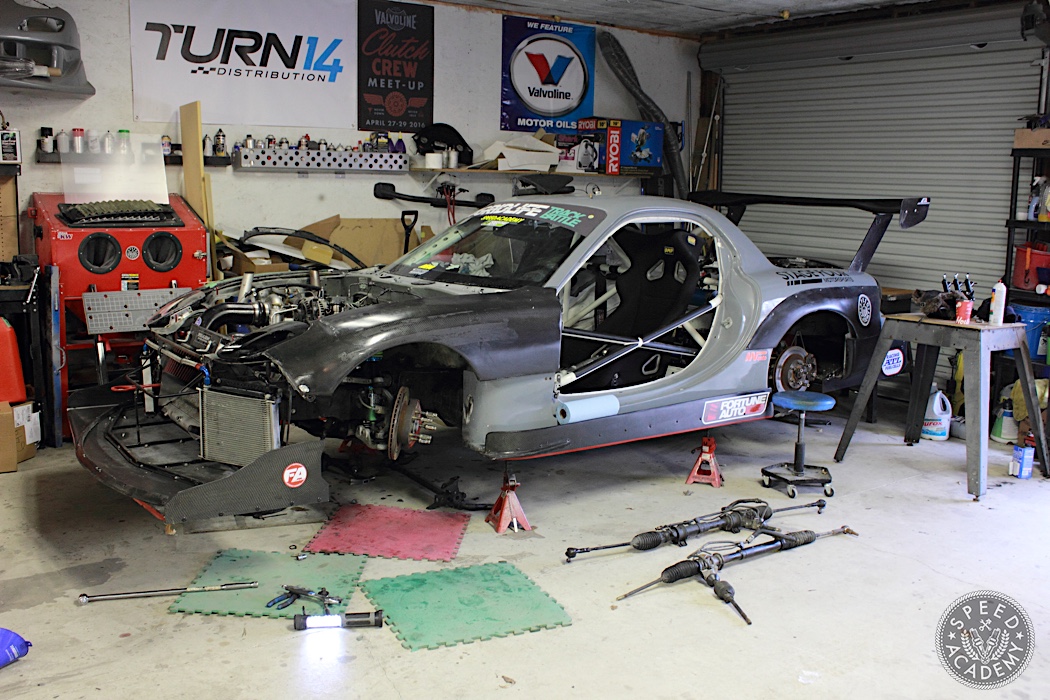
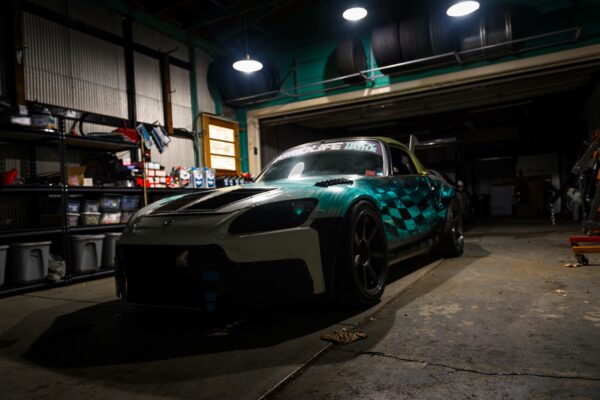
There were a few major changes that I planned to do to the car that were labour intensive. I had a new motor build underway and while waiting for that I decided to do a complete color change as well as change some aero bits on the car. I did not think I had a full plate already so I added doing a LHD (left hand drive) conversion.
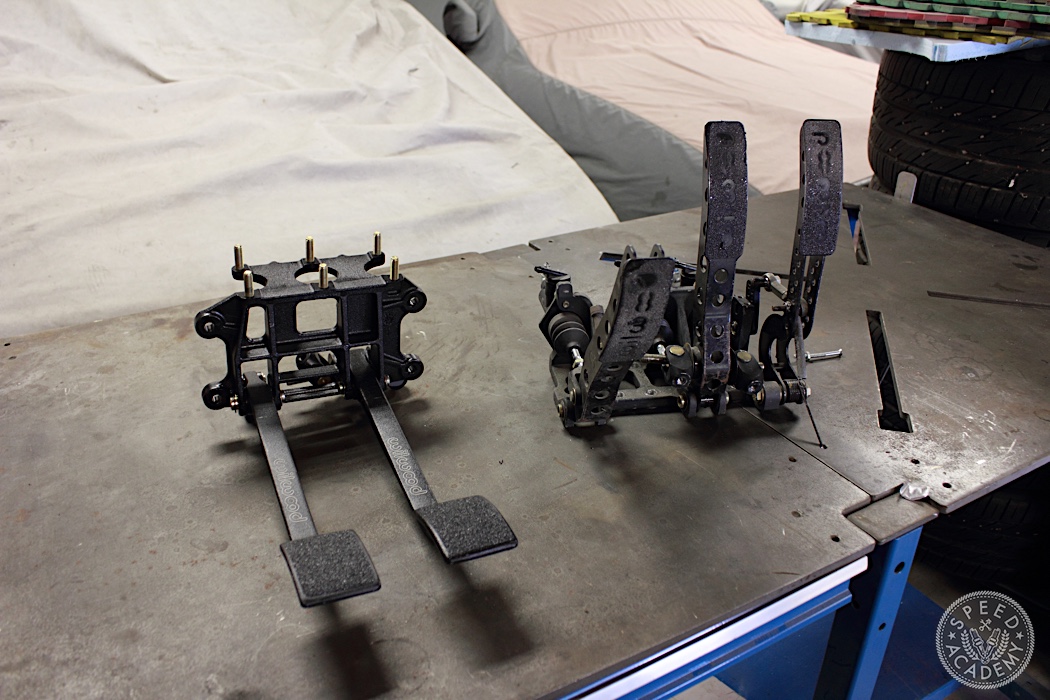
Why a LHD conversion, you ask? Why not just buy a LHD chassis from the start? Well, back then I did not feel like paying the LHD premium and I was all about the JDM bandwagon. I quite enjoyed RHD, until I decided to change to a single turbo and made more power that caused more heat in the engine bay. I was simply not comfortable sitting behind the hot downpipe in a full race suit on a hot summer track day. Sure a cool suit would have been easier but what is the fun in that? Converting to LHD also allowed me to correct the mistake of having floor mounted race pedals. Sure it was “cool race car part” but the driving ergonomics were just uncomfortable and I had to make unnatural leg movements to change gear, and heel and toe was a chore. So in the LHD process I am also converting back to the conventional overhang pedals.
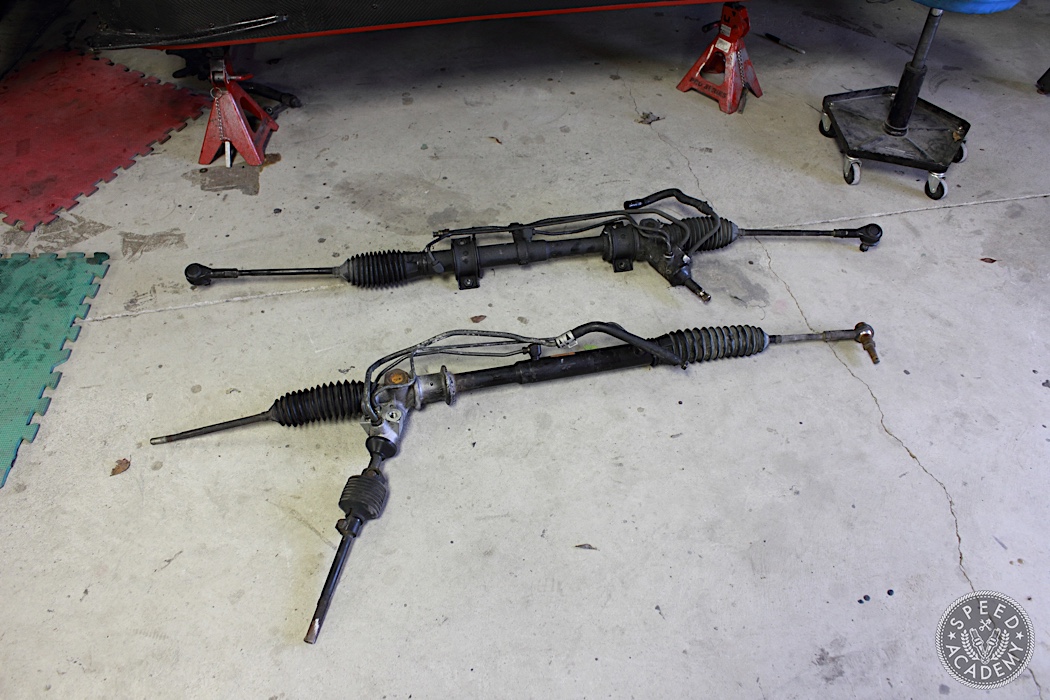
The most difficult part of the conversion was sourcing a LHD steering rack and dash. Surprisingly, I was able to find both locally. I was also able to get measurements and pictures of a LHD car for the location of the steering column hole in the fire wall.
I had to make a patch panel since I had previously routed my Accusump lines and Racepak bulkhead connector exactly where the LHD steering column has to pass thru. I made the patch panel of slightly thicker gauge steel to add more support to the firewall.
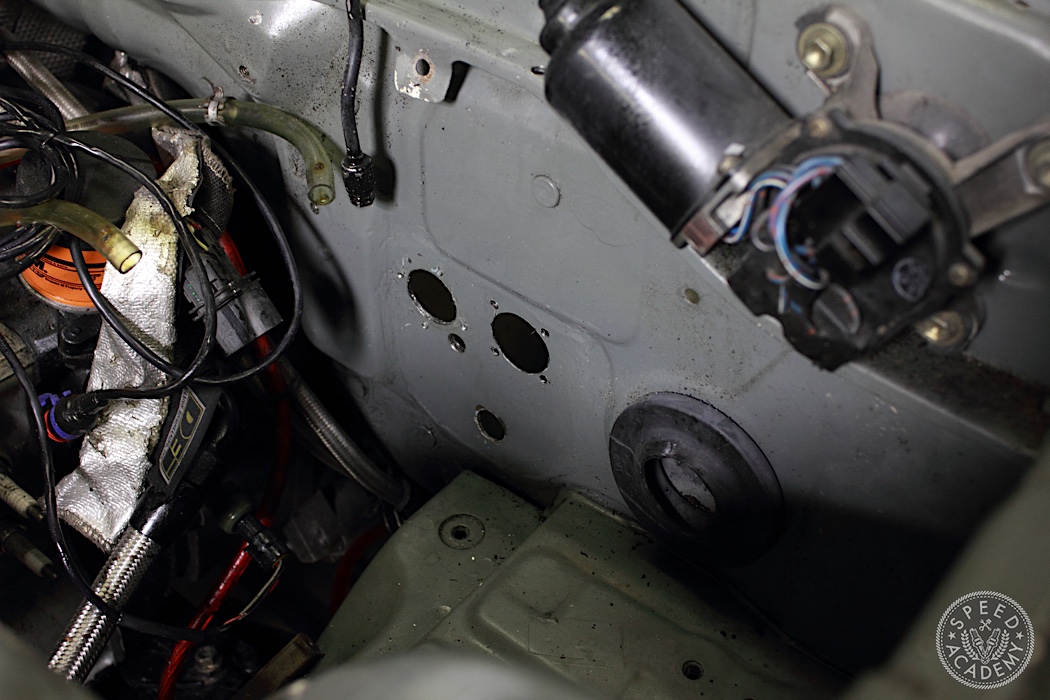
A cardboard template was made then transferred to steel sheet.

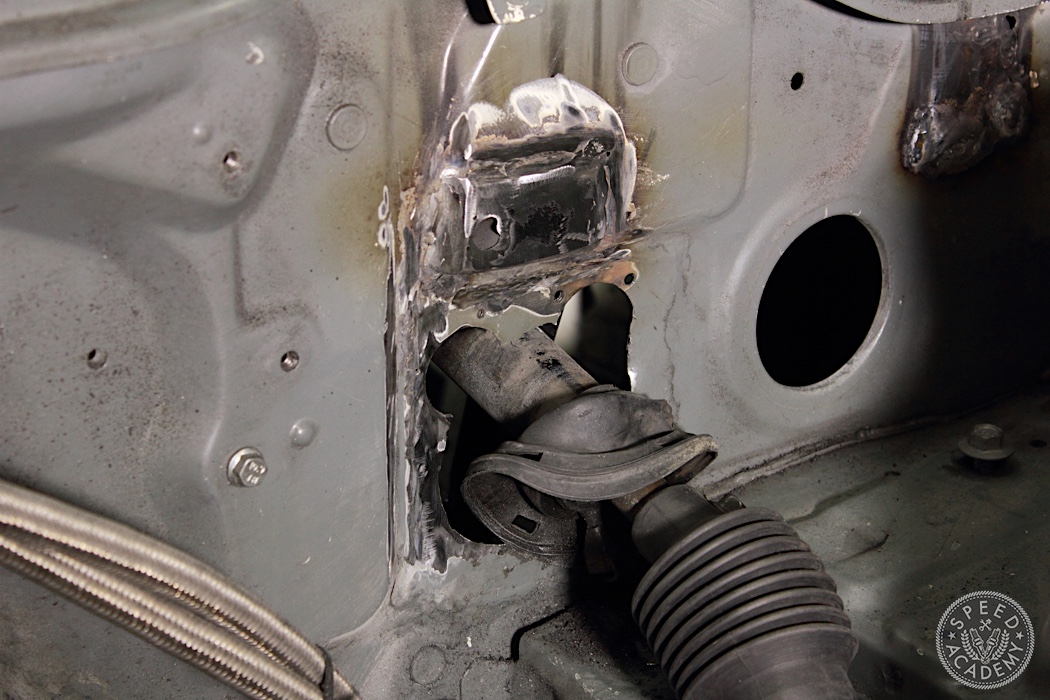
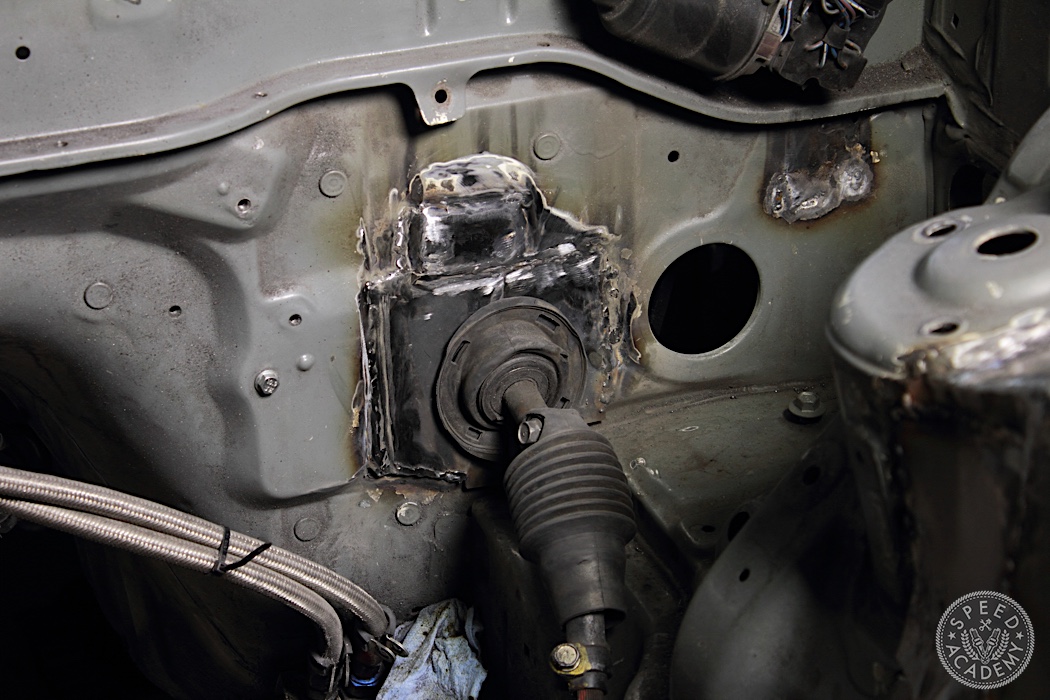
Once I was happy with the template, it was welded to the firewall. The opening to the right of the steering column is where the OEM engine harness passed thru the firewall. I made a block off plate for that as well as for the RHD steering column opening.
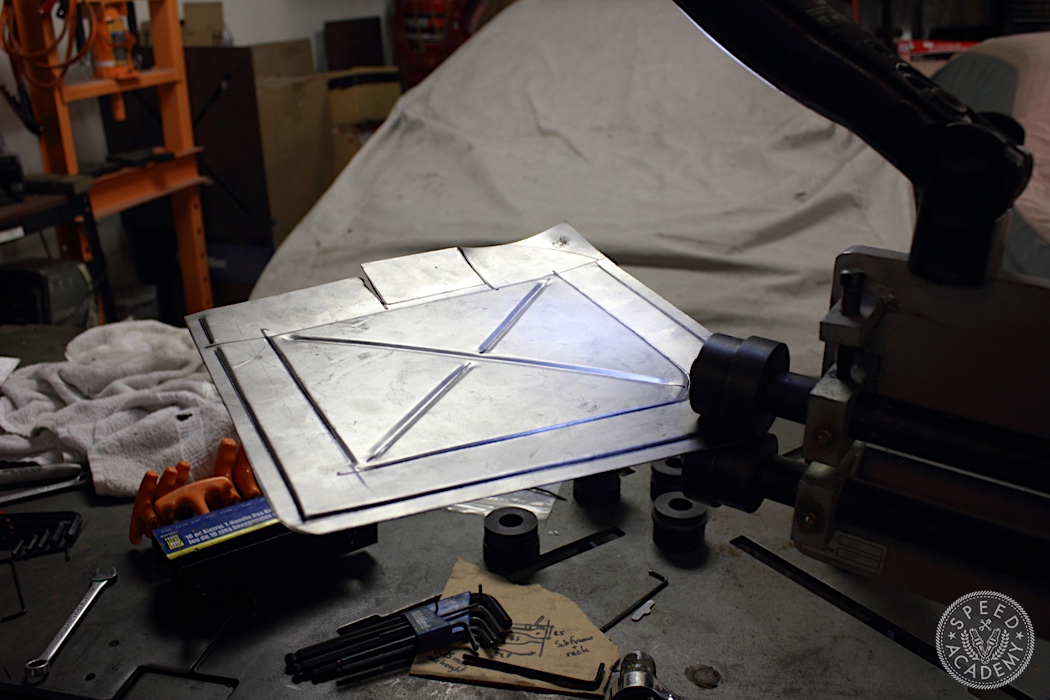
Since I was on a sheet metal work roll, I made up a patch panel for the firewall/bulkhead holes for the previously installed floor mounted pedals. Look at this mess.
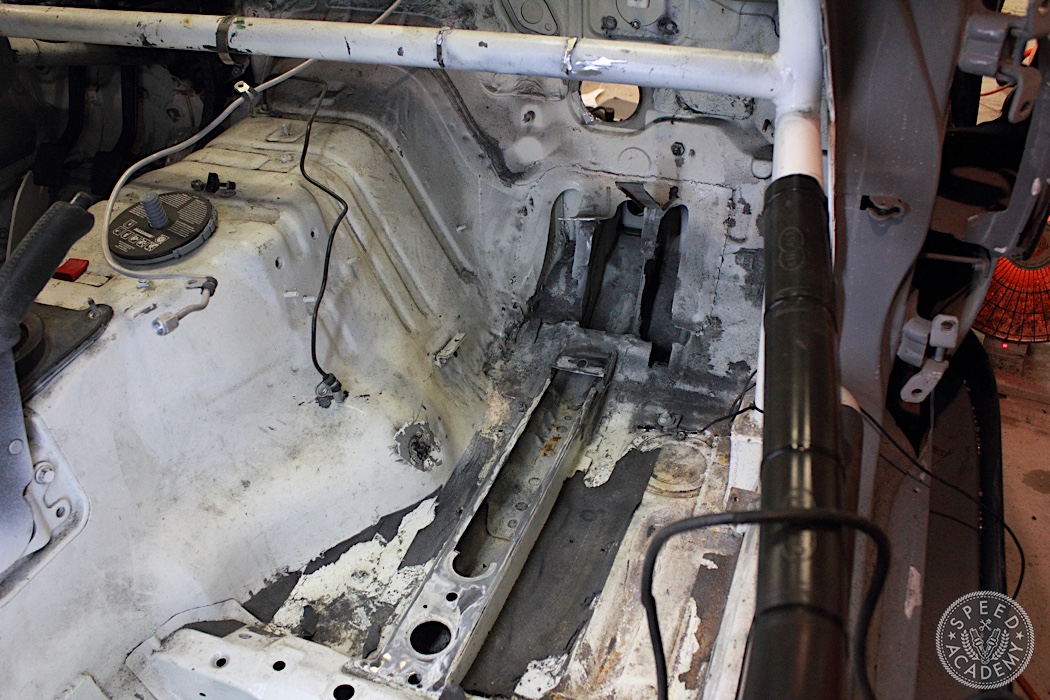
I started with sheet steel, then added some bead rolling for some strength and dress up . It was welded and seam sealed around its perimeter. Pictures of final product towards the end.
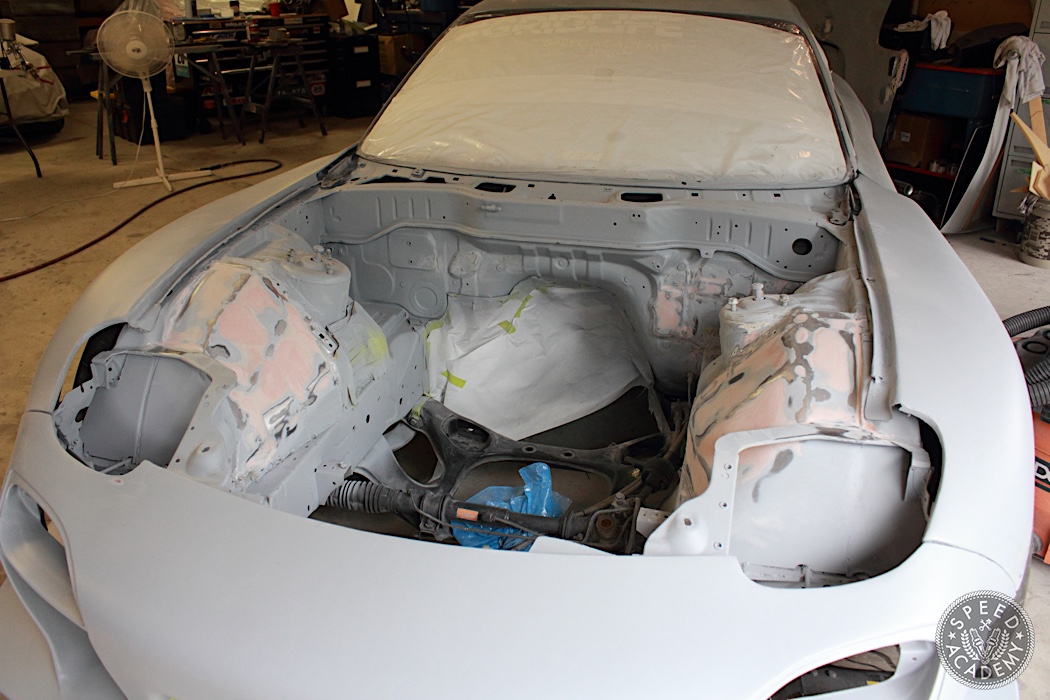
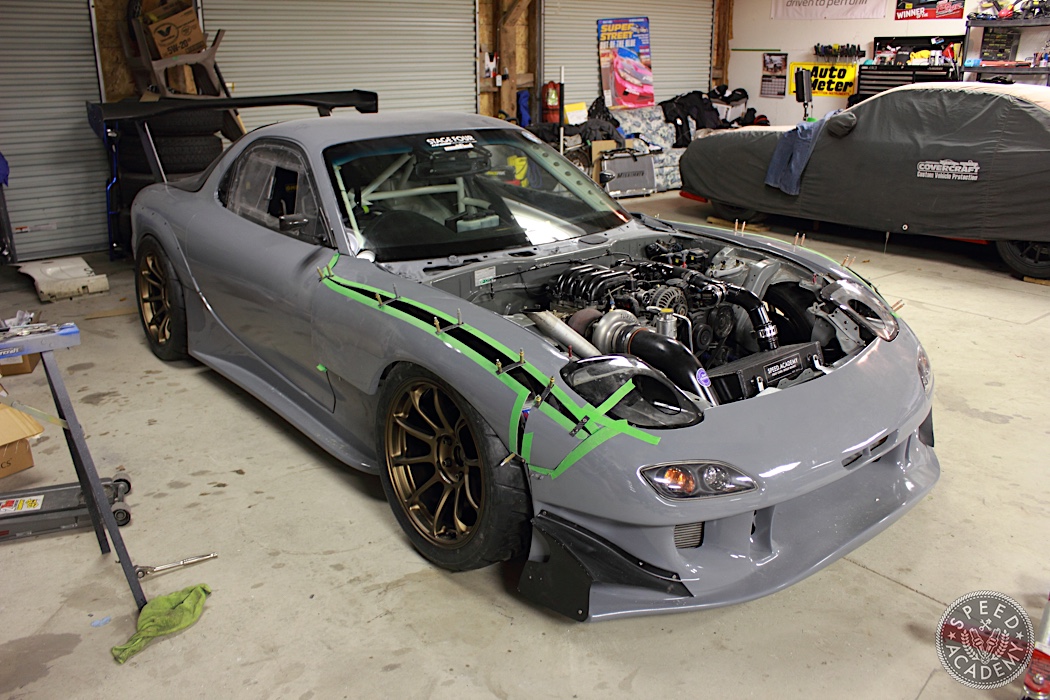
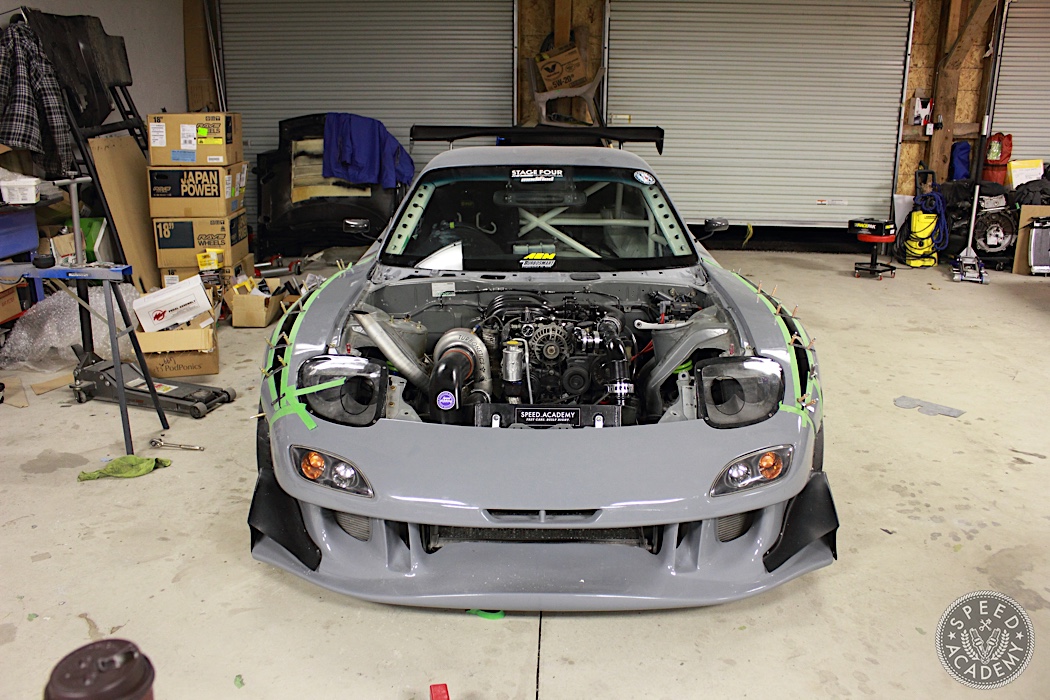
The FD RX7 came with plastic inner fender liners that covered large front wheel well gaps. Since I had previously removed these along with their mounting areas to make room for 315 wide tires, I had to find a way to close these gaping holes up. I wish I had taken pictures of the process because making metal wheel tubs was tedious. I had initially wanted to do the usual “drifter” wheel tubs but found that they did not flow well with the engine bay and took up a lot of needed space. I ended up with these steel wheel tubs that flowed well with the engine bay but still saved me some space I could mount accessories to. Here is the only picture I have of the engine bay getting some filler and primer before paint.
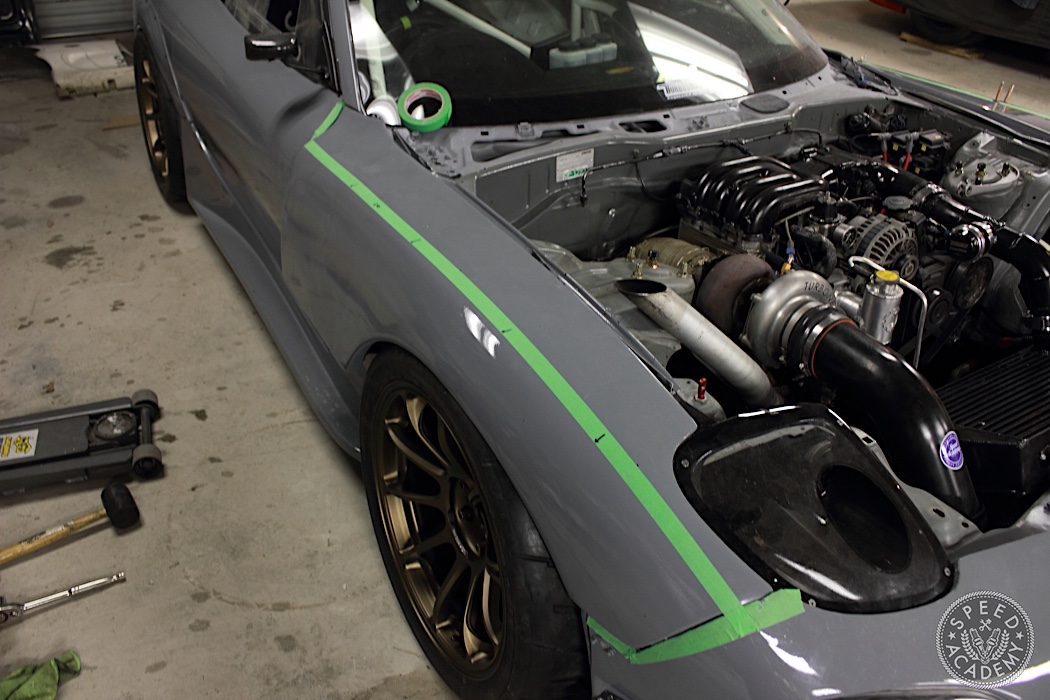
The worst part of the color change was the labor intensive body work. Prior to even this year, I had spent numerous hours widening the already wide front and rear fenders to fit 315/35R18 Toyo R888s all around. Might as well list the wheel specs here also, as I have received numerous requests for them: Volk Racing ZE40 18 x 11 +15 offset all around. A lot of you have asked how I went about widening the flares, so here are some pictures of the fender widening process.
With the wheels mounted, I had the suspension at the lowest setting so I could make sure that there was enough room when the suspension compressed. I put tape down for my cut line, making sure it would follow the original lines of the fender after it was widened.
Once happy with the cut line, nothing left to do but to start cutting.
I then made spacer strips with some carbon fiber sheets I had laying around after I installed a vent onto my CF hood. I secured it to each half of the fender with Cleco pins.
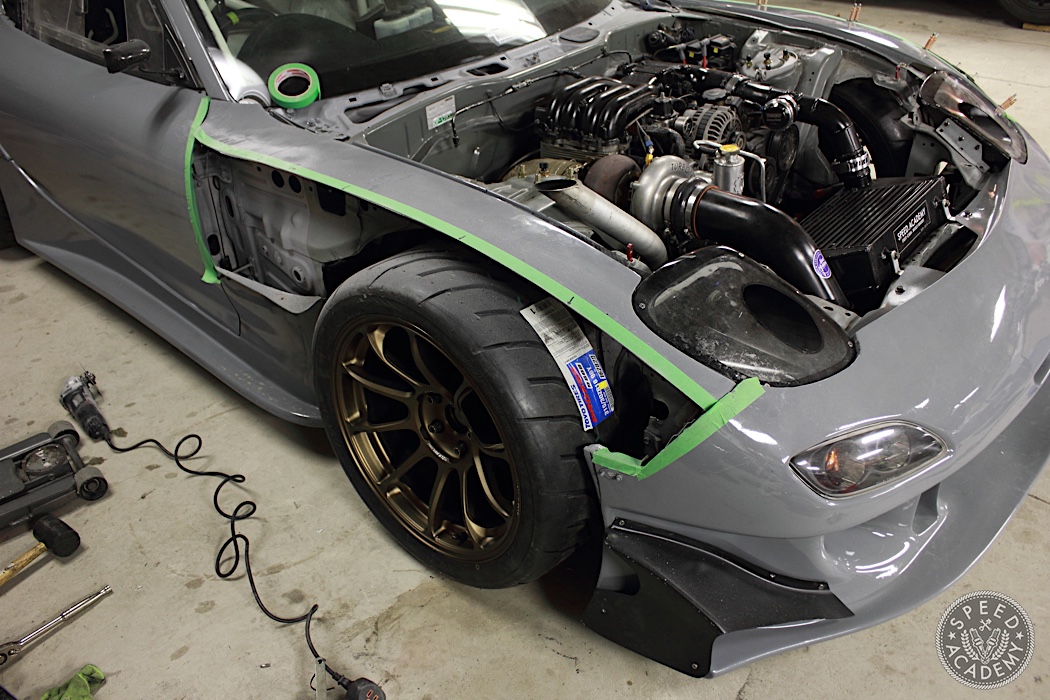
With a front angle, you can see the extra girth gained.
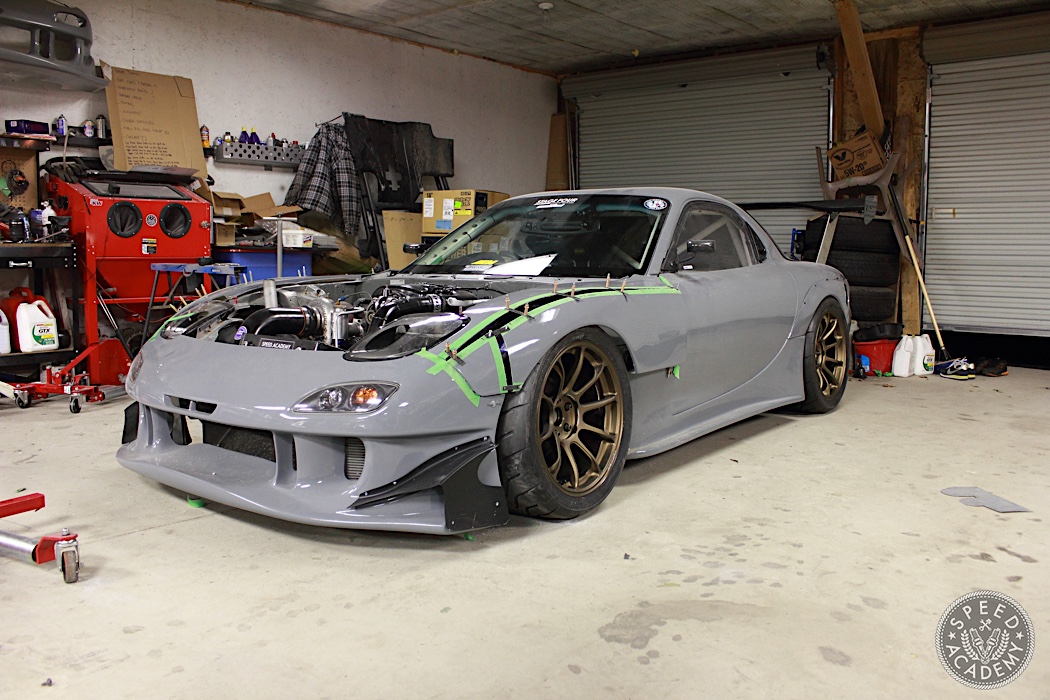
I should have kept the car this color. Once happy with the spacing, I filled in the gaps with fiberglass and sanded them flush with the existing fender halves and smoothed and blended with body filler.
One last picture since I should have really stopped here and kept it Gray.
It’s my favorite Speed Academy project car (because Rotary Brappiness), thanks for the update!
About the engine… what are the power goals?
I feel like this is every track guys dream set up. Stripped, cage, big bower, high rpm, crazy coilovers, wide body, fuel cell, fat rubber, and real aero. Love it!
What body kit was it to start with?
Awesome project! Super extended front bumper looks cool.