Motorsport racing is a dangerous sport with a lot of variables beyond our control. Driver safety is paramount and as much emphasis (if not more) should be placed on it as the mechanical performance of the car. One of the worst scenarios a driver can experience is a fire, especially if the car is out of view of the marshals. Advancements in racing suits give the driver precious seconds to escape to safety while onboard fire suppression are a welcomed ally as well, not just protecting the driver, but potentially saving the car.
In our last installment of our Rotary race project we saw the completion of a full roll cage. The structural rigidity gave me peace of mind in the event of a roll over, until my brain started thinking about even worse scenarios in the event of roll over. What if the fuel tank was damaged and was leaking into the cabin? It would be my nightmare for sure, third degree burns will definitely not help this already questionable mug. Safe fuel containment was in order in the form of a fuel cell.
After a few hours of research, one company kept topping the search results; Aero Tech Laboratories (ATL). ATL was started in 1970 as a design and testing facility for composite materials before they started to design and produce products from their own elastomer composites. ATL expanded their reach to motorsports, Industrial, and military applications for fluid storage and containment.
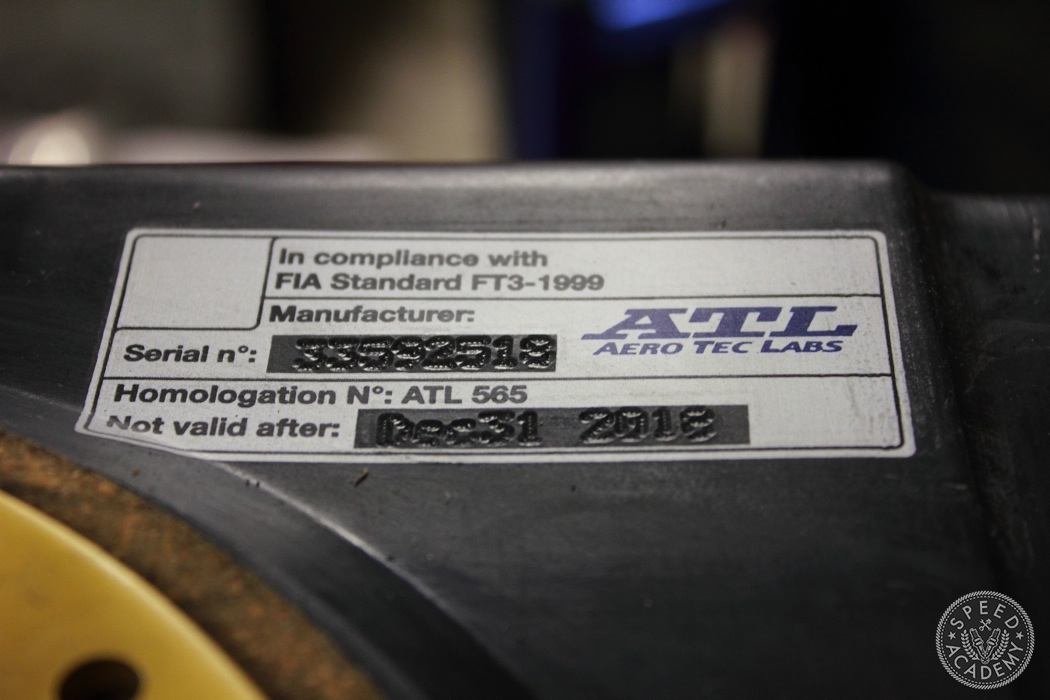
ATL is the largest producer of safety fuel cells for race cars in almost all disciplines. Their safety fuel cells have met or exceeded strict crash resistance specifications from various sanctioning bodies including FIA SPEC FT3, FIA SPEC FT3.5, FIA SPEC FT5, USAC-1000, NASCAR 2000, CRFS-102 and SFI 32.1. Another great attribute is that ATL products are all made in the USA.
After a lengthy discussion with Jeff Hoetzler of ATL we concluded that the SP108 would best suit our needs. Time attack sessions are relatively short. Therefore, we did not need the extra weight of a large capacity fuel cell. Hence why the SP108 – 8 gallon capacity fuel cell is ideal.
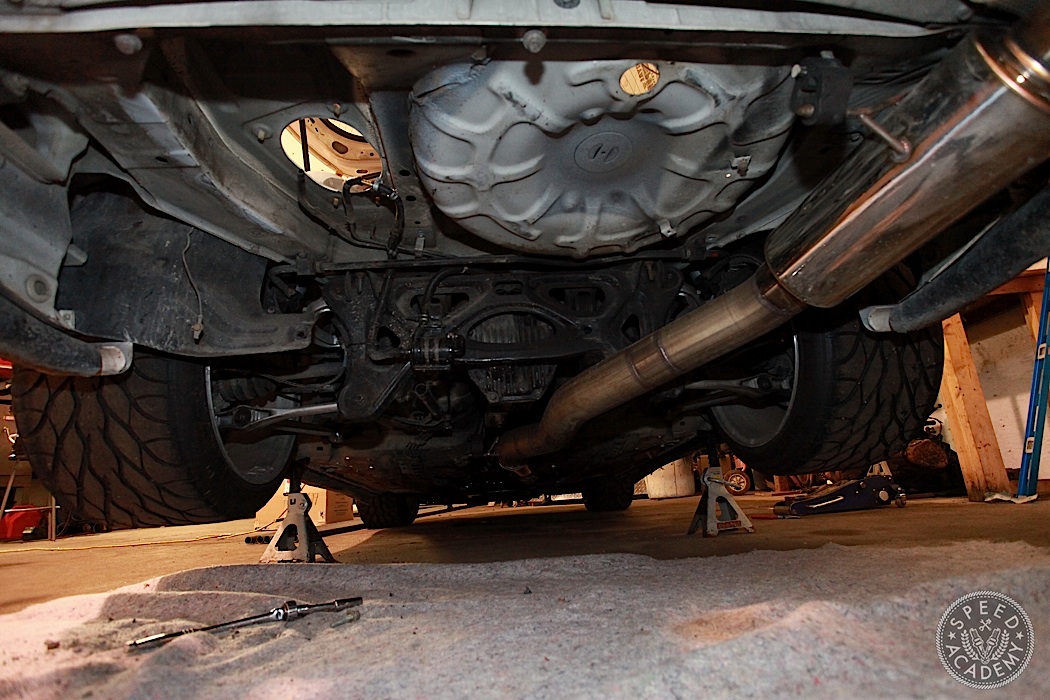
The OE tank was drained of its contents to make handling easier while I was laying under the car. It goes without saying that eye/face protection will make this a more pleasant exercise. With the fuel lines disconnected and capped, the fuel fill neck was disconnected from the car followed by the removal of the tank straps. The fuel tank was then lowered out of the car.
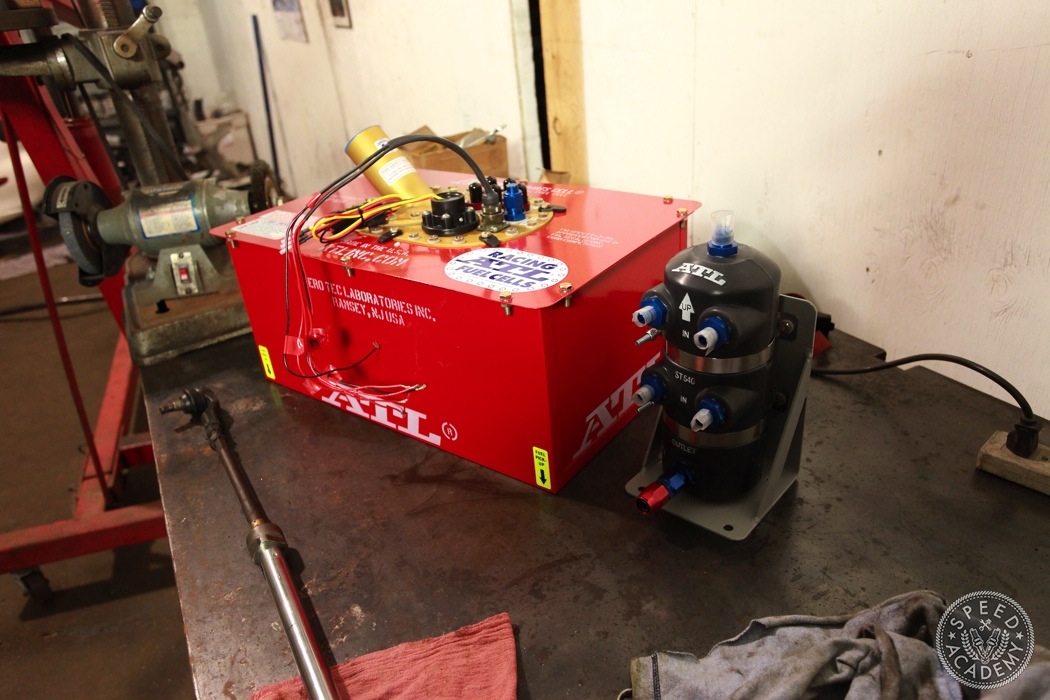
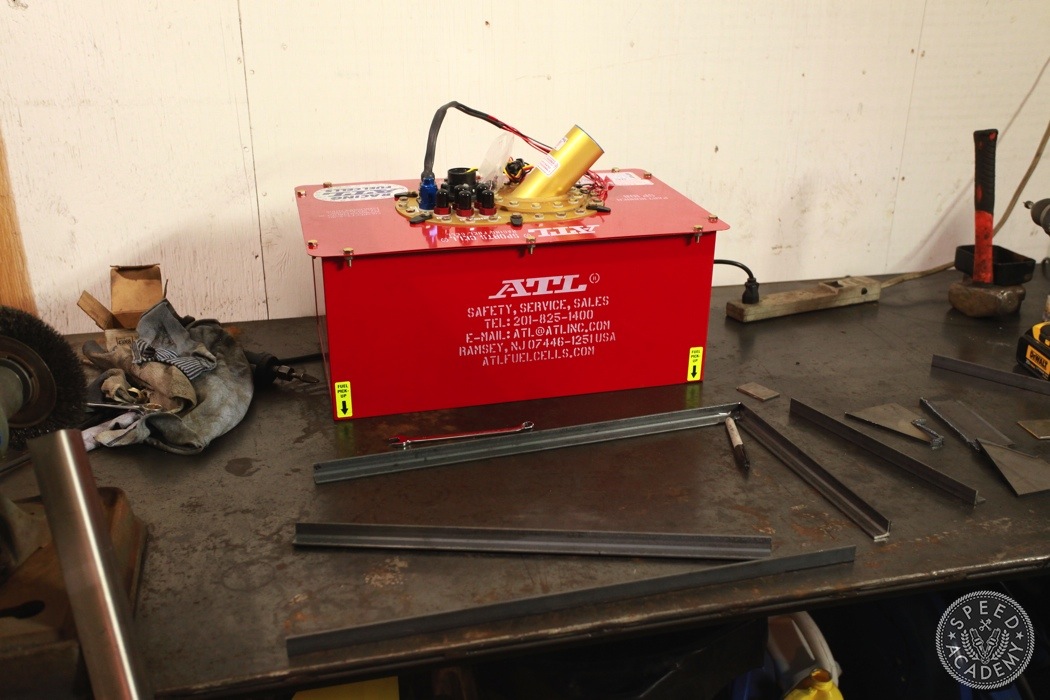
Excitement abounds whenever car parts arrive and the rather large box from ATL made the start of my day that much sweeter. Even sweeter still was the fact that ATL surprised me with their new Swirl Pot set up! This ticked off another item on my list; fuel starvation.
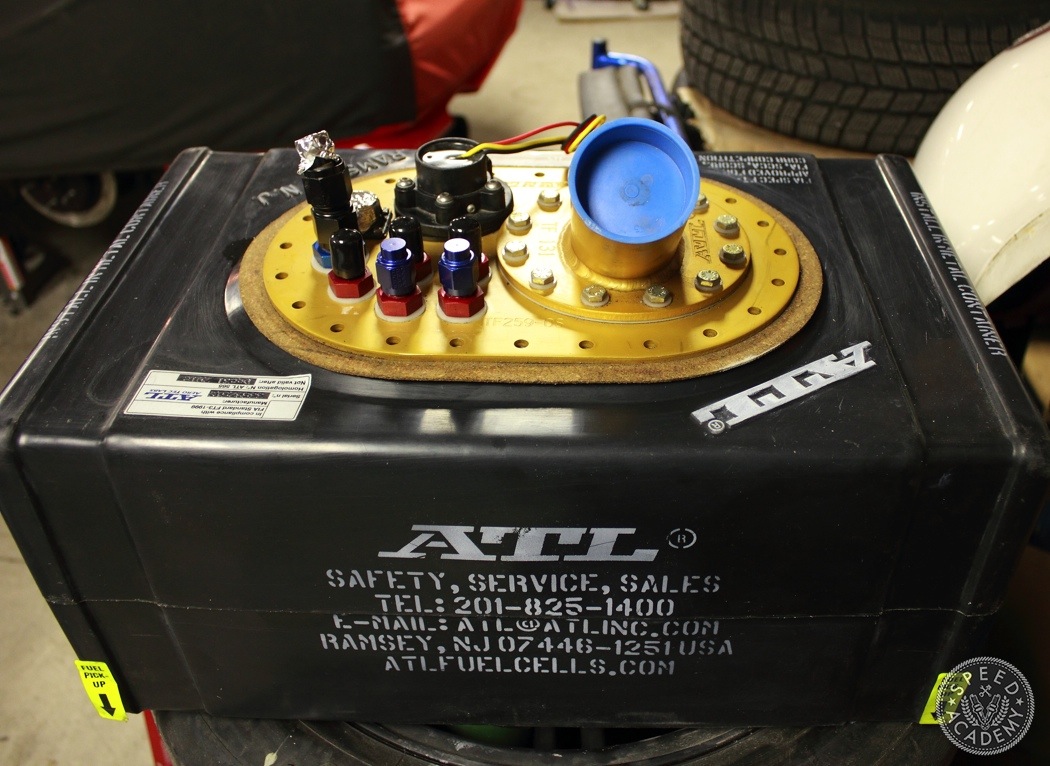
The ATL fuel cell has two main components, the metal can and inner rubber bladder. The metal can and top cover are constructed from 20 gauge steel and bolted together with grade 8 bolts. The can is powder coated in bright red while the fuel bladder is molded seamlessly and is compatible with race gas, ethanol, methanol and E85.
The rubber bladder will deform instead of puncturing if the outer metal shell is damaged, to keep fuel where it belongs. The bladder contains SF103 foam baffling to decrease fuel slosh and explosion suppression. The foam is also compatible with various race fuels. That’s where the standard issue fuel cell ends and custom specs begin.
My FD will experience high Gs, in quick succession at times so we knew fuel starvation was almost certain. To that end, ATL fitted our cell with four fuel lift pumps. Yes, four lift fuel pumps in each corner of the cell. An overkill set-up? Probably, but a welcomed one.
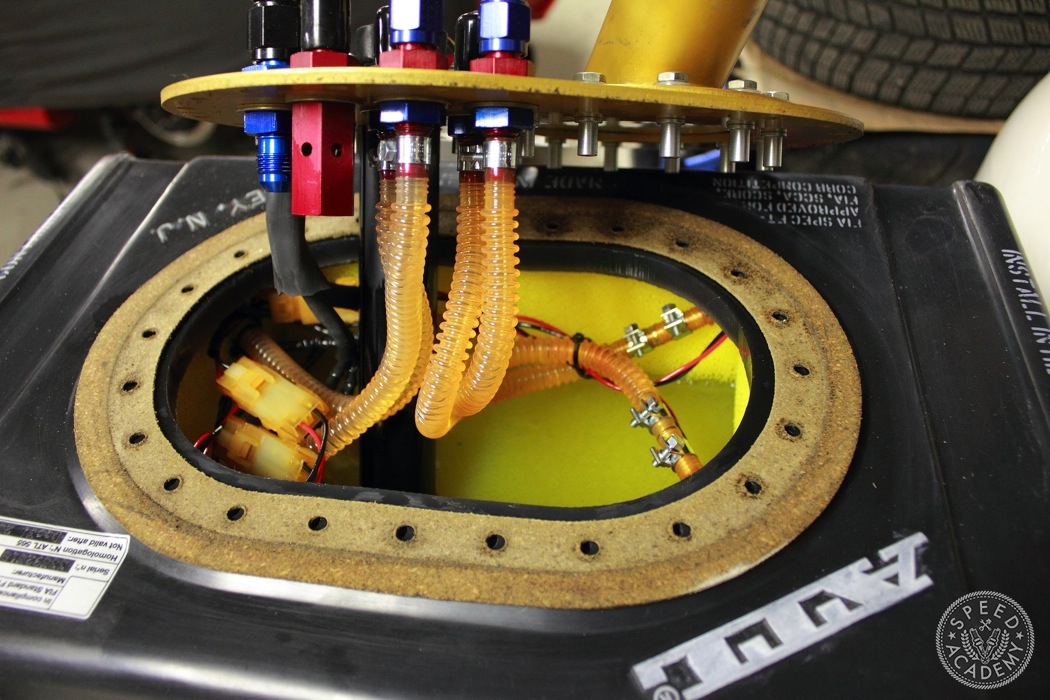
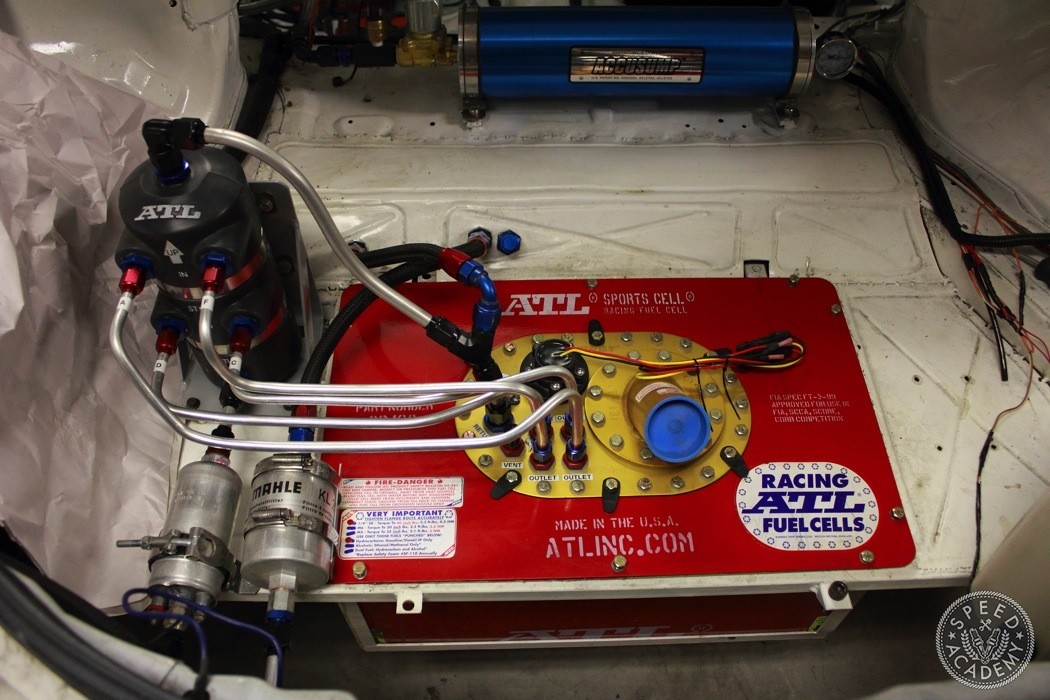
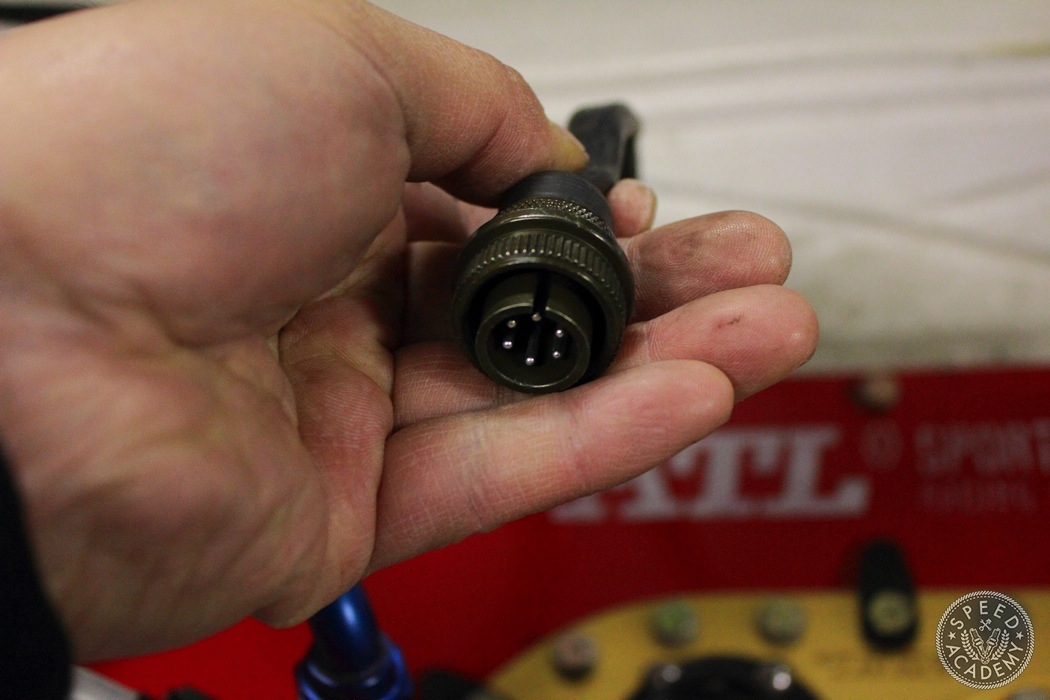
The top fill plate is an aluminum piece, we had four -6AN feed and vent outlets and -8AN return inlet. The wiring for the four lift pumps was connected to the top plate using a mil-spec connection. A level sending unit was also installed to keep tabs on fuel level . The plate also features a flap-type roll over valve to close the fill tube in the event of a roll over.
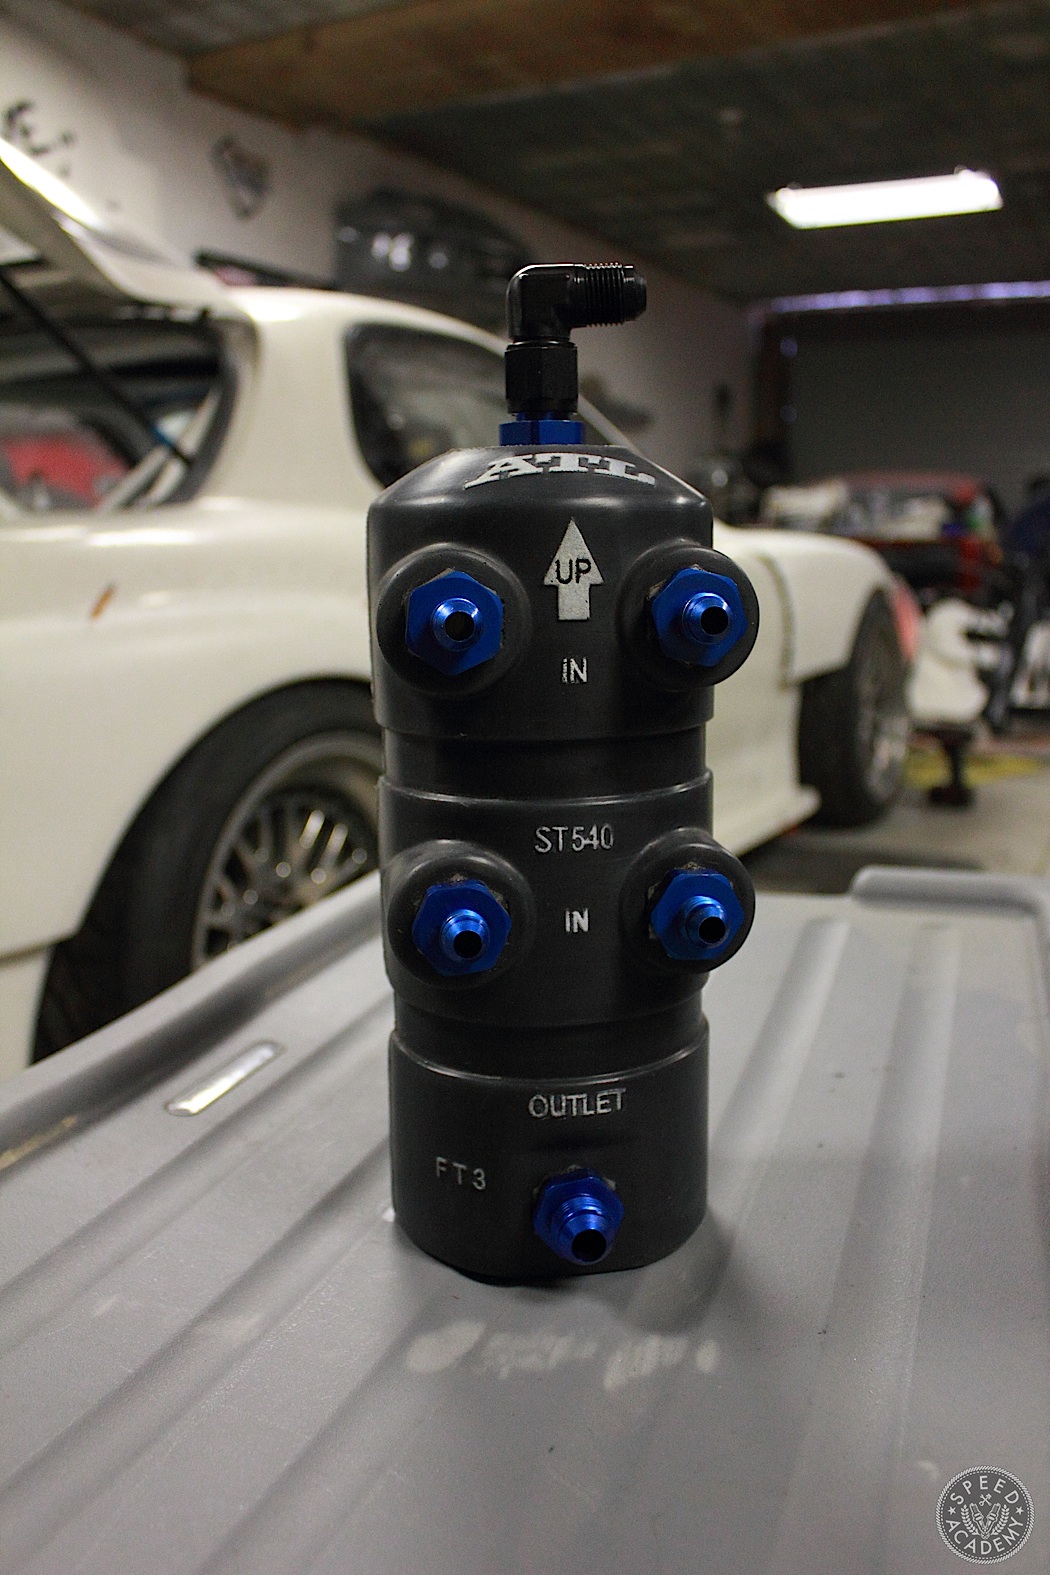
The swirl pot is a relatively new product from ATL. Hard molded from the same rubber as their fuel cell bladders, they are able to withstand extreme vibrations and heat. The swirl pot has a 1.5L capacity (0.4gallon) and features four -6AN inlets and -8AN feed and return ports. You can request various fitting configurations to suit your needs. The mounting bracket and quick release T-style clamps made installation and indexing of the swirl pot simple. The swirl pot also meets FIA FT3 standards.
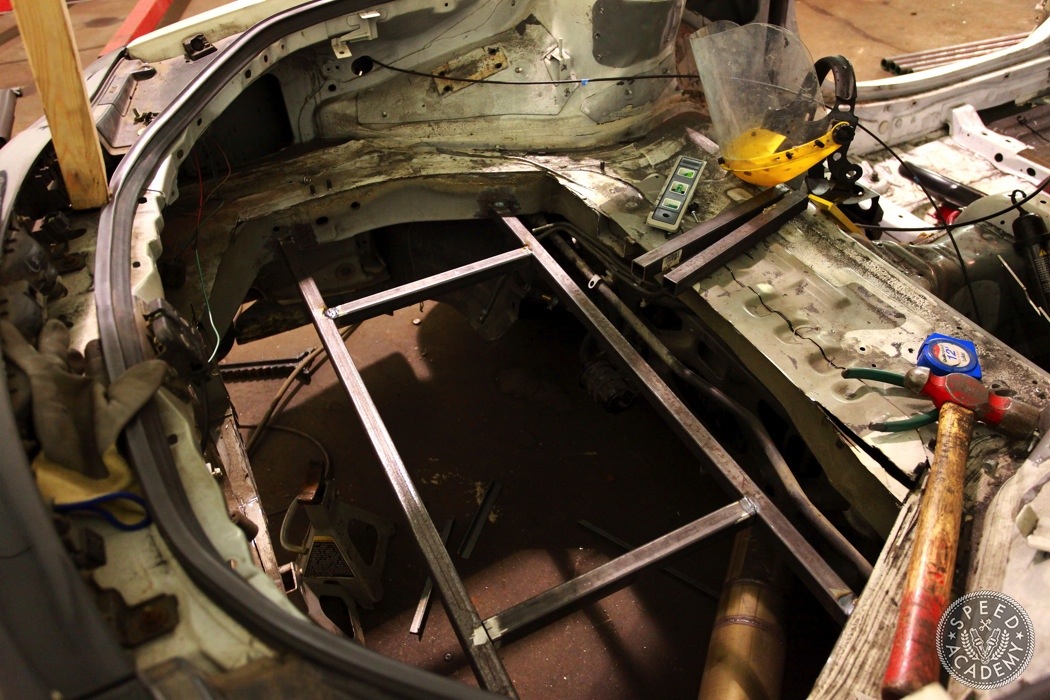
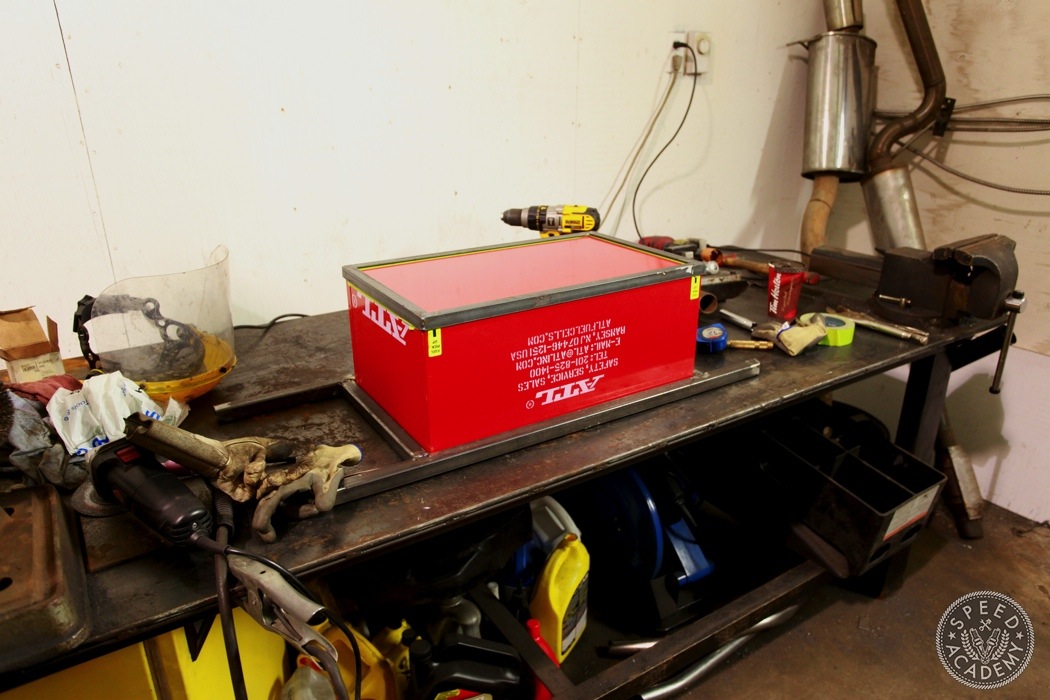
For installation, I needed to plan the layout of the rear trunk floor. I wanted the fuel cell to be mounted centrally and as low as possible in the chassis to maintain balance. The rear floor was cut out just aft of the rear differential sub-frame. The location of the fuel cell dictated the rear mounts. I temporarily tacked on 1′ x 1′ square steel tube to the rear chassis frame. A new floor would be fabricated over the cradle once completed. Consider your racing sanctioning body when planning your fuel cell mounting.
The cradle started with the floor section. 1′ x 1′ steel angle stock that was cut to length and ends angled for a neat frame joints. They were then tacked in place.
I removed the fuel cell chassis mount to make welding the basket easier. Welding on the table sure beats doing it on your back.

Another pair of square tubes completed the top section of the basket. The folded flange of the fuel cell can would rest on top of this section. Holes were drilled to allow the flange to stay flat when the top plate was bolted to the bottom can.
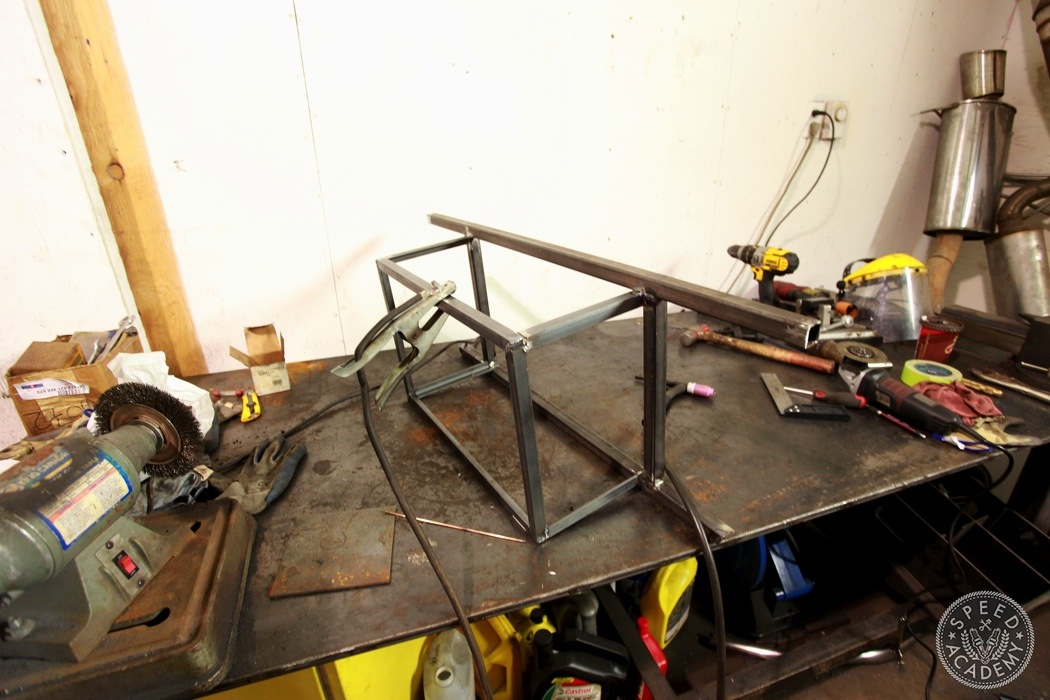
With everything in place and finalized, I completely tig welding the basket. The rear sub frame supports were mig welded to complete the rear fuel cell mounting. Afterwards, some paint made everything look like it all belonged there.
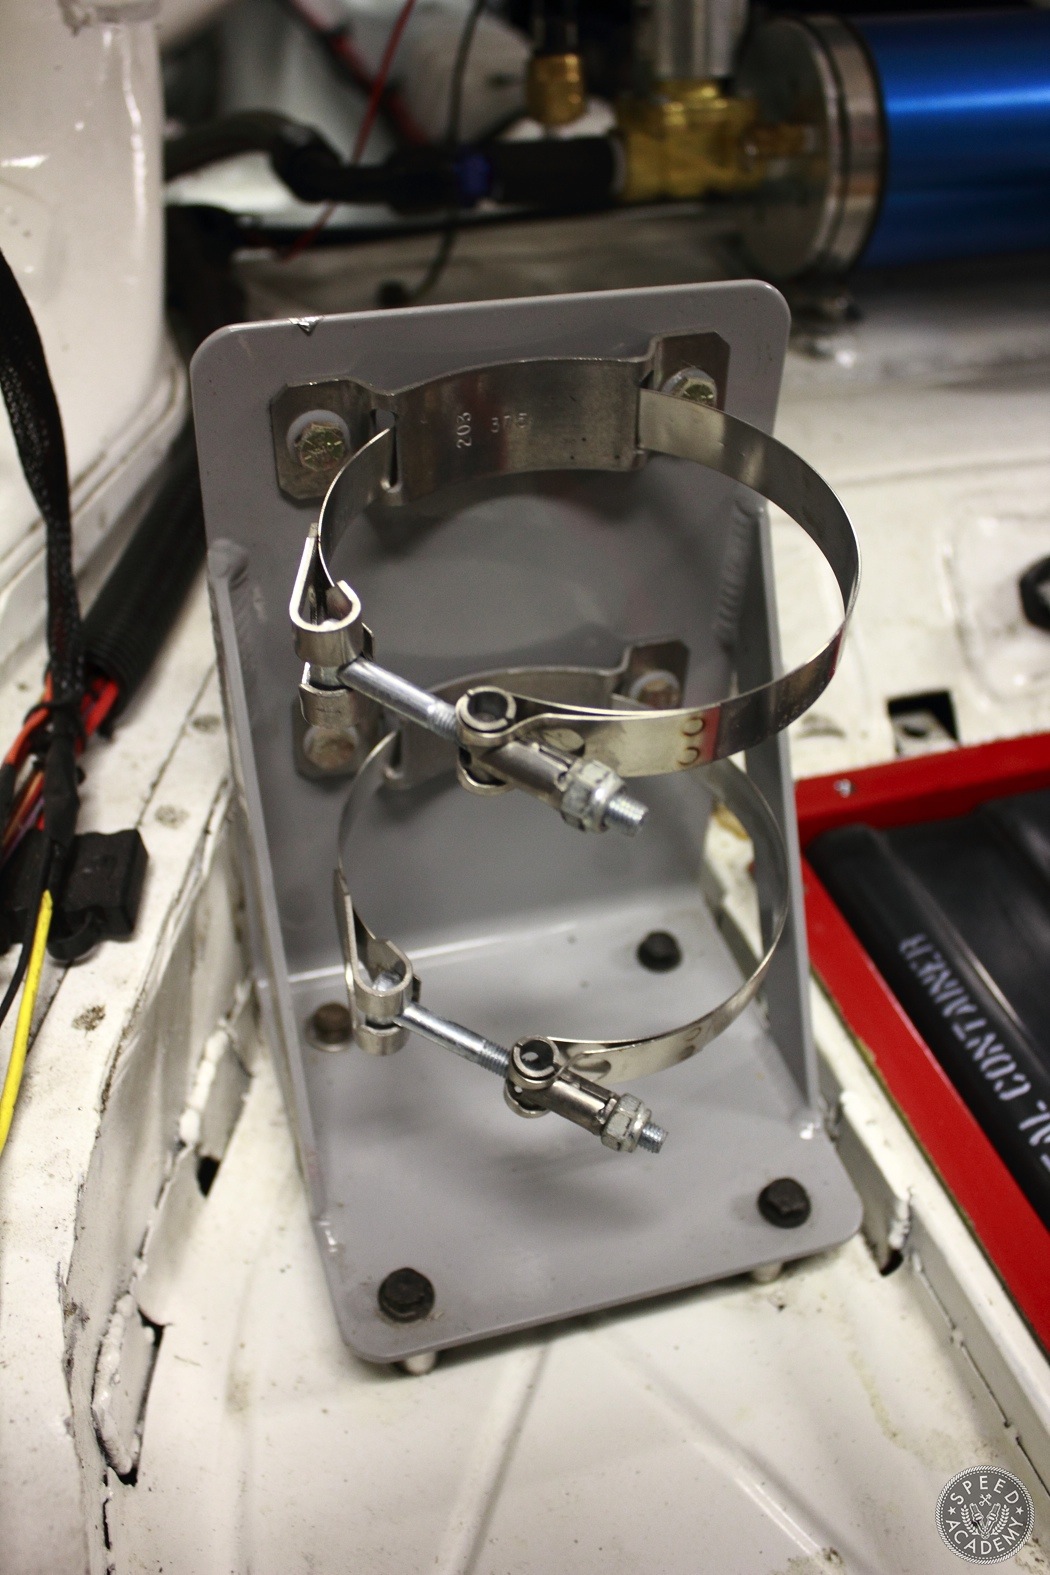
With the paint dry, plumbing the fuel system was next. My first step was to mount the swirl pot using the mounting bracket supplied. I went the extra mile and mounted them with rubber isolators to further dampen vibrations.
With the swirl pot mounted, the external fuel feed pump was next. I chose the motorsport proven Bosch 044 fuel pump. The Bosch 044 is capable of providing 300 LPH at 72psi that can support up to 600+ hp. The car had previously dynoed at 485whp so we have a safe margin of HP vs. fuel support. Only other thing I can add is to make sure that you get the 044 from a reputable store/shop. Unfortunately, there are a lot of counterfeit versions floating around. The fuel pump was installed using a rubber isolated mounting bracket.
To plumb the system you can choose AN hose and/or tubing. I chose aluminum tubing that was bent and flared with a 37 degree flare tool and connected to the swirl pot with -8 AN fittings. The usual 45-degree flare tool will not work with AN-fittings, so don’t even try. Make sure the flares are smooth with no burrs that can damage the seat of the male AN fitting.
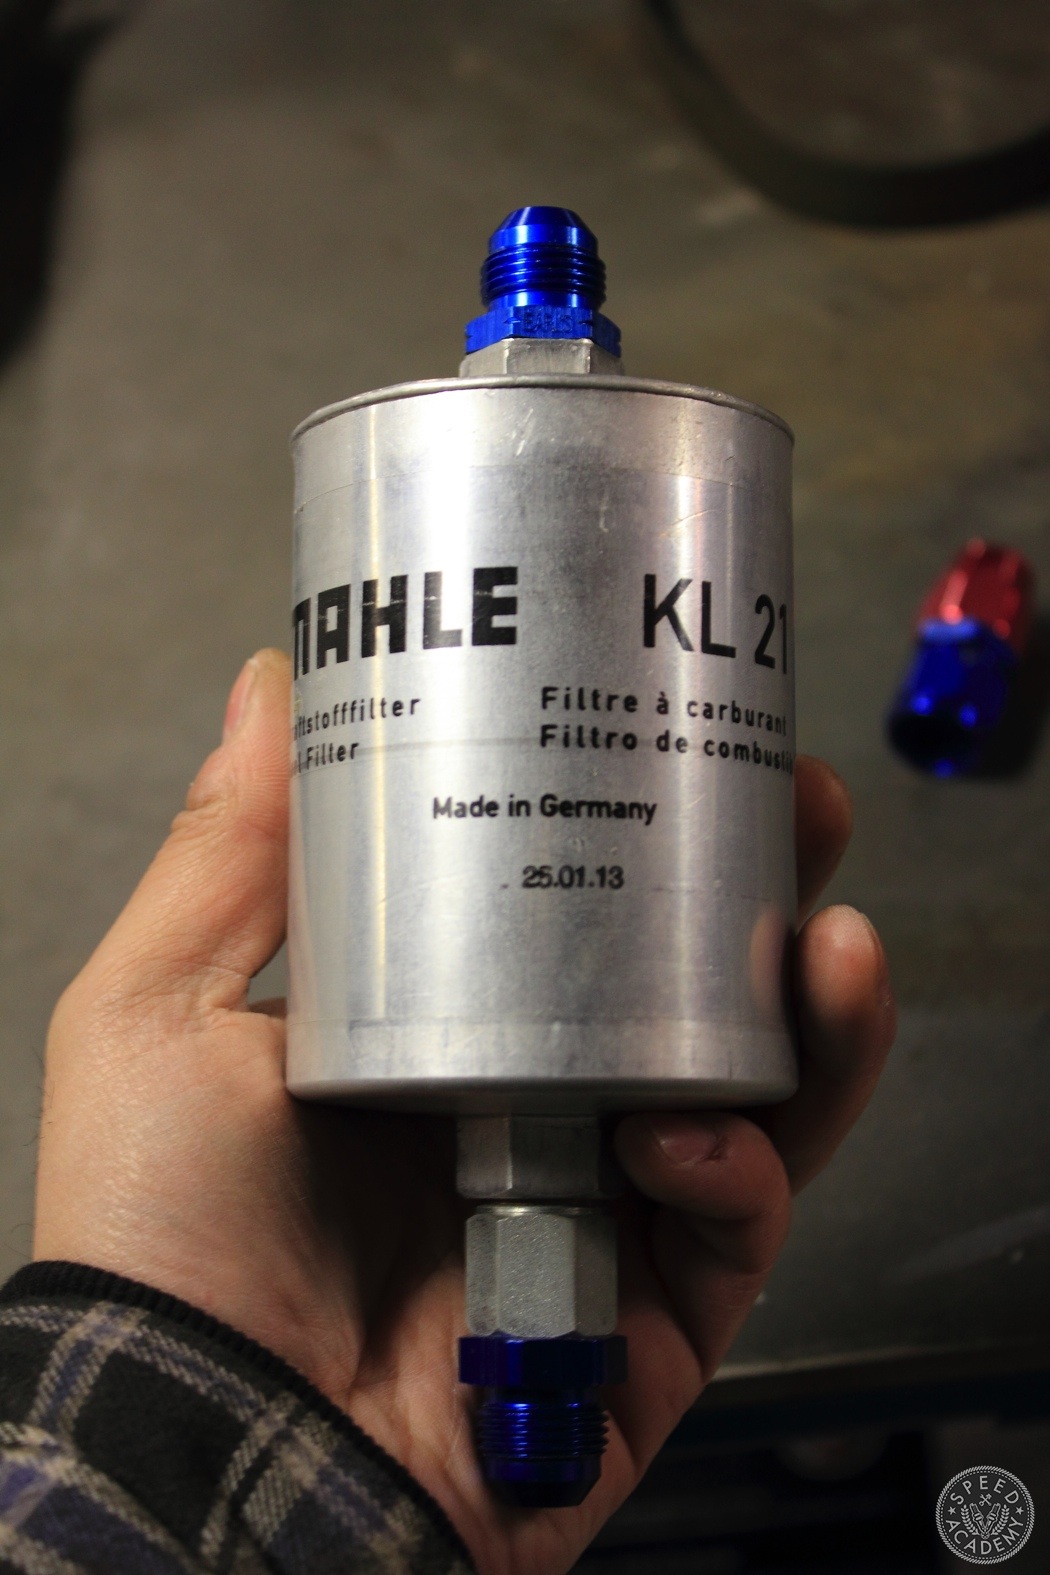
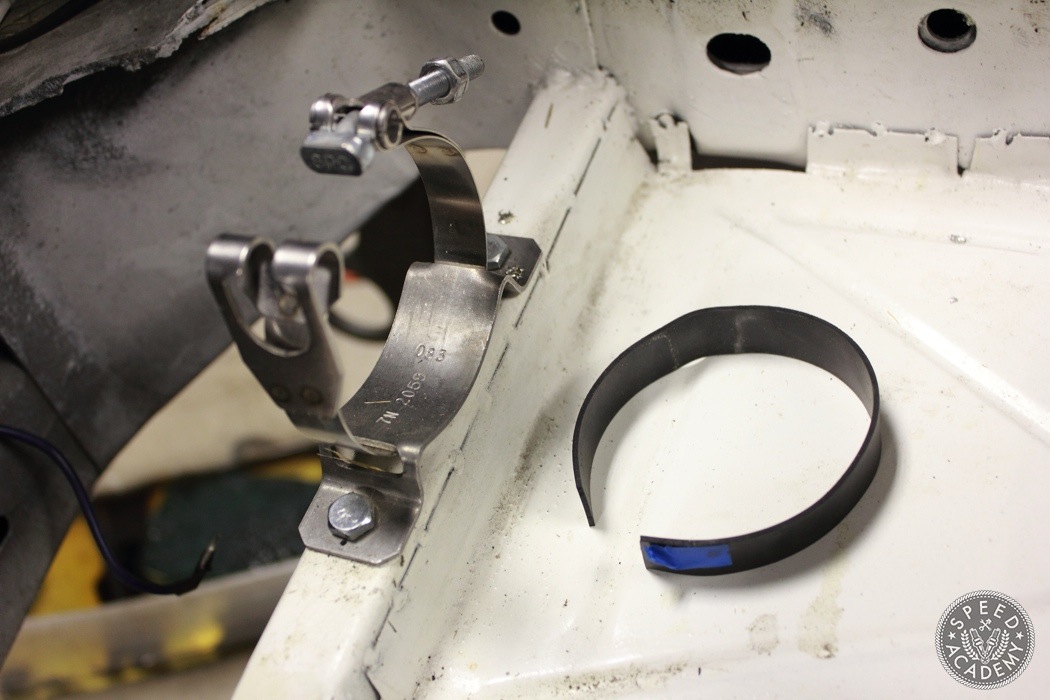
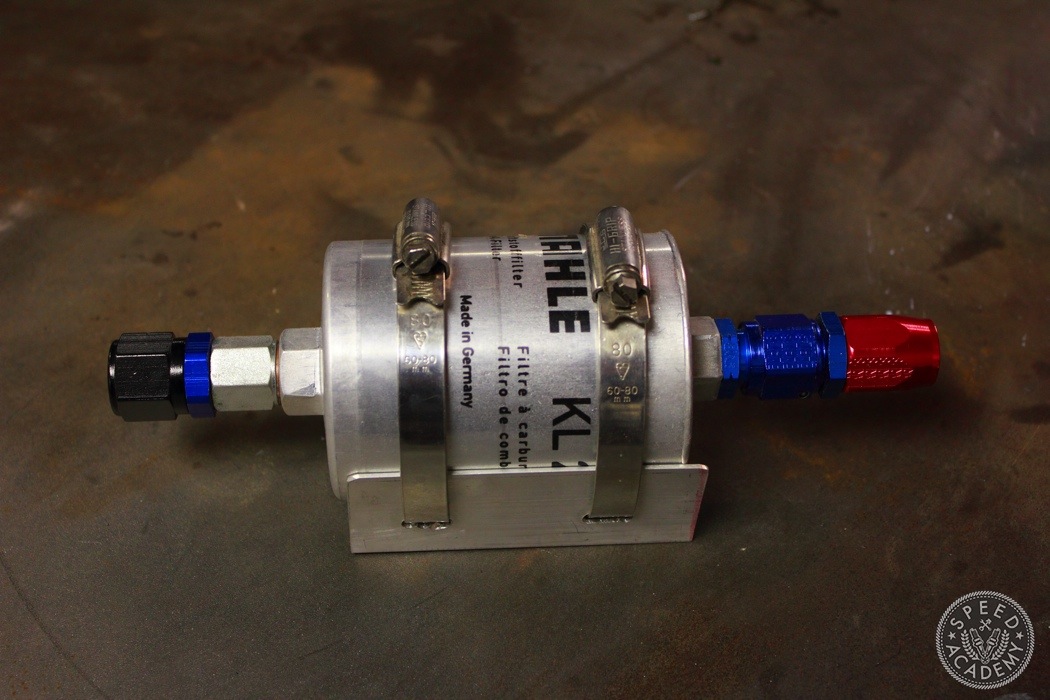
An in-line fuel filter was the next addition to the system. You are not limited for choices, there are lot of filters that can filter from 10 microns and up with corresponding price points. I had remembered reading a few builds using Porsche ’80-’98 911 fuel filters with good results. The Mahle KL21 is the filter in question and at $20 each is an excellent bargain, even at frequent changes. With the appropriate metric to AN adapters, the filter was ready to be installed.
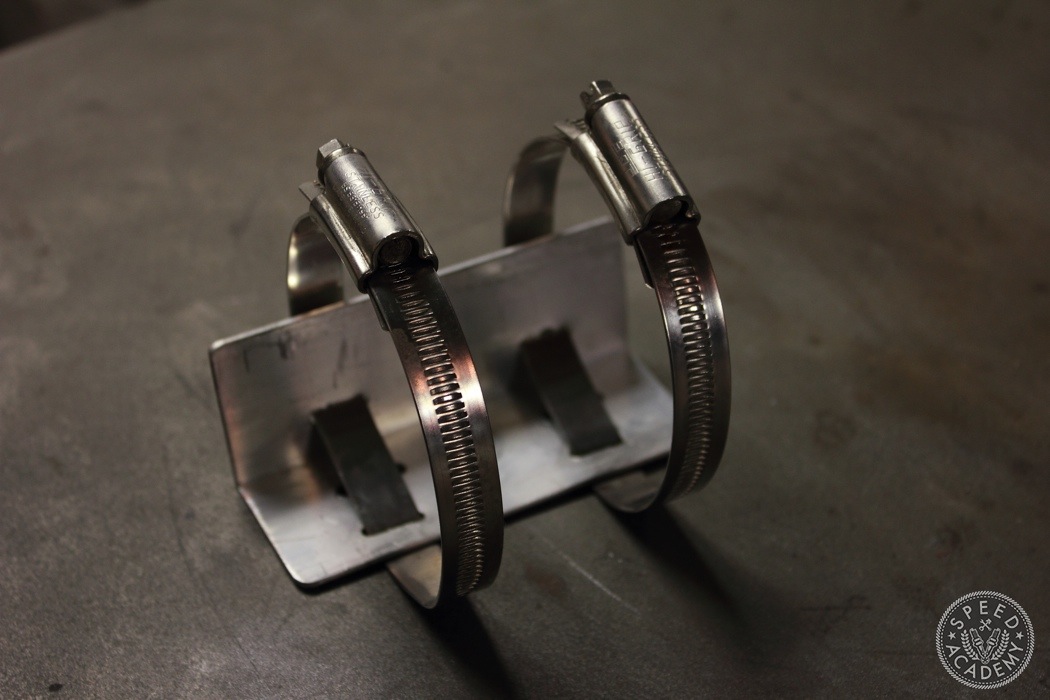
I found a spot beside the fuel pump and I made a mounting bracket for the filter.
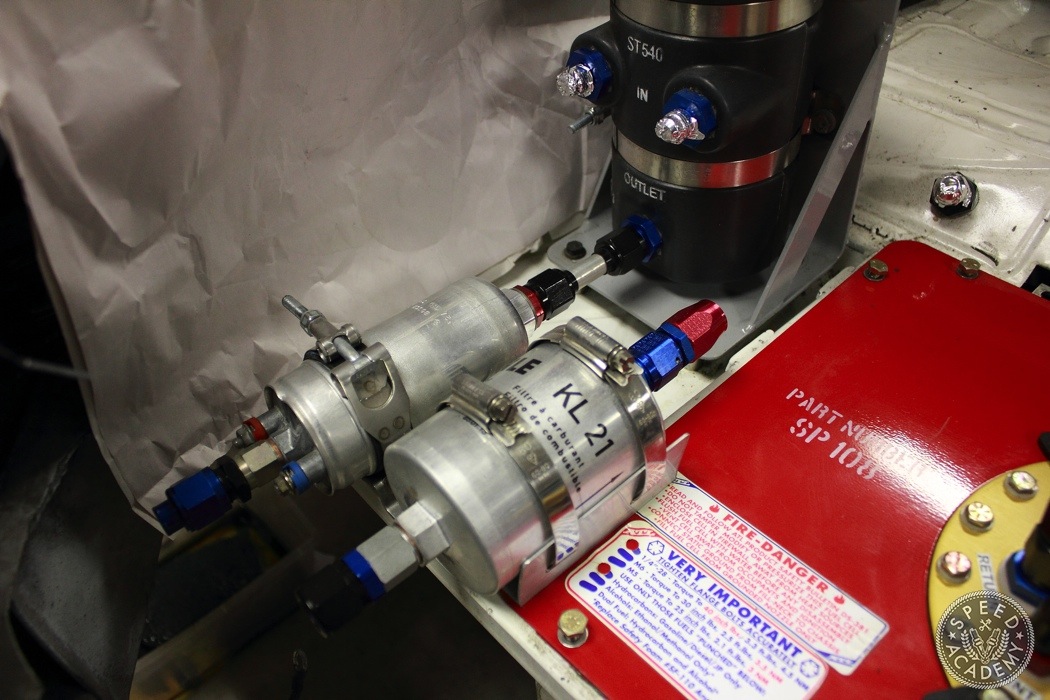
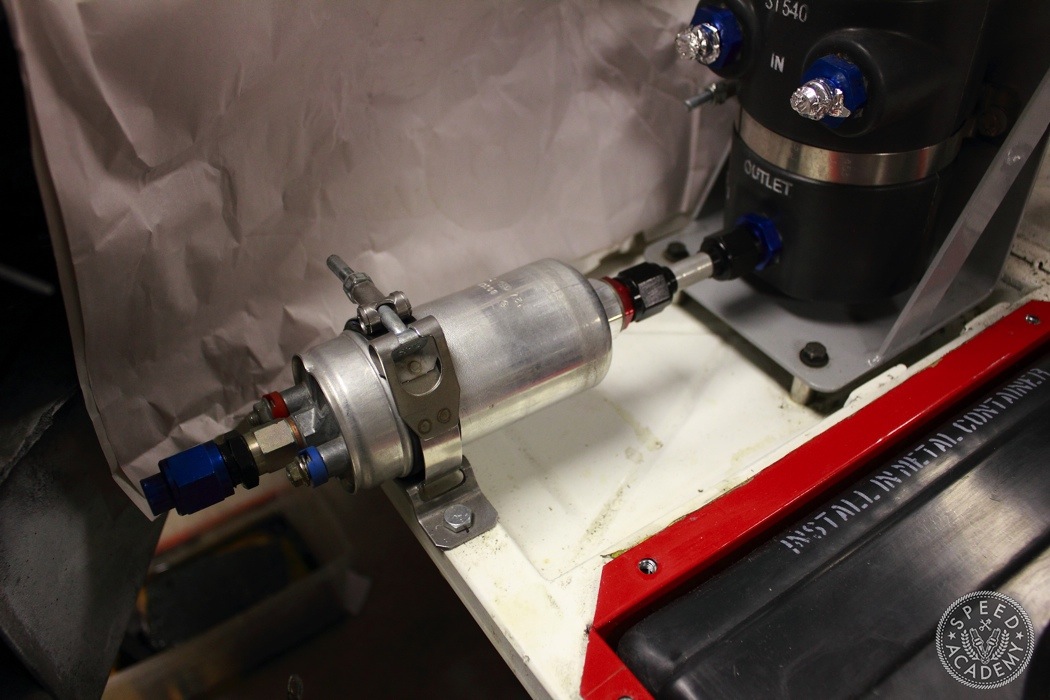
It was then mounted to the fuel cell using the existing top cover bolt location beside the fuel pump. To connect the fuel pump to the filter, tubing was bent 180 degrees using a tube bender and then flared for the AN fittings.
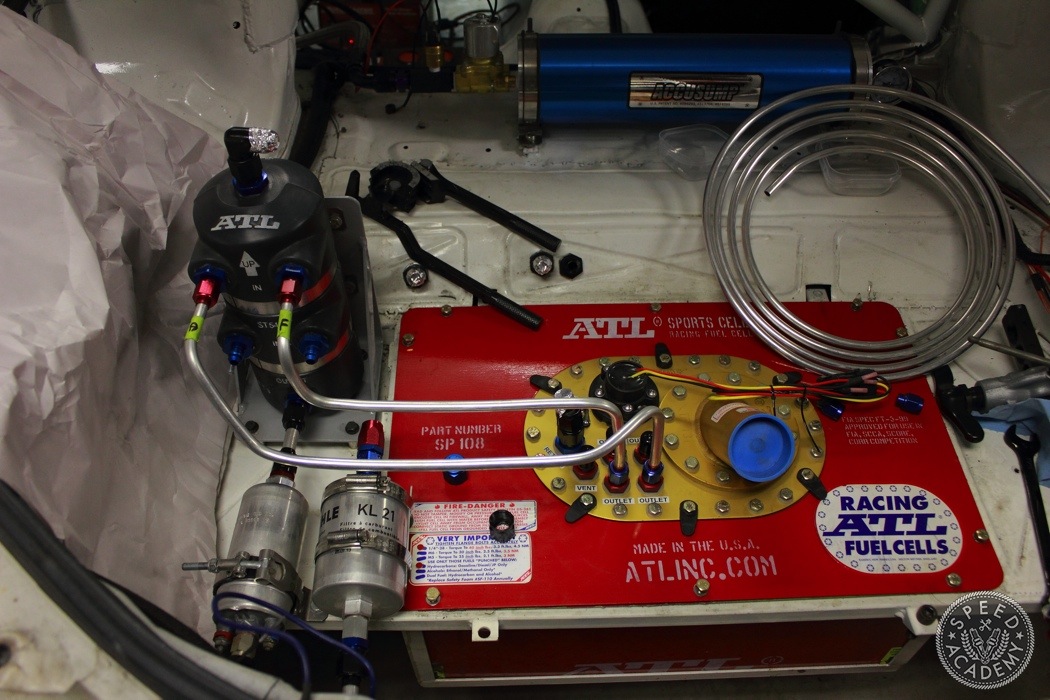
Plumbing the fuel cell feed to the swirl pot was next. ATL had all the fittings labeled that made the connections obvious. Aluminum tubing and AN-fittings were used for the connections. With the fuel cell outlets in close proximity to each other, I had to get creative with the tube bending. I labeled each connection corresponding to the lift pump in the fuel cell in case I needed to diagnose or service the pump.

After a few feet of wasted tubing and self appointed time outs, I eventually had a completed fuel cell and swirl pot setup. The return from the swirl pot and the engine were Y’d in for now since there was only one return port in the fill plate and I did not want to modify the top plate. I routed the vent line to the opposite side of the car away from the exhaust and any heat source.
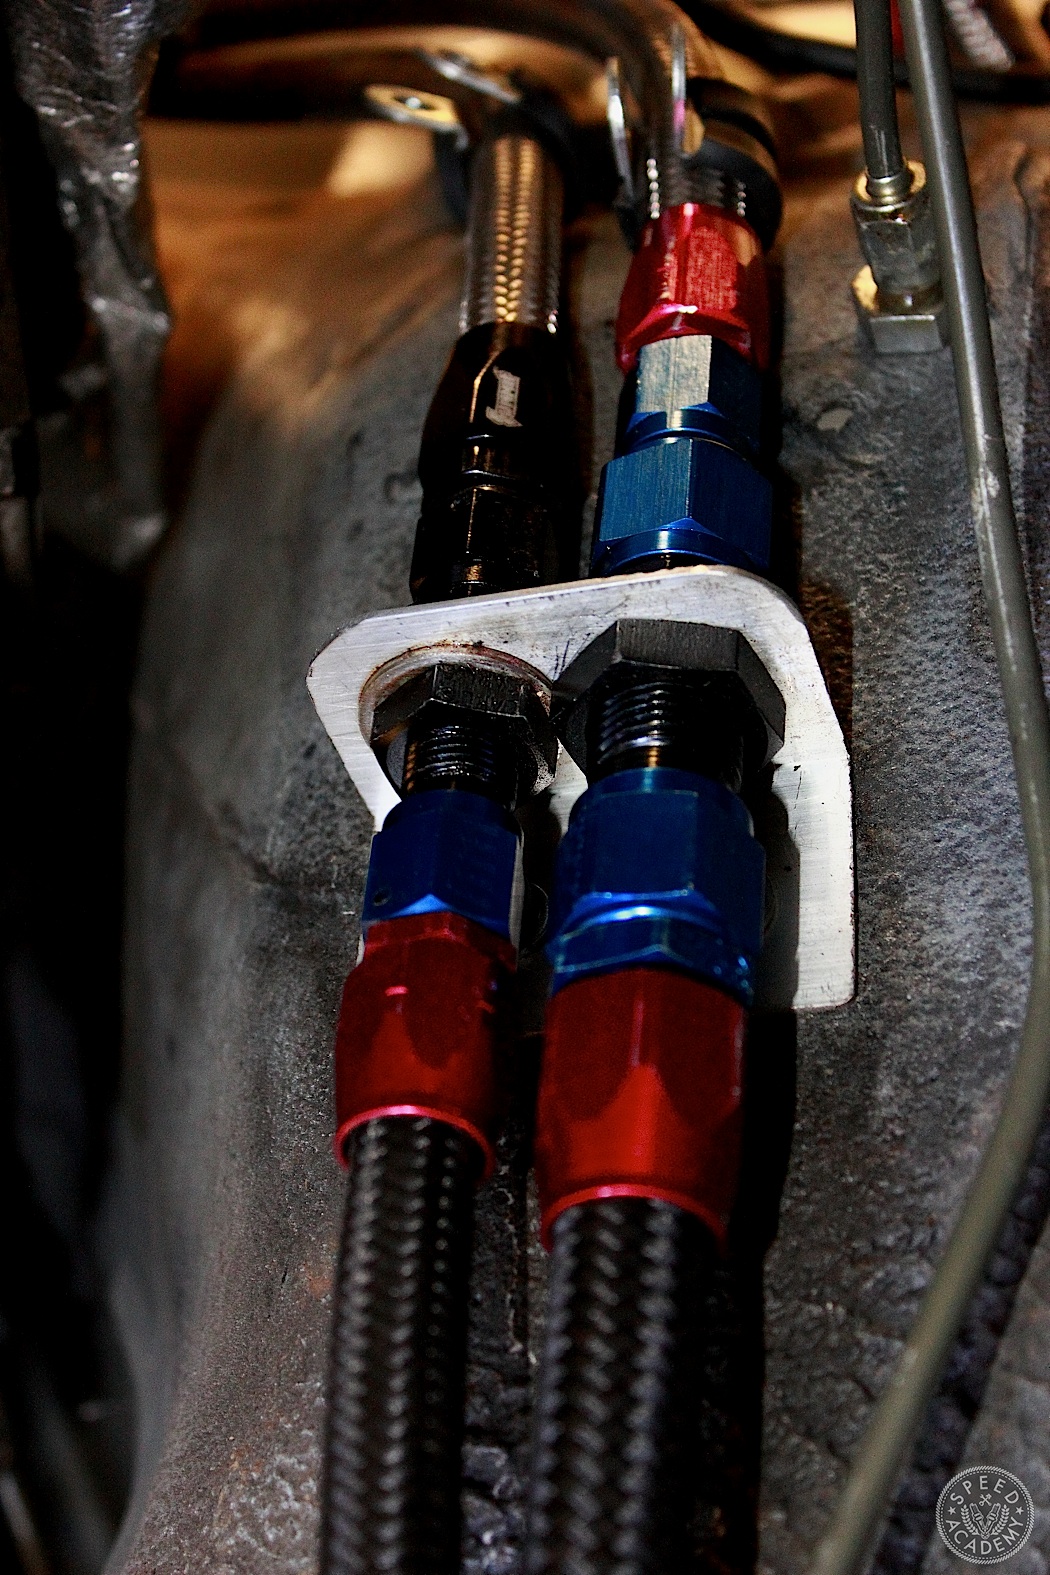
To further decrease fuel flow resistance, I removed the restrictive OE fuel hard lines and ran an upgraded feed line to -8AN (0.44 ID) all the way to the fuel rail. The return line also received a bump in diameter to -6AN (0.34 ID) line. I used Vibrant Performance‘s Black Nylon braided flex hose on both fuel lines. Despite the larger diameters compared to stock lines, everything fit under the OE fuel line shield covers.

Even with the lowered mounting of the fuel cell there is an abundant amount of ground clearance. Real estate that will be occupied by a rear diffuser in the future.

I had chosen to have a remote fender fill configuration for fuel cell. I would have loved a dry break system but that was a very expensive option. Instead, I chose a simple recessed bung and fill cap from Pro-werks that I installed in the rear of the car that was connected to the fuel cell using fuel fill hose.

With the wiring completed and the fuel cell filled up, all connections were tightened and it was time to pressurize the system. The lift pumps were energized first to fill the swirl pot. Once full, the fuel pump was turned on to prime the system. Luckily there were no fuel leaks and it was safe for start up. Fingers crossed and with a twist of a key, the car came to life. The fuel pressure was steady and no leaks were found.
The installation of the ATL fuel cell has given me peace of mind and safety by providing fuel containment in the event of a crash or rollover. The addition of the swirl pot provides engine safeguard against fuel starvation and possible lean conditions allowing me to concentrate on driving. To make things safer for the driver, a bulkhead will be built to seal the rear compartment from the cockpit. The true test will be once the car is at the track and appropriate adjustments/changes will be made to further optimize this part of the fuel system.