

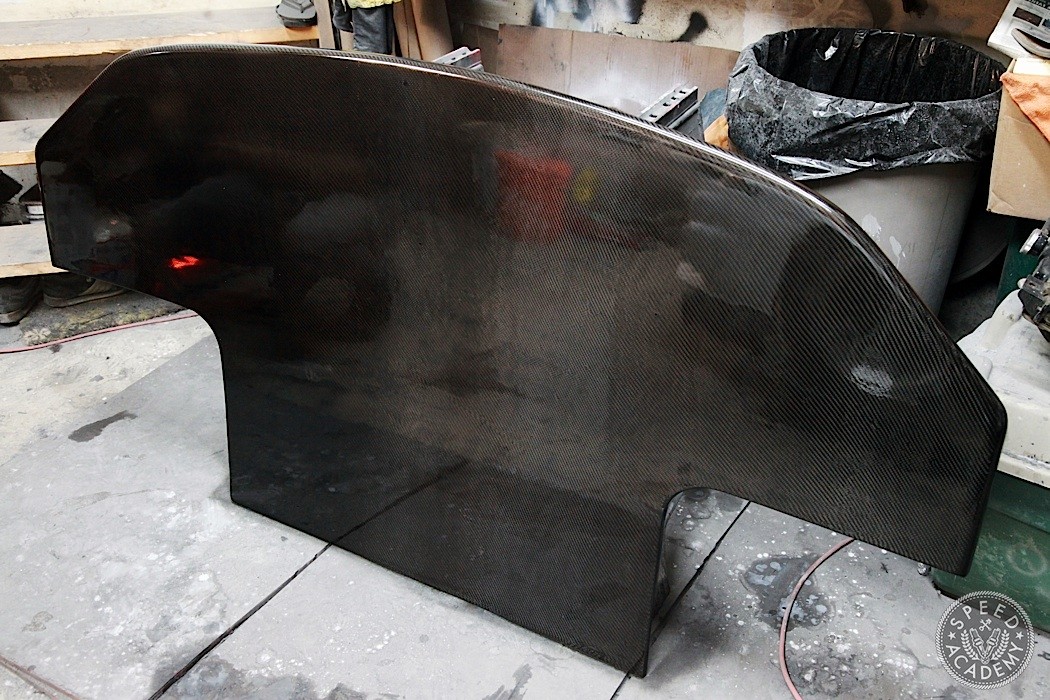
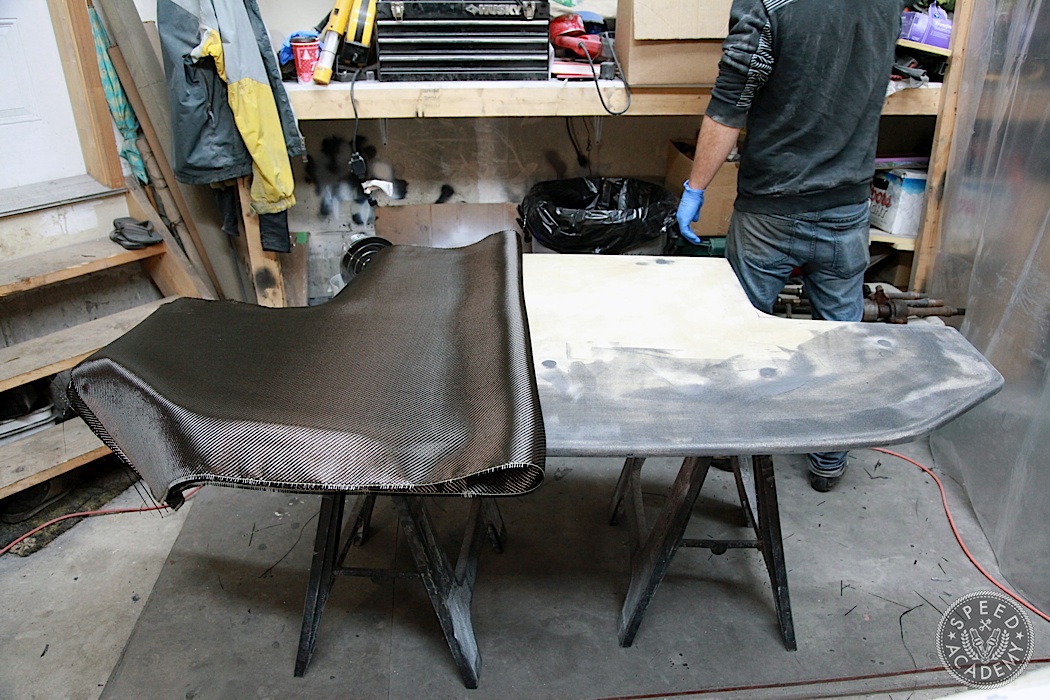
Last time you saw our custom splitter for the ASS2000, presented by Turn14 Distribution, it was just a high density foam core Kevin from C3 Composites had trimmed to shape and test mounted to the chassis using our Home Depot spec aluminum tubes and fasteners. Part 1 covers the process of designing the splitter shape and figuring out the mounting system, but as you can see above the splitter is now wearing a sexy skin of carbon fiber, thanks to plenty of hard work and craftsmanship.
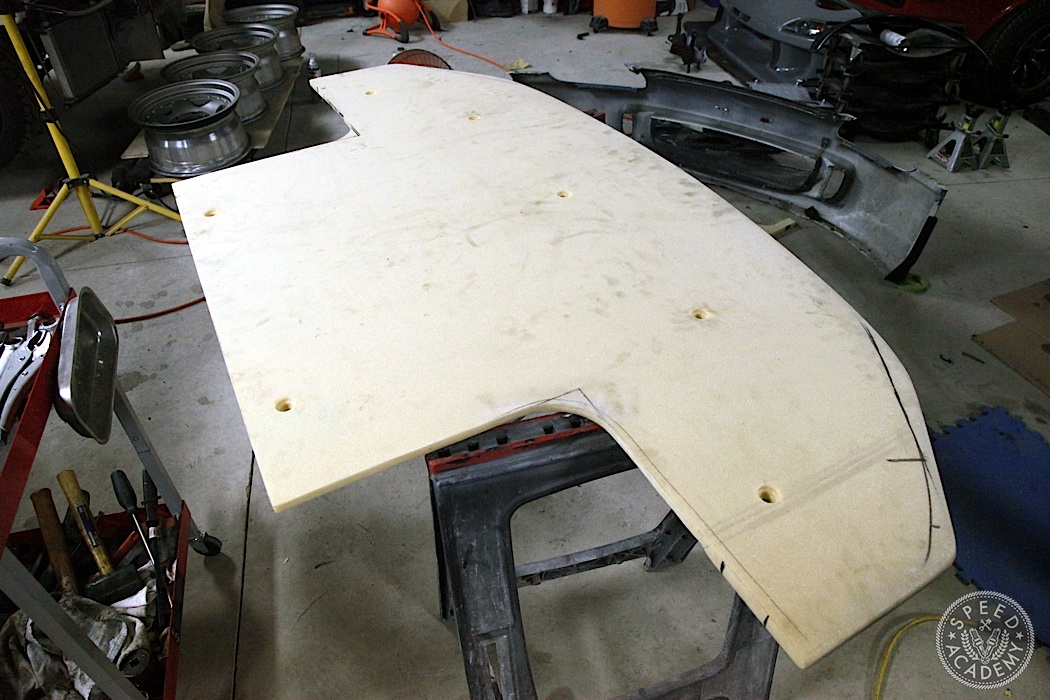
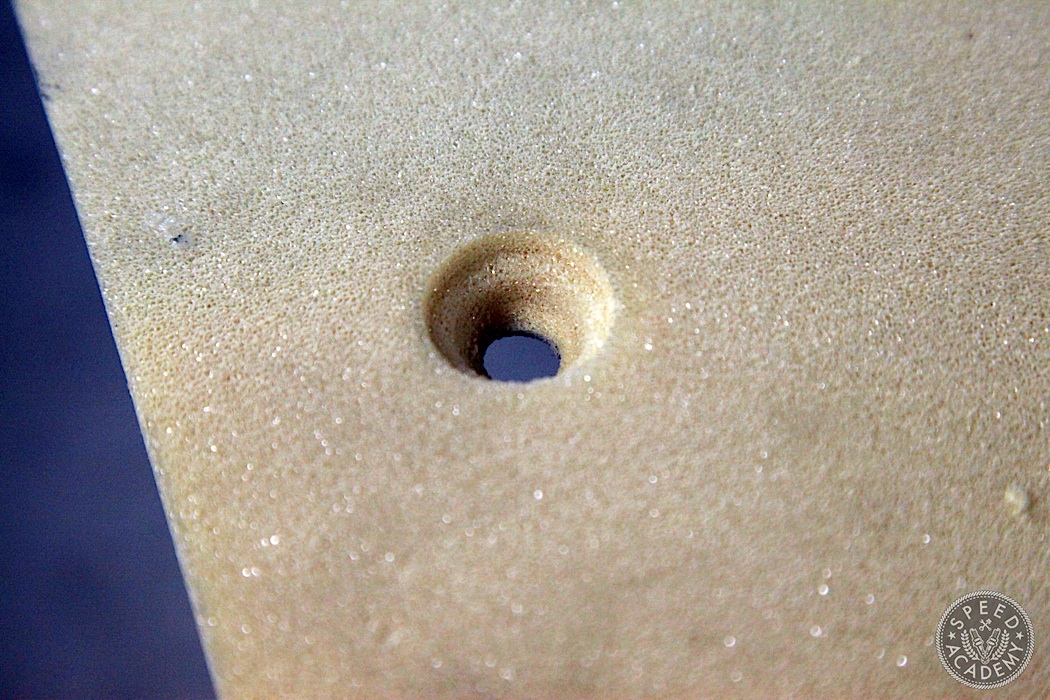
Before starting the carbon overlay process, Kevin first did some fine-tuning of the mounting points by drilling these tapered holes.
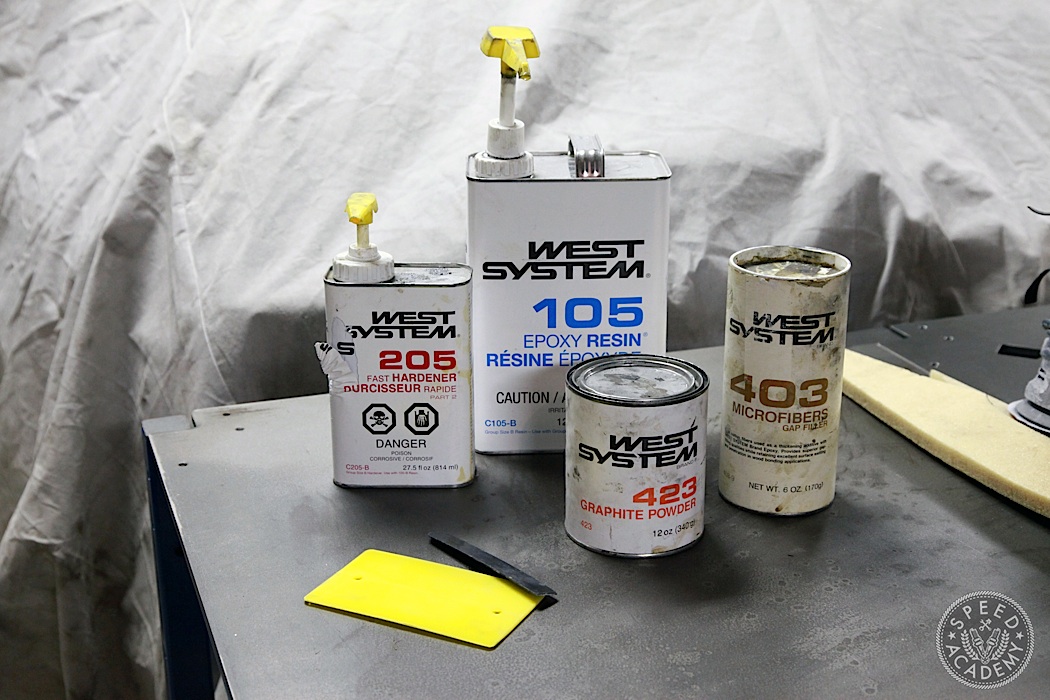
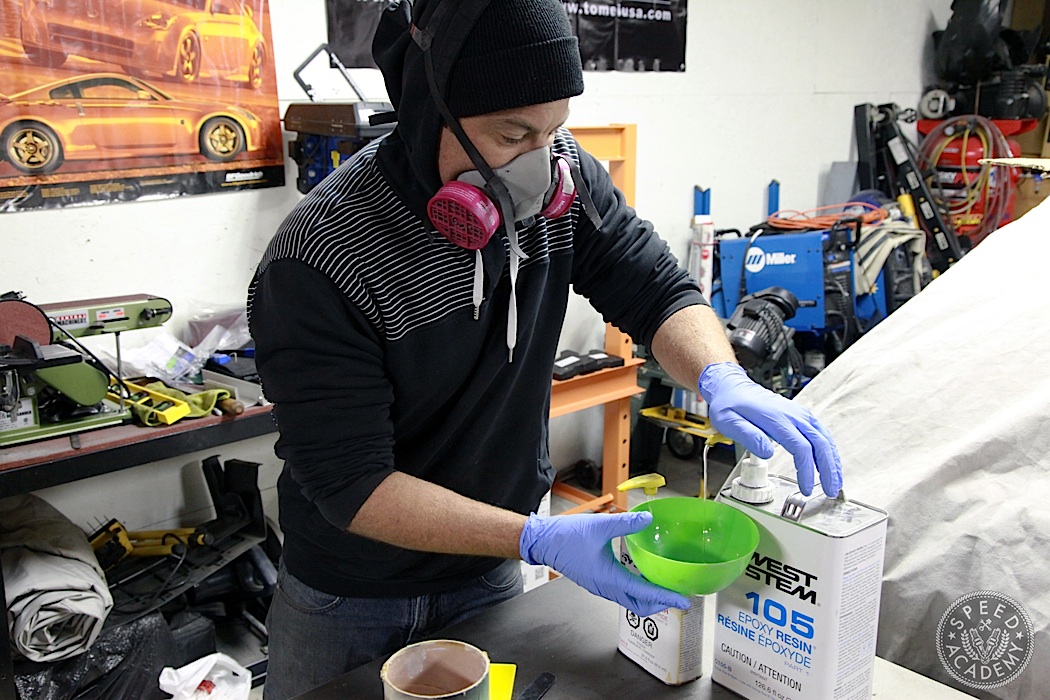
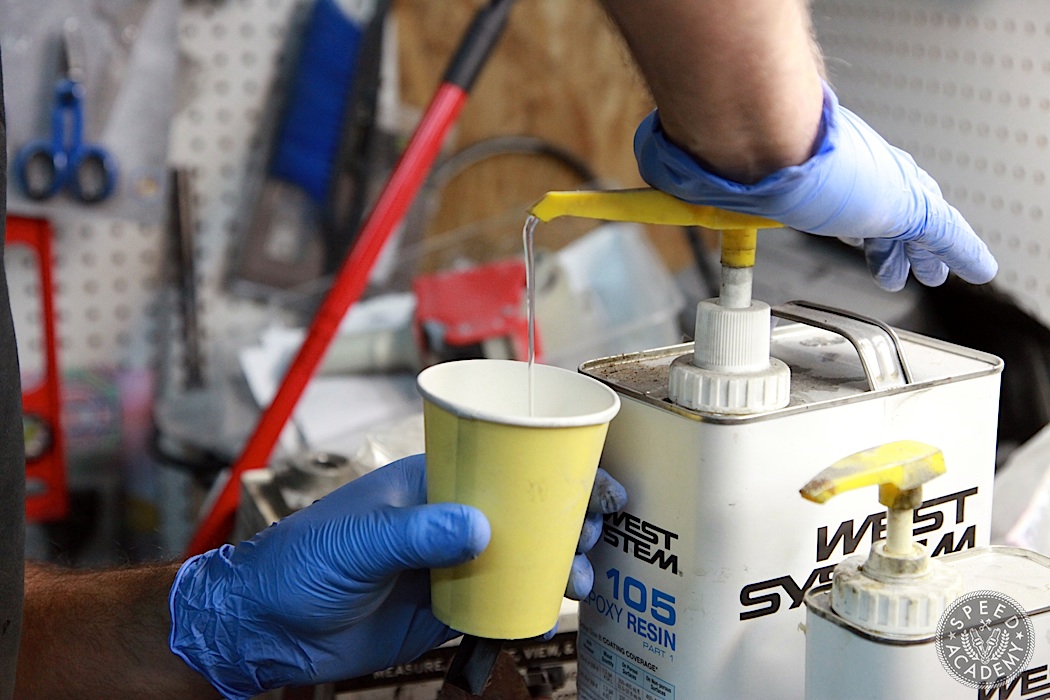
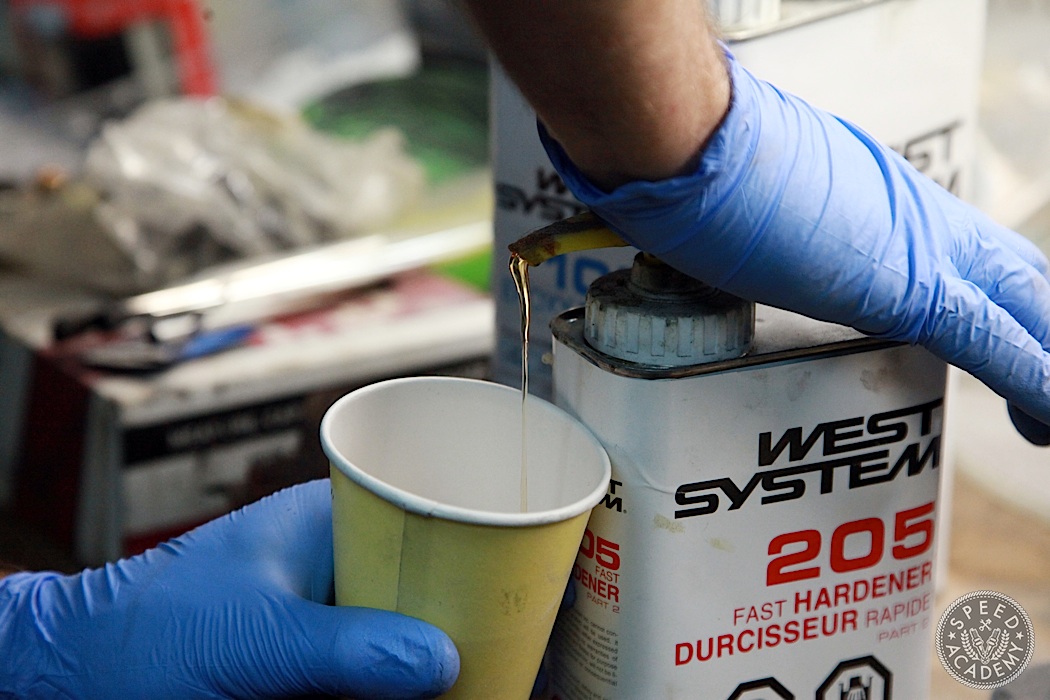
Then it was time to mix up a batch of epoxy to seal and strengthen the foam core. For this Kevin used West System 105 epoxy resin and 205 fast hardener, which is simple enough to mix up since for every pump of resin you add a pump of the hardener. He also added some of the 403 microfibers gap filler, which is basically finely chopped cotton fiber that thickens up the resin mix.
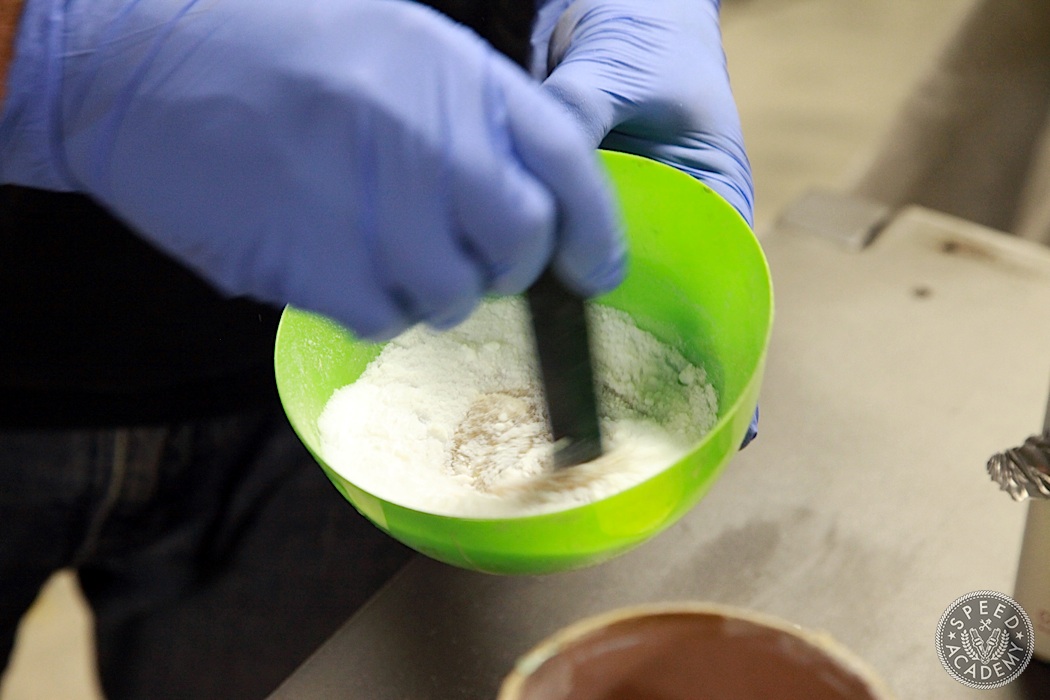
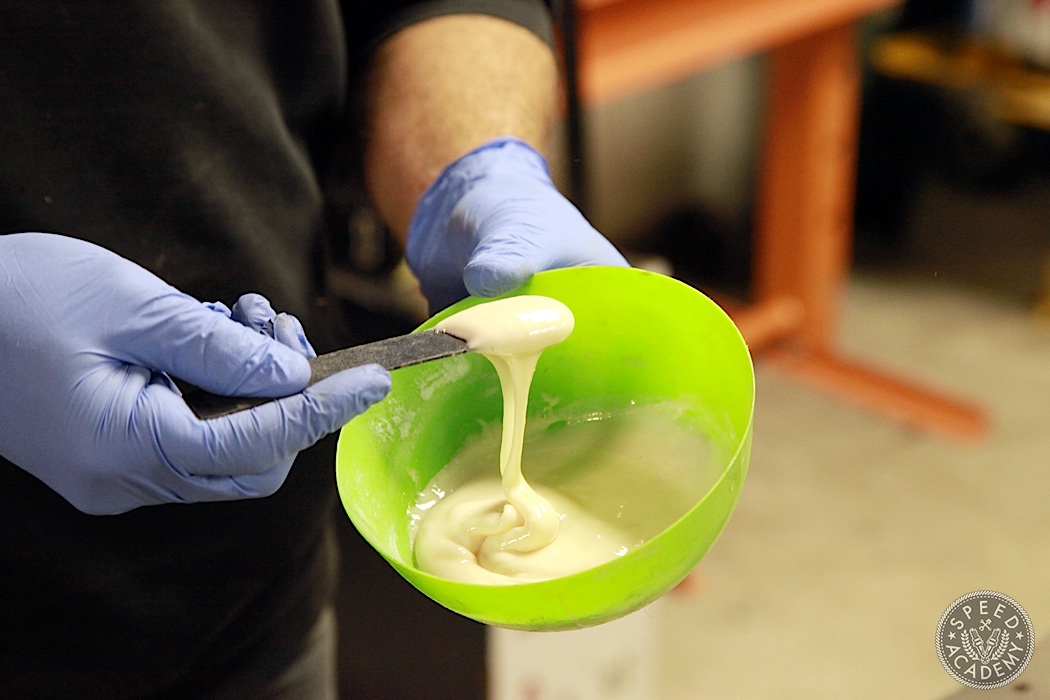
Kevin then stirred it all up until it took on the consistency of smooth peanut butter.
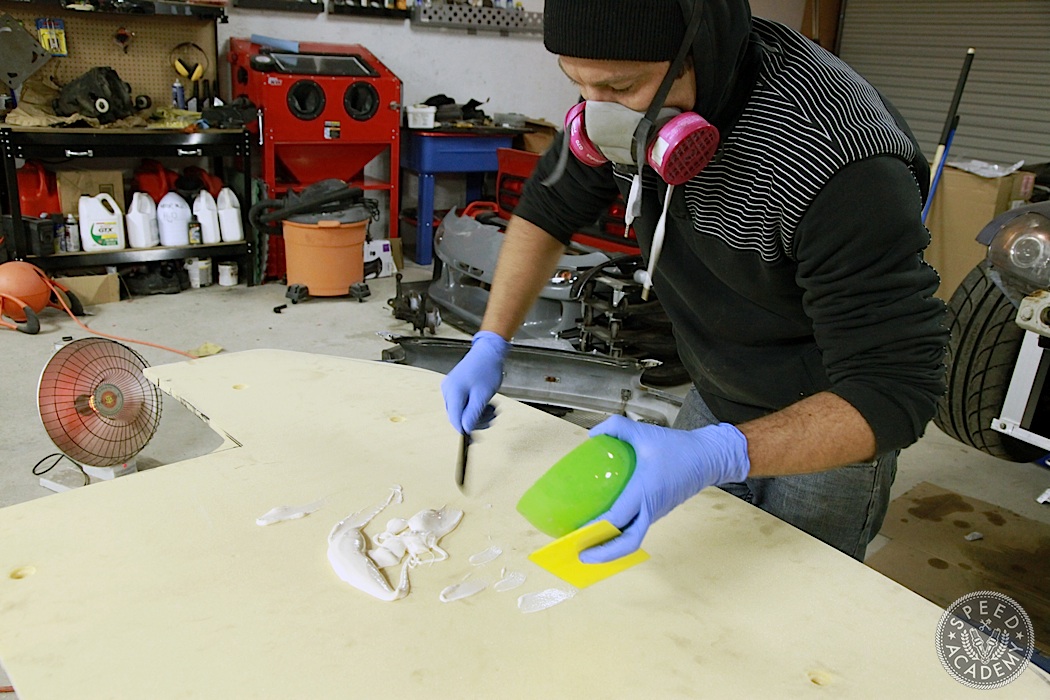
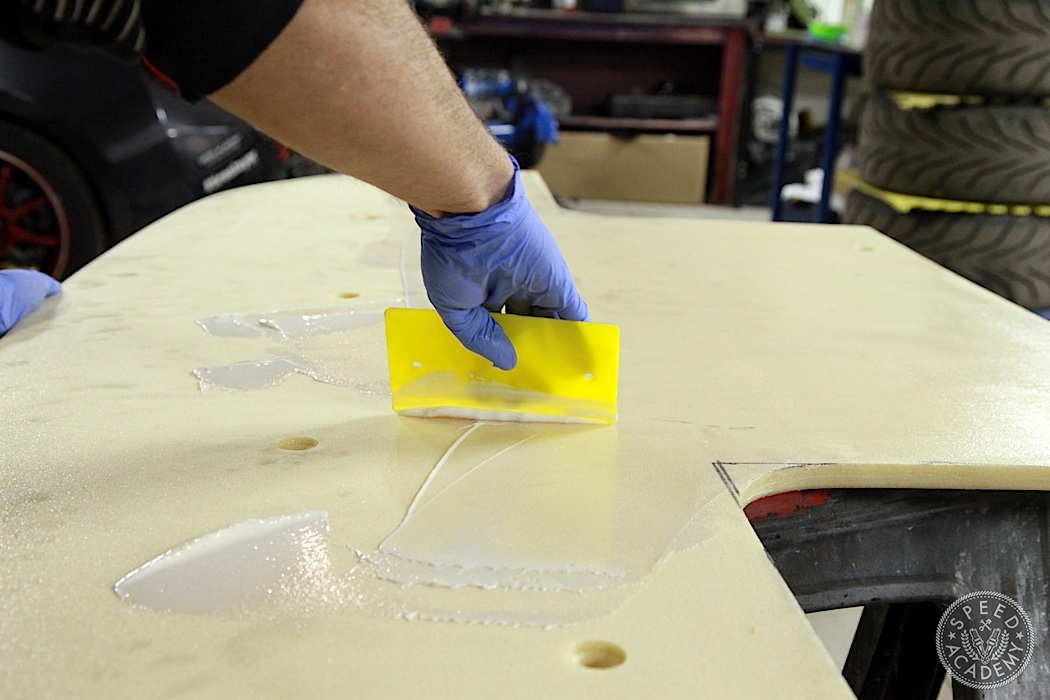
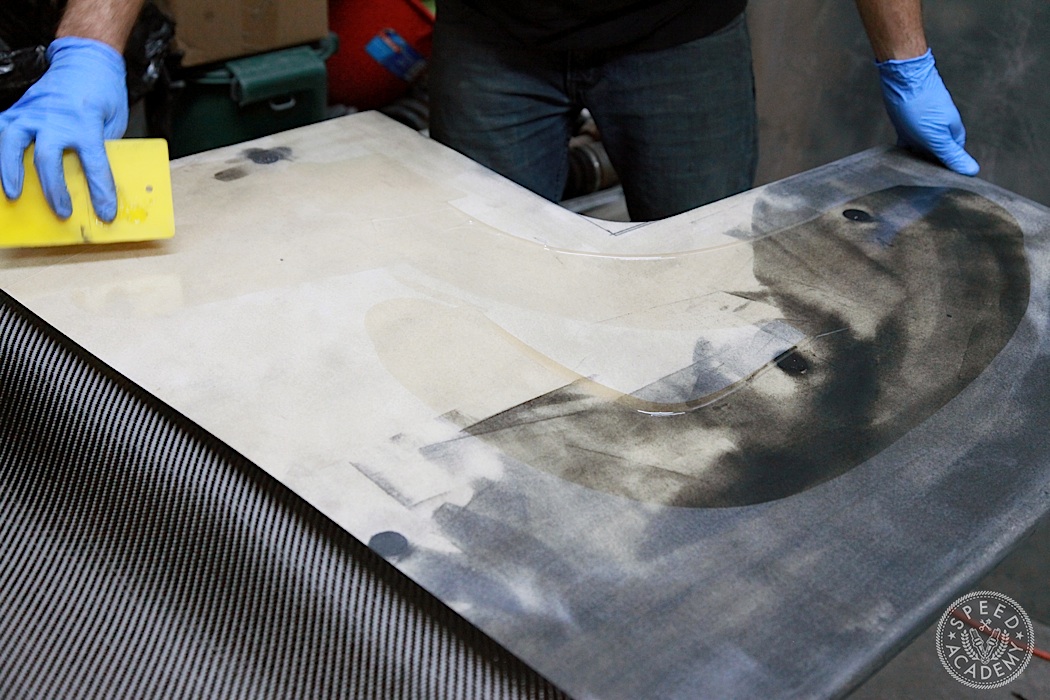
Once the delicious looking creamy texture was achieved it was time to spread a thin coat of it across both sides of the foam using a squeegee.
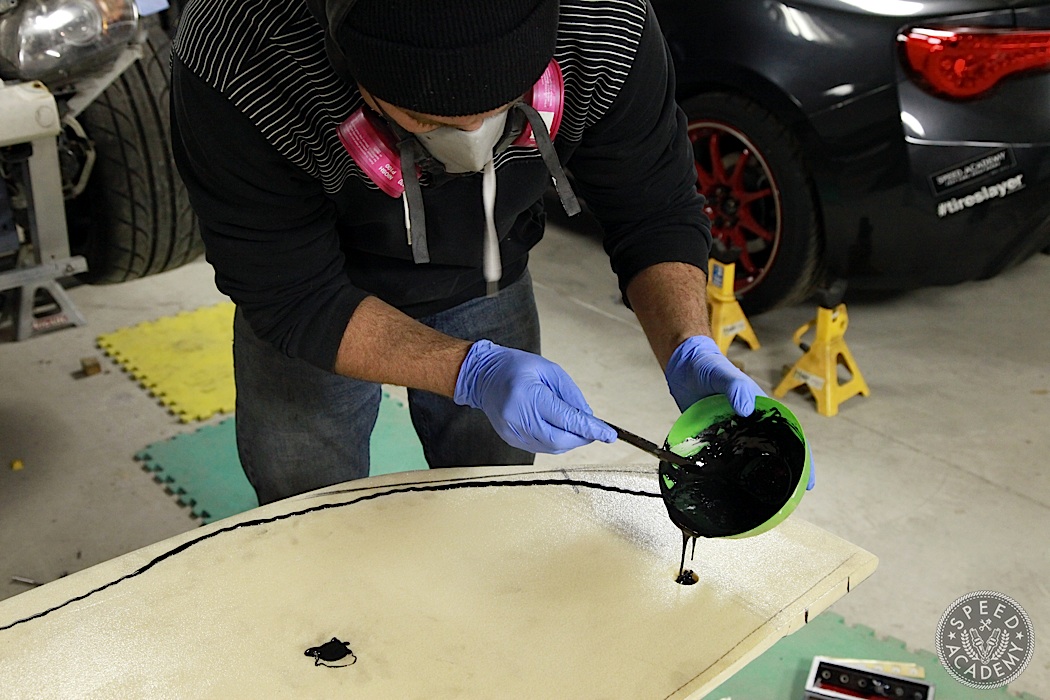
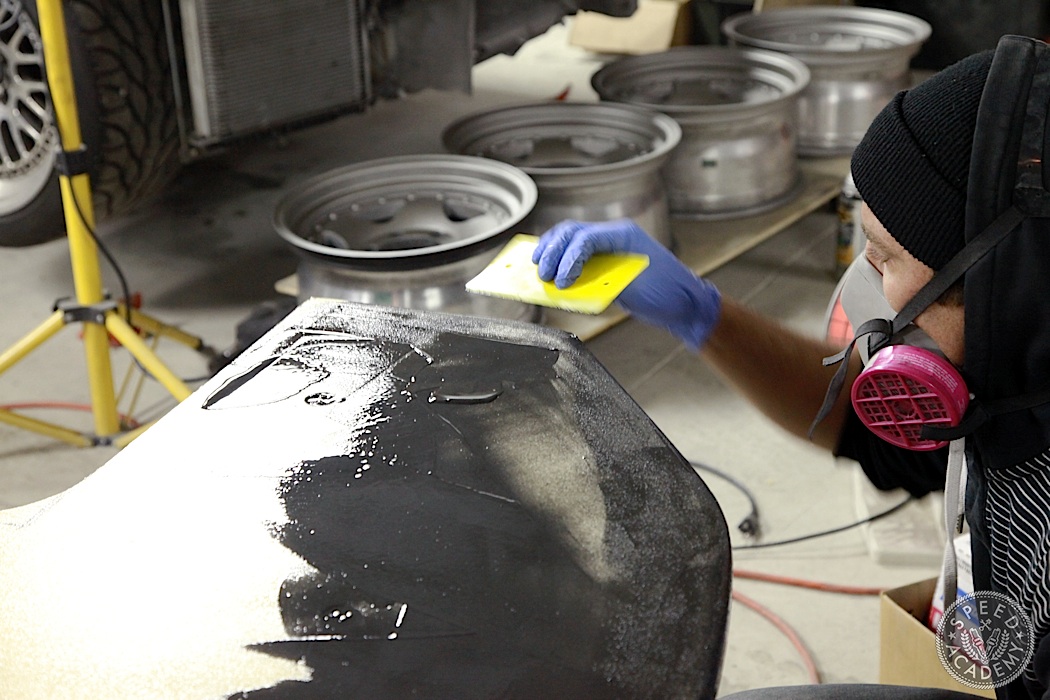
Then Kevin mixed up a second batch of resin, this time adding some of the 423 graphite powder. The graphite provides extra strength across the nose of the splitter where Kevin spread it, along with very strong, non-compressible mounting points by filling those tapered holes he’d drilled earlier. And as an added bonus, if we ever bottom out the splitter and wear through the carbon fiber skin, the black colour of the graphite resin layer will make it less of an eye sore.
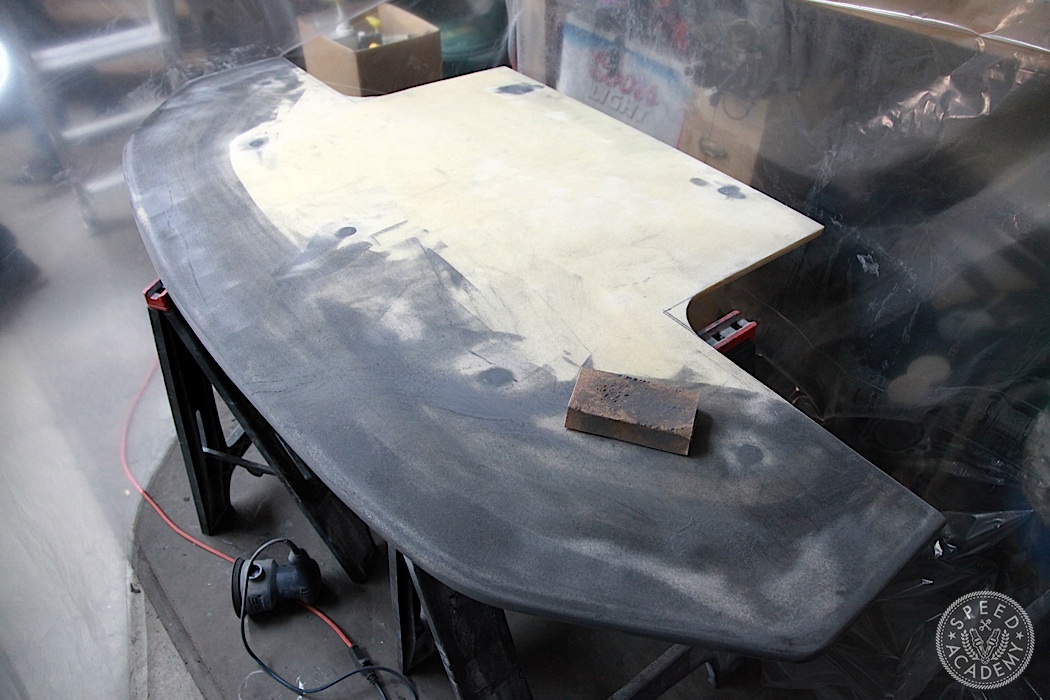
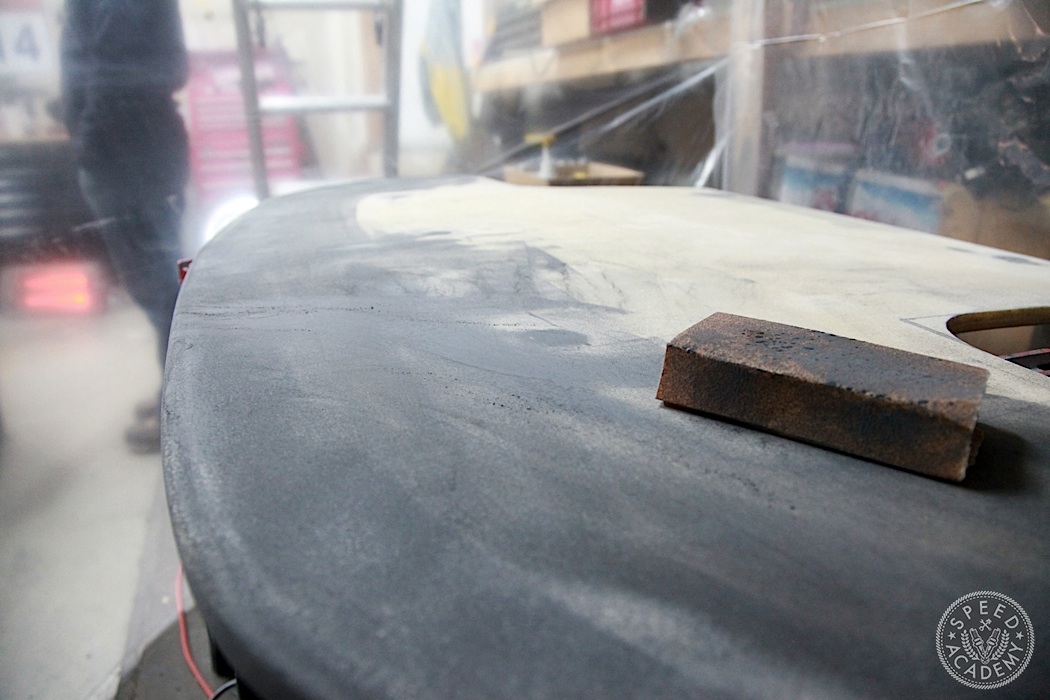
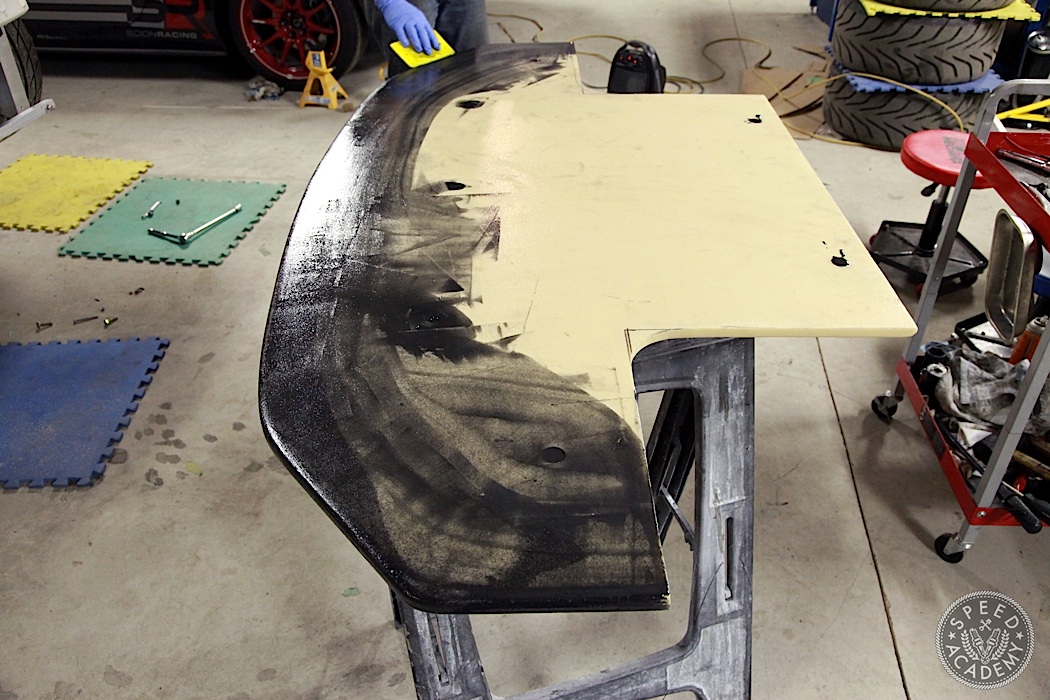
Once the final layer had set, it was time to sand the whole thing down. As Kevin explained, the finish on the final product depends a great deal on the prep work, meaning the sanding out of any imperfections, high spots or excessive resin build up on the surface of the splitter. To contain the dust (we were now working in his garage, not at the Speed Academy tuning dungeon), Kevin hung some plastic sheets.
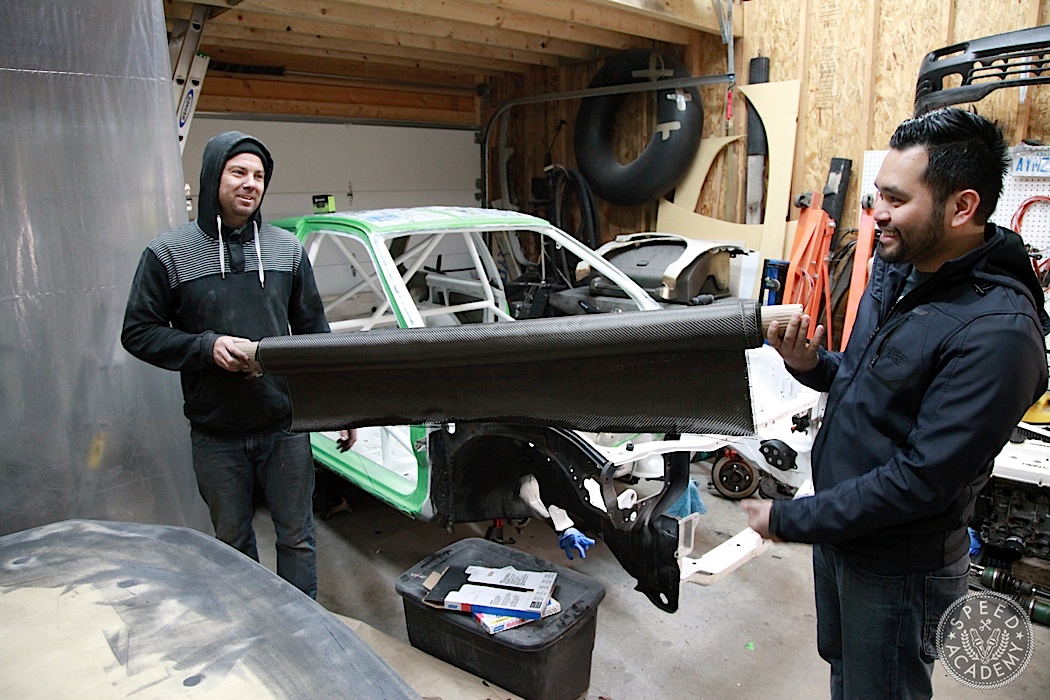
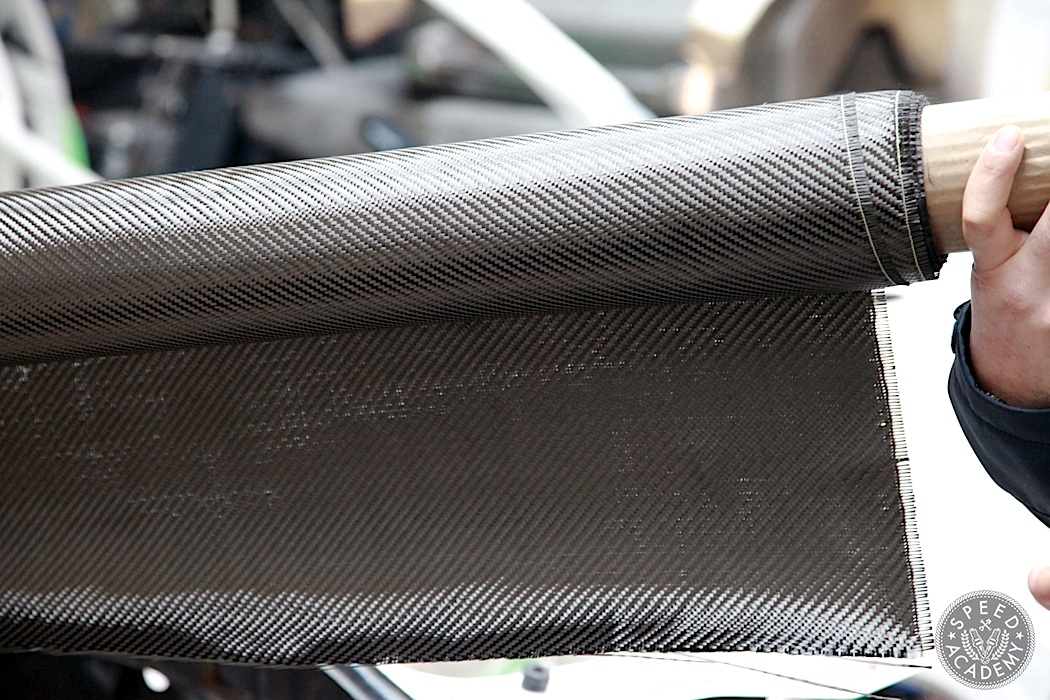
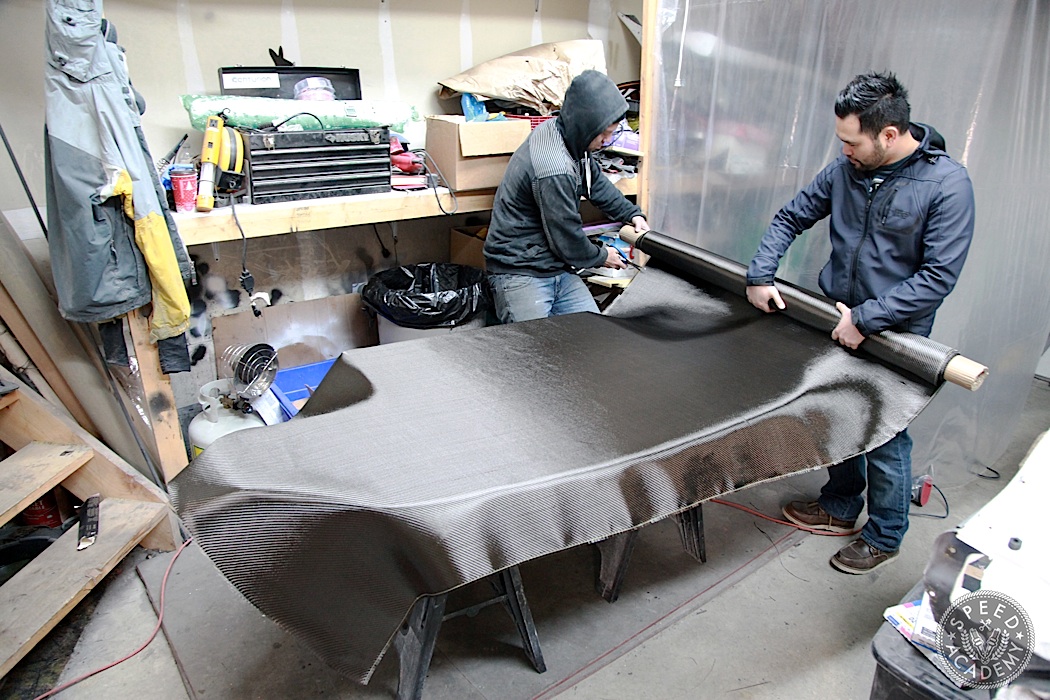
With both sides sanded smooth and cleaned off, it was finally time to lay some carbon fiber! As you can see, the 2×2 twill carbon fiber cloth comes in a 4-foot wide roll. You can buy it at a composites supply store (in the Toronto area we’ve used Composites Canada, where you can also buy all the chemicals and other supplies needed to fabricate your own carbon fiber parts).
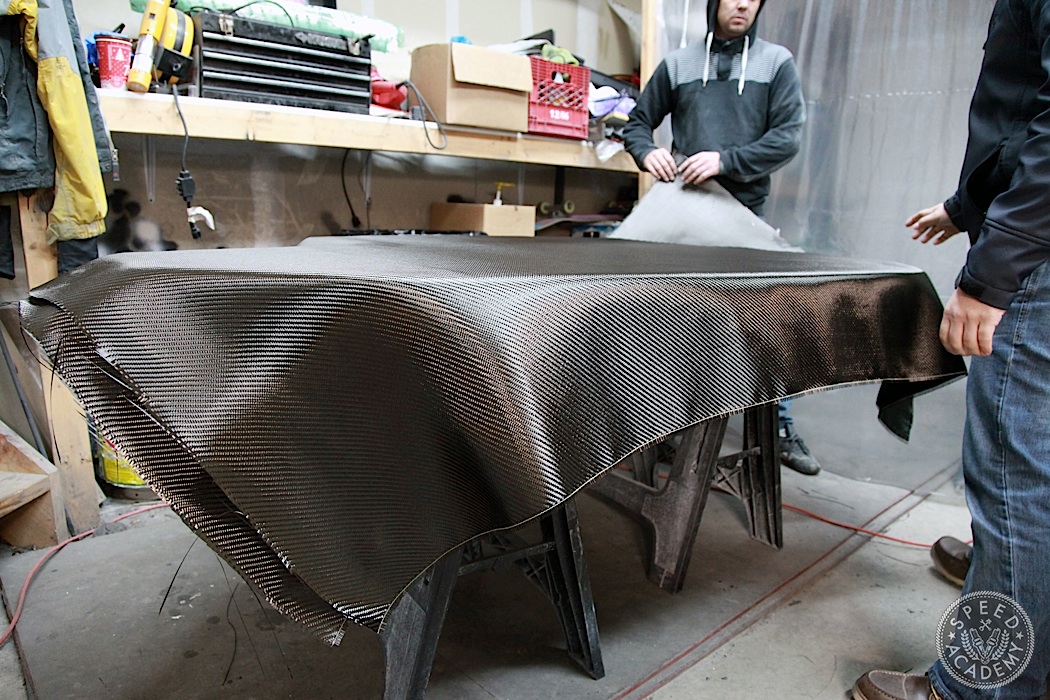
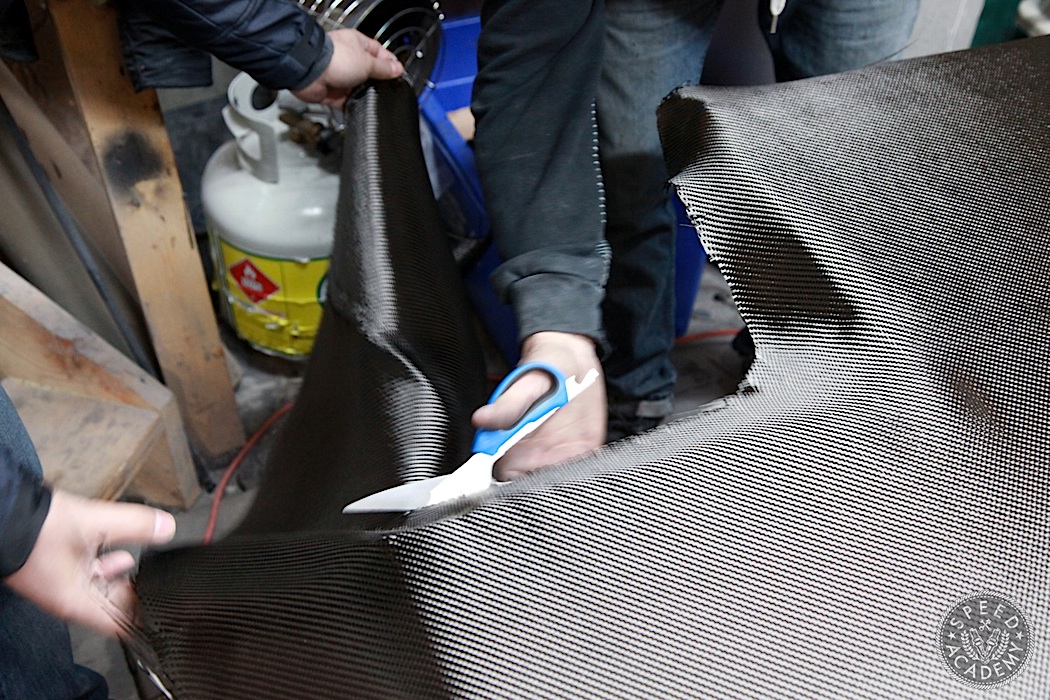
With some nice, sharp scissors, Kevin and Ken trimmed the carbon fabric to size, with two layers for the bottom and one layer on top plus a partial second top layer just along the leading 6-8” for added strength in that area.
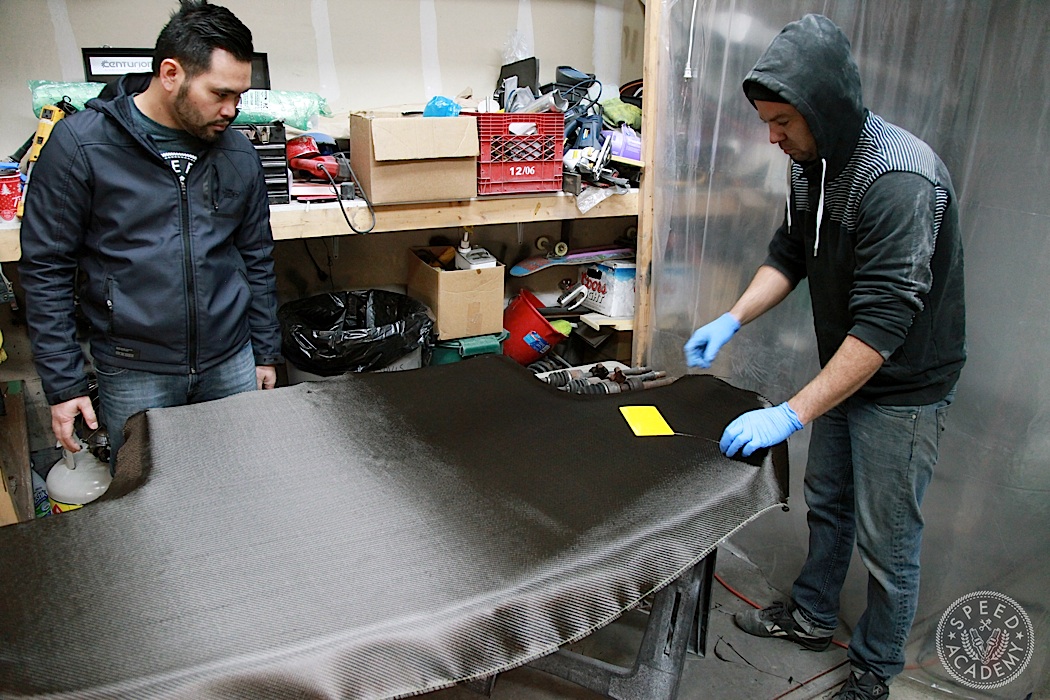
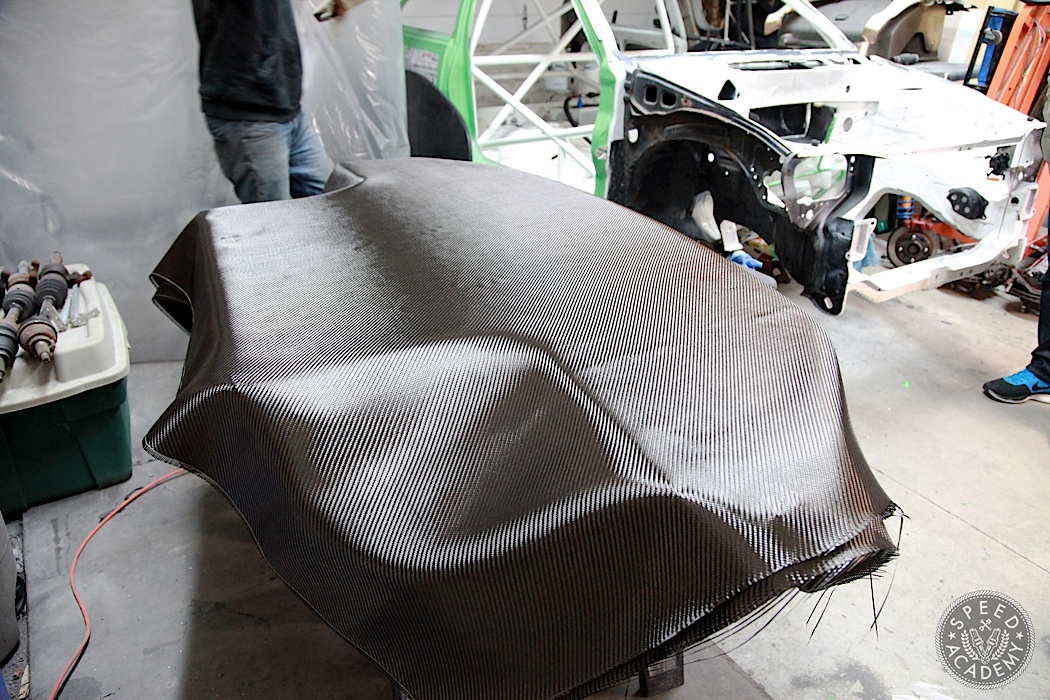
Leaving a good 4-5” of fabric overhang all around, Kevin mixed up a fresh batch of resin and spread it across half of the bottom side of the foam core before smoothly laying the carbon down on it.
Did the plastic require any mold release?
What weight carbon fiber did you use?
Make me one