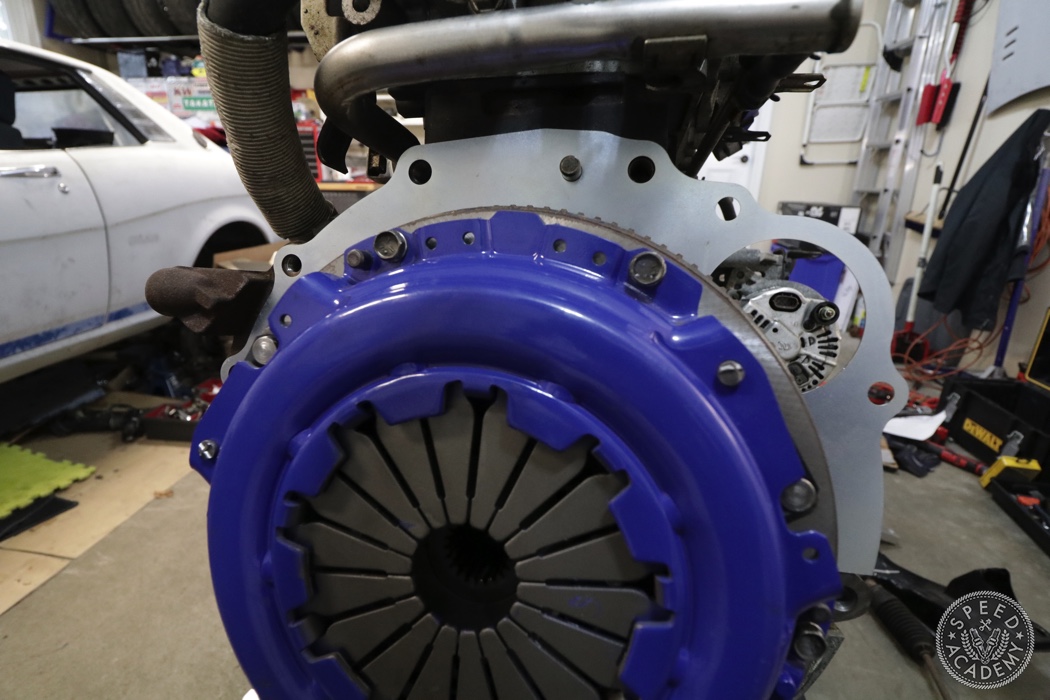
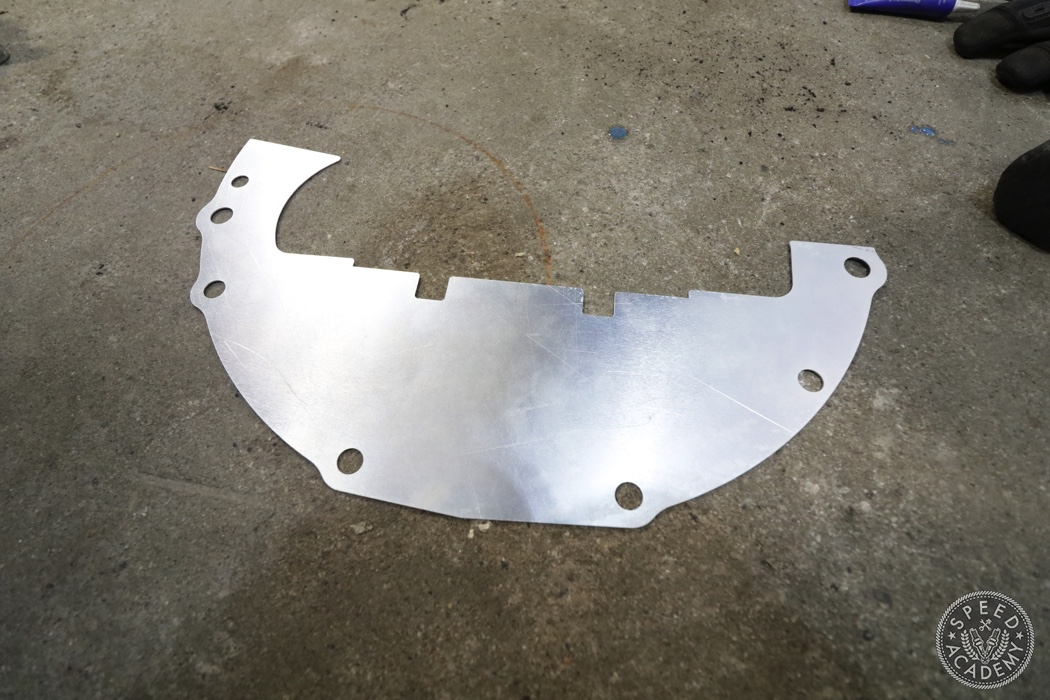
Because the Beams swap into AE86s or Celicas like ours requires the oil pan bracing to be shaved down for steering rack clearance, a process that creates a few openings into the bellhousing area, we also sourced this SQ Engineering sealing plate from Battle Garage Racing Service to keep any unwanted debris out of the bellhousing and off the clutch and flywheel.
This two piece plate is designed to be installed on top of the black OE plate, which we didn’t show properly in the video above, so be sure to leave the OE plate in place when installing the SQ sealing plate.
As you can see here, the SQ plate seals up those openings in the bellhousing very nicely.
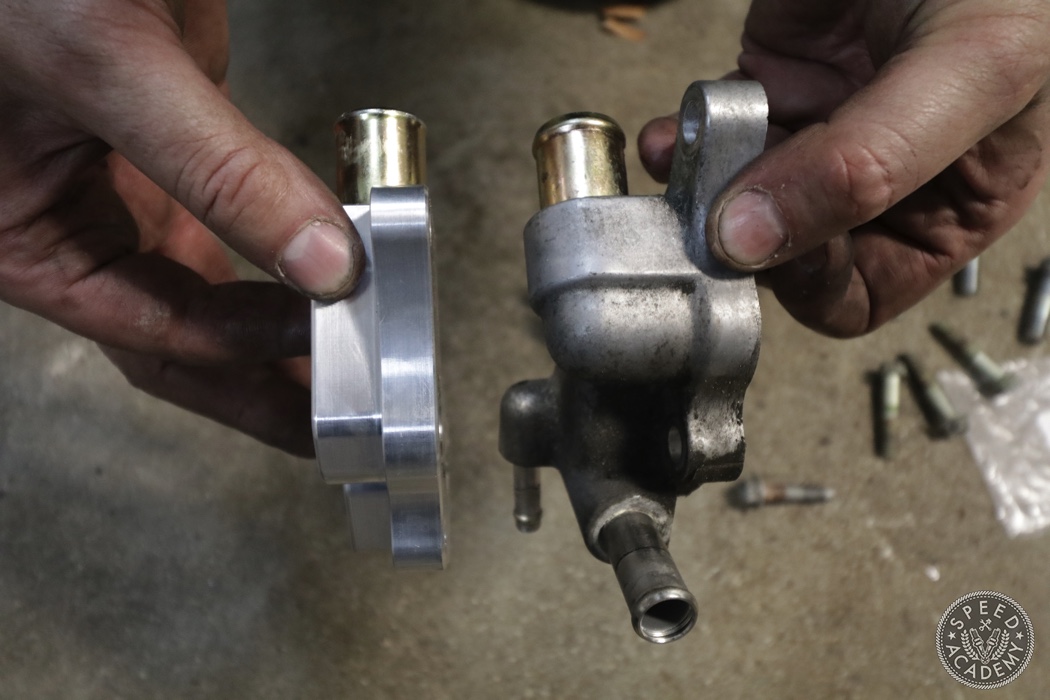
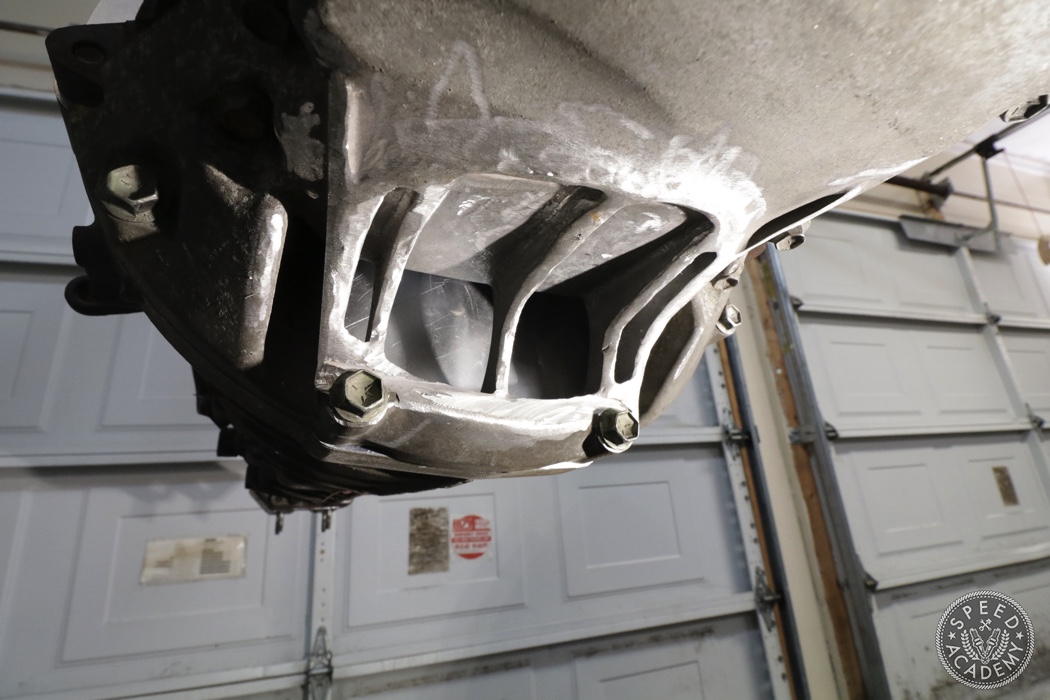
With Beamsy out of the engine bay we also treated him to a couple other goodies from SQ Engineering, including this Slimline Rear Housing that replaces the bulky OE water housing on the back of the cylinder head.
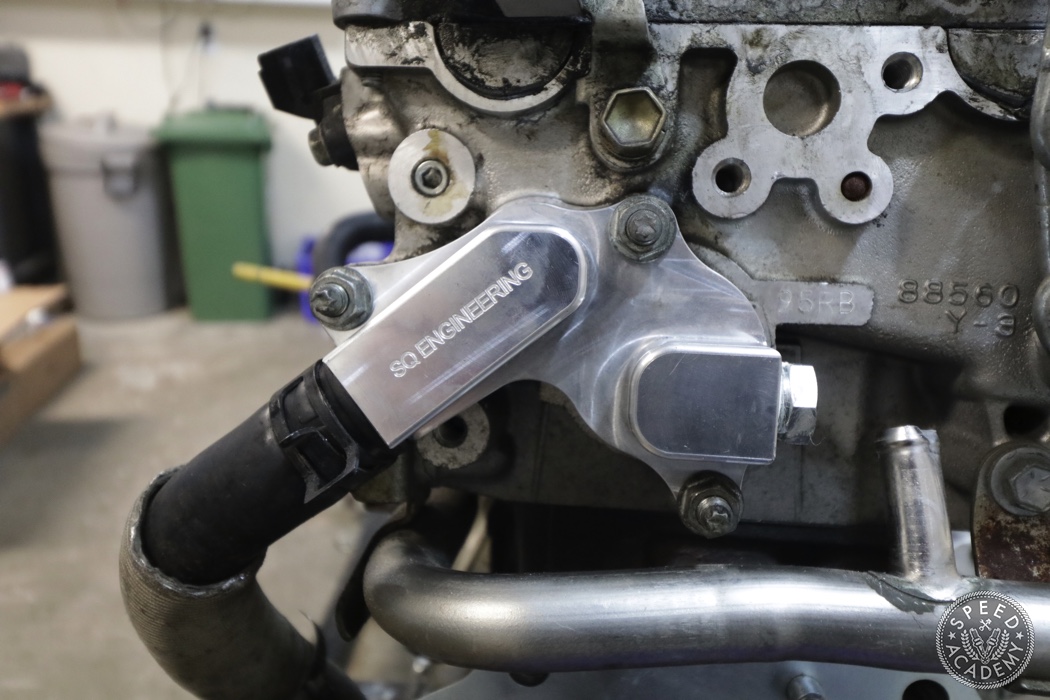
There are several advantages to the SQ Slimline housing, including the fact that it improves firewall clearance, so if you’re working with a tighter engine bay than we are, this alone could be a major selling point. But for us, it’s the ability to delete/block-off the heater core and throttle body water lines that sold us on it, since we’re converting the engine to ITBs and have already removed the heater core (Connie will be a summer-only fun machine). So with the SQ housing in place we have a much cleaner and decluttered space at the back of the cylinder head, a detail that should help the Celica’s engine bay look that much more special when it’s done.
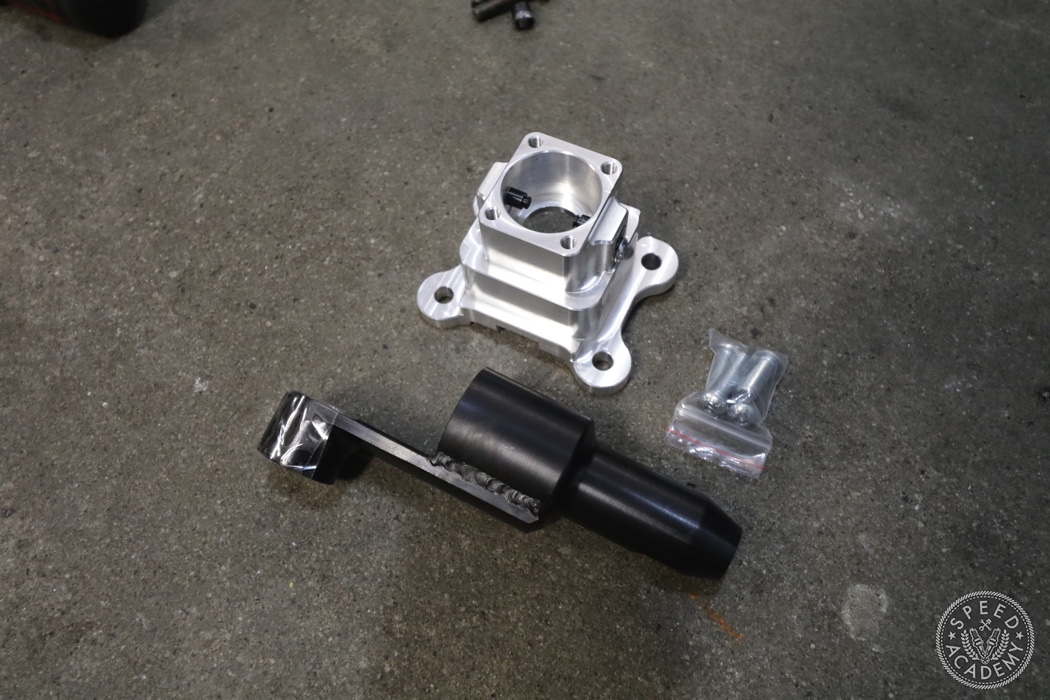
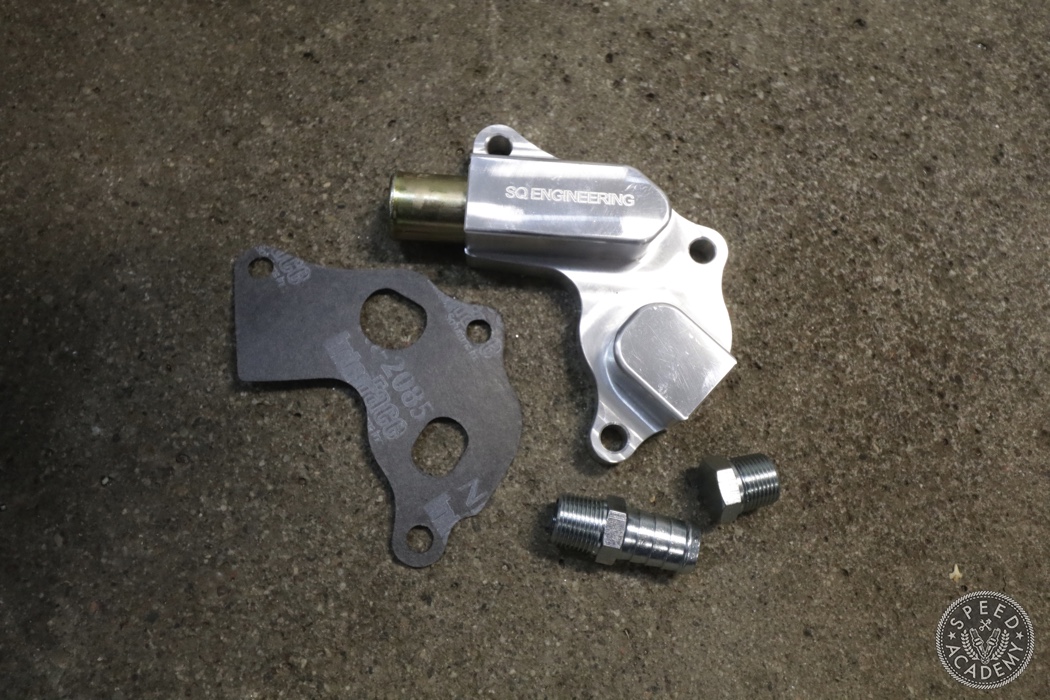
I also ordered SQ Engineering’s rather ingenius J160 transmission shifter relocation kit, because cutting a hole in the center tunnel to use the factory shifter location (which is well behind the factory opening in the center tunnel) was a step Moose and I decided we’d prefer to avoid, especially since Connie’s sheet metal is so pristine.
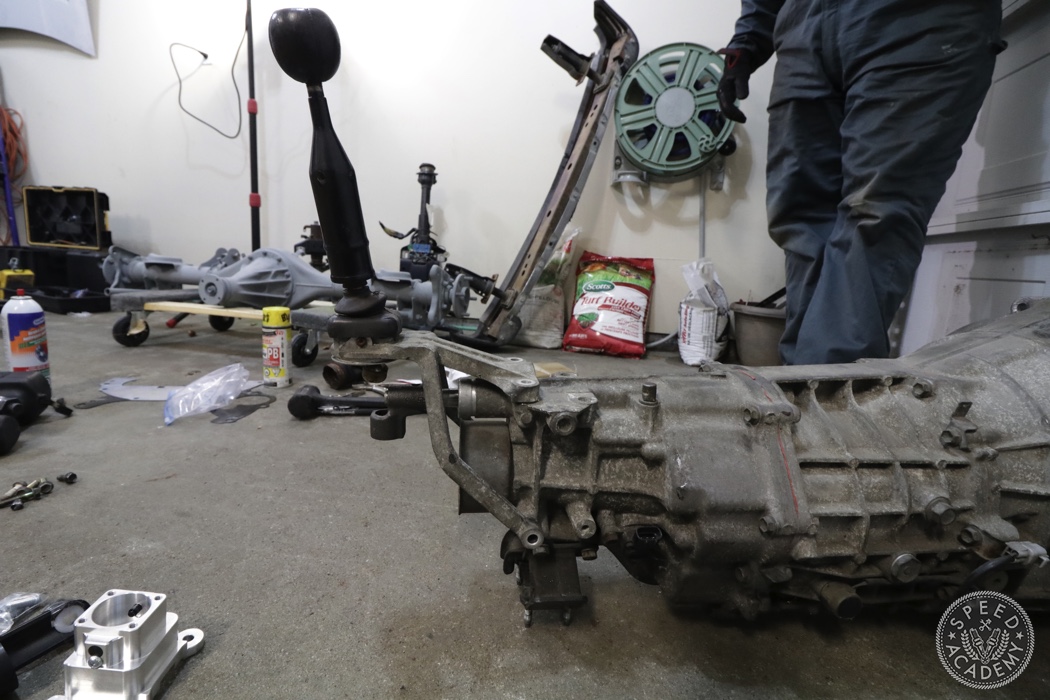
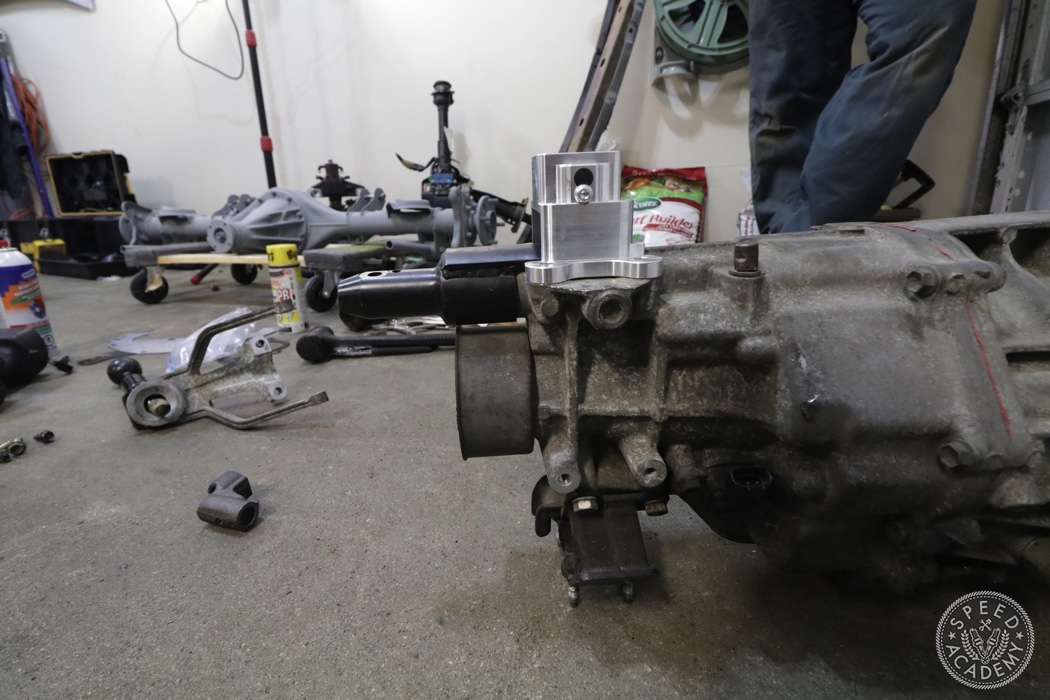
As you can see above, the SQ kit moves the shifter location forward about 6-8” from the factory position.

And as you can see here, the shifter falls perfectly in the middle of the factory tunnel opening with it in place. We did, however, need to spacer the trans crossmember down about 1/2” because the top side of the black SQ adapter was rubbing on the underside of the tunnel.
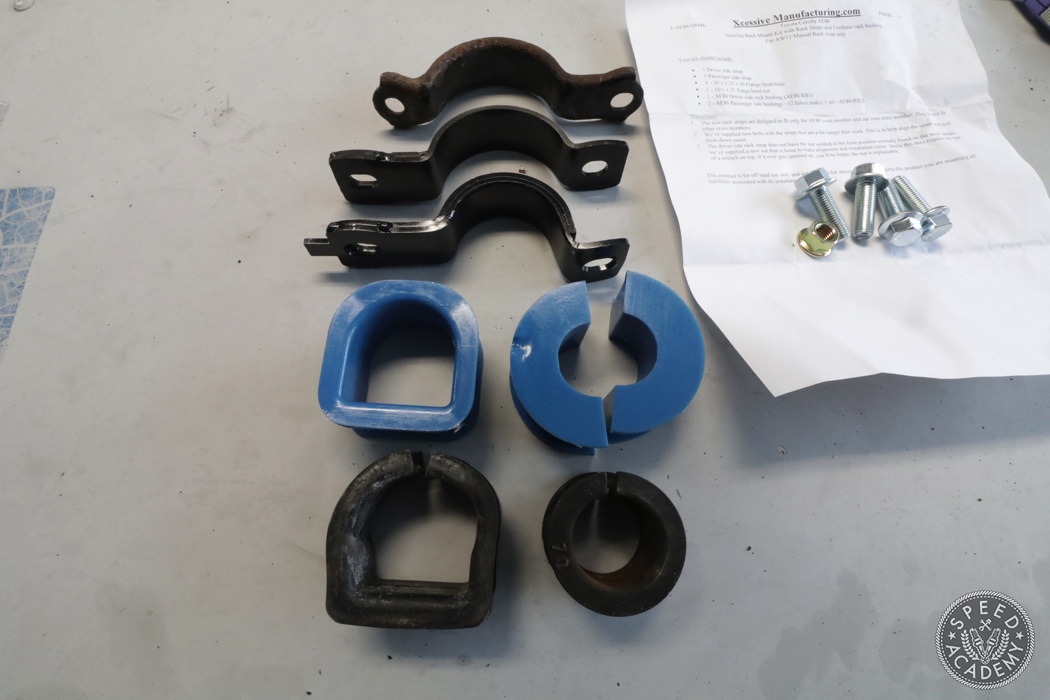
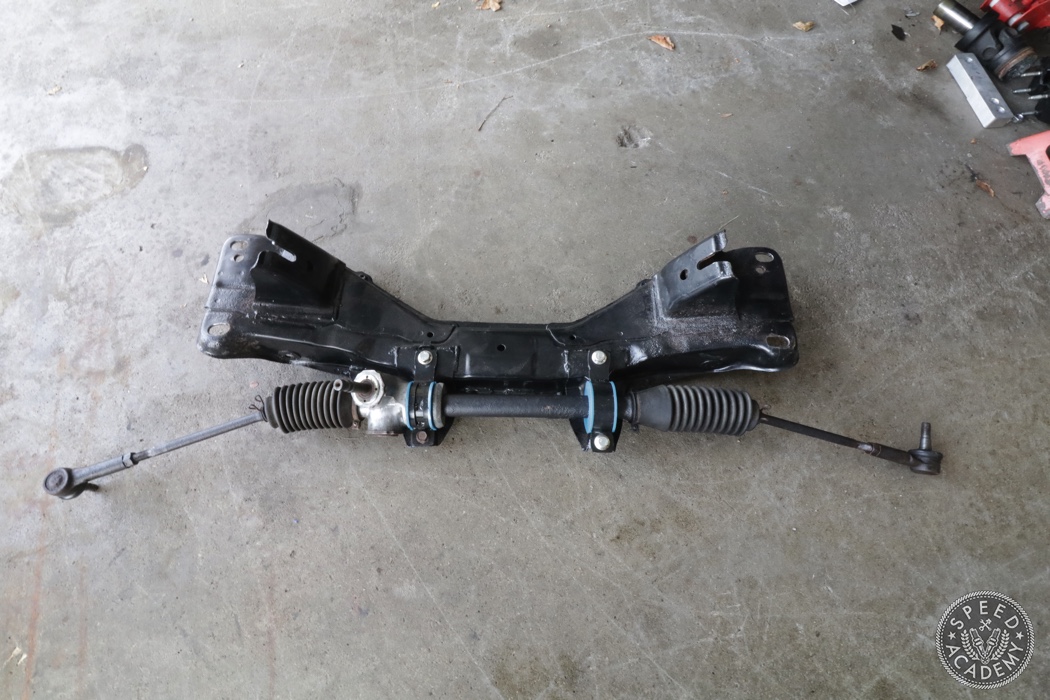
Before bolting Beamsy back to the AE86 front crossmember we also took the opportunity to replace the very tired, old rubber steering rack bushings with fresh, blue poly bushings from Xcessive Manufacturing for the AW11 manual rack we’re using.
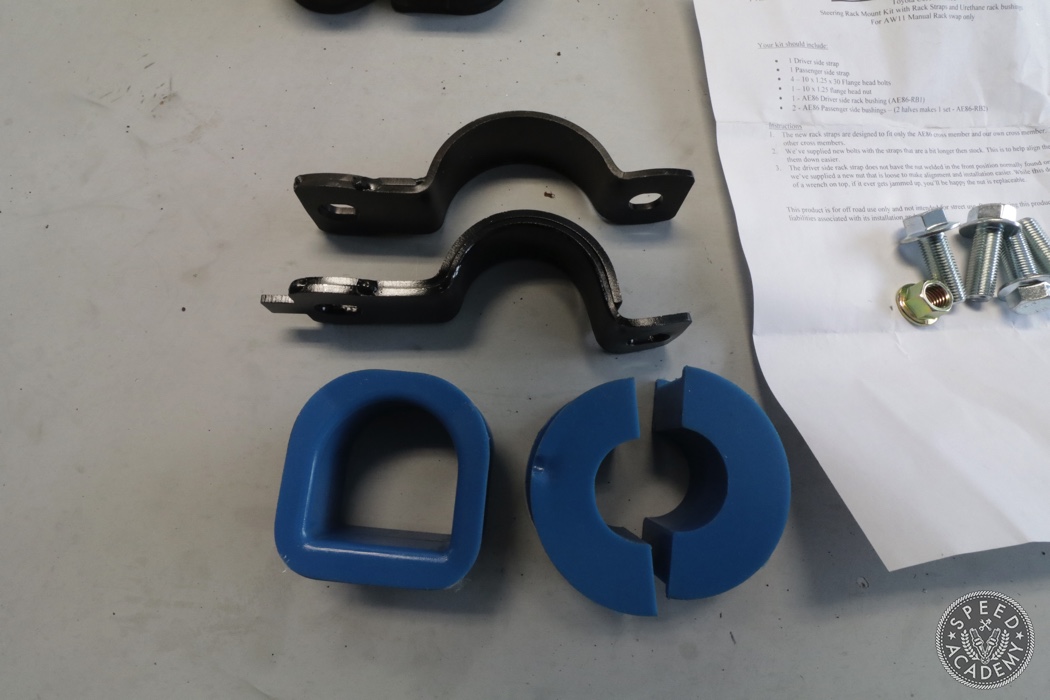
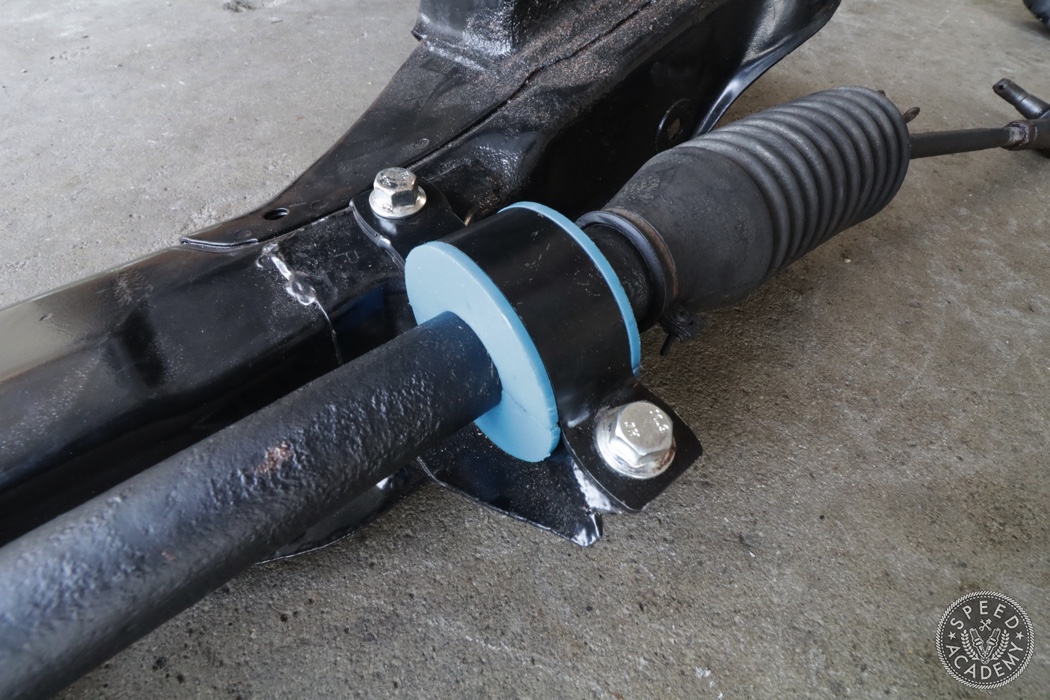
When I bought the AE86 crossmember one of the steering rack straps was missing, and since Toyota no longer produces these it was a huge relief to learn that Xcessive now makes replacement straps .
That brings you up-to-date on the engine and trans swap part of the build, and if you’d like to see how we finished off the steering system installation check out the video above.
That’s it for now, but stay tuned for more updates including the AE86 rear axle swap, AE111 Blacktop ITB test fit, and the quick suspension installation we just completed so that the Celica is a rolling chassis for transportation to Vibrant Performance’s R&D Centre for a header and exhaust build that you’ll see in detail on our YouTube channel soon.
hi guys! awesome job on the Celica! im doing a ke70 beams swap and want to use xssesive manufacturing engine brackets with cusco ae86 engine mounts, wich brings the engine down 1cm, i think the crossmember of the ke70 and the ae86 are the same, is there any space under the engine with the oem engine mounts to lower the engine 1cm and not hit the crossmember? please reply me asap as i need to order parts, thanks! keep the good work!
Part3?
There’s like 30 more parts on our YouTube channel 😉 But I will write something specifically about the Beams install. Any info in particular you’re looking for?
Hi Dave, question about the exhaust from season 1. I saw that you were at the Vibrant Performance R&D centre for the exhaust build. Are they open to the public for exhaust fab work? I have a 1972 Toyota Celica with an Buick Grand National engine and drivetrain setup, and have an exhaust system on it but would love to have it redone with some mandrel bends.
Great job on the Beams swap, and the rest of the build.
Hi Paul. The Vibrant R&D Centre is only used for testing and developing new parts for the Vibrant catalog. However, there are lots of excellent exhaust shops around that can build you a top quality exhaust system using the same Vibrant components we used on my Celica. If you’re located in the east end of the GTA, Mike Catell at GT Custom Exhausts in Oshawa does great work and has a Beams powered Corolla wagon of his own. He’s a great guy, his prices are very reasonable and he uses Vibrant components. Mark Gentile at Proper Fabrications in the Scarborough… Read more »
Thanks so much for the info Dave, greatly appreciated. Will visit the East end guys in the spring. All the best with the rest of the build.
what inner tie rod ends did you use? or where they aftermarket?
We are using TechnoToyTuning power steering outer tie rods and Hardrace AE86 power steering inner toe rods (the p/s and non p/s tie rods have different diameters, so you can’t mix and match), but on a manual AW11 steering rack. We may fit up a power steering pump at a later date, if Dave’s tired old arms need a little help.
jump to 9:30 of this video for more: https://www.youtube.com/watch?v=7CoXJ_Ojgck
What SPEC Flywheel is that one you used? Is it ST88A-2? This has been really helpful, I’m doing an RA40 swap but much of what you are doing works for my swap.
Hi Dino. You can search Spec’s website for the Toyota Altezza and you’ll see what’s available for the Beams which they list as 2.L 6-speed. I opted for the Stage 1 clutch since it has more than enough torque capacity for my power goals and will work very much like a stock clutch. https://specclutch.com/applications/toyota-altezza-2-0l-6sp/?car_year=2001&type=13925