As you can see here, the passenger side seat is a good 3” lower than the driver’s side seat, and that’s because we couldn’t use the Buddy Club rail on the driver’s side at first. The factory mounting locations had been removed by the previous caretakers of this car, but Cyrious Garageworks rebuilt them so that the Buddy Club rails are now in use on both sides and as a result we’ve got plenty of headroom for our helmeted noggins not to mention a lower centre of gravity with our 400-ish lbs of man-flesh in the car during Targa stages. You can also get a nice look here at the cage Pat Cyr and the gang at Cyrious Garageworks built for us and how tightly fitted it is to the cabin. This gives us the clearance we want for maximum safety, not to mention it makes it much easier to get in and out of the car (don’t worry, the harnesses weren’t fully installed yet).
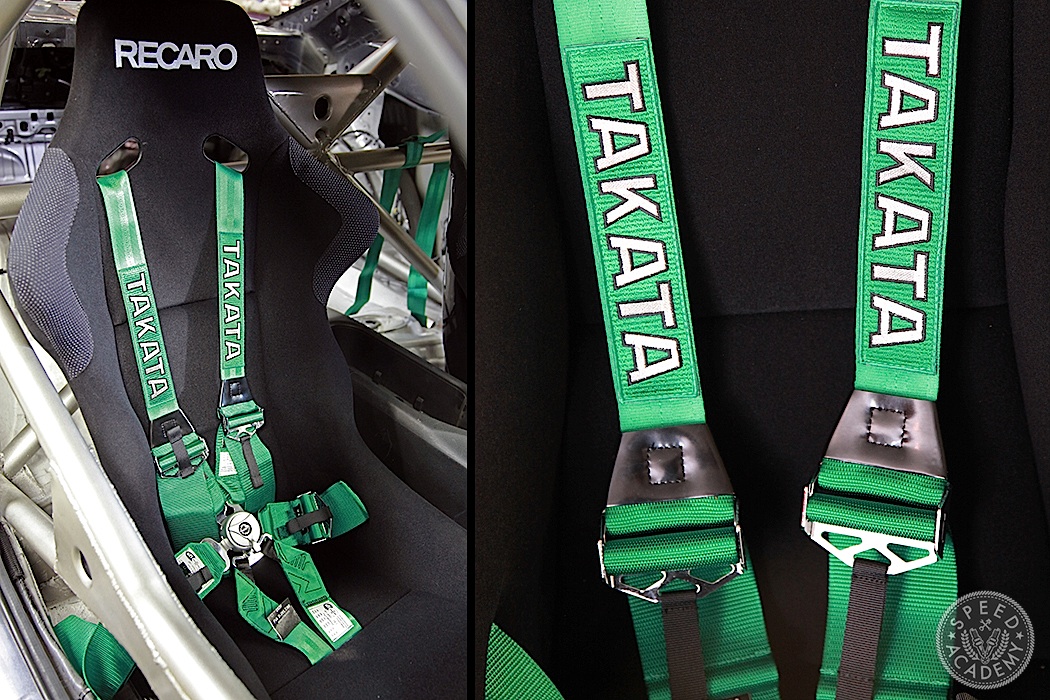
It didn’t take us long to fully install the Race 6 HANS harnesses, which we sourced from TakataRacing.ca but our American friends will want to use TakataRacing.com. As you can see, the portion of the shoulder belts that cinch down onto the HANS device are 2” wide, perfectly matching the friction surface on the HANS, while the rest of the shoulder belt is 3” wide. You can use a regular 3” shoulder belt with a HANS, but the 2” section on these allow for a better fit and improved installation angles behind the seat. The 2”-to-3” belts are also just as strong as full 3” belts, so there’s absolutely no downside to this design. The Race 6 HANS is FIA approved and made by Takata Racing’s European division in Germany, so you know they’re top quality, plus they’re available in Black as well as the traditional Takata Green we opted for.
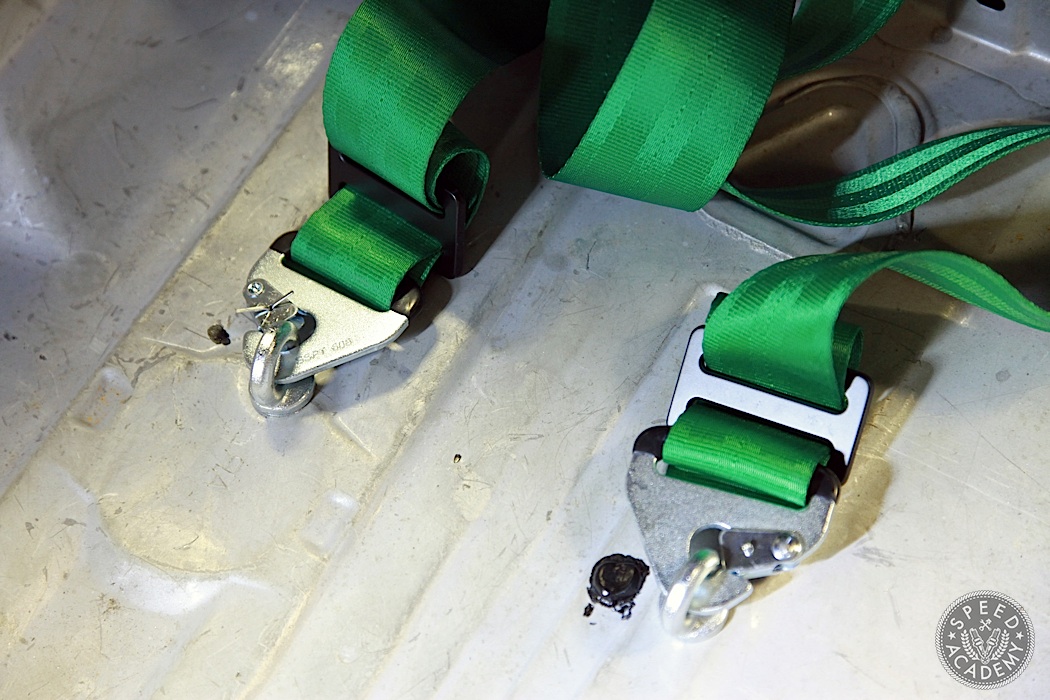
Installing harnesses can be intimidating the first time you do it, especially given how critical they are for safety, but Takata includes very detailed installation instructions which really make it a worry-free experience (but if you still don’t trust yourself, take them to your local race shop for installation). Be warned, though, that with a 6-point setup like this you’re going to have to drill a few holes in the chassis. It only hurts the first time, we promise. In our case, we drilled two holes for the anti-sub straps (or crotch belts, as they’re sometimes called) such that they’re at about a 20-degree angle behind the pelvis of the seated and strapped in occupant and they’re also about 4” apart from each other, as per Takata’s instructions on belt geometries. We also wrapped the shoulder belts around the harness bar as per their instructions and then zip-tied the excess belt into a nice, neat little roll. We even had matching green zip-ties for the job. That’s good for 5-hp, right?
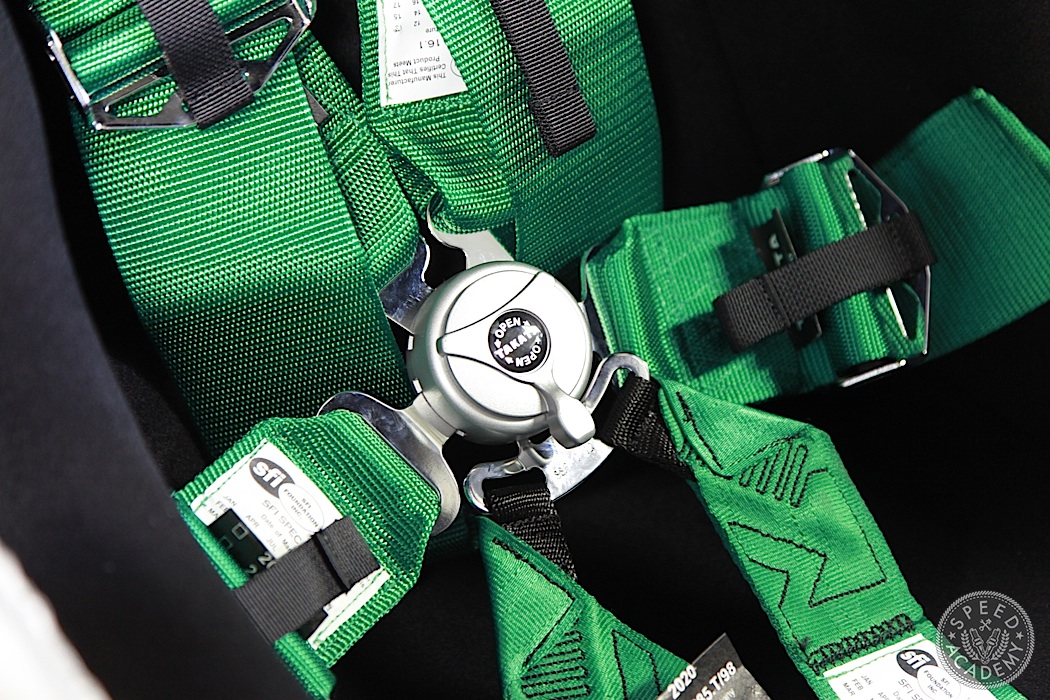
The central camlock that the belts all plug into is beautifully constructed and works smoothly, effortlessly and precisely. There’s never any guessing if the belts are snapped in place securely, and the pull-down belt design makes them a cinch to tighten. They’re also very easy to loosen thanks to the clever design of the belt adjusters, and jumping out in case of an emergency is as simple as a flick of the wrist on the latch release on the camlock.
That wraps up the first of our go-fast bits installation stories, but as you’ll soon see in Episode 3 of our Targa Build video series, we’ve moved on to suspension and brakes and have lots more good stuff coming after that.