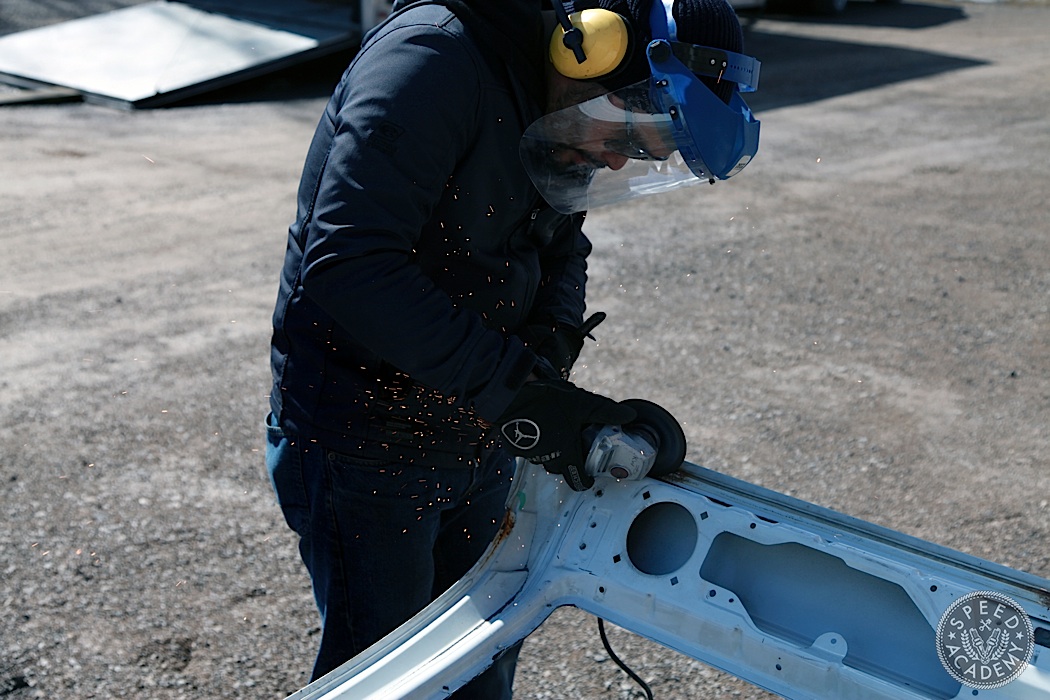
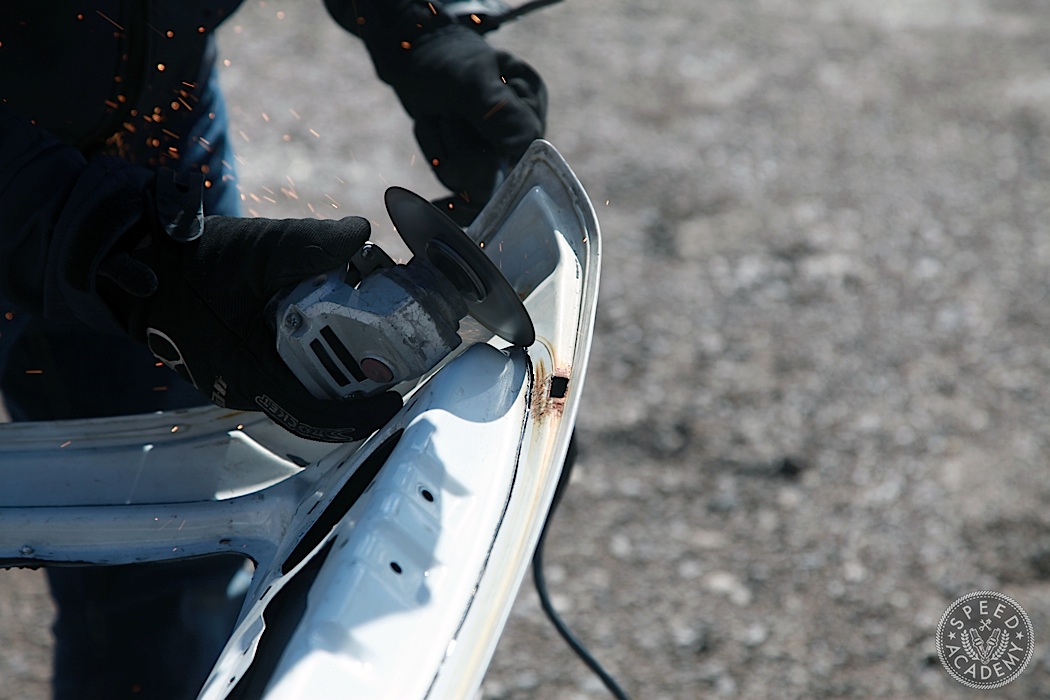
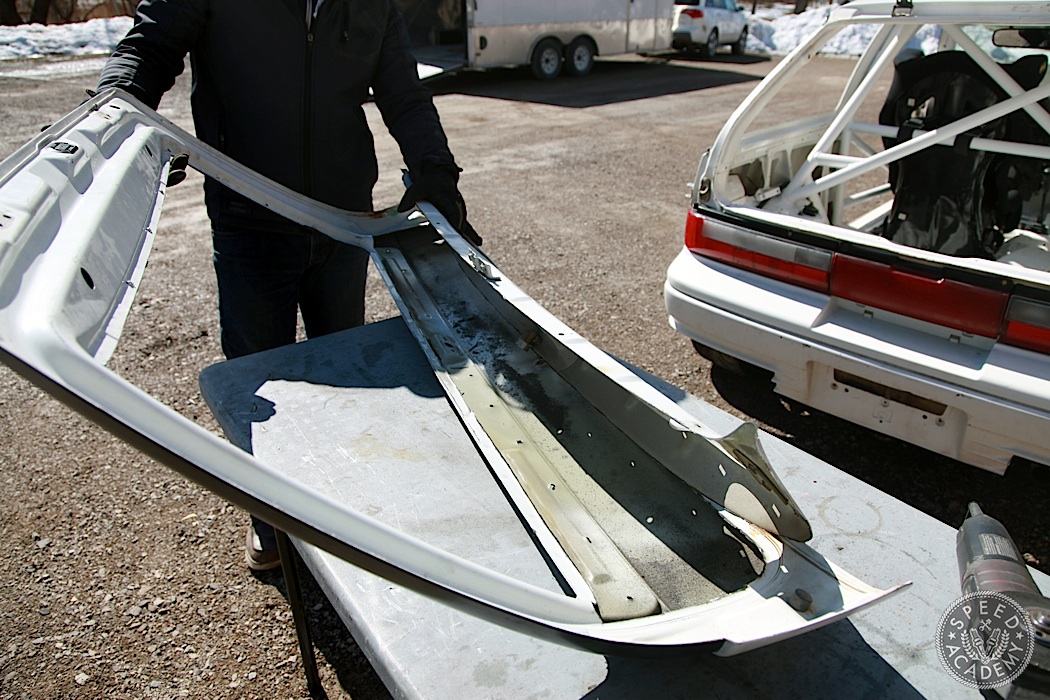
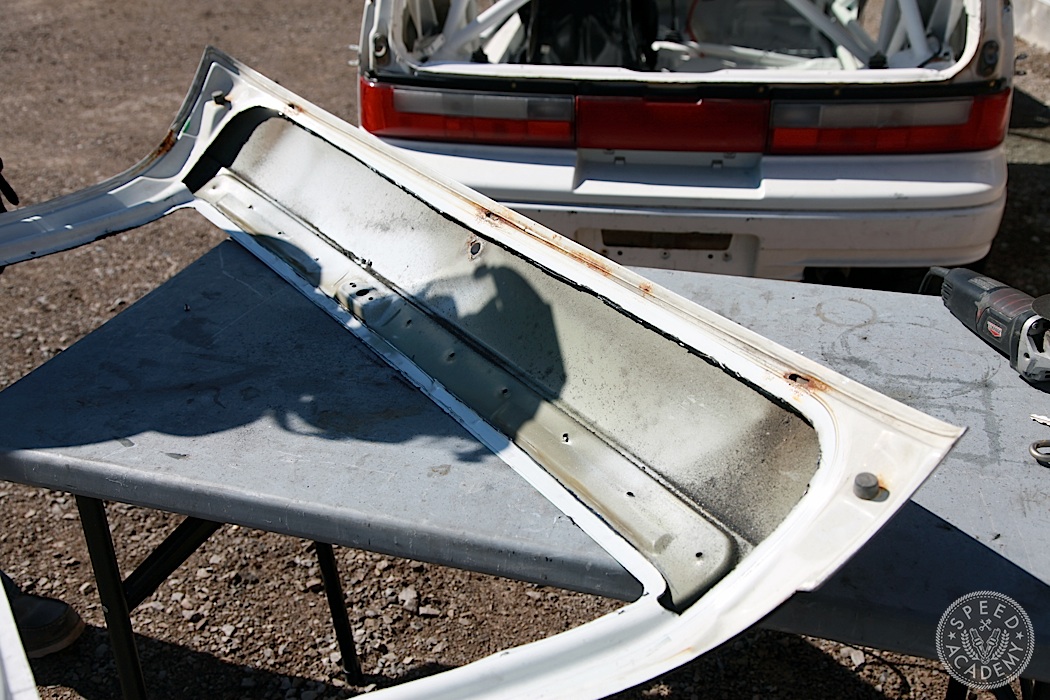
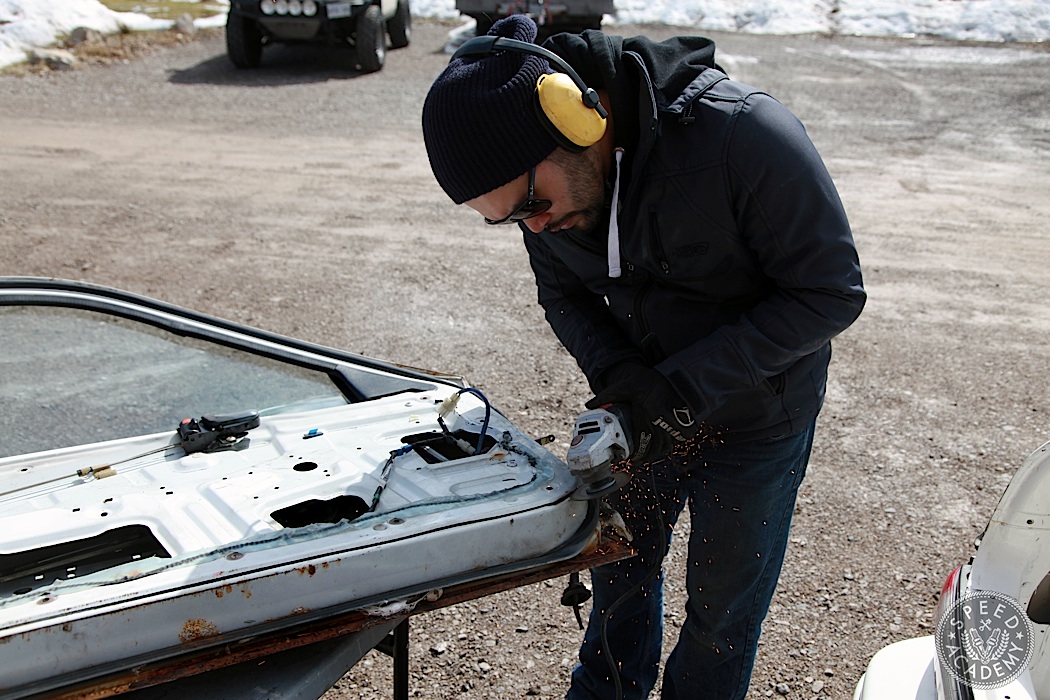
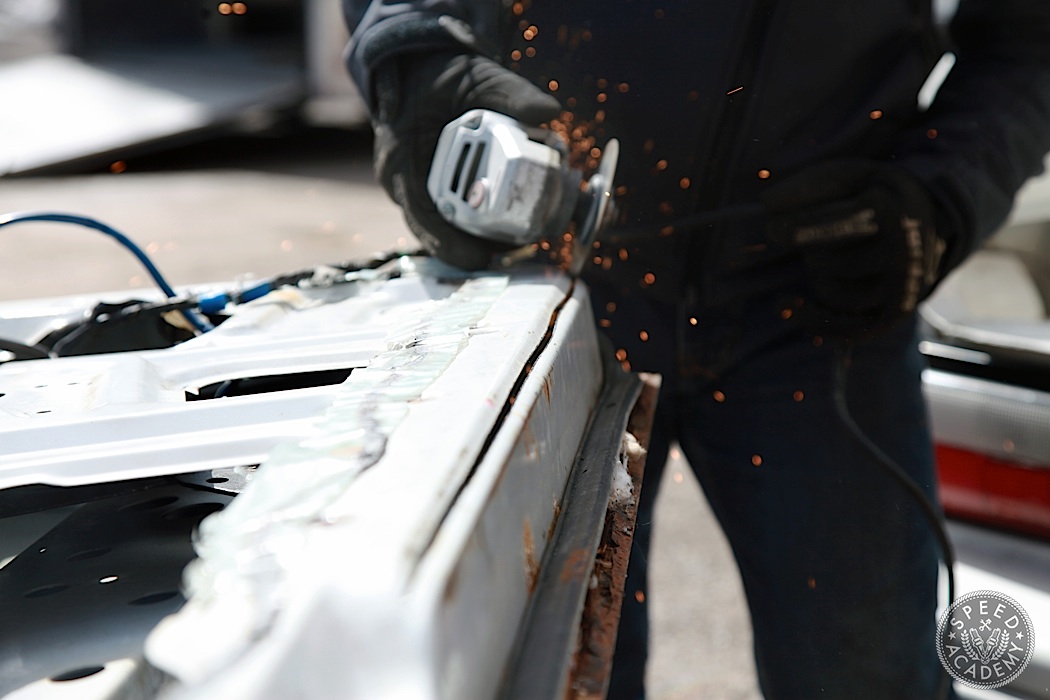
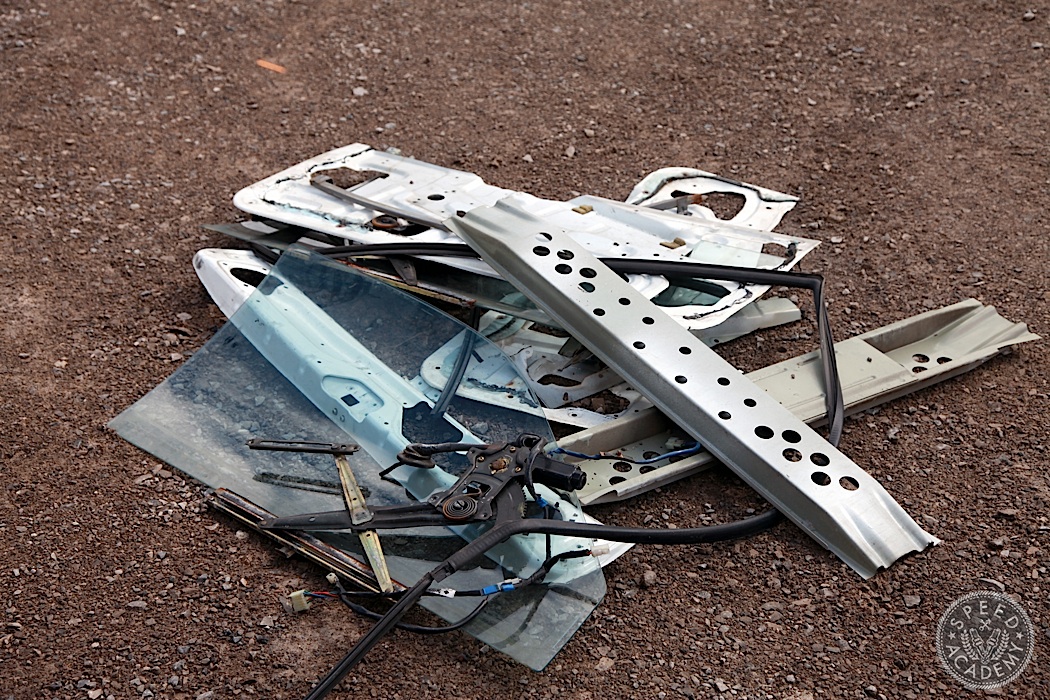
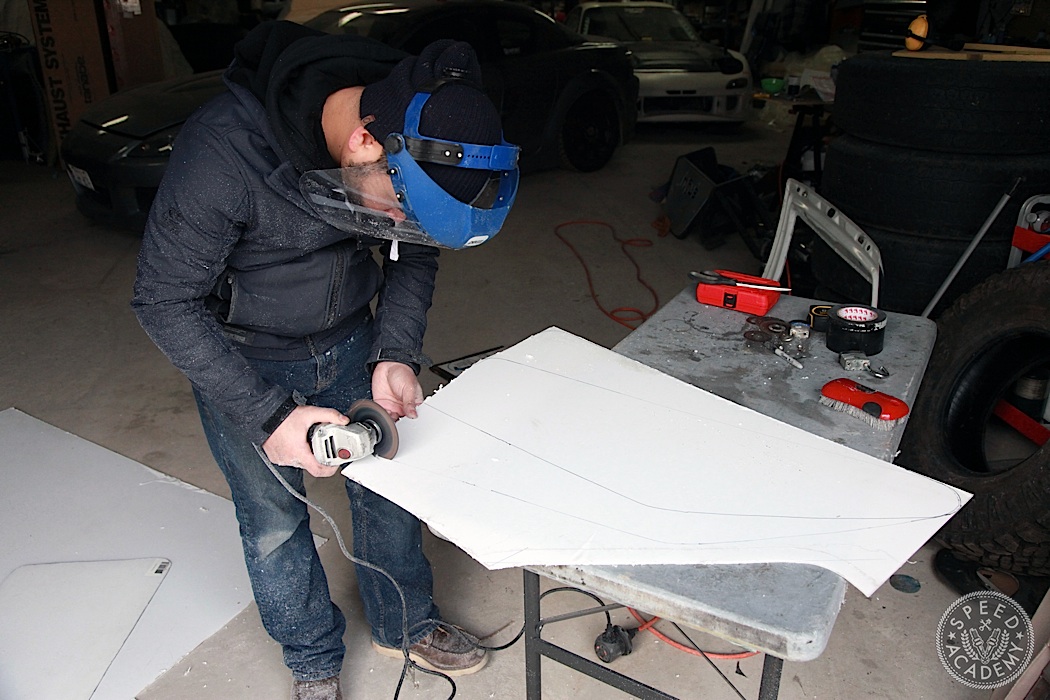
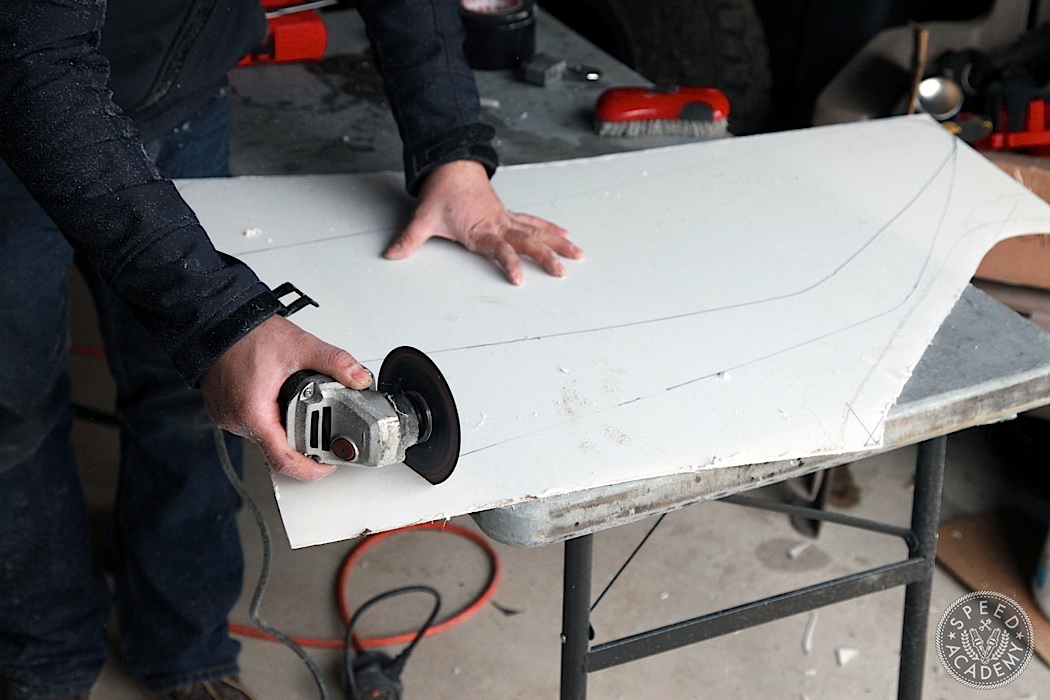
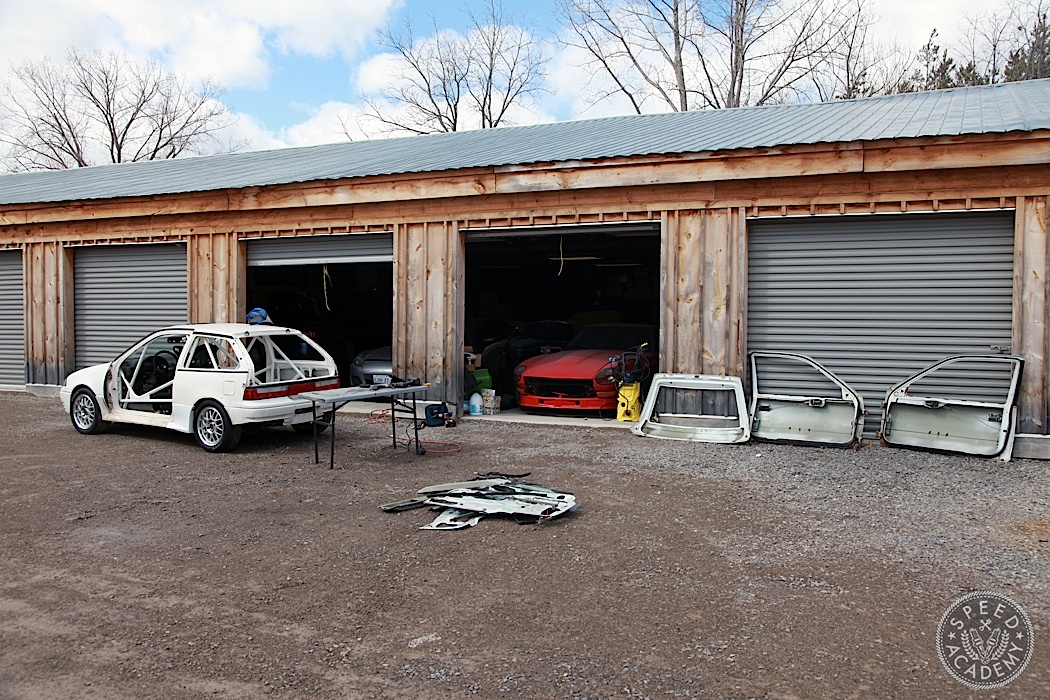
With the rear glass out of the hatch, Ken busted out the angle grinder and made sparks fly while cutting out the one area of the hatch that had a fair bit of metal that was no longer required.
We didn’t have a scale handy, but this piece of metal was probably 5 lbs or so, which may not sound like much, but when you add it to the weight we were about to take out of the doors it really starts to add up. You’ll see what I mean.
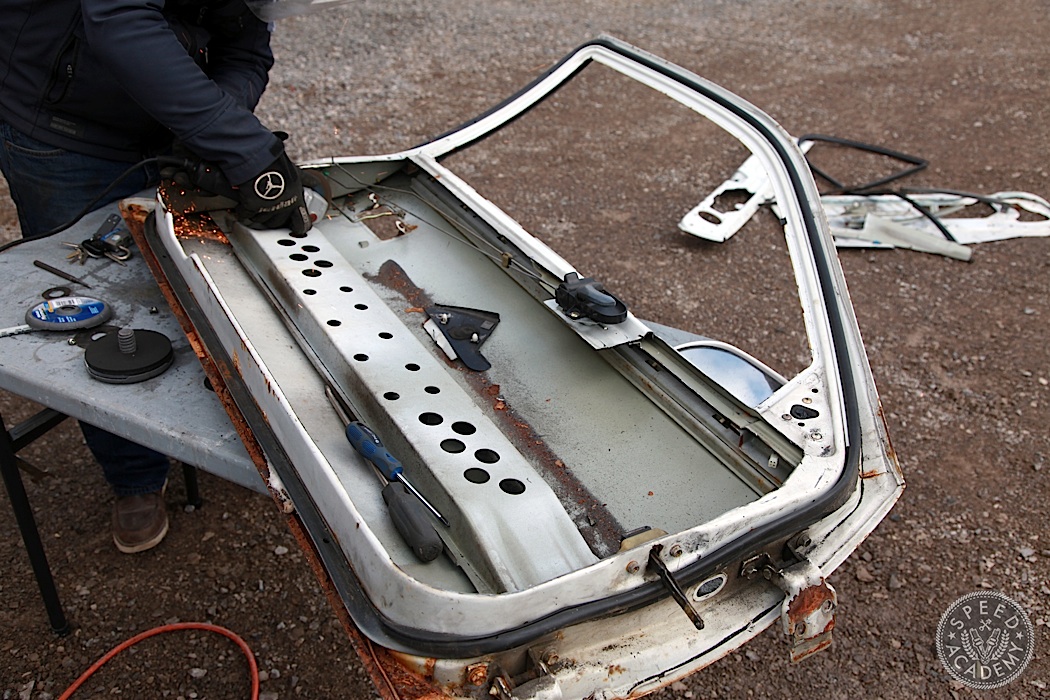
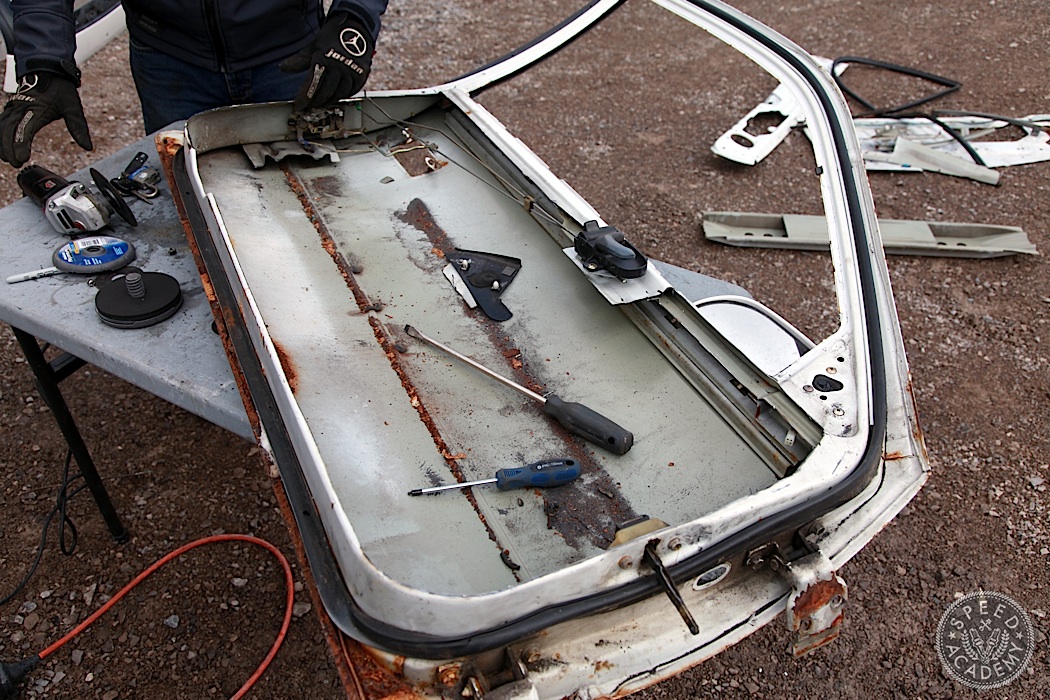
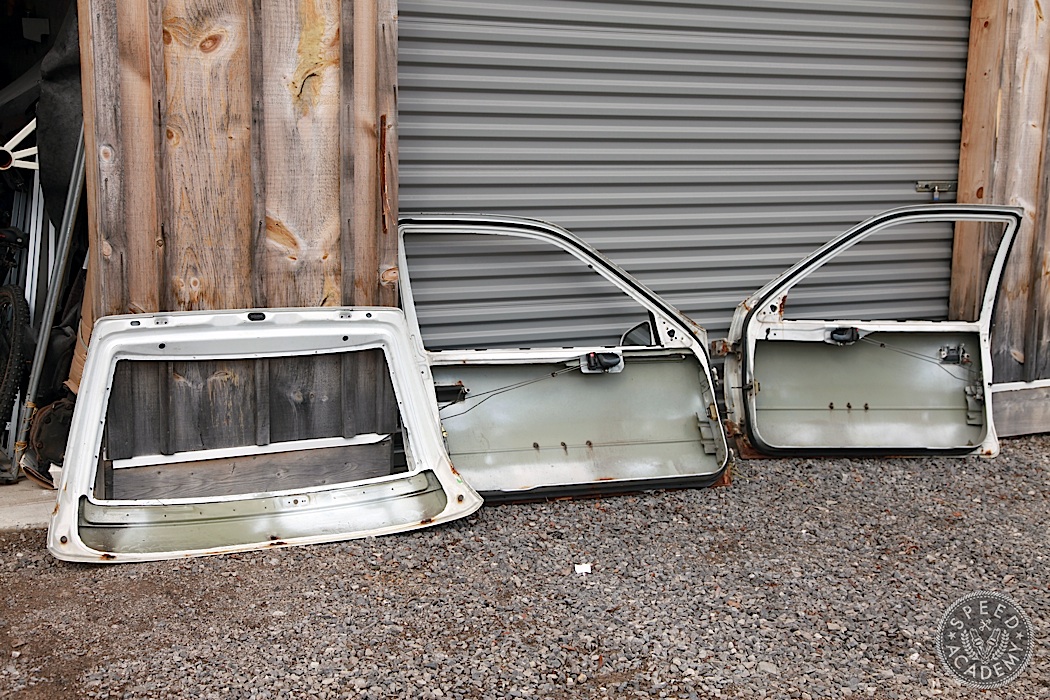
Step 1 with the doors was removing the windows and slider mechanism, which sounds easy enough but it was actually a bit of a PITA since some of the bolts that hold the slider and window crank gear in place were seized. Still, with a bit of strong persuasion and the old angle grinder, we could add these to our growing scrap heap. Then more sparks as we begun to fully gut the doors. Ken clearly has a passion for the angle grinder!
With the inner skin of the door gone, the next step was to cut out the big, heavy crash bar (made redundant by the roll cage). More angle grinder action and out it came!
In the end, I’d say we took a good 40-50 lbs out of the little Swift with this angle grinder attack, bringing its race weight down somewhere in the 1600 lbs range. That’s a good 400 to 600 lbs lighter than most of our competitors will be in Class A, and over 14 hours of racing that could pay off for us. Time will tell!
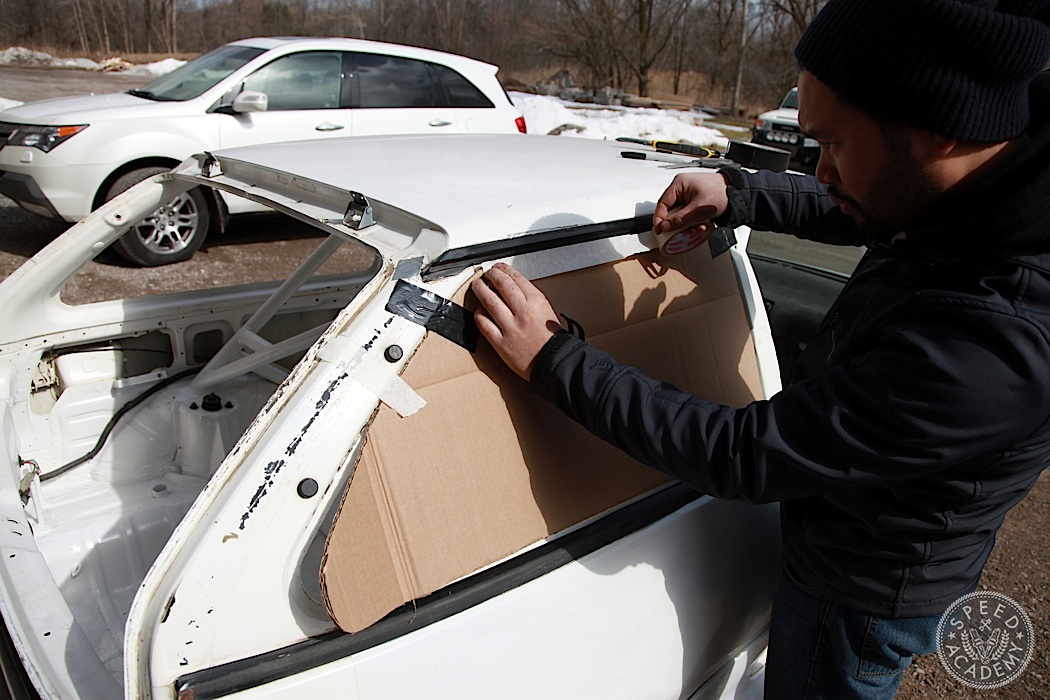
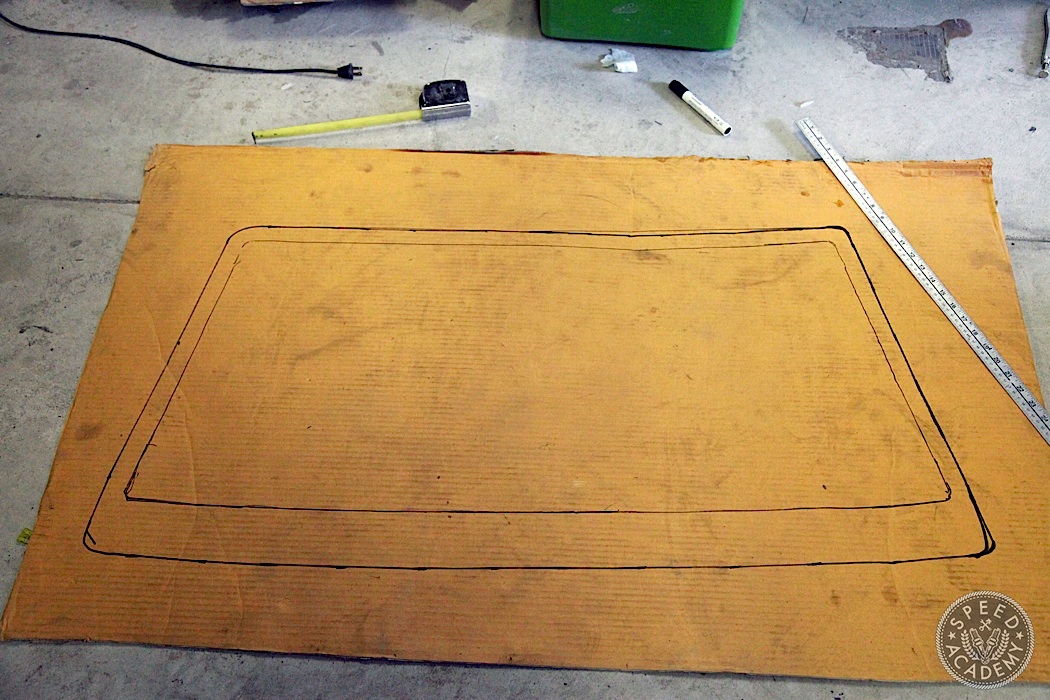
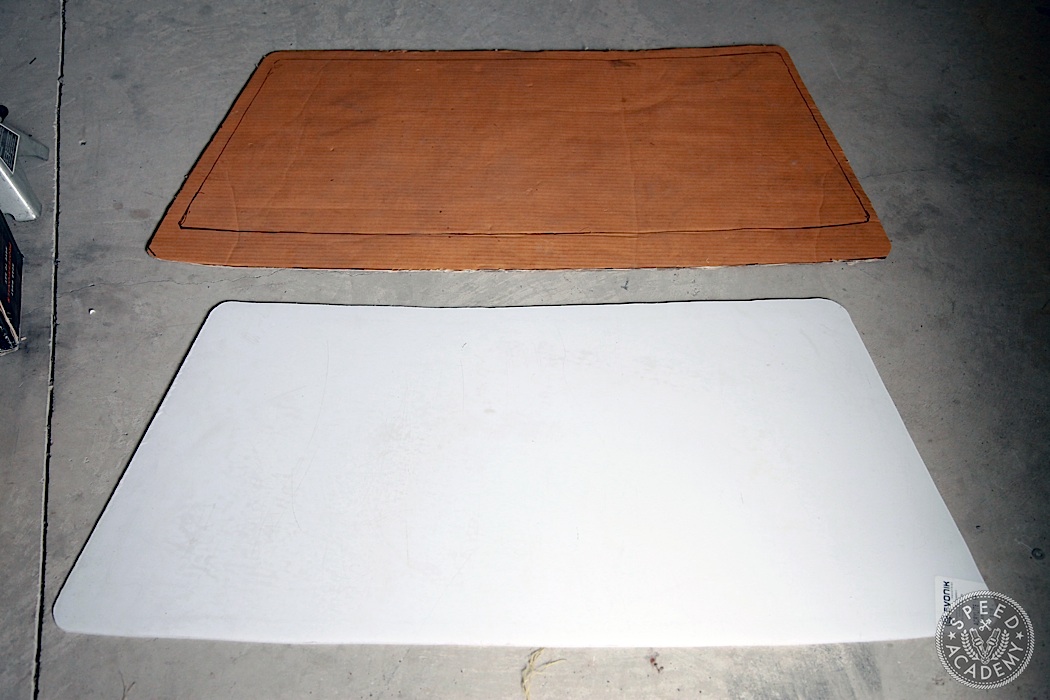
Although the rules permit running with no side windows or rear glass, we decided to fill these giant holes with Plexiglass. This would keep us warm(ish), dry(ish), and should improve the car’s aero around the very high speed Mosport GP circuit (we’ll never get used to calling it Canadian Tire Motorsport Park). We could have gone for the more expensive option of Lexan/polycarbonate material for these windows, but since the rules allow Plexiglass, which is half the price of Lexan, we went the cheap route. You know, because it’s a ChumpCar. For starters, this meant making some cardboard templates, since Kevin removed the OE glass and forgot to put it in the trailer (tracing the stock glass is a quick and easy way to make plastic windows…duh).
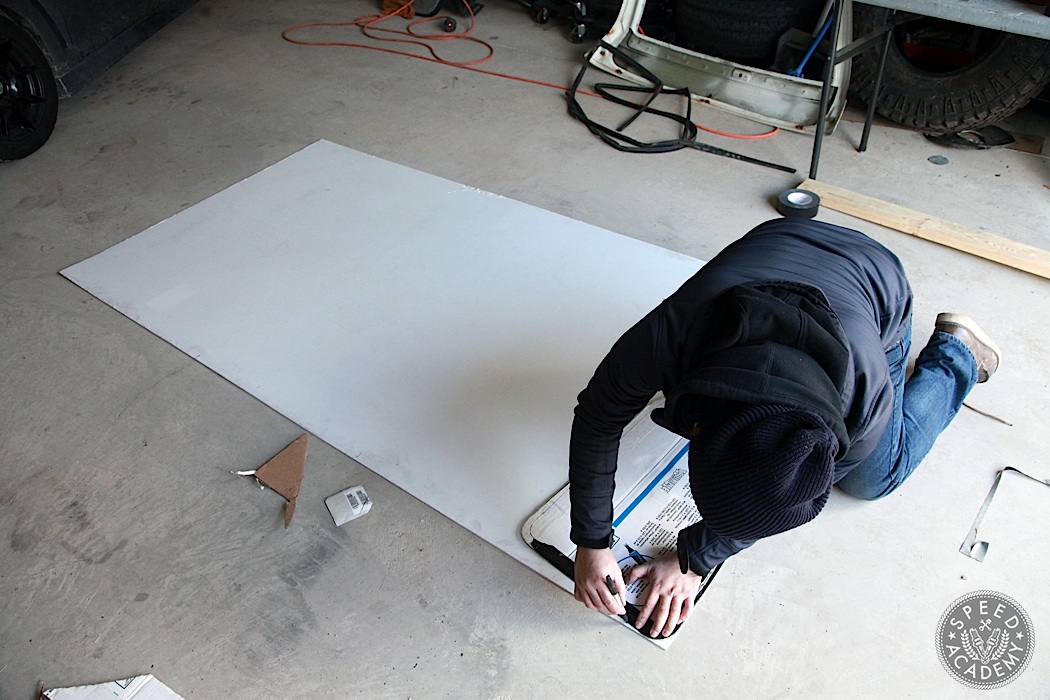
With the template fine tuned to our liking, we tested it on the other side (even better fit, lol), we traced it out on the large sheet of 1/8” thick Plexiglass we picked up at Rona (the Canadian Home Depot). FYI, ChumpCar rules stipulate a minimum 1/8” thickness for these windows.
Then we started to cut the first window and the Plexi cracked. Plexi 1, Speed Academy 0. The cracking was probably due to a combination of cold weather, a giant piece of Plexi making it hard to control vibrations, and a jigsaw blade with too aggressive a tooth pattern. We switched to the angle grinder and it worked much better, but we cracked an edge again. Plexi 2, Speed Academy 0. It was getting colder and colder at this point, so I took the Plexi home and cut the windows in the warmth of my home garage, clamping down the edges to prevent vibration and using a fine-toothed blade on my jigsaw. Plexi 2, Speed Academy 1. We’re on the board!
The process for the hatch glass was the same as the side glass. Cardboard template traced onto the Plexiglass and then carefully cut out so as not to crack it. After that I fine-tuned the edges to fit the hatch as closely as possible, taking some material off with a sanding wheel on the angle grinder.
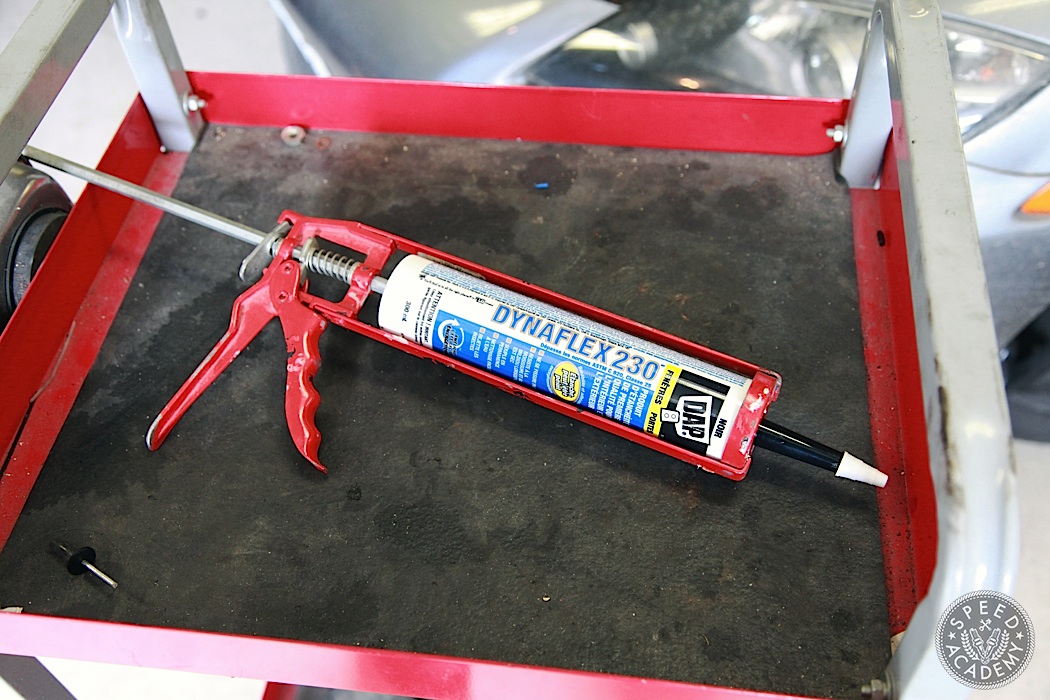
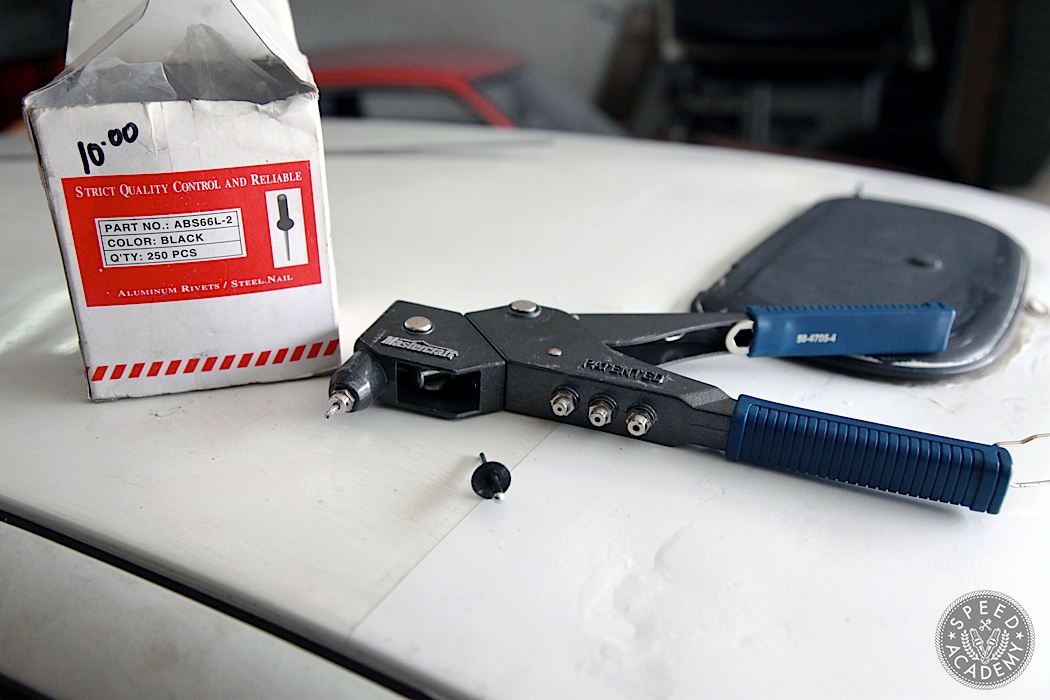
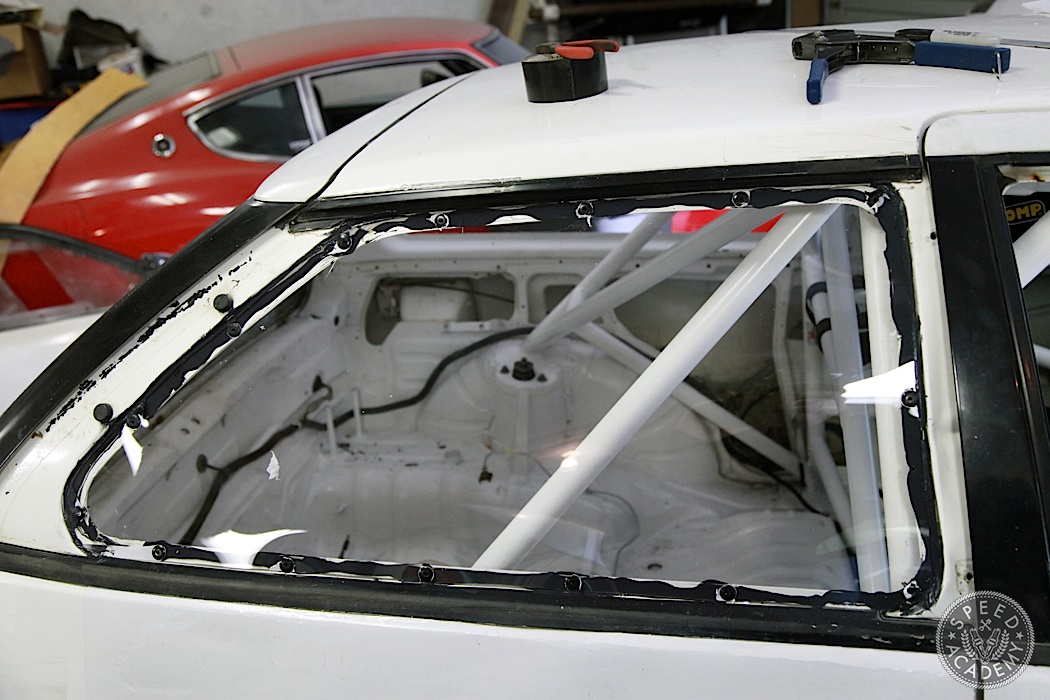
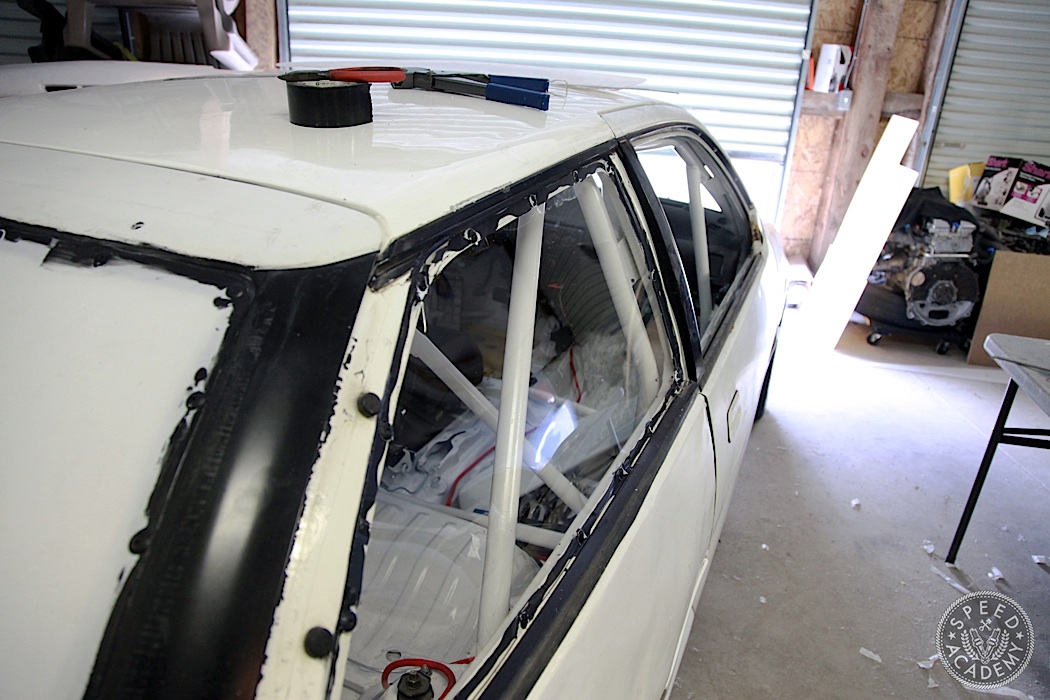
This hatch has had a plastic window in it before because there were holes drilled around the sill, so I marked the hole locations on the Plexi, making sure they were no more than 8” apart as per ChumpCar rules, drilled the holes slightly oversized so as to relieve any stress and avoid cracking the Plexi when riveting them in place. Then I ran a heavy bead of caulking to glue it in place and make a water tight seal before riveting it across the top and down the sides with some fancy black RacinRivets Ken had handy. Before riveting down the bottom we’re going to heat up the Plexi to bend it, because without heat it will definitely crack as the angle to attach it to the bottom is pretty severe. I’ll report back on how this worked in the next ChumpCar update.
The side windows were relatively easy to install, though I had to drill holes in the sill and in the Plexi, so marked those out carefully before drilling them at a 6” spacing so as to be well within ChumpCar’s specs. Like a newb I didn’t put enough caulking along the sill so it doesn’t completely cover the white sill and looks a bit cheesy, but whatever…it’s a ChumpCar! Job done, and with the protective film peeled off both sides it looks half decent and will help keep the trunk mounted battery dry. The exposed area between the rear of the side window and the hatch is normally covered by blacked out glass, so maybe we’ll paint it so it doesn’t look so goofy, or maybe we’ll leave it…because it’s a ChumpCar!
That’s it for now, but we’ll be back with another ChumpCar update when we install the fire suppression system and do a bit of last-minute testing and tuning prior to the April 18th and 19th race at CTMP. Or maybe we won’t report back, depending on how busy we get, but we’ll definitely have a full story and/or video from the ChumpCar race, which should be tons of fun. I suspect we’ll get our asses kicked, since despite all my talk about lightness and fuel economy, CTMP is really a power track, as I learned when adding 250 lbs of “rewards weight” to my Canadian Touring Car Championship Honda Civic, which didn’t go any slower with the extra weight onboard. But whatever, we’re going racing, on the cheap, with a bunch of chumps, and are going to have shit-tons of fun doing it!
