Ok, so before I get started, if you haven’t read Part 1 yet, go do that now. Trust me, it’ll make this part make a whole bunch more sense.
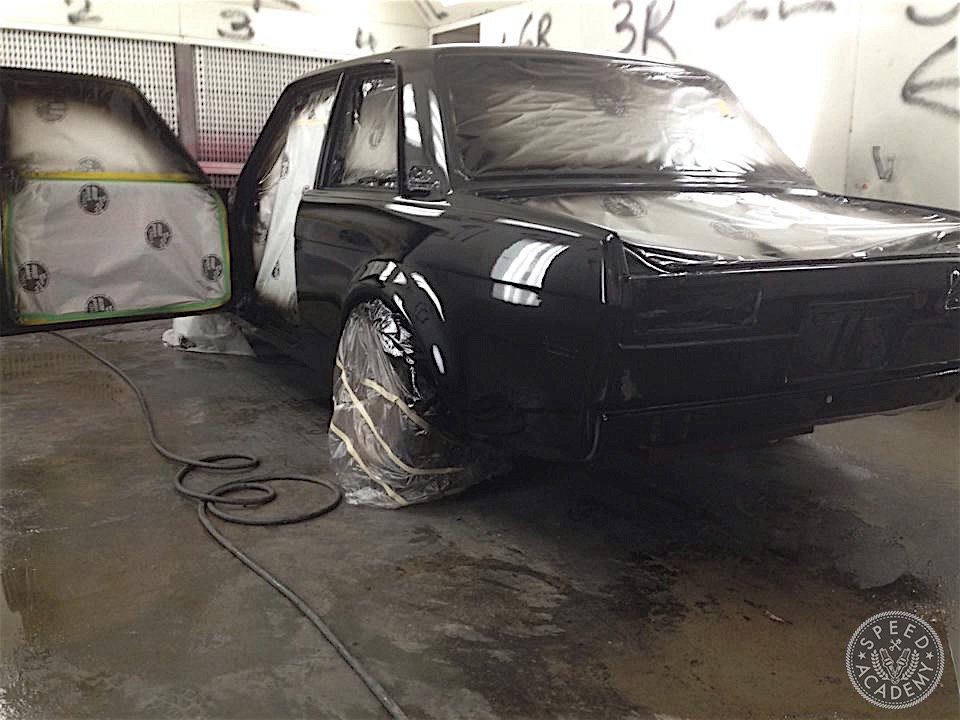
Now that you’re all caught up, at this point I was about a year into the build since I’d actually decided to finish it. Along the way, I had smoothed the engine bay out a little bit and painted it with the tutelage of Oscar Lopez. I had also focused on a number of other details, like the fuel system and brakes. This was my first time ever attempting to build a car from a rolling chassis, and as you’d expect, I had picked up some knowledge along the way.
It was here that I decided if I was going to do this I was going to do it right – or at least what I thought to be right. I decided that the KA engine wasn’t going to cut it. I had also purchased a turbocharged SR20, binned that idea, and moved onto building an NA SR20 using an S-chassis DET block and a VE head (along with a number of other conversion pieces). My thinking was that sacrificing a bit of power while losing the added heat and complication of a turbocharger setup would help simplify the car and make things a little more reliable. I was on the right track, but the idea needed refining. Finally I came back to genesis. Ever since I began the project, I had yearned for something more, something with an incredible specific output per liter, something simple, something reliable, something like…
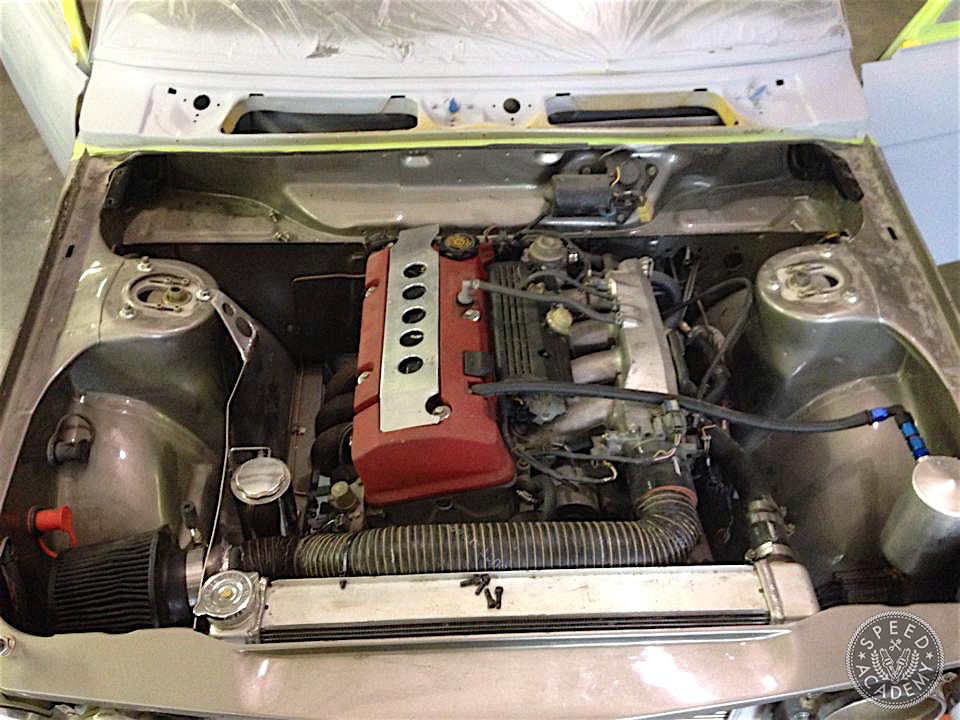
“…A Honda engine?”
This was my dad’s initial reaction to me telling him I was putting an AP1 S2000 engine in my Datsun (little did he know, I’d actually already bought it). It was immediately followed by a brief but uncomfortable silence, him walking away shaking his head and heading down stairs.
So I encountered some friction because of the nameplate on the valve cover. That’s fine. I wanted a reliable, relatively affordable way to make a fair amount of power (for a 2000-lb car), in as simple a package as possible, with lots of aftermarket support. To me my reasoning was sound, and this was the right route. This was the right decision, I told myself. I repeated this right up until I had to make the first cut into the virgin, rust-free chassis of my Datsun, in order to fit the transmission.
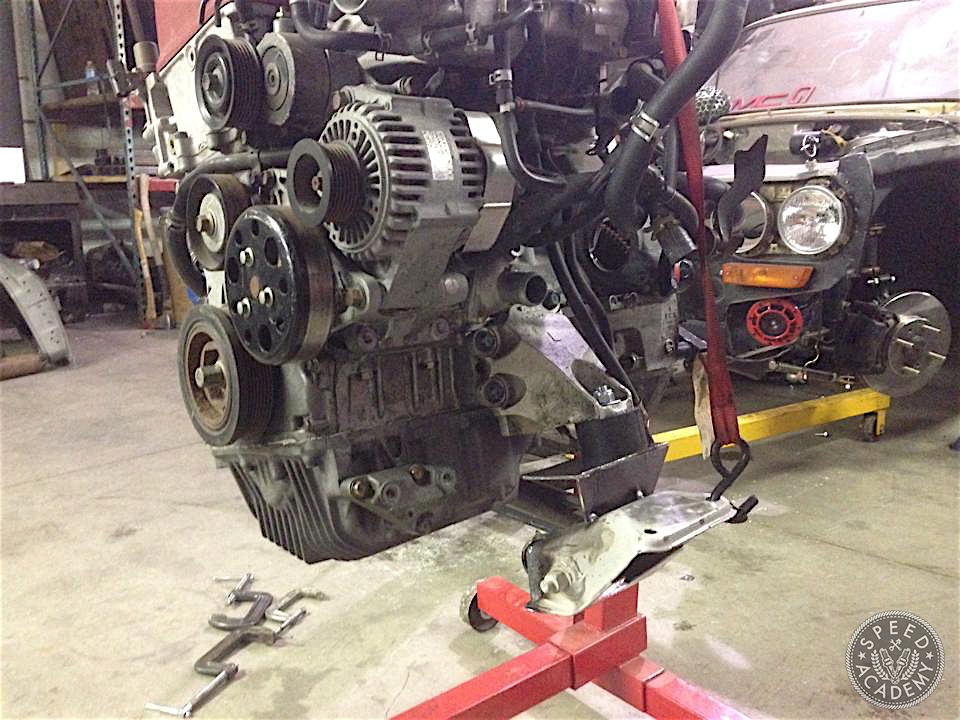
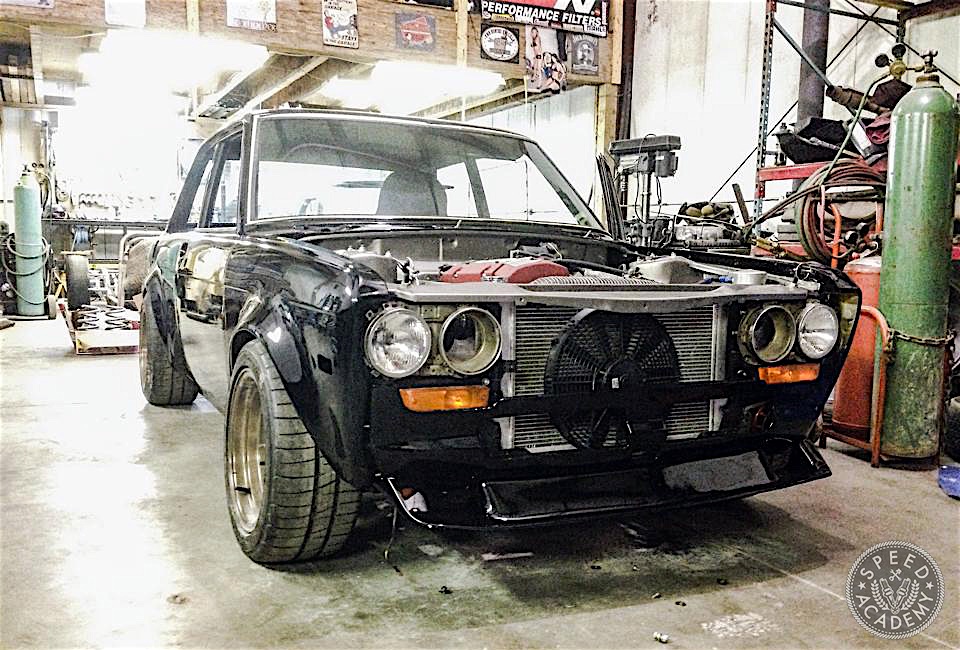
The process of getting the engine to sit in its forever home was actually relatively simple. The F20C is physically much smaller than the KA24 or SR20. I had lots of room to play with fore and aft. It was vertically where I was running out of room. These engines are very tall it turns out. At any rate, it had been done before, and thusly, it could be done again!
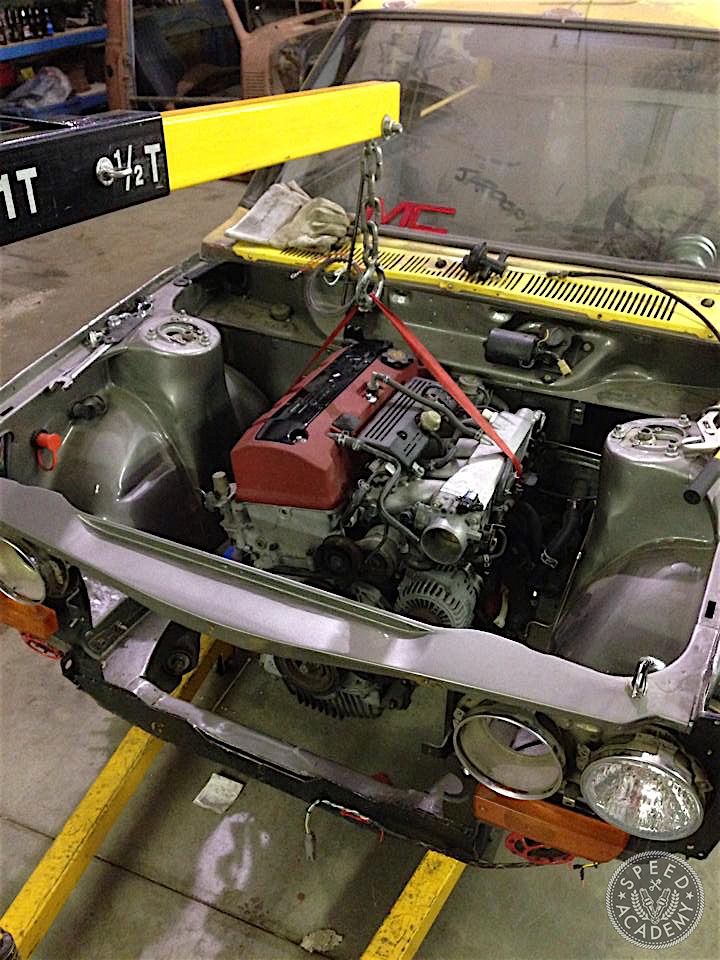
I wanted to retain the quick ratio steering box in the car, as well as as much sheet metal as possible from the wonderful people in 1970s Japan. I mapped out a nice spot in the engine bay that would allow me access to the back of the engine, maintained a nice driveline angle, and not put much more than the front cylinder past the front axle line. In the end, weight distribution ended up being almost exactly 50/50 with me in the car, while retaining access to all sides of the motor.
Now with my plan laid out, all that was left to do was everything. Making the F20 live in its less Honda home would involve some surgery. After some internet research (there aren’t exactly a million of 510’s sporting this specific swap rolling around on the web) some measuring, and a lot of thought, a plan was hatched.
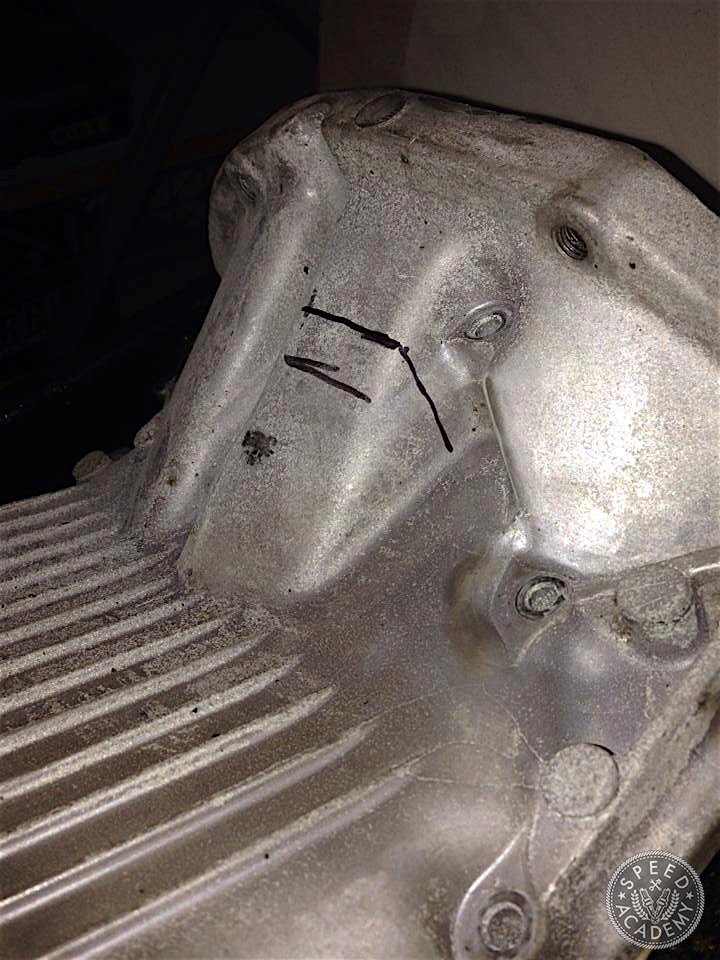
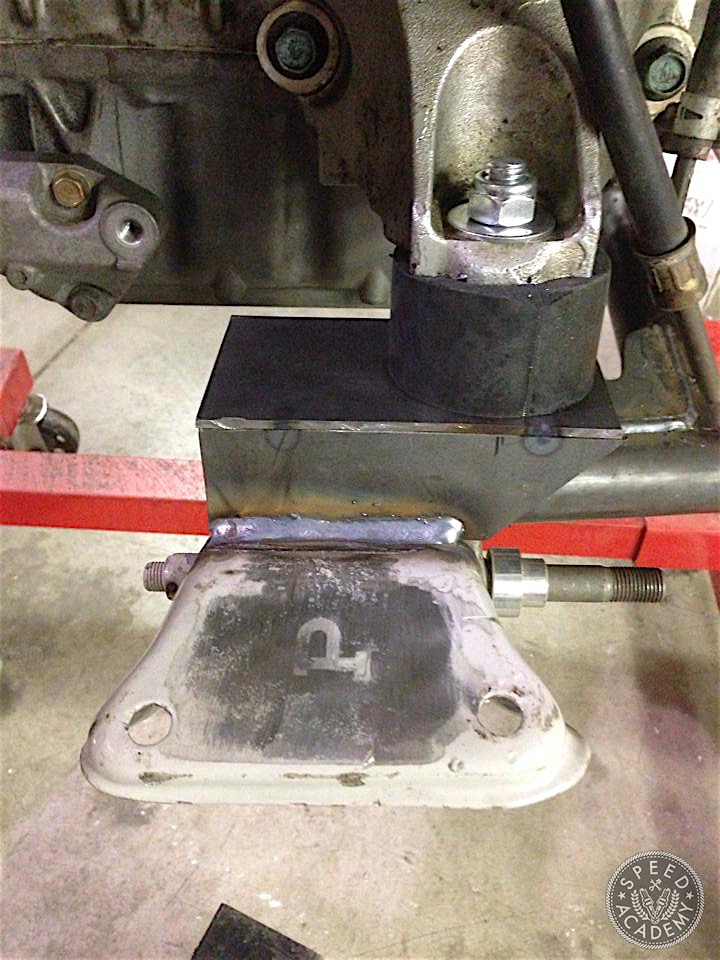
The first order of business was to make a rudimentary cross member that would fit the engine in the car where I wanted. After having the engine in and out about a thousand times, I had concluded that by machining a little non critical area off the oil pan to clear the steering drag link, I could use the stock outer portions of the cross member that located the control arms, add engine mounts, and link it all together with 1.5” DOM and be done…for now. The engine mounts were essentially boxes made of 1/8” plate with a bolt welded in from the back side, and a high durometer rubber bushing to act as my NVH control.
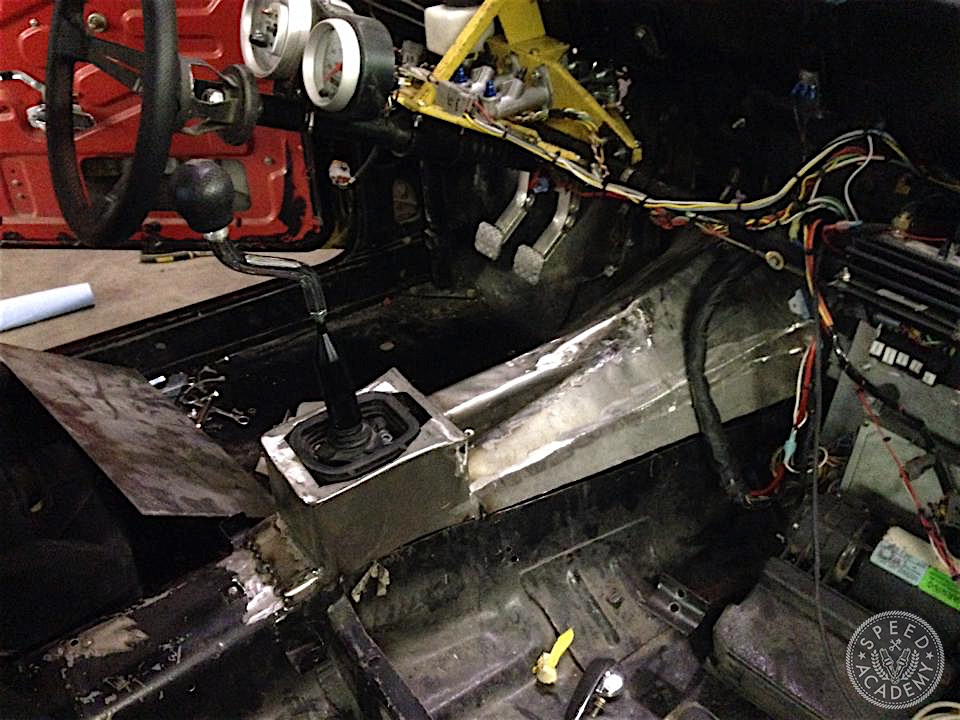
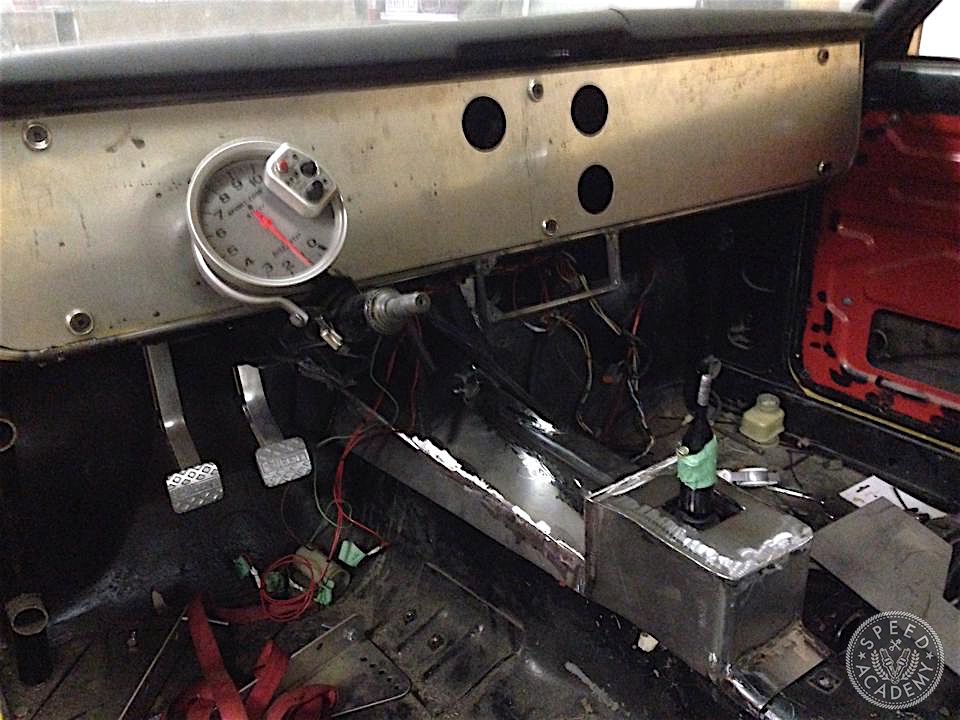
With the engine situated, it was time to make the engine live in the car, and talk to the rest of the drivetrain. If you’ve seen an S2000 transmission, it has an elevated shifter, and a rod that runs from the elevated shifter box to a spot just forward of the middle of the transmission, just rear of the bellhousing. This rod annoyed me. The bellhousing was a little too large in diameter to fit in the factory opening in the firewall. However the rod meant that the rest of the tunnel would need to meet the death-wheel.
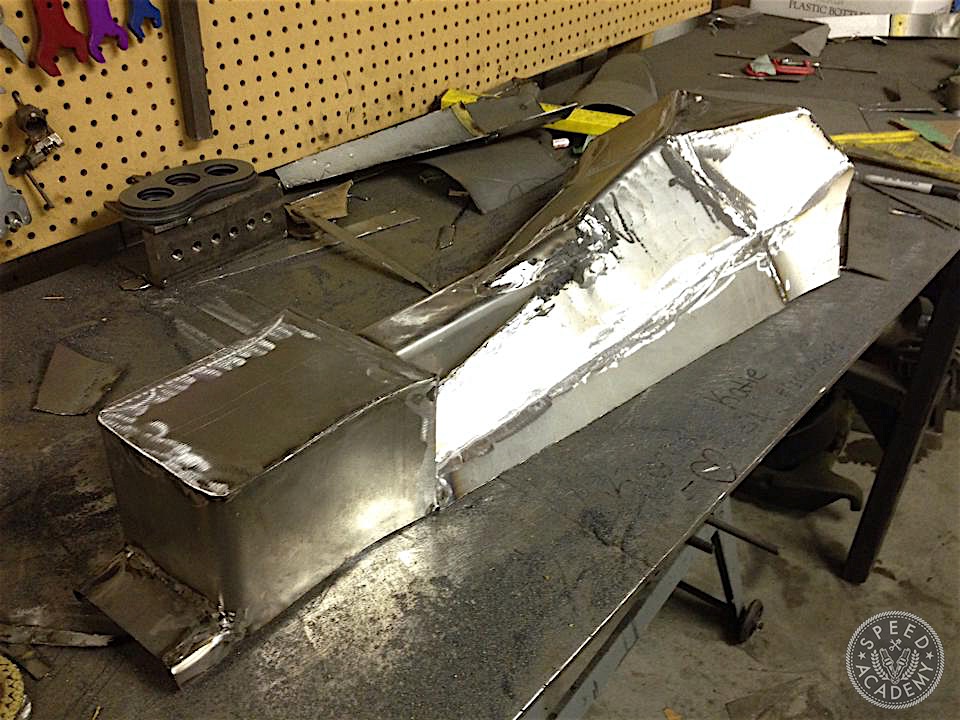
The cutting commenced, a part of me cringed, a part of me was excited to fit everything together, and a part of me got burnt by hot metal. Once the grinding dust had settled, I resigned myself to the fact that the large shifter, and shifter rod meant that there was going to be nothing left of the top of the factory tranny tunnel, so it might be best to just call it quits and build a new one. I fabbed up a sheet metal hat for the tranny tunnel to accommodate the S2000 transmission and all its gangly appendages, and we were off to the races.
Awesome post John Paul and great car. Do you have any wisdom/advice for someone considering a Datsun/F20C build? I don’t have a chassis yet, but I’m most likely considering a Datsun 1200 truck/ute for the project. Thanks!
Great write up! I’m in the process of doing the same swap in my 510 and a search for trans tunnels turn up your article. I may be in touch (if you don’t mind) to squeeze you for some tips with getting mine in. Once again, awesome!
I know this is old.but I’d love to know which radiator he’s using.