With the Jackson Racing supercharger and track oil cooler kits installed and tuned to 262-whp by Sasha from OnPoint Dyno, it was finally time to hit the track with our Scion Canada FR-S and see where we’re at after all the hard work.
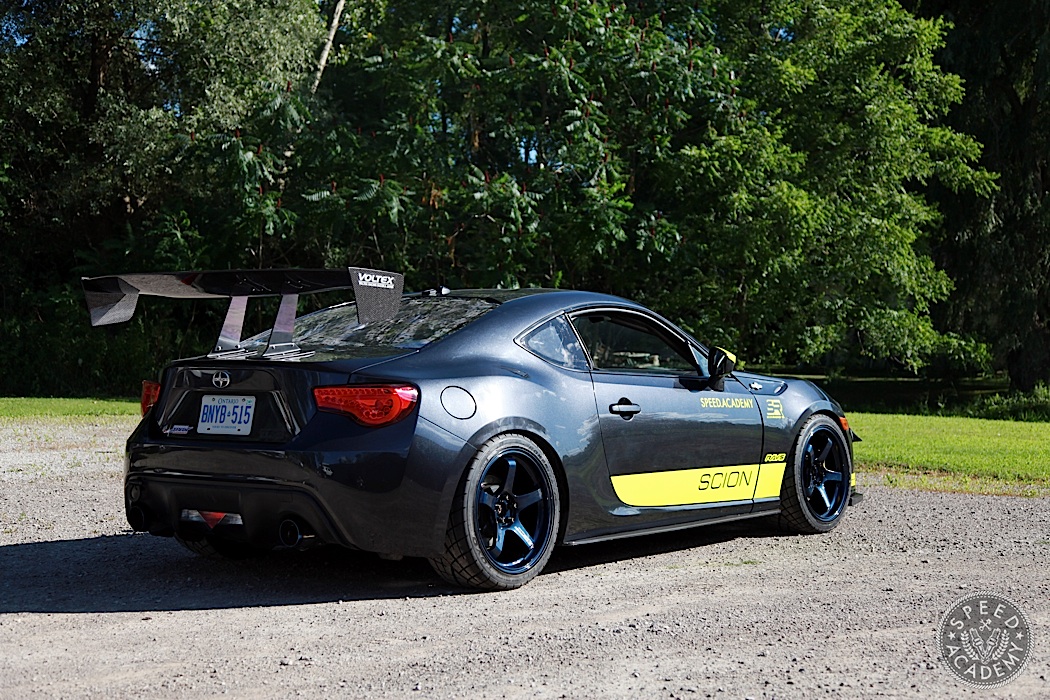
As you’ll see in the video at the bottom of this post, the extra 90 wheel horsepower was immediately apparent when ripping down the front straight at Toronto Motorsports Park, but so was the understeer as soon as I turned in for the first corner. With the addition of a big Voltex Type 7 GT wing from Evasive Motorsports, fresh Toyo Proxes R1R tires, and Raceseng coilover top mounts, we’d only had time for a quickie DIY alignment at the shop before heading to the track, so it wasn’t a big surprise the handling balance was way off.
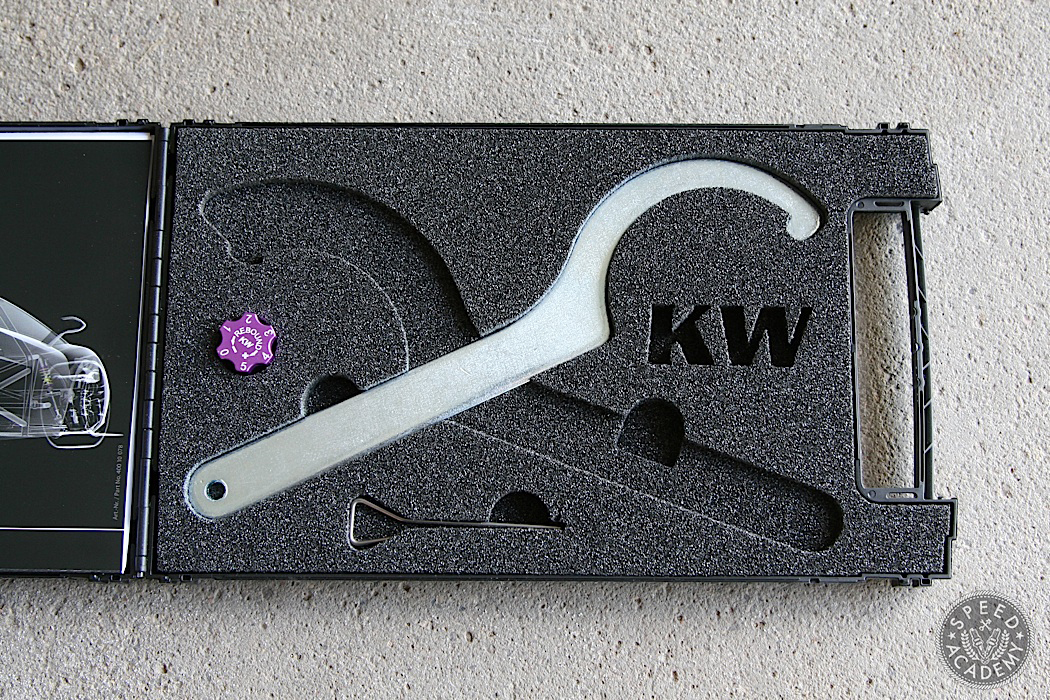
No biggie, though, since some adjustment to the damper settings on our KW Clubsports should help the car rotate more freely, or so we thought. I added a bunch of rear rebound to try to help loosen up the tail end, but instead we still had unrelenting understeer. This was a bit puzzling, since the ZN6 chassis is normally a drifter’s delight. I tried to get the front tires to bite more by adding some compression to the front dampers, but that had zero effect as well. After much head scratching, we concluded the rear wing must be overpowering the chassis to the extent that our damper adjustments were having no effect. We should have removed the wing at this point to test the theory, but as you’ll see in the video we were so preoccupied with a high water temperature issue that we didn’t think of it at the time.
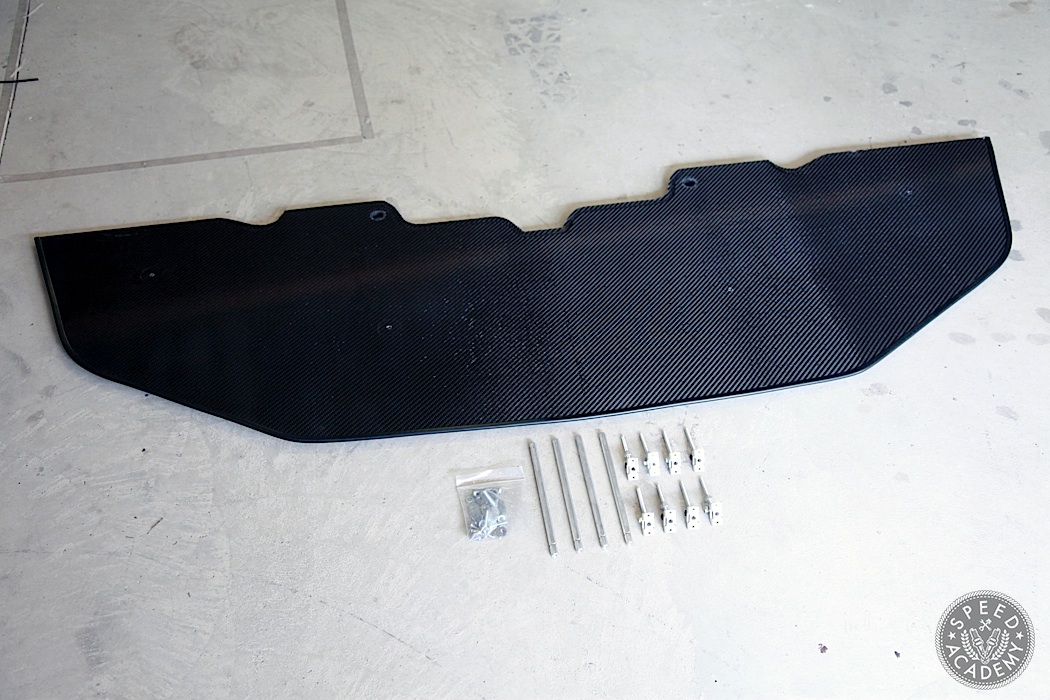
We always knew the car would need a front splitter to balance out that big rear wing, but we definitely underestimated the amount of rear downforce the Voltex Type 7 wing would generate at a low to medium speed circuit like TMP. We started to build our own splitter, but with Ontario1500 coming up fast Driveway Labs came to our rescue in a big way, shipping us one of their carbon fiber front splitters on very short notice.
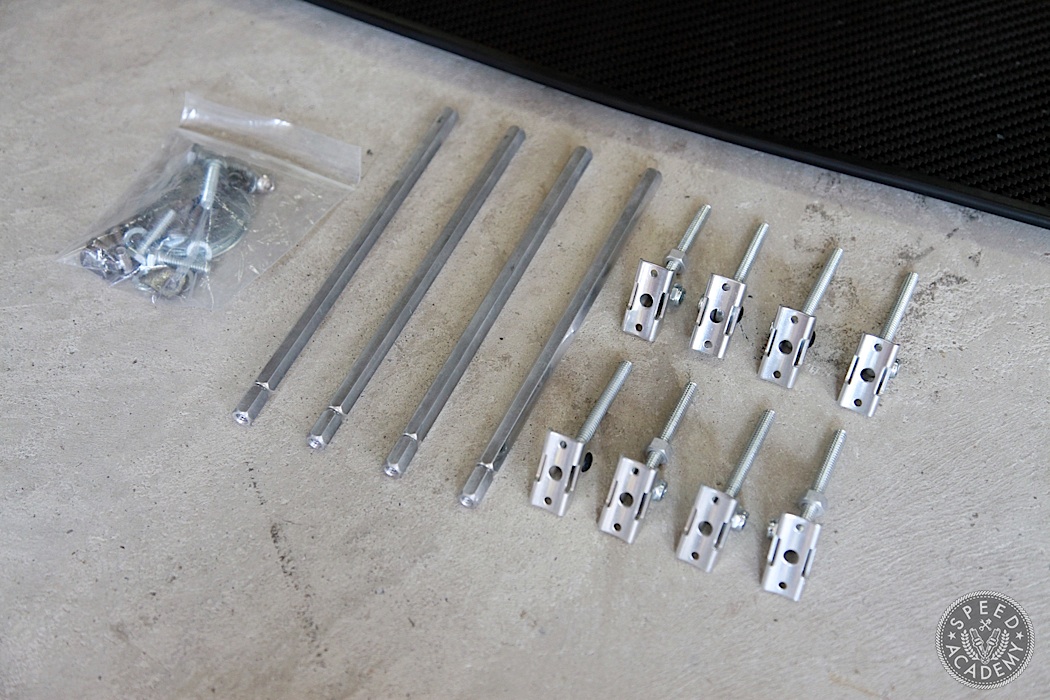
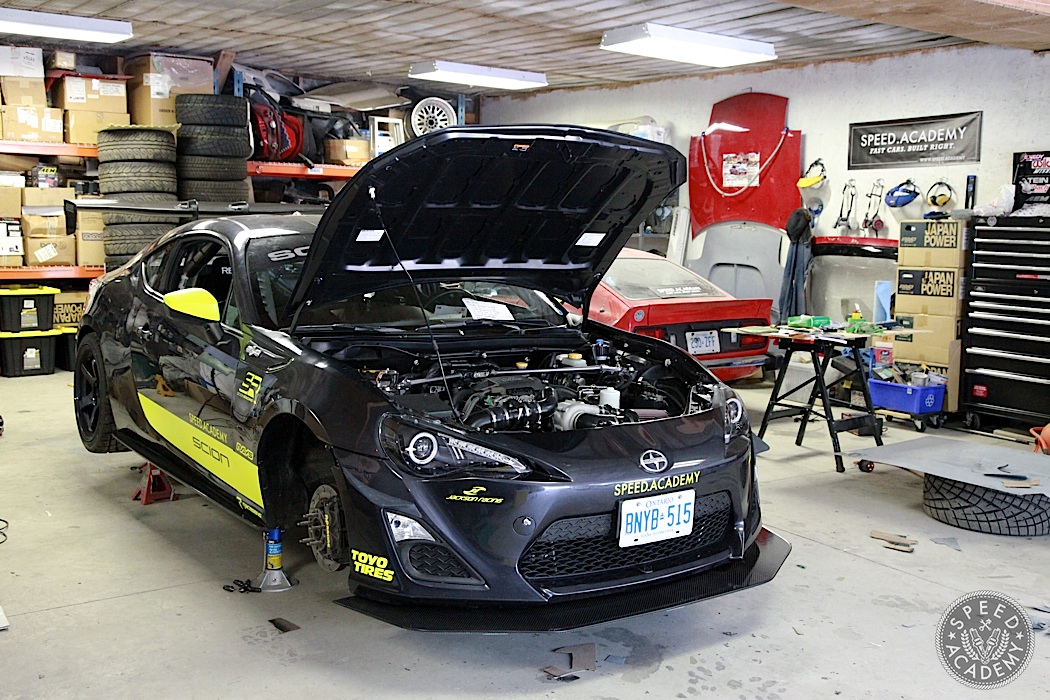
Having built a few splitters in the past, we can attest to the fact that sorting out a strong mounting system is a real challenge, but Driveway Labs includes all the mounting hardware with the splitter. Step 1 is to remove the front bumper cover, and after that we assembled the supplied turnbuckles and laid out all the nuts, bolts, and washers.
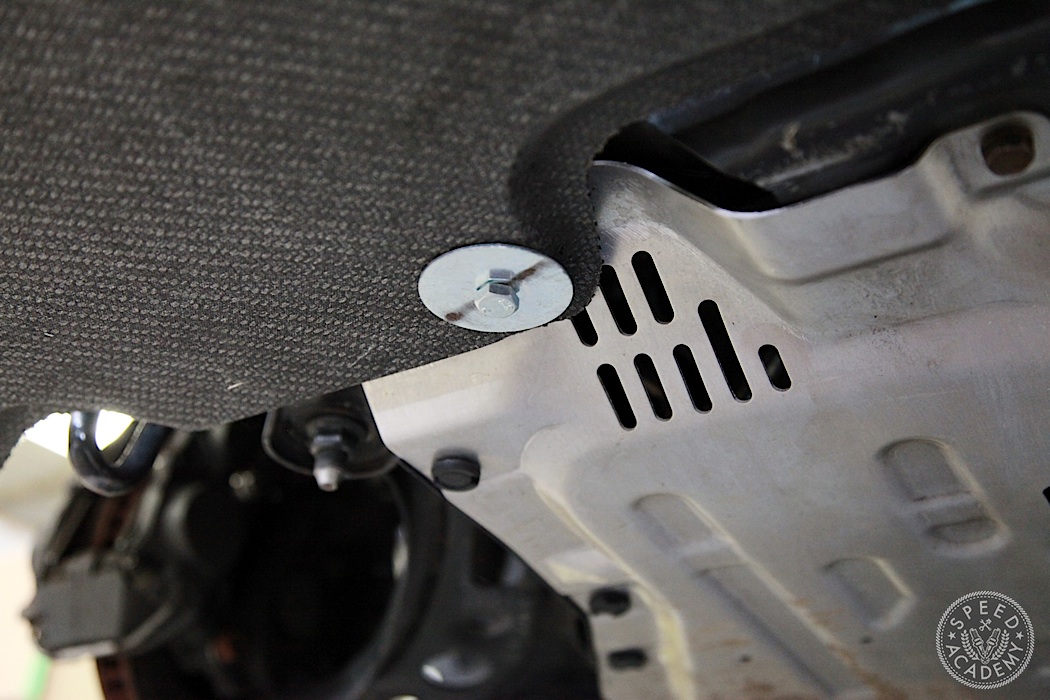
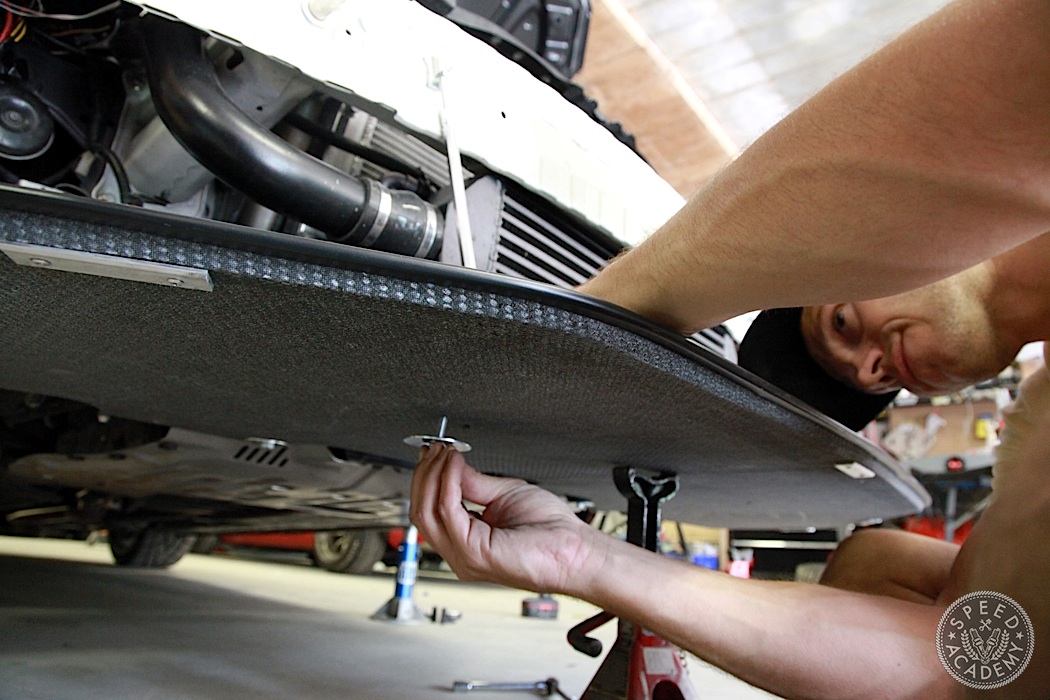
After that we bolted the splitter to the chassis at the two rear mounting points, as specified in Driveway Lab’s instructions. These rear bolts use existing threaded bolt holes on the chassis where it mates up with the metal engine undertray. We also supported the splitter with a jack stand underneath so it was level and our hands were free to start installing the four front turnbuckle mounts.
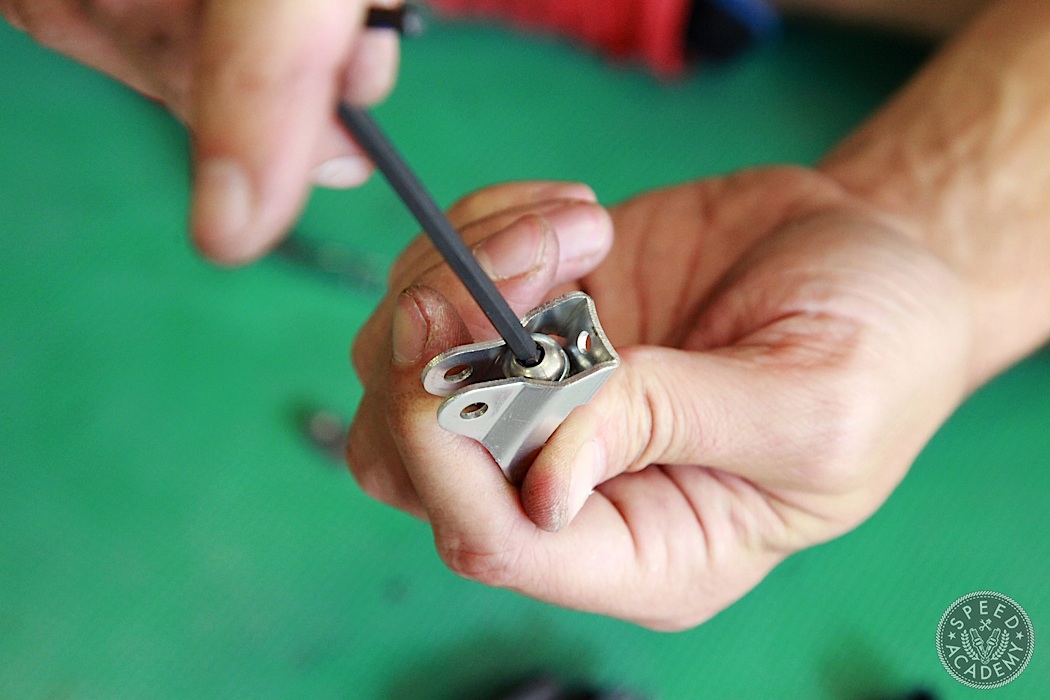
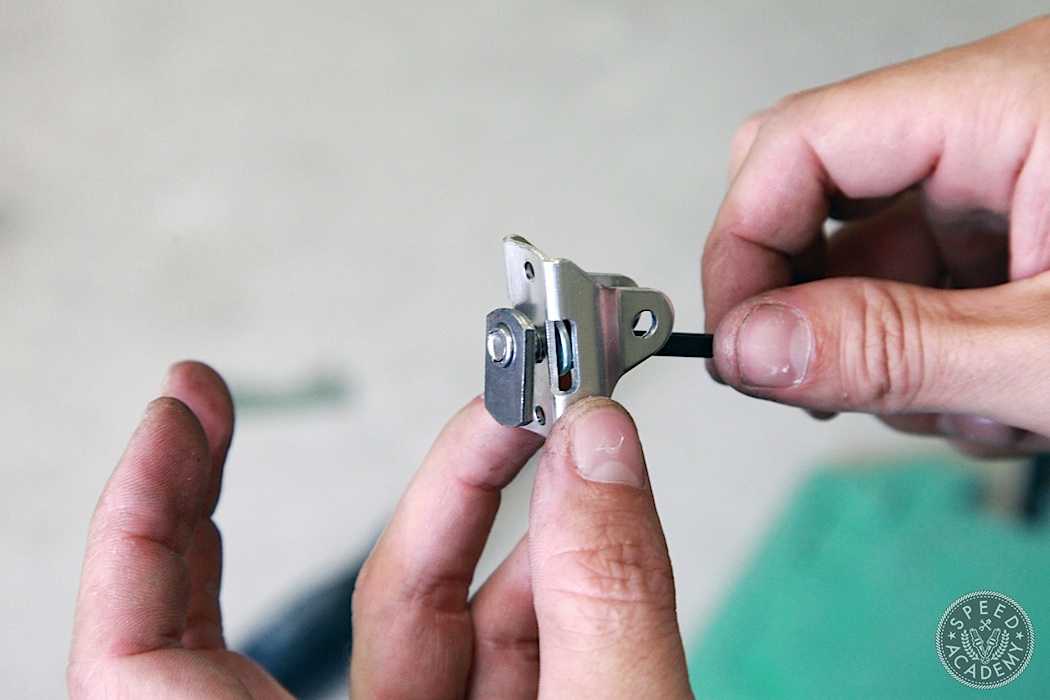
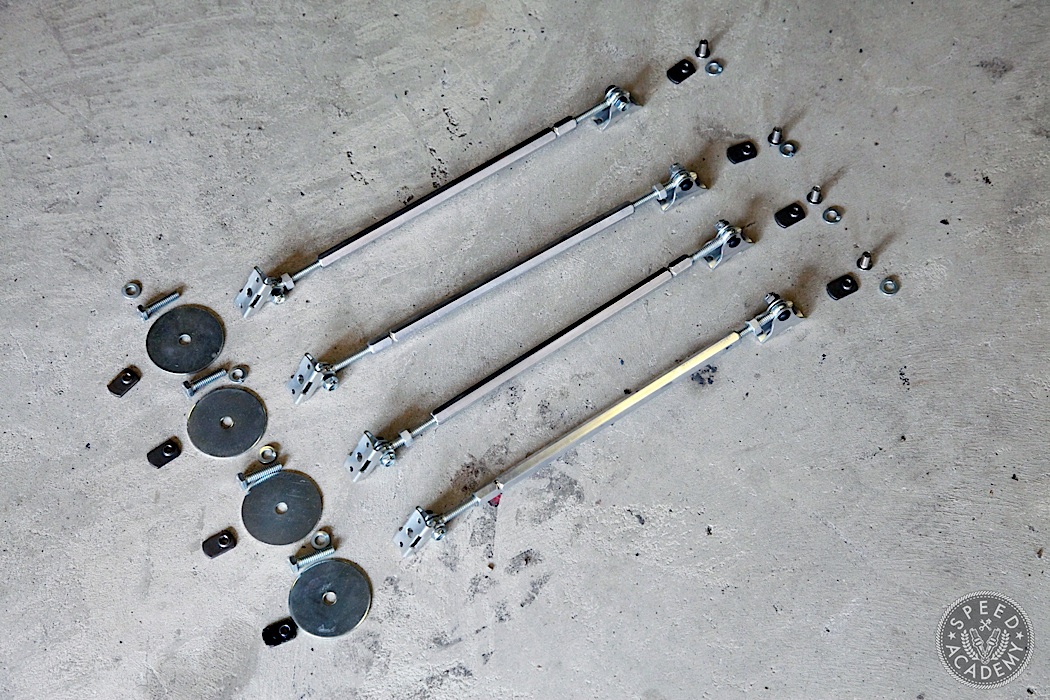
You have to remove one end of each turnbuckle to fish the bolt and washer into its center mounting hole, and after that we loosely threaded on the backing plate.
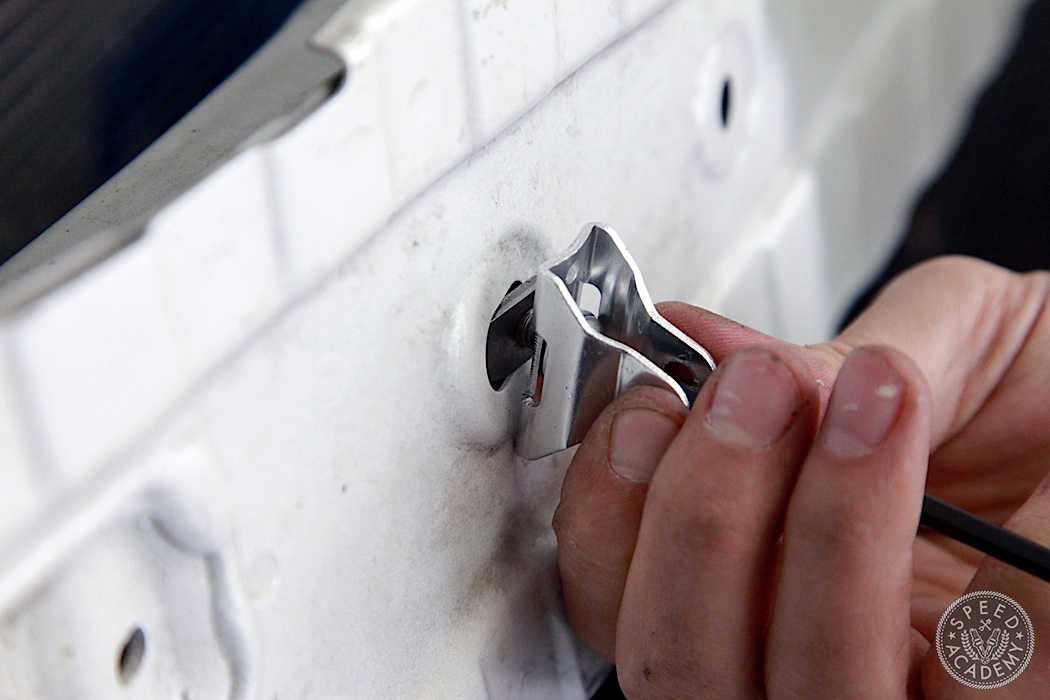
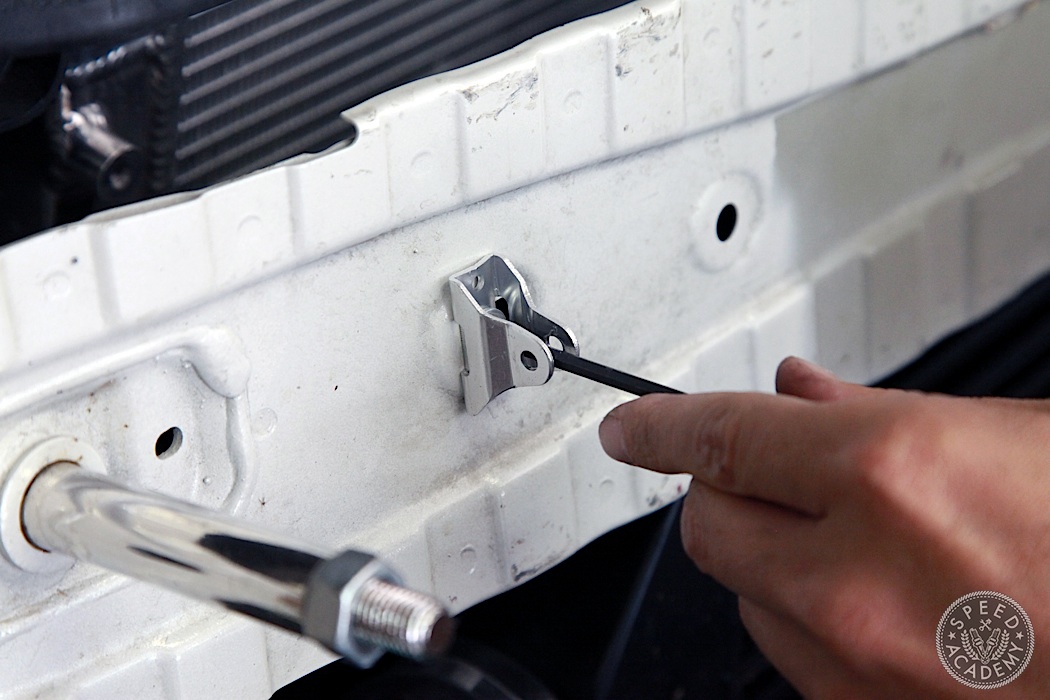
This allows you to insert the backing plate into the hole in the front rebar, as specified by Driveway Labs’ installation guide. After that we just tightened it down and reattached the rest of the turnbuckle.
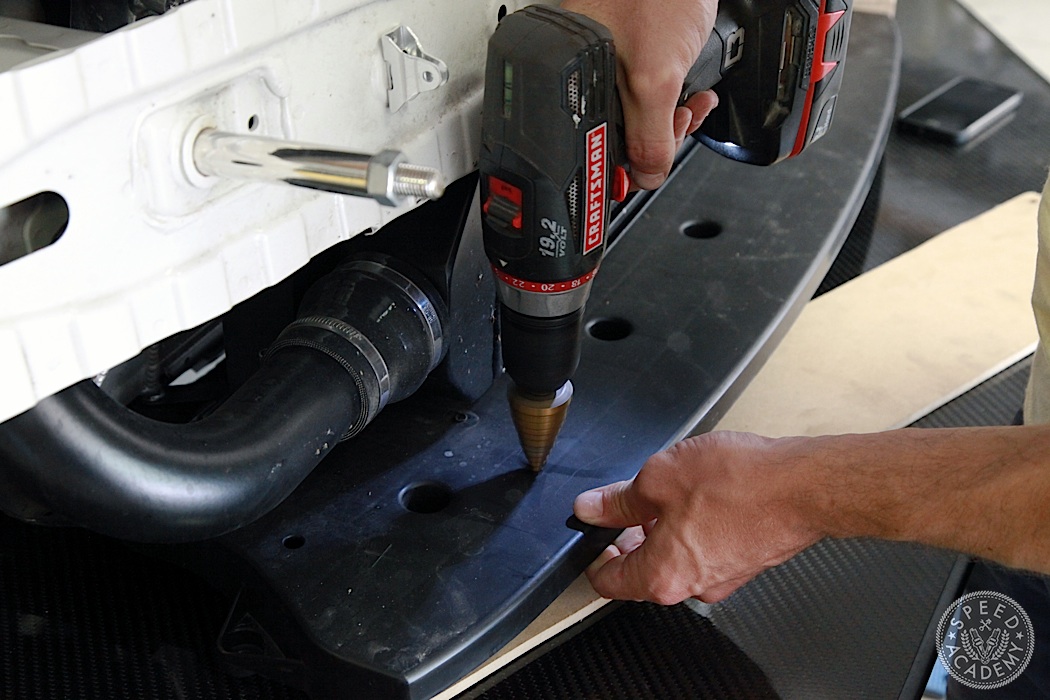
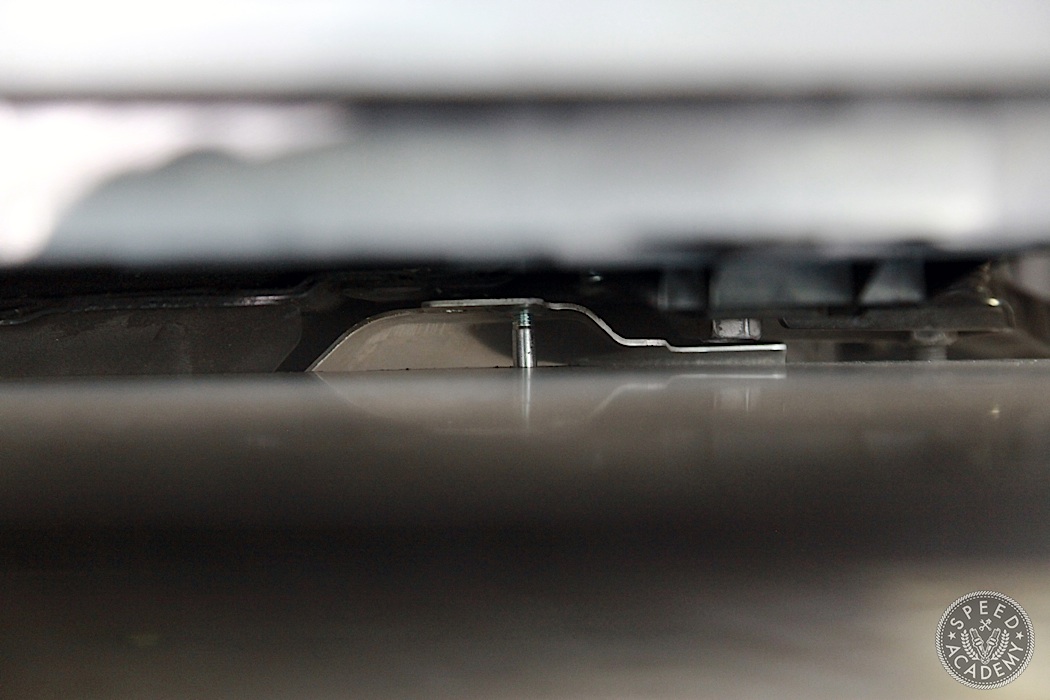
We didn’t want to remove the plastic undertray beneath the radiator, so instead we drilled a couple holes in it so we could drop the turnbuckle down through it to the splitter.
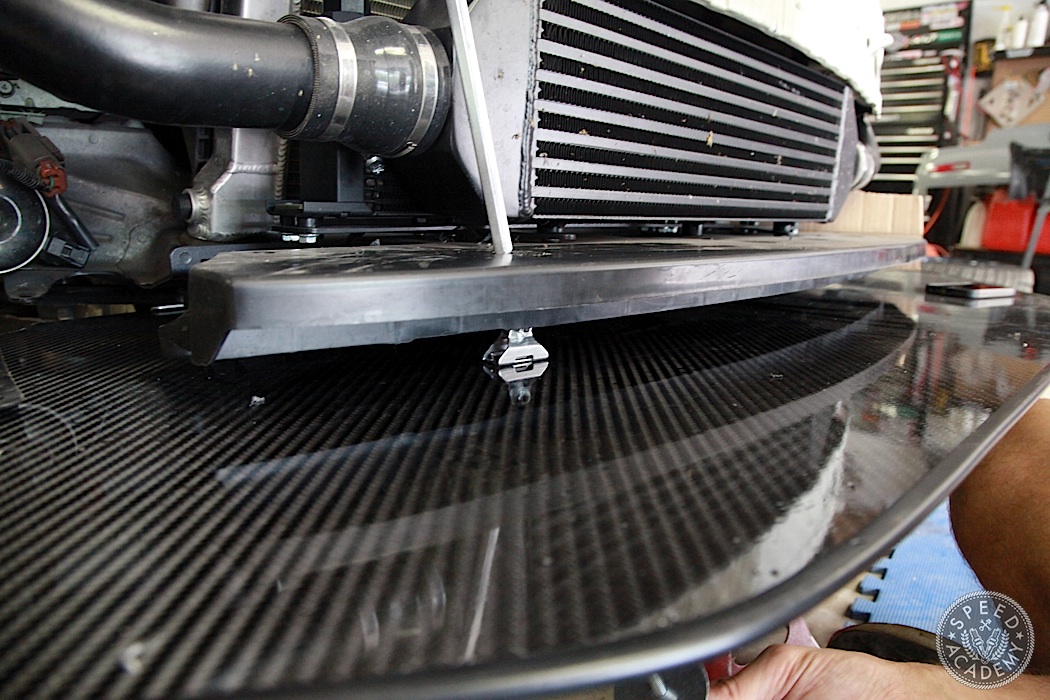
Then it was just a simple matter of threading the bolt up from the underside. As you can see above, Driveway Labs also included their optional metal skid plates along the leading edge of the underside of the splitter to protect it if we ever bottom it out on a curb or at the track. Clever stuff!
Looks awesome. Can’t wait to see the track test!
Hey what sort of bolt nut and washer did you use for the rear diffuser?