The Ontario1500 is almost upon us, with the first race day on September 14th at the big track at Mosport (ur, Canadian Tire Motorsports Park), followed by two days at Calabogie Motorsports Park, then Thursday at Shannonville, Friday at Toronto Motorsports Park, Saturday at Grand Bend, and back to Mosport on Sunday to wrap things up on the extremely technical Driver Development Track. It’s going to be a serious test of man and machine and pantloads of fun, and we’ve been getting our hustle on the last few months prepping our Scion Canada FR-S to ensure it’s fast enough and reliable enough to hang with the heavy hitters.
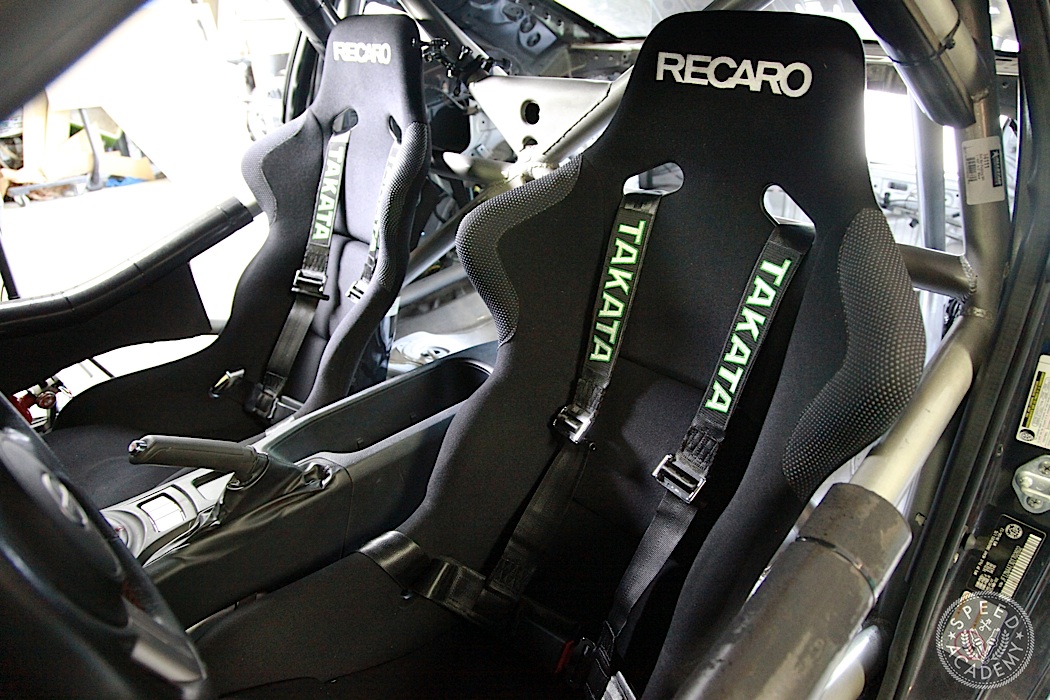
Part of that hustle involves making sure our FR-S is 100% compliant with the rules. Last year we ran Takata Racing HANS Race 6 harnesses since Targa NL rules require at least a 5-point belt system and do not require them to be street legal. Ontario1500, on the other hand, requires street legal belts to be in use, so we swapped out the Race 6 for a pair of Drift II snap-in 4-point harnesses.
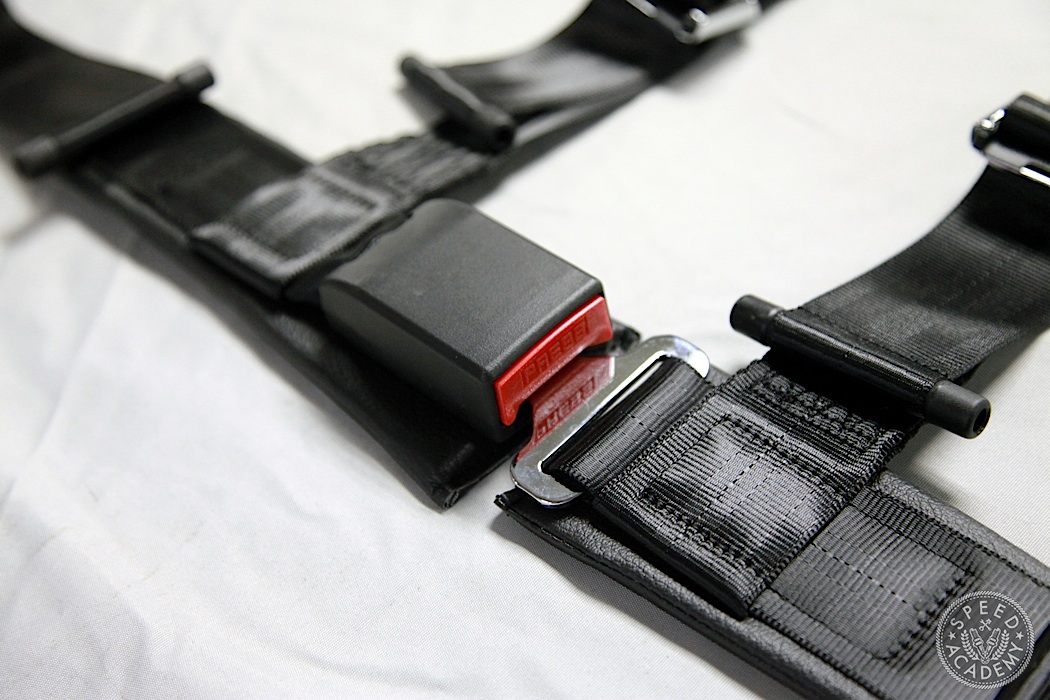
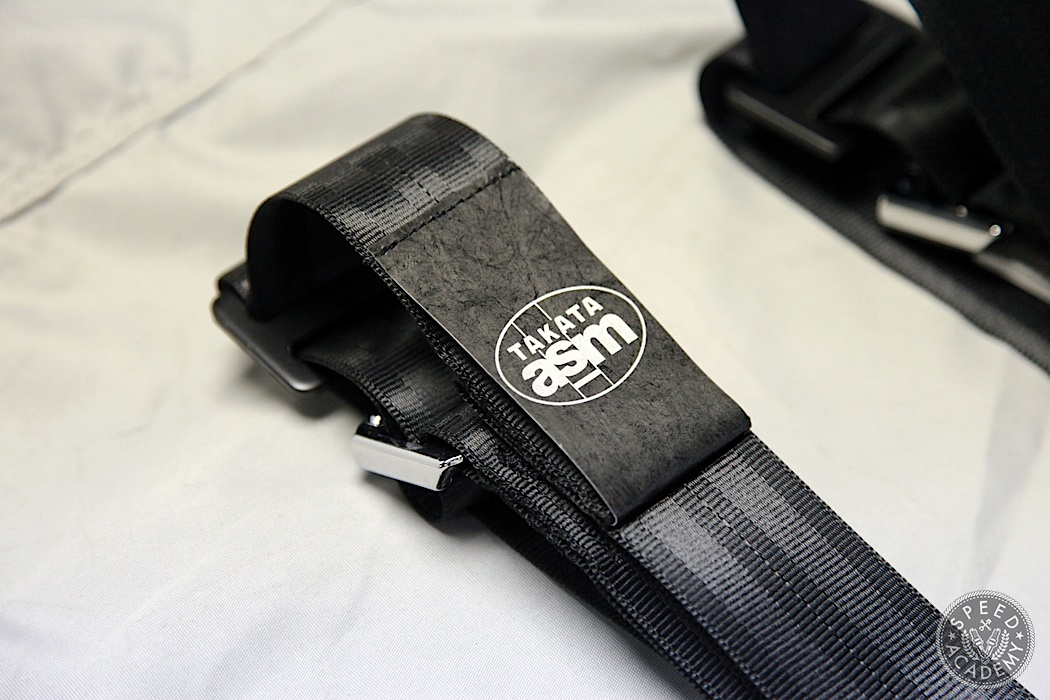
These are manufactured in accordance to the European Standard ECE-R 16.04 and U.S. Federal Motor Vehicle Safety Standard (FMVSS) 209, making them a fully legal seat belt for use in street cars in the EU and the United States. This means they’ll pass inspection here in Canada, too, thanks to the center push button release buckle and ASM (anti submarine) shoulder belt system that prevents submarining or sliding under the lap belts during an impact.
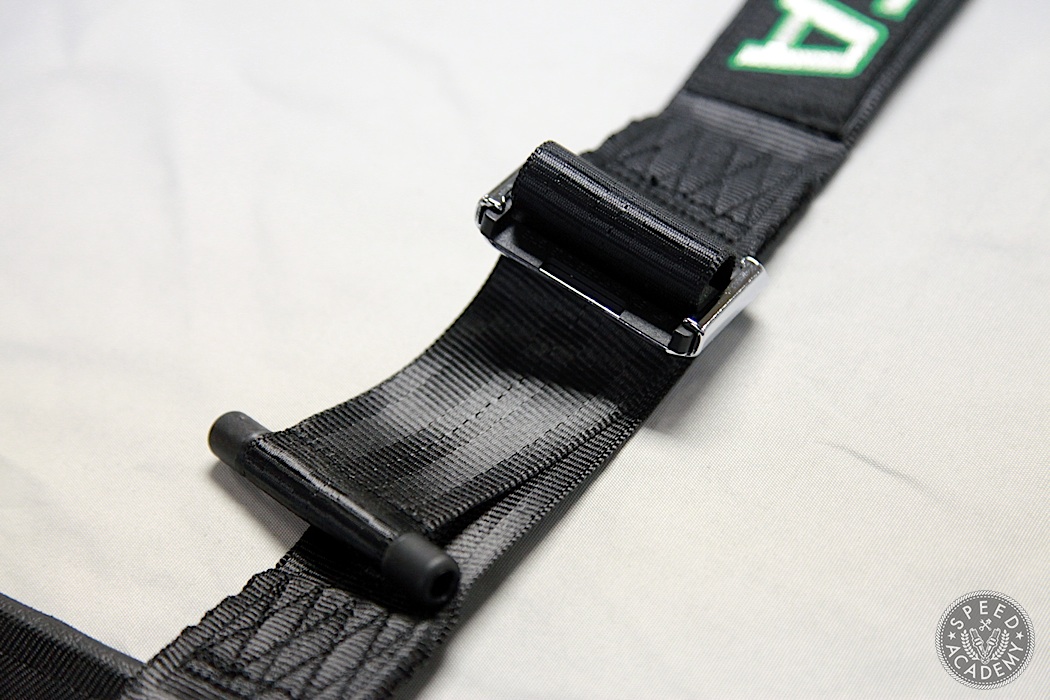
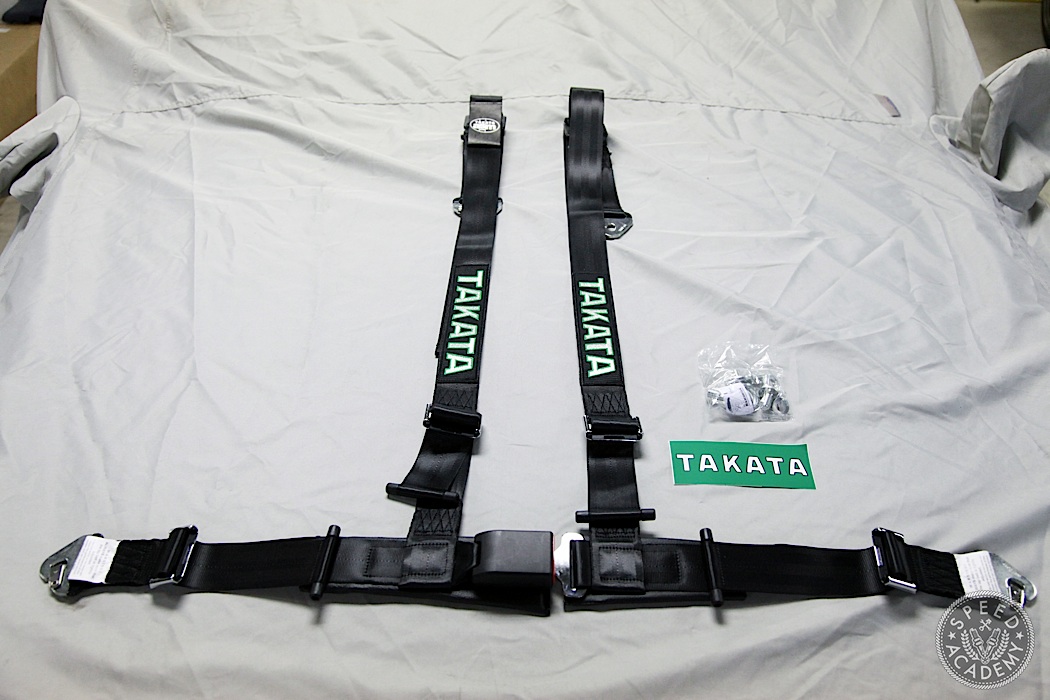
We opted for the Drift II with its 2” shoulder belts and lap belts (the Drift III has 3” belts), which we can still safely use with a HANS device. The materials used are very high quality, which makes them super easy to adjust using the pull-up adjusters. Plus the comfort padding around the waist makes them the most comfortable belts we’ve ever used.
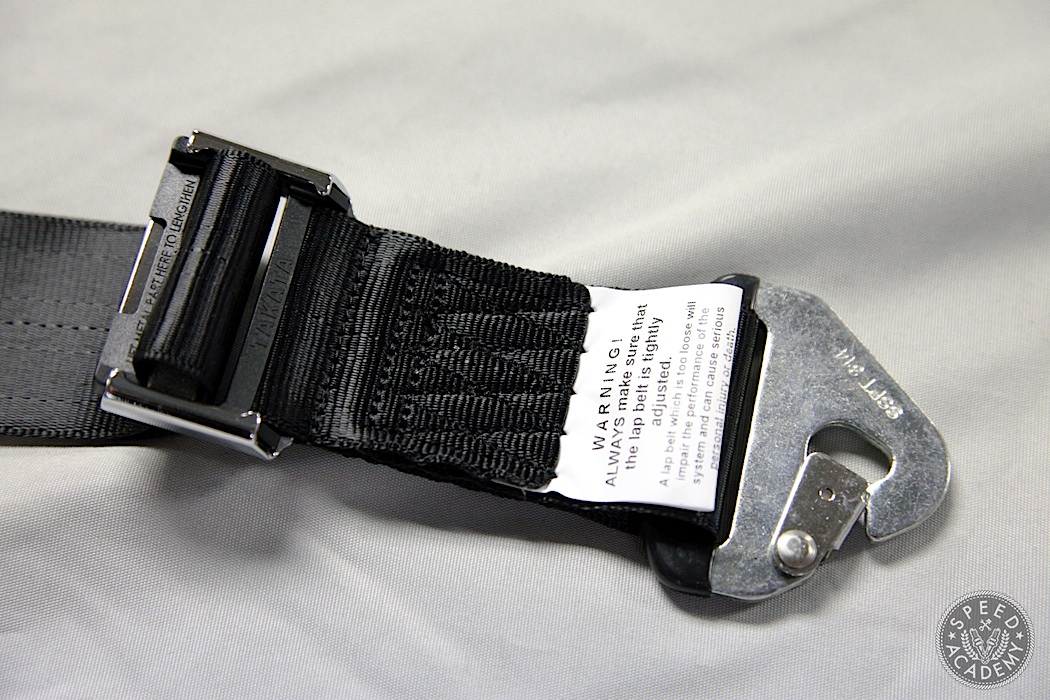
As you can see, the lap belt snap-on attachment brackets are sewn into the lap belts, but the shoulder belt attachment brackets can be removed which gives us the option to wrap them to our roll cage’s harness bar. We will eventually do just that, but first we want to show you how to use the snap-on attachment for the shoulder belts since the Drift II setup is a popular choice for street cars that don’t have a harness bar, roll bar, or roll cage.
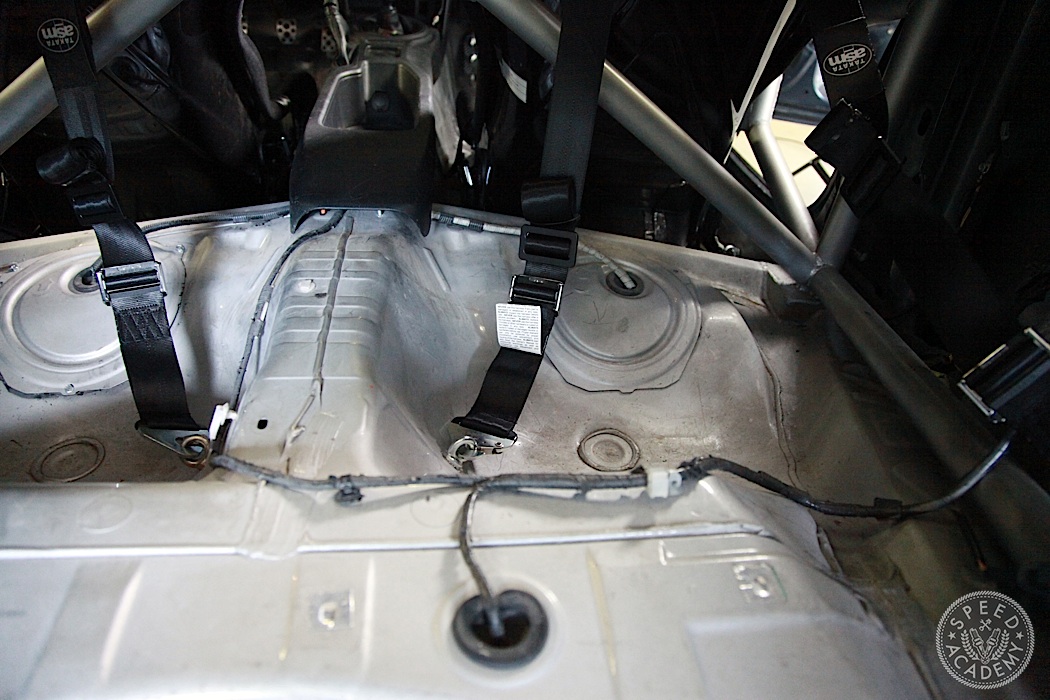
Installation is as simple as threading the supplied eye bolt into the rear lap belt location. This is obviously a very strong location for the eye bolt and the shoulder straps to snap in, given that the OE lap belt would normally attach here. As you’ll see in the video at the bottom of this post, we used an open ended wrench to tighten down the eye bolt before snapping the bolt in place, and then you just need to adjust the belt lengths for you size and you’re good to go.
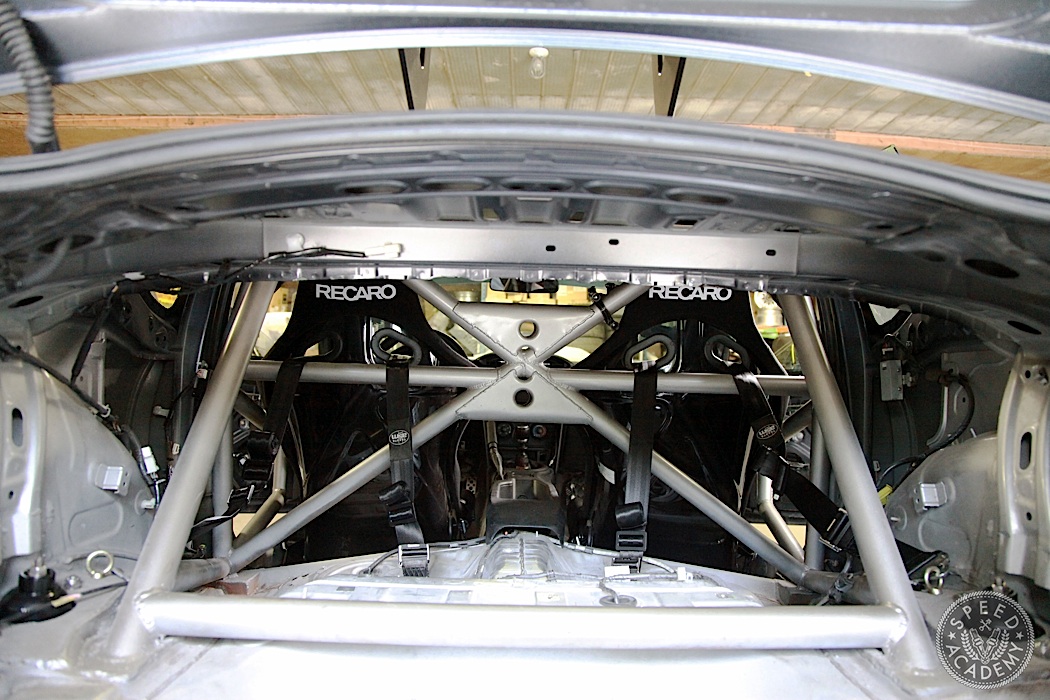
What you don’t want to do is attach the shoulder belts to the floor immediately behind the seat or anything like that, since they’d be at far too severe an angle to function properly. But using the rear lap belt locations for the eye bolts like this kit is designed to use, the resulting shoulder strap angle is within spec, so they will perform correctly in case of an impact.

With the harnesses installed, next we jumped on Beastronix’s website to take a look at the installation guide for this amazing little black box called the 86Nanny PD ($130). As the name implies, this clever electronic device is designed to completely shut off the factory traction control and stability control systems, including the hidden “brake force distribution” and “panic brake” features that you can otherwise only shut off by performing the so-called Pedal Dance.

Source: http://www.beastronix.com/wp-content/uploads/2015/05/diagram_final.png
For those of you unfamiliar with the Pedal Dance, the procedure is as follows: pull the e-brake three times and hold it up on the third pull, then press the brake pedal three times and hold the pedal down on the third pump, then repeat the e-brake procedure, then press the brake pedal two more times. If you do this dance correctly, all the electronic nannies will be completely shut off, leaving you 100% in control of the vehicle. The problem with the pedal dance is the engine must be warmed up beforehand, and if you’re anything like us you’ll forget to do the dance before hitting the track 50% of the time because you’re mind is on one of the many other things there are to consider at the race track (tire pressures, tire temperatures, shock settings, does this helmet make my head look big, etc).
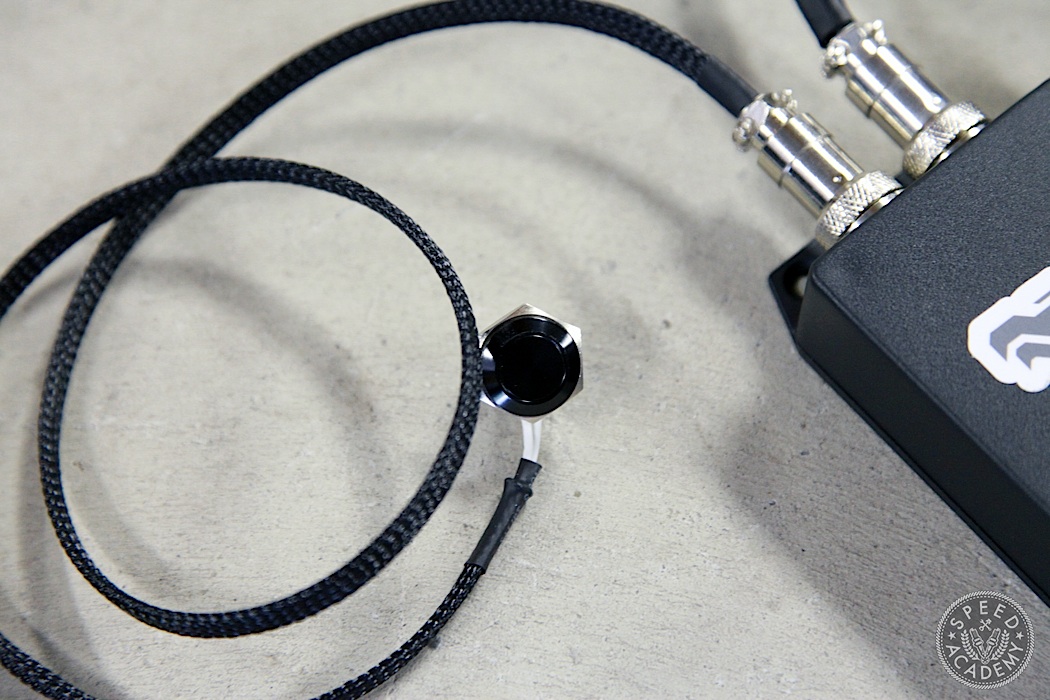
The beauty of the 86Nanny PD is you can perform the pedal dance with the push of the button that connects to the main box via the supplied cable and button. Installation is a breeze, since the main unit plugs into the OBDII port under the driver’s side dash using the supplied cable.
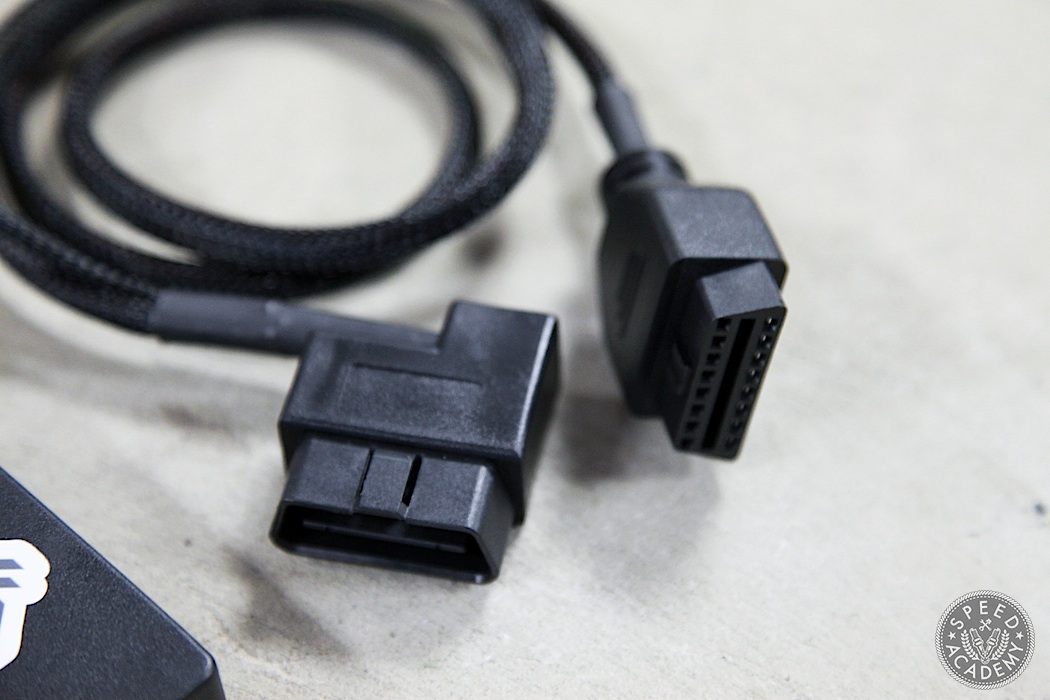
We went for the optional ($30) power pass-thru OBDII harness since this allows for powered access to the OBDII port without having the remove the 86Nanny’s plug. As you can see, it uses a low profiel 90-degree OBDII connector, so it doesn’t encroach on knee room under the dash, and just like the rest of the wiring for the kit it’s wrapped beautifully in nylon braided sheathing for a OE quality look. The supplied fuse tap simply plugs into the fuse panel under the driver’s side dash in a location that Beastronix identifies in their instructions. As you’ll see in our video below, installing the 86Nanny PD is very straightforward and completely painless.
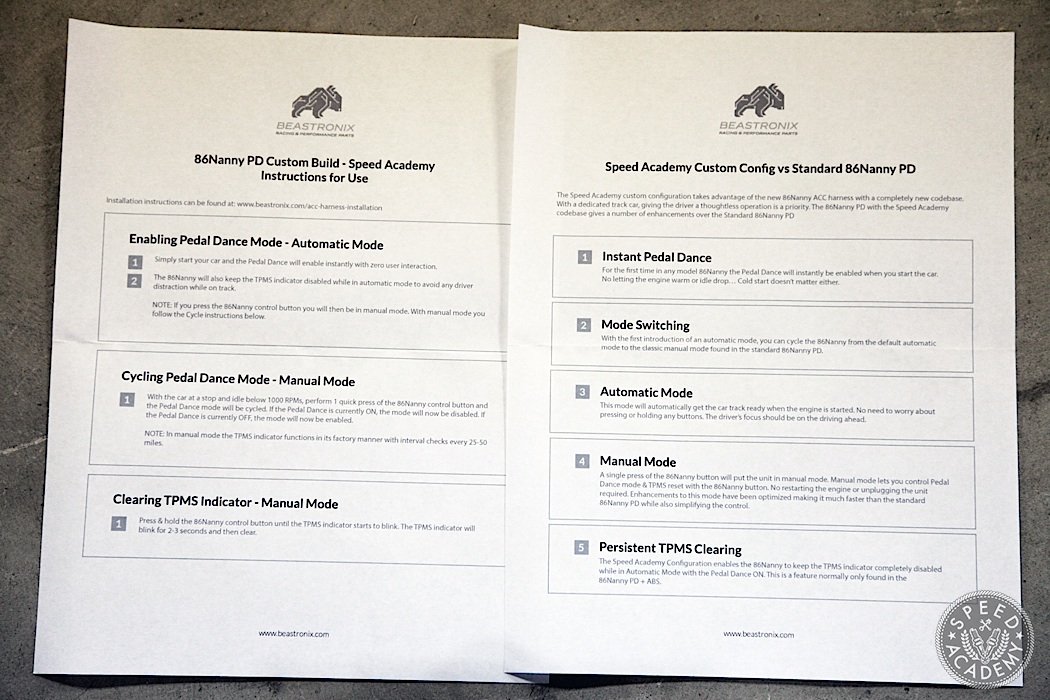
Joshua from Beastronix took the cool factor up an extra notch with our 86Nanny PD unit, coding it with a custom configuration he’s called the Speed Academy Custom Config. As this documentation explains, our custom config (which will be available to others with a track focused setup) automatically does the Pedal Dance on start up, so no need to push the button. It does this without needing the engine to warm up, and it also kills that super annoying tire pressure warning light on the dash (since with track wheels and tires you probably don’t have tire pressure monitoring sensors, or at least we don’t). And if we want to turn the nannies back on for whatever reason (heavy rain, for example), we simply push the button. It all works very seamlessly and just as advertised. All in all, a super cool product that we’re stoked to have onboard the FR-S.