Forget horsepower. That’s for drag racing. If you want to go fast around a road course or autocross course, the vast majority of speed (to a point) comes from two things: the driver and chassis & suspension setup.
As we showed you by knocking 7-seconds off the ASS2000’s lap time around Toronto Motorsports Park and doing the same in the Turn14 supported Mullet Mustang, the first and most effective mods when it comes to going faster around the race track are always tires and brakes. So even if you do nothing else to your car, if you want to go to the race track and go fast safely and enjoyably, upgrade to a set of 200 tread wear max performance summer tires (or 100 tread semi-slicks if you want to go even faster) and high-performance brake pads and brake fluid, all of which are designed to take the heat race track use throws at them.
Where things start to get trickier and often more confusing is once you’ve upgraded to a coilover suspension with adjustable dampers, adjustable ride height, and camber adjustable top hats (or other camber adjustment devices, like crash bolts, ball joints, or control arms). So my goal here is to explain the process for dialling in suspension settings for maximum grip once you’ve upgraded to this level of adjustability and tune-ability.
START WITH THE TIRES
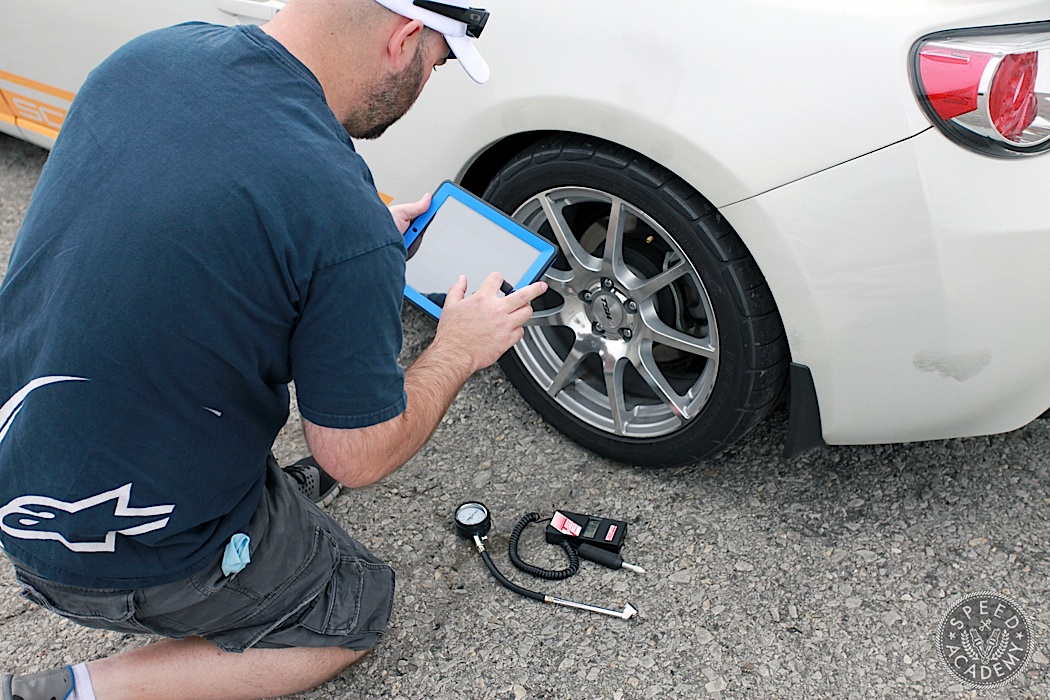
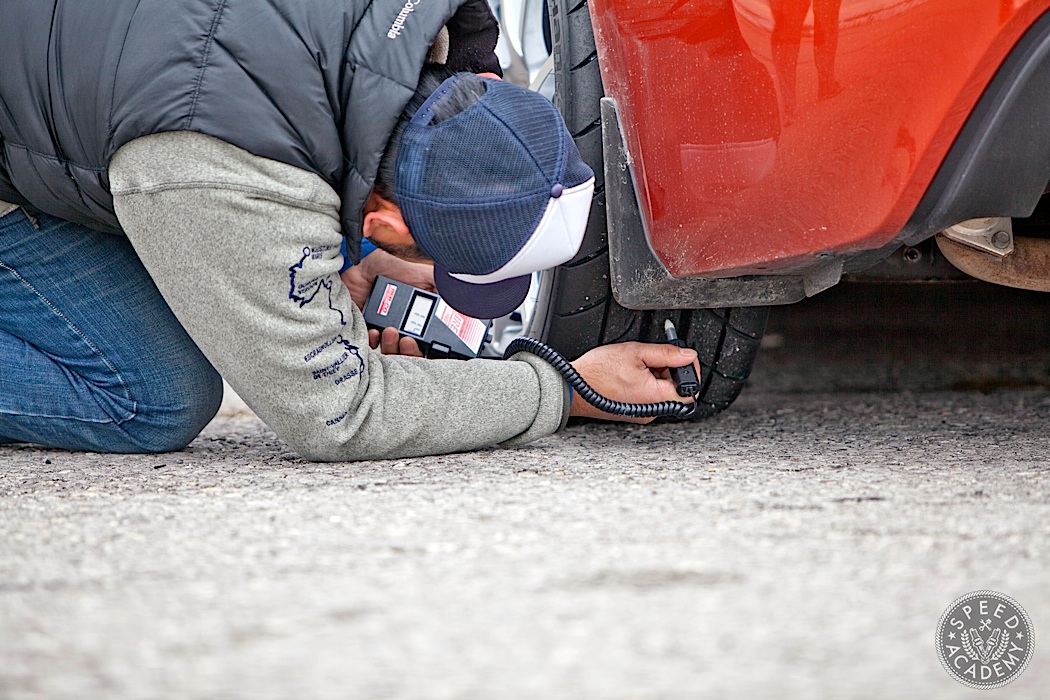
For starters, it’s extremely useful to understand how tires work. These are, after all, the only part of your car in contact with the track, so understanding how tires generate grip and at what temperature range they work best is very important. So before we even get to any “turn the knob this way” or “set your alignment that way” talk, get yourself a high quality tire pressure gauge and a probe-type tire pyrometer and print up some data sheets or buy Laptimizer like we use so you can keep track of all your setup data including tire temps and pressures. Keeping good records is a tedious but important part of the learning process, so be a good student and keep clean and accurate setup notes. Scribbling them on a napkin that you’ll later blow your nose with isn’t the right approach (trust me, been there and done that).
I’m working on an in-depth story about tires and exactly how they generate grip right down to the molecular level, but for the purposes of this story all you really need to know is that every tire compound is a little different and will have a temperature range in which it generates the most grip. Different tires also tend to like different camber settings, have different spring rates (yes, tires have spring rate, determined in part by their sidewall stiffness but also by inflation pressure), and have different shaped traction curves (some build grip rapidly but also lose grip rapidly once you push them beyond their grip peak, while other tires build grip more gradually and also fall off more gradually). So it’s important to collect data on the tires you’re setting your car up for so that you can learn to optimize the rest of the car’s setup to take full advantage of their performance characteristics, or at least come to a better understanding of how the tires like to be driven so that you can adjust the nut behind the wheel accordingly.

Caption: Temps in Celsius in the above example, with 60-80C being a good rule of thumb for the optimum range for semi-slicks or extreme performance summer tires like the current batch of very fast 200tw options out there.

Caption: temps in Fahrenheit in this data sheet example.
That said, here are some overall lessons I’ve learned about extreme performance summer tires and DOT track tires or semi-slicks. These types of compounds usually make maximum grip when the temperature on the inner third of the tire’s contact patch is about 10 to 20 degrees Fahrenheit hotter than the middle and outer third, and, in general, these kinds of tires make maximum grip at temperatures ranging from about 160F to 220F. Some have a narrow “sweet spot” with respect to temperature range, say 180F to 200F, while others have a rather broad range, say 140F to 220F. But as a good starting point, you should aim for at least 160F on the outer and middle third of the contact patch and 10-20 degrees hotter than that on the inner third for max cornering grip.
If you’re seeing too much temperature down the middle of the contact patch, that likely means you’ve got too much inflation pressure. Try lowering tire pressure and retesting to see how that changes temperature spread across the contact patch. Similarly, if you’re seeing too much temperature on the outer third/shoulder of the contact patch, you may not have enough inflation pressure (allowing the tire to roll over onto its sidewall), or you may not have enough camber. If you’re running a high-performance tire with really stiff sidewalls, chances are it’s a camber issue, though, not an inflation pressure issue. And if you have too much temp on the inner third of the contact patch, you probably have too much camber (and possibly too much toe out, as the above image illustrates).
WHEEL ALIGNMENT & DRIVING IN THE SLIP ZONE
What this means, of course, is that you can use tire temperature to dial in your camber settings, aiming for that ideal temperature spread across the contact patch where you’ve got a bit more temp on the inner third but otherwise a nice even temp distribution that’s in the ideal temp range for the compound. You’ll also start to see the relationship between tire temperature and tire pressure as you collect this kind of data, so you’ll quickly learn how adding pressure not only builds temperature in the tire more quickly but also changes where on the contact patch temperature builds first. Adding pressure also effectively increases the spring rate of the tire, which tends to translate to faster turn-in response but also a less forgiving tire as you approach its limit of adhesion.

Source: http://farnorthracing.com/images/alignment_sacurve.jpg
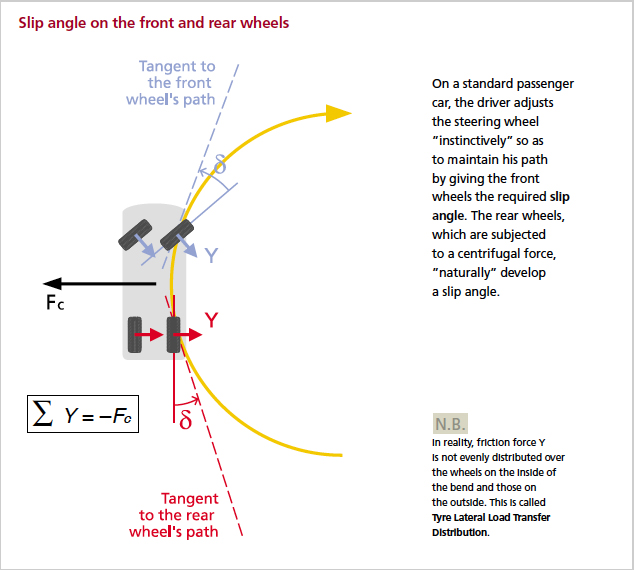
What’s interesting about tire grip is peak grip is achieved while at slip angles of around 6 to 10 degrees (this range can be lower or higher depending on the compound), meaning you’re actually able to go fastest in the corners while sliding just a bit. What’s more difficult to judge is whether you’re on the front side of the “slip zone” at say 6 or 7 degrees of slip angle where tire wear and heat build up is lower, or if you’re on the other side of the cornering force peak at say 9 or 10 degrees of slip angle where tire wear and heat build up is more severe.
Source: Michelin
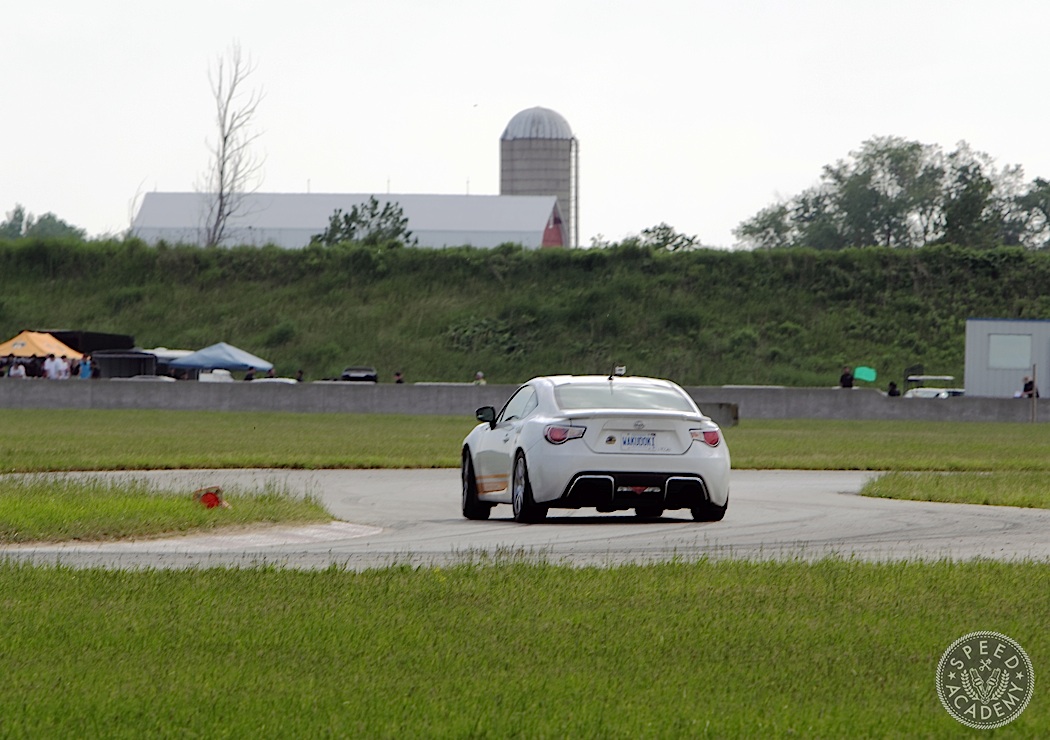
It’s important to gain experience driving in the slip zone so that you can develop a feel for which side of the cornering force peak you’re on, because this will allow you to better manage tire wear and heat buildup as a driver, plus you don’t really know what your car’s handling balance is like until you’re driving it at slip angles that maximize tire grip. The ultimate goal is to learn to drive at the lowest possible slip angle that generates the maximum amount of grip, since this is going to produce the lowest lap times with the least amount of tire wear. For a tire nerd like me, the most rewarding feeling in the world is to see my lap times dropping along with tire temperature and wear rate that shows me I’m living in that happy place on the front side of the slip zone.
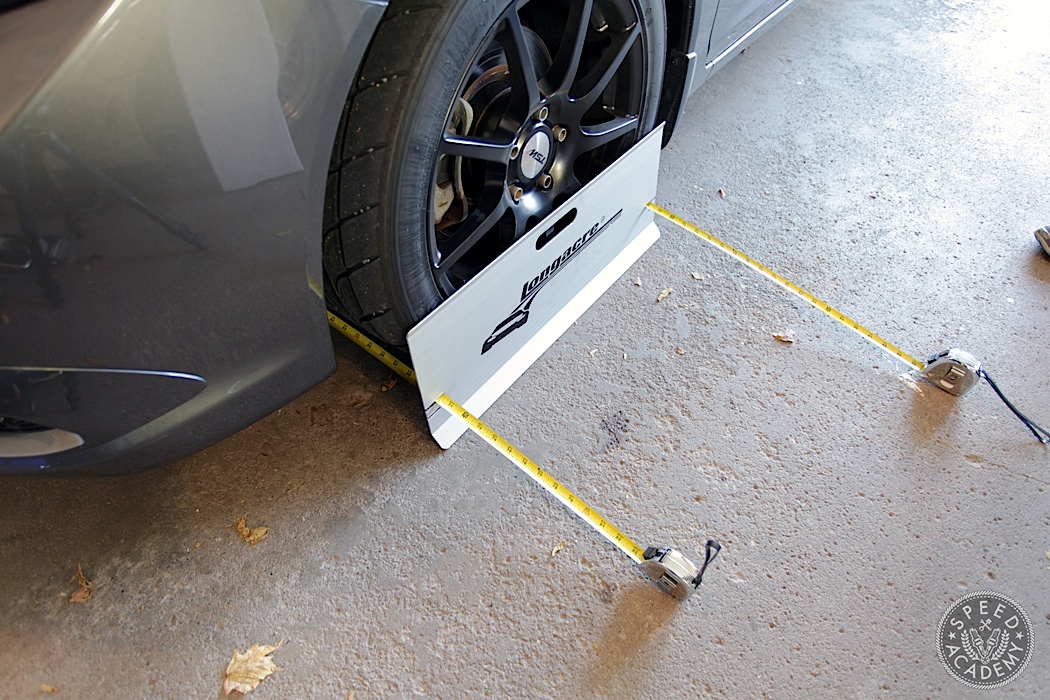
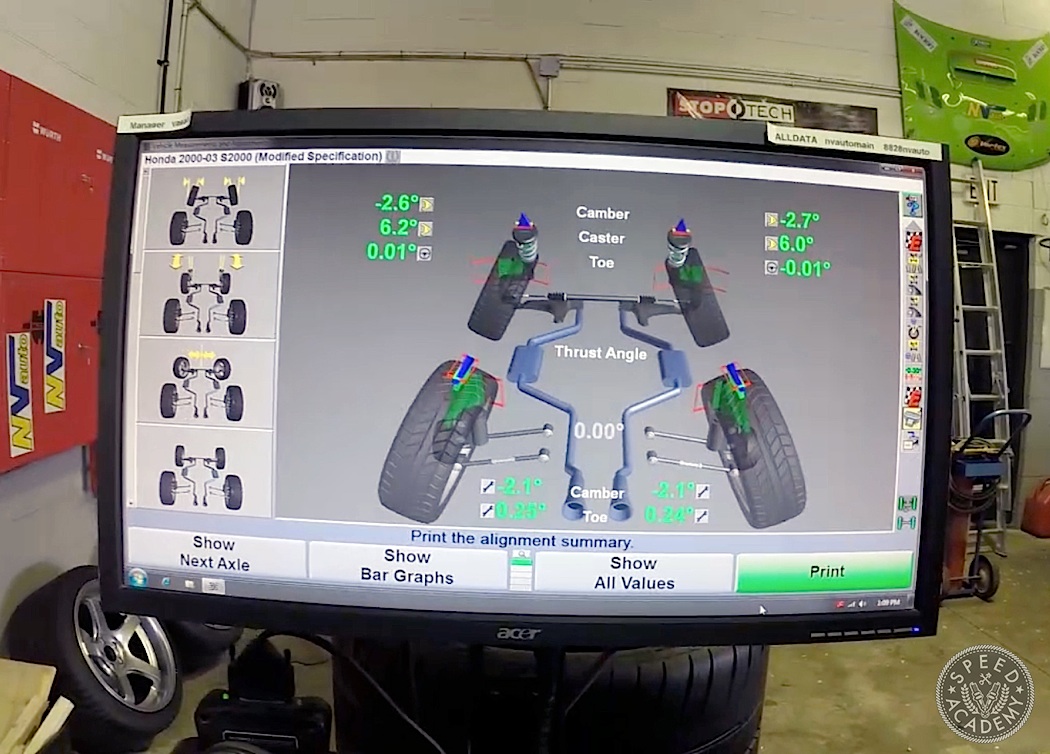
Before we even get to adjusting your car’s handling balance so it’s easier to drive in the slip zone, it’s important not to overlook the role wheel alignment and in particular toe settings have on handling balance. Front toe-in, for example, will help the car track straight and will add some front end stability at high speed, so is sometimes used on road cars, but at the race track some toe-out up front helps with turn-in response. Just be aware that too much front toe-out can accelerate tire wear on the inner shoulder and also cause the inner third of the contact patch to overheat.
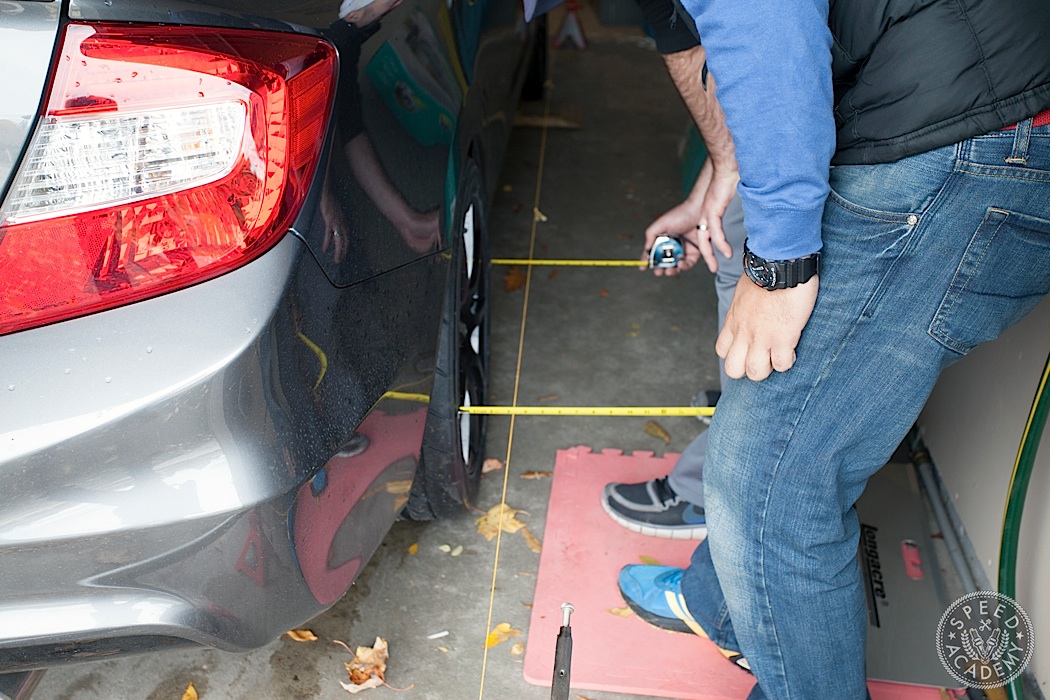
Rear toe is often where the magic happens with respect to handling balance, since it can be used very effectively to help the rear rotate and slip a bit. Generally speaking, rear toe-in adds rear stability and helps RWD cars put the power down, but can also contribute to some front end understeer. Rear toe-out, on the other hand, can help a car rotate if it’s suffering from understeer, so you’ll often see FWD and AWD cars that are prone to understeer running aggressive amounts of rear toe-out to combat this tendency (and sometimes extreme amounts of rear camber too, to reduce the effective size of the contact patch). We used about a 1/4″ of rear toe-out or each side of a 9th generation Honda Civic Si during a track test and it helped the car rotate, while we use about 1/8″ of rear toe-in on each side of our S2000 because it needs some added rear stability.
Awesome article, DP! Really appreciate you taking the time to write this. It was very informational and as someone who has a largely stock suspension car, it helps me think about what I should do next.