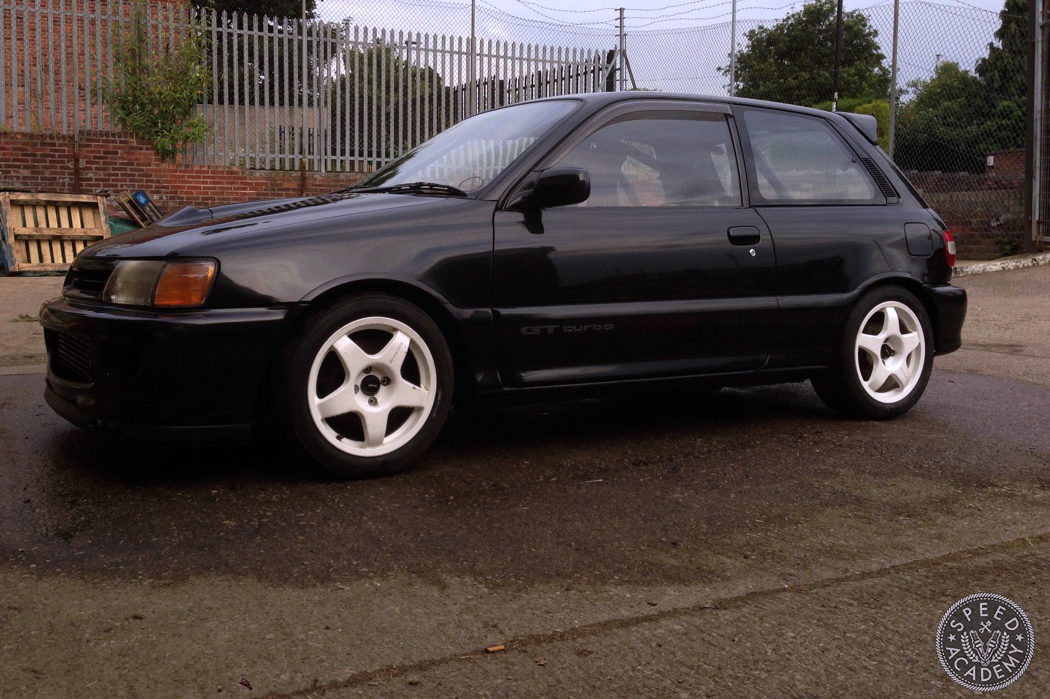
Mapping the car would be it’s first real test. With the exception of running it up and down a small private road, or having it sat ticking over for lengths of time, I’d used the car very little since buying it all those months ago. Before loading it onto the trailer I found time to give the car a wash, after all, a clean car is a fast car, right?!
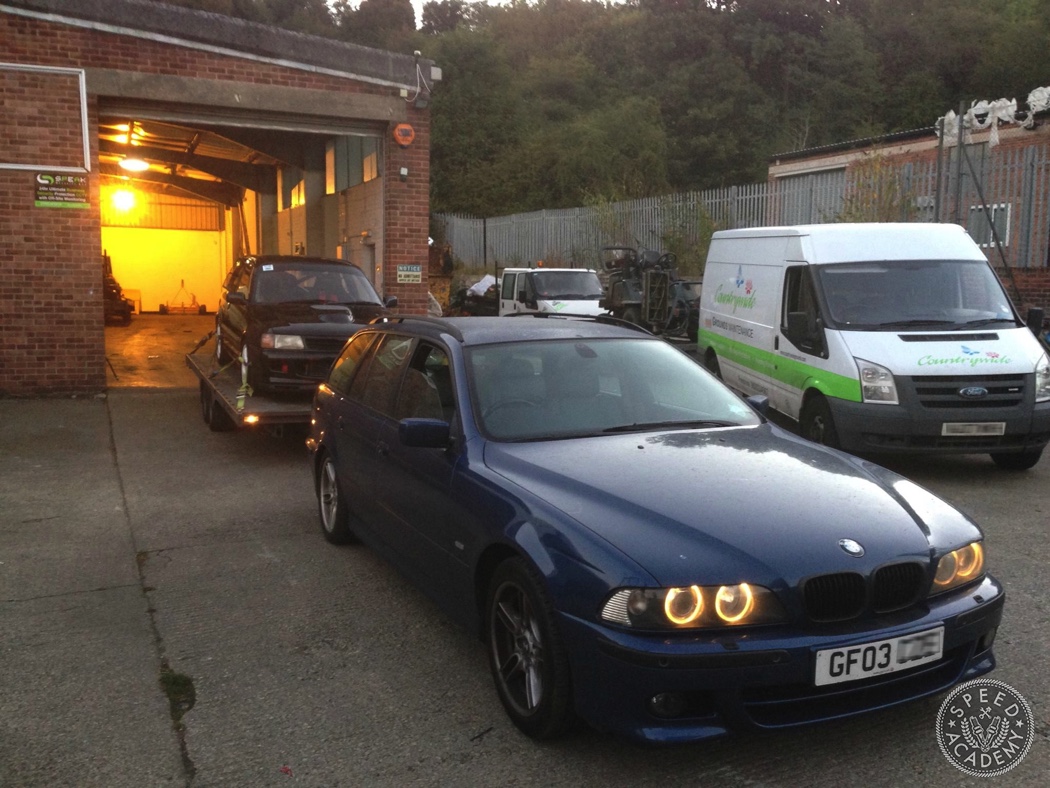
The drive to Race Dyno Tuning is a relatively short one. But it would be ample time for my nerves to increase, and my mind to question whether or not I’d checked over the car enough before arriving. Spoiler alert, I hadn’t!
With the car unloaded, Will carried out his pre-tuning inspection. This would include a pressure test of the cooling system, a compression test and borescope inspection. So far so good, compression was good and even across all four cylinders, the coolant system didn’t explode, and the borescope didn’t uncover any unexpected nastiness.
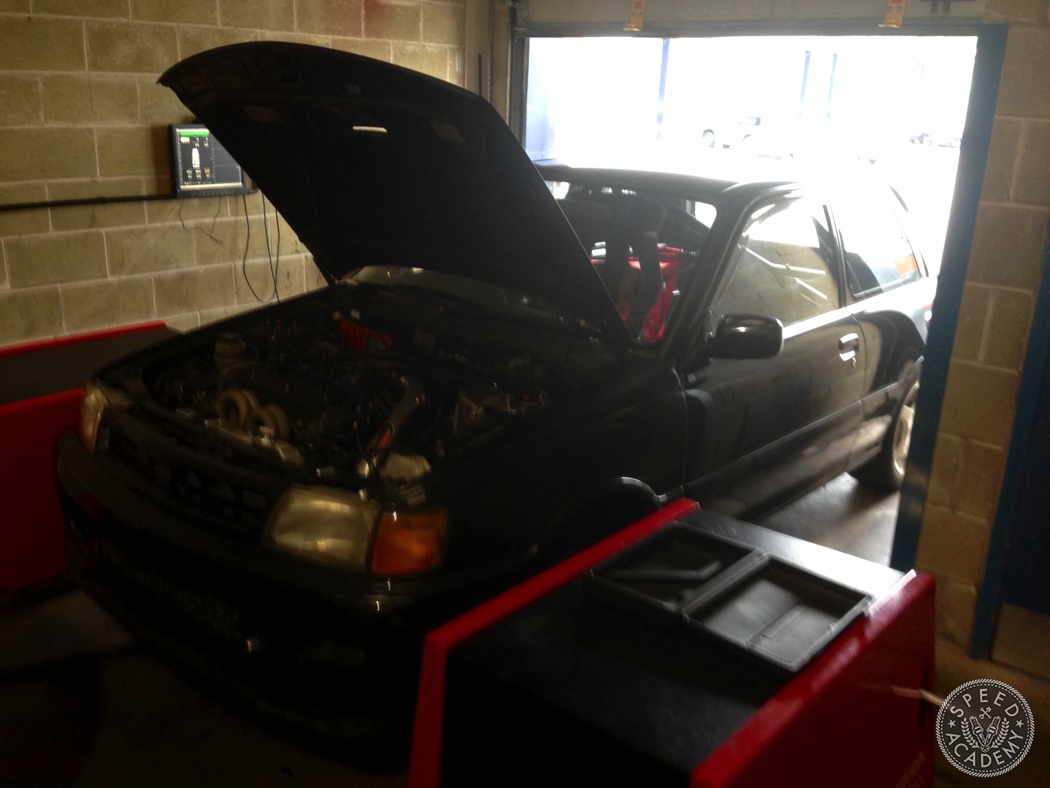
Once the pre-flight checks had been carried out, we loaded the car onto the Dynapack hub dyno. Following this, Will would check and adjust base ignition timing, but after a small amount of time with the engine running, a whiff of fuel filled the air. Numbnuts here hadn’t done a particularly good job of making sure all the new fuel fittings were tight under the bonnet. That was sorted quite quickly, then disaster struck as we discovered a crack in my Fuel Pressure Regulator.
I really thought that would be the end of the day, and was pretty down about the whole situation, especially given that I’d checked for leaks myself and not found anything. Luckily Will had an FPR on the shelf we could make use of. With that bolted up, it was time to start mapping. I learned a valuable lesson here, never buy used critical parts, no matter how good of a deal it seems!
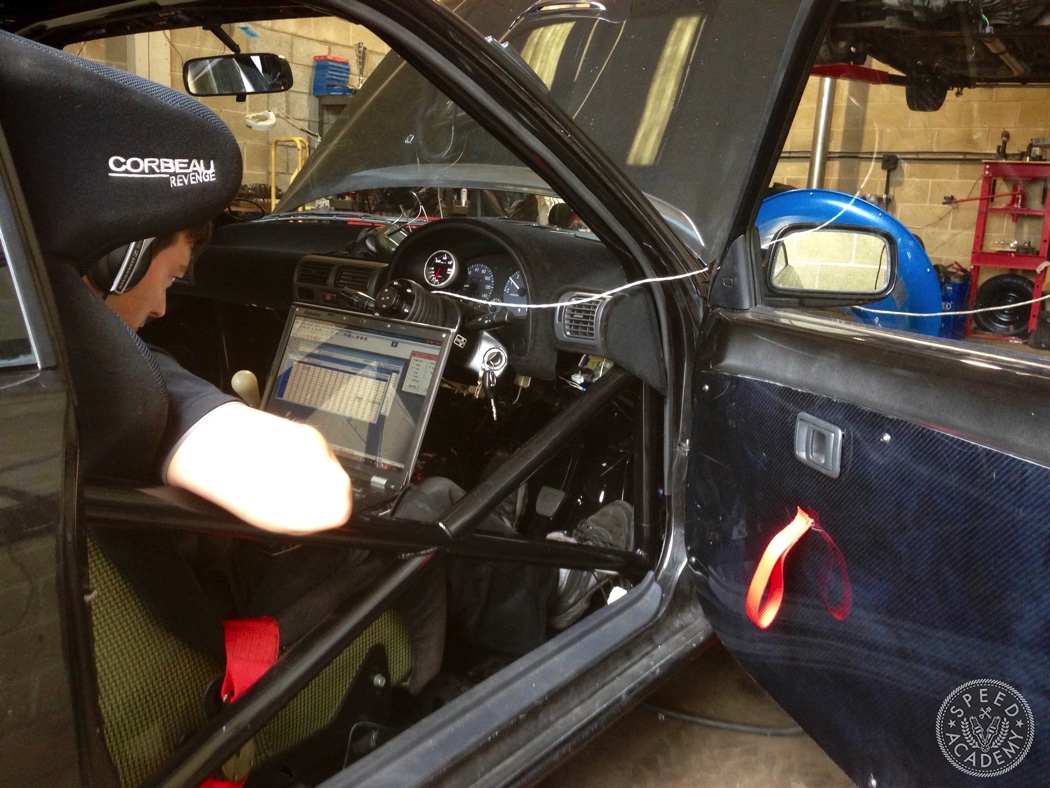
The next few hours would pass in a bit of a blur, but with no other problems found, the Greddy eManage Blue was finally mapped. At around 12 psi, the car would produce 140-hp at the hubs, and at the time I had really hoped for more. Graphs from the previous owner, albeit with slightly more boost, suggested the car was capable of around 200-hp at the flywheel. The aim of the day was to run 15 psi of boost, but at anything over 12 psi, gains were negligible. Rather than running higher boost for the sake of it, we decided to stick with 12 in an effort to keep things more reliable.
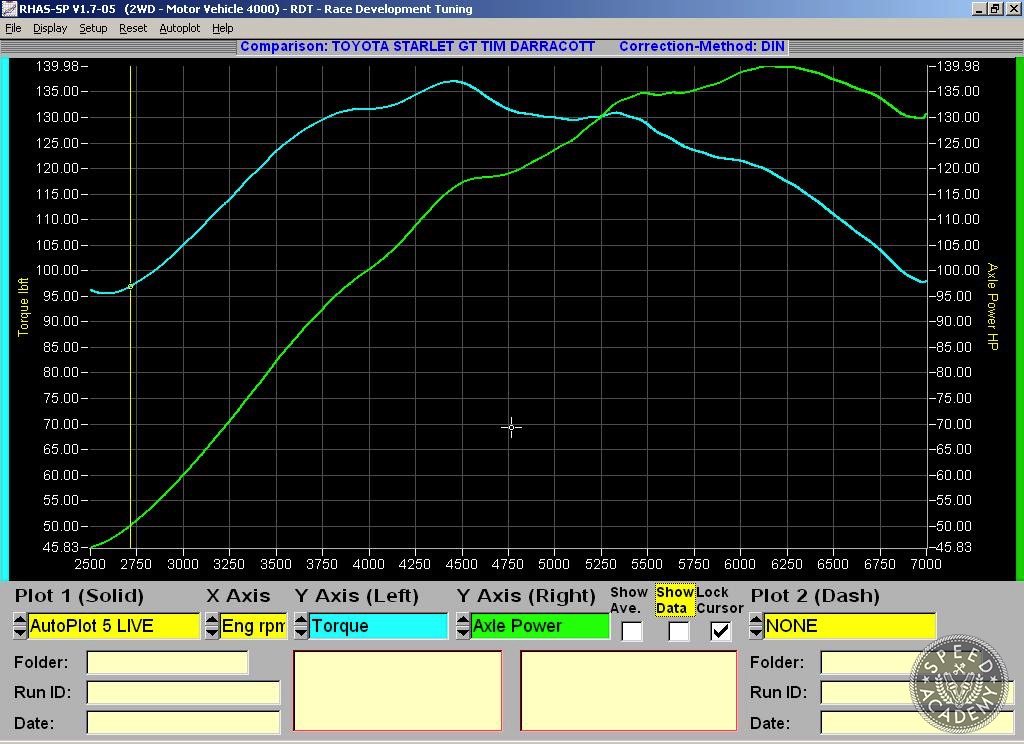
Setting peak power aside, the graph looked healthy and linear which should translate really well to the track. The trap many Starlet owners fall into is chasing big dyno numbers, only to quickly realize that very short bursts of huge power doesn’t necessarily work very well on the road or track. What’s the point of all that power if it’s only available between five and seven thousand RPM, with very little before that?

With the car finally ready to use, I wasted no time booking a day at my local track (Blyton Park) with Javelin Trackdays. Before that day came I had a couple of loose ends to tidy up. First up I had to cover the holes in the firewall that the now removed HVAC system had left behind.
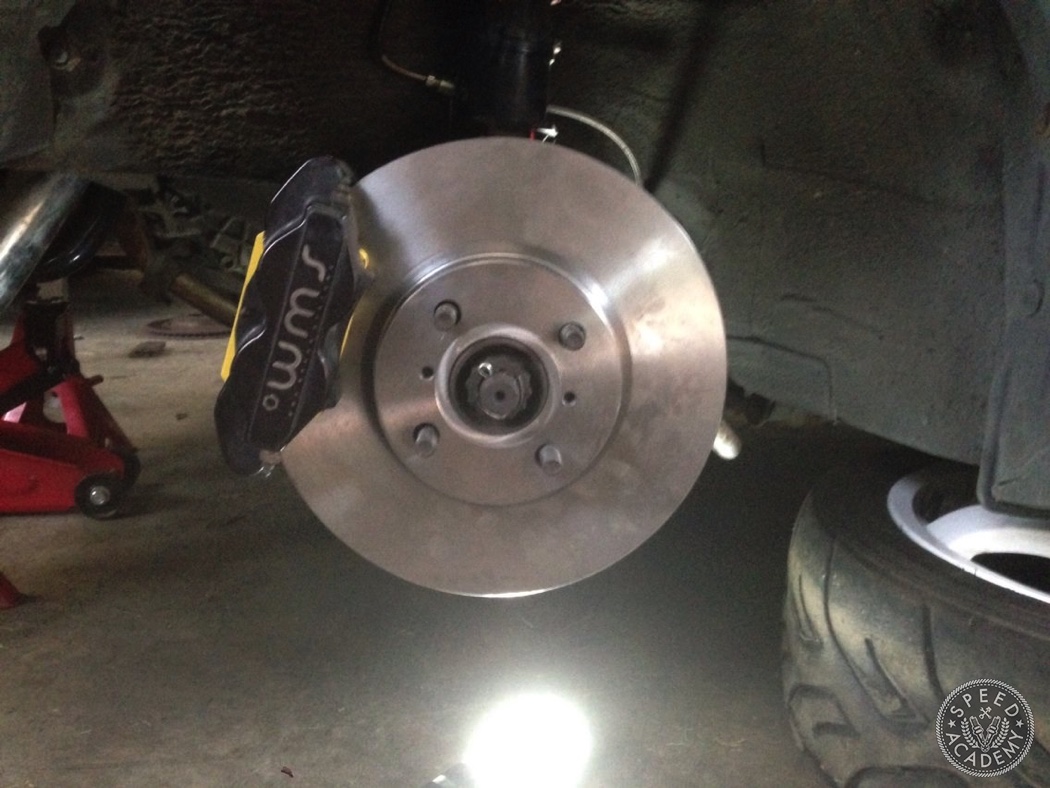
Then I finally got around to fitting the WMS 4 Piston brake kit. Out of the box the kit uses a 275mm vented disc and an EBC Yellow track spec pad. I’ve had some positive and negative experiences with EBC Yellows, but was willing to give them another go, after all, the Starlet is a light car.
Finally, the car was ready to go! Apprehensive as ever, I’d venture to Blyton Park to have my first proper drive in the car, and that’s where we’ll pick things up next time.
Previous Build Updates:
Part 1 Introduction
Part 2 Adding Lightness & Safety
Part 3 Fuel and Oil System Upgrades