Alright, time for another update on Connie Celica, our 1977 Toyota Celica GT coupe (RA24), which I bought from my Arizona brother-from-another-mother Russ Whelan and imported to Canada just over a year ago now.
If you’ve been following the build on our YouTube channel then nothing in this update will come as a big surprise including Moose’s crazy eyes, but the goal with these story updates is to offer a bit more detail on the process of turning this sexy old hunk of J-tin into a track-worthy hot rod that I can rip some hot laps in and enjoy some street cruising in, too.
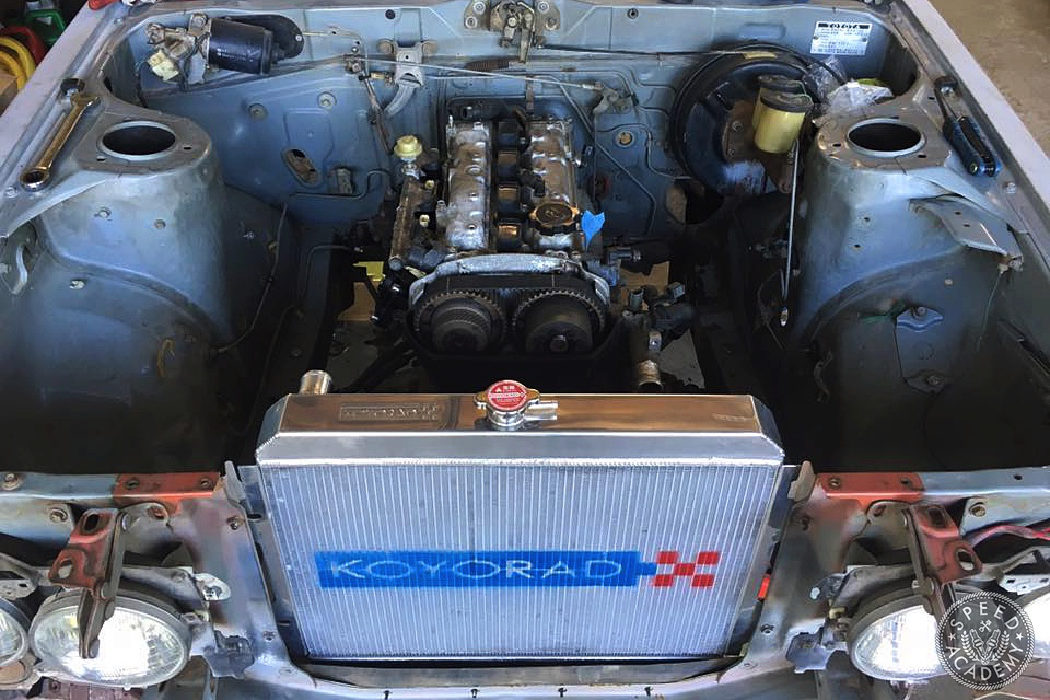
In Part 1 we left off with the engine hanging in the bay but with Moose and me in the middle of sorting out a transmission crossmember solution. As the above video covers, that process began with us adding a plate to the original RA24 crossmember such that it mated up reasonably well with the J160 6-speed transmission the Beams 3SGE Blacktop engine comes standard with.
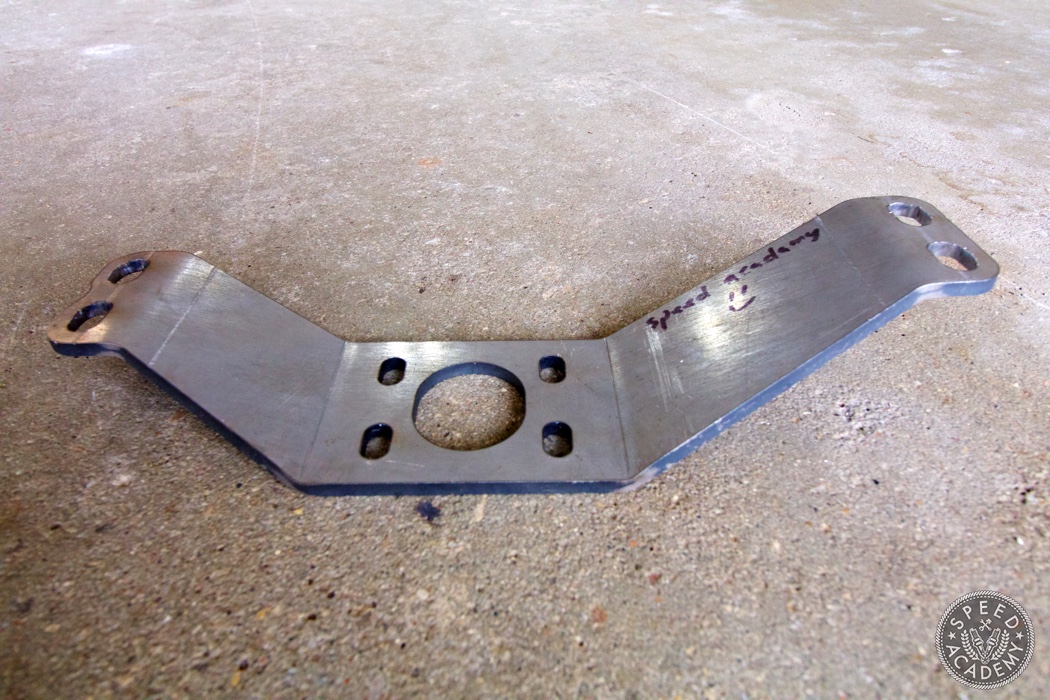
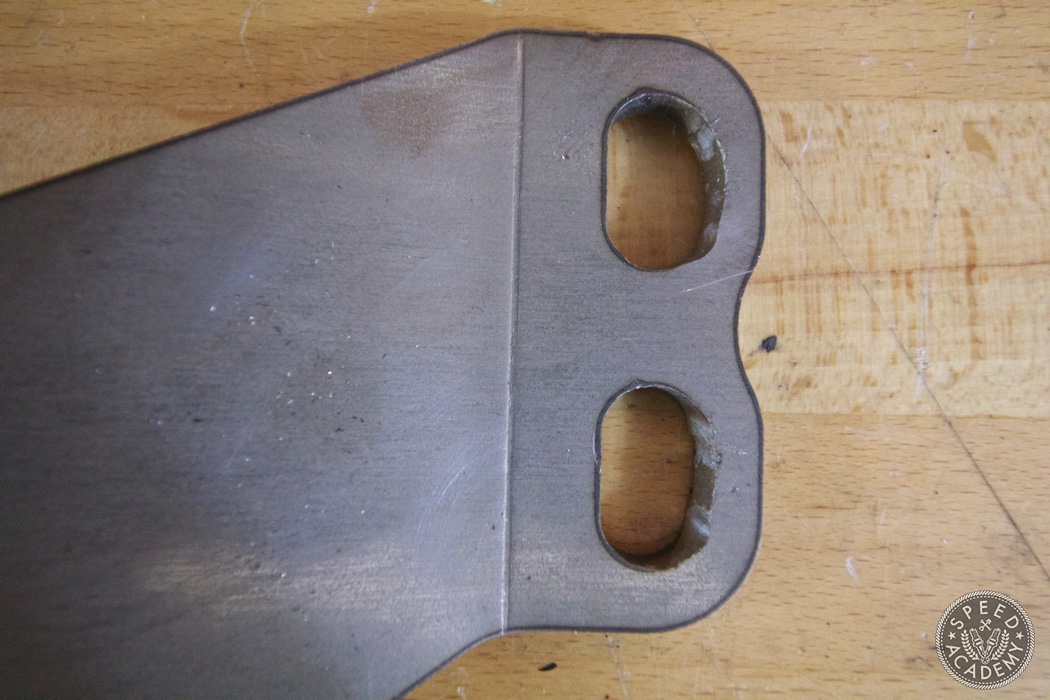
We then sent the modded crossmember off to Rich at Xcessive Manufacturing, who used it as the basis for this CNC laser cut 1/4” thick steel crossmember. Rich didn’t zinc coat it since it’s a prototype and we weren’t sure how well it’d fit, but he did give us a little Sharpie encouragement with that Speed Academy smiley face.
After an initial test fit we needed to tune the holes for the chassis mount bolts a bit, widening the opening by about a 1/16”. Not a big deal for a sweaty galoot like Moose and a die grinder.
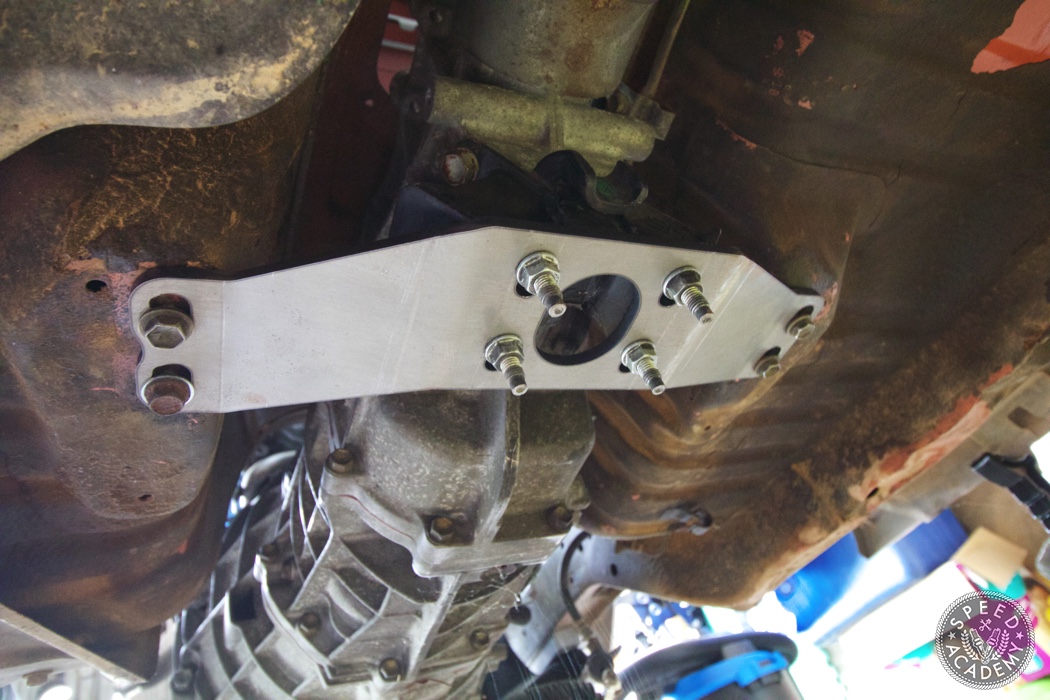
With that bit of hole tuning done, we were able to bolt up the crossmember without any further drama. The engine and trans sit nicely centered beneath the tunnel, and the tail end of the trans lines up nicely with the differential (which we’ll connect via a custom driveshaft). We also have good clearance on the top side of the trans, so there are no worries about it fouling against the tunnel. But as you can see the bolt holes for the trans mount in the center of the crossmember are slotted such that we could move the whole powertrain back further under the chassis but the outer bolt holes to the chassis are slotted such that it can only move forward. We sent these details to Rich at Xcessive, so the production version of the late 1st gen Celica (also known as Series 2 or Flatnose) trans crossmember for this swap should bolt up without issue and give you slotted bolt holes with some wiggle room in either direction. It’s my understanding Xcessive has done an initial run of these, so give them a shout if you need one.
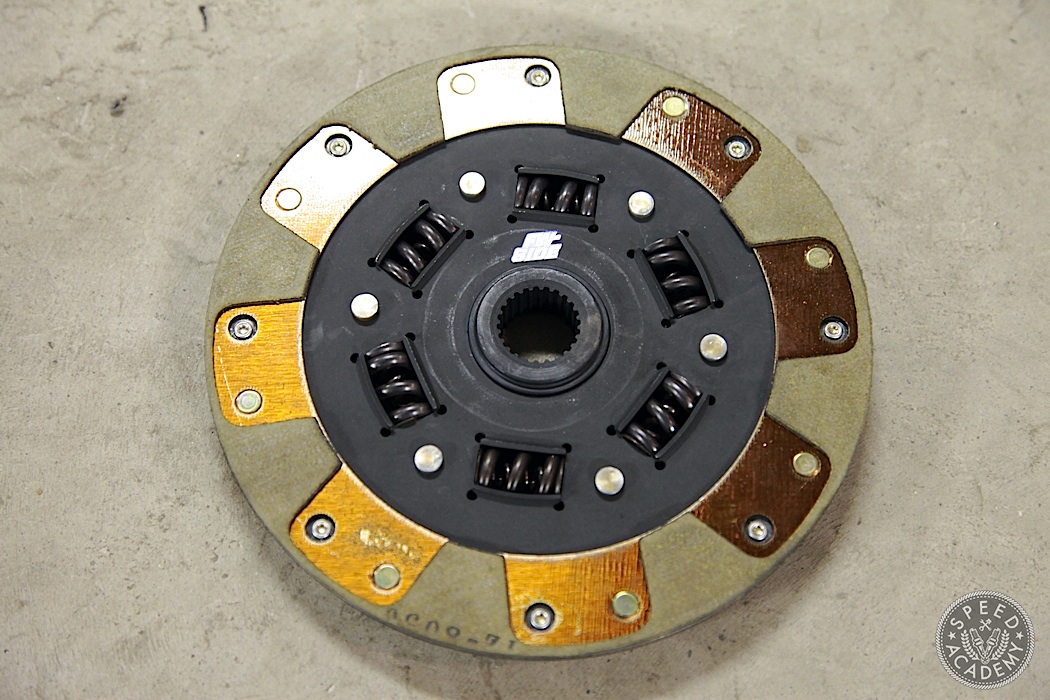
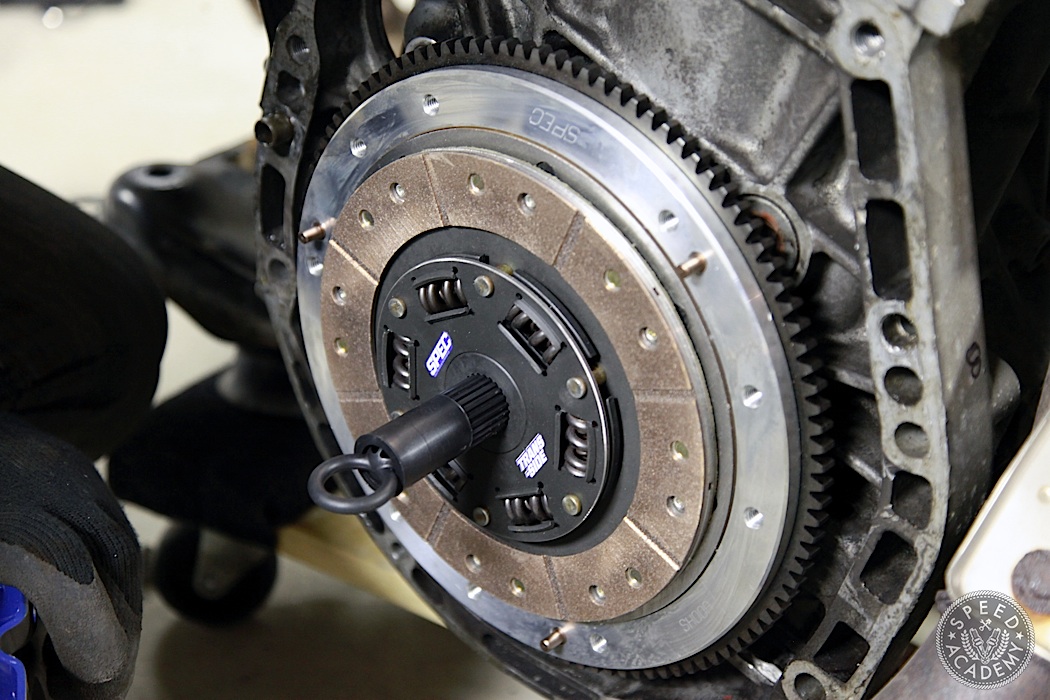
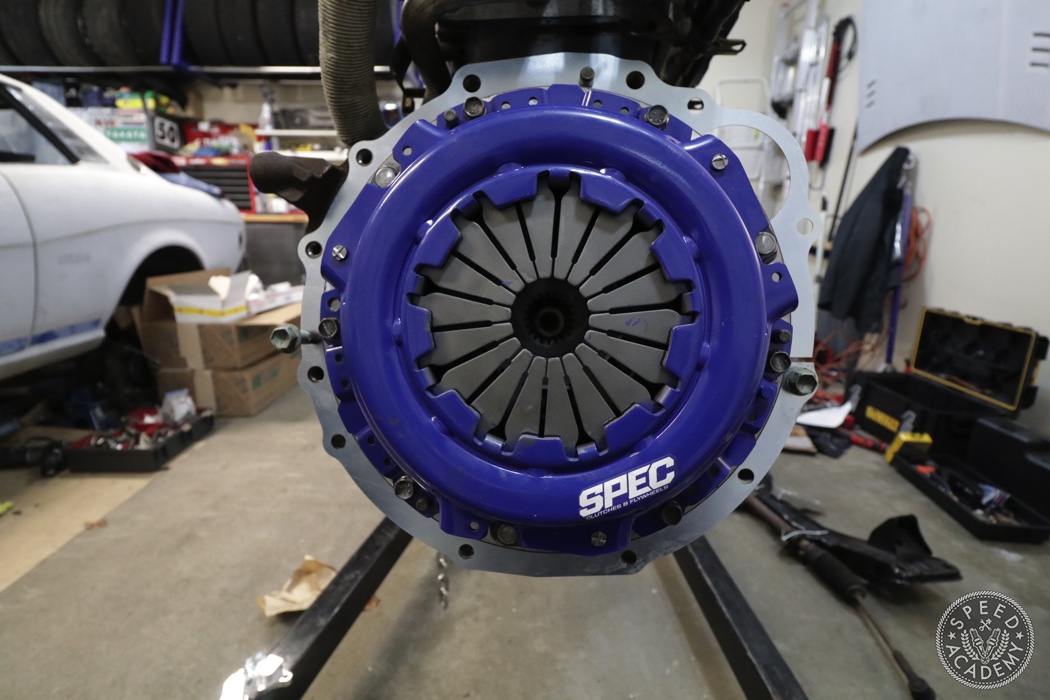 With the engine and trans fully bolted up to the chassis to our liking, it was time to pull it out again so that we could move on to some rather important details like installing the freshly resurfaced OE dual mass flywheel and a new clutch. You wouldn’t expect an American clutch company to make a Beams 3SGE Blacktop clutch kit since this engine is a Japan-only offering, but SPEC actually has a clutch kit that bolts right up to old Beamsy here.
Pete and I have had great success with SPEC’s Stage 2+ clutch, running it in both our Honda S2000 and in the Scion FR-S we raced in Targa Newfoundland and the Ontario-1500. We’re big fans of the Stage 2+ because it offers very civilized engagement characteristics (no chatter and not too grabby off the line so it’s easy to launch from a standstill) thanks to its use of kevlar on one side of the disc and carbon-graphite friction material on the other side. It also has serious storque holding capacity thanks to a heat-treated double sprung hub design on the pressure plate side. It’s really what I’d consider an ideal street/track clutch kit and I know from past experience that it can take a serious beating, which is exactly what I intend to give it.
Bolting down the flywheel and clutch kit can be a bit of a challenge if you’re doing it solo and Sam at SQ Engineering noticed we struggled to prevent the crank (and thus the flywheel) from rotating while we torqued it down in the above video.
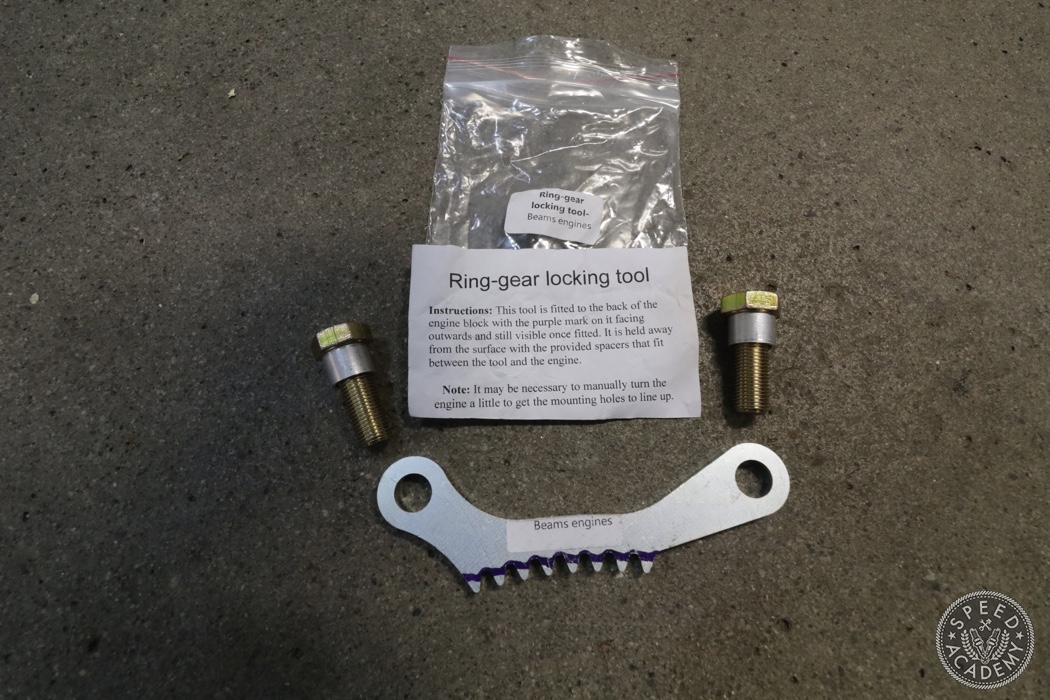
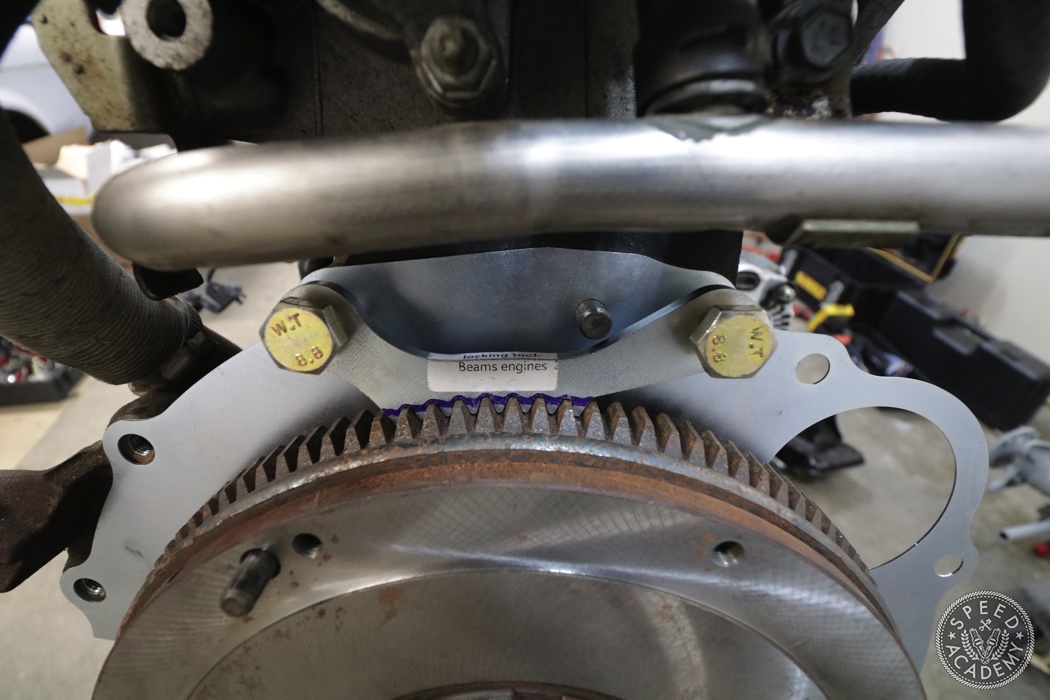
If you want to avoid the kind of stuggle Moose and I had, SQ has you covered with this flywheel/ring gear locking tool.
As you can see, this bolts up to the engine and engages with the teeth on the flywheel’s ring gear such that it cannot rotate when you’re torquing down the fasteners. Simple and effective, just the way we like it!
hi guys! awesome job on the Celica! im doing a ke70 beams swap and want to use xssesive manufacturing engine brackets with cusco ae86 engine mounts, wich brings the engine down 1cm, i think the crossmember of the ke70 and the ae86 are the same, is there any space under the engine with the oem engine mounts to lower the engine 1cm and not hit the crossmember? please reply me asap as i need to order parts, thanks! keep the good work!
Part3?
There’s like 30 more parts on our YouTube channel 😉 But I will write something specifically about the Beams install. Any info in particular you’re looking for?
Hi Dave, question about the exhaust from season 1. I saw that you were at the Vibrant Performance R&D centre for the exhaust build. Are they open to the public for exhaust fab work? I have a 1972 Toyota Celica with an Buick Grand National engine and drivetrain setup, and have an exhaust system on it but would love to have it redone with some mandrel bends.
Great job on the Beams swap, and the rest of the build.
Hi Paul. The Vibrant R&D Centre is only used for testing and developing new parts for the Vibrant catalog. However, there are lots of excellent exhaust shops around that can build you a top quality exhaust system using the same Vibrant components we used on my Celica. If you’re located in the east end of the GTA, Mike Catell at GT Custom Exhausts in Oshawa does great work and has a Beams powered Corolla wagon of his own. He’s a great guy, his prices are very reasonable and he uses Vibrant components. Mark Gentile at Proper Fabrications in the Scarborough… Read more »
Thanks so much for the info Dave, greatly appreciated. Will visit the East end guys in the spring. All the best with the rest of the build.
what inner tie rod ends did you use? or where they aftermarket?
We are using TechnoToyTuning power steering outer tie rods and Hardrace AE86 power steering inner toe rods (the p/s and non p/s tie rods have different diameters, so you can’t mix and match), but on a manual AW11 steering rack. We may fit up a power steering pump at a later date, if Dave’s tired old arms need a little help.
jump to 9:30 of this video for more: https://www.youtube.com/watch?v=7CoXJ_Ojgck
What SPEC Flywheel is that one you used? Is it ST88A-2? This has been really helpful, I’m doing an RA40 swap but much of what you are doing works for my swap.
Hi Dino. You can search Spec’s website for the Toyota Altezza and you’ll see what’s available for the Beams which they list as 2.L 6-speed. I opted for the Stage 1 clutch since it has more than enough torque capacity for my power goals and will work very much like a stock clutch. https://specclutch.com/applications/toyota-altezza-2-0l-6sp/?car_year=2001&type=13925