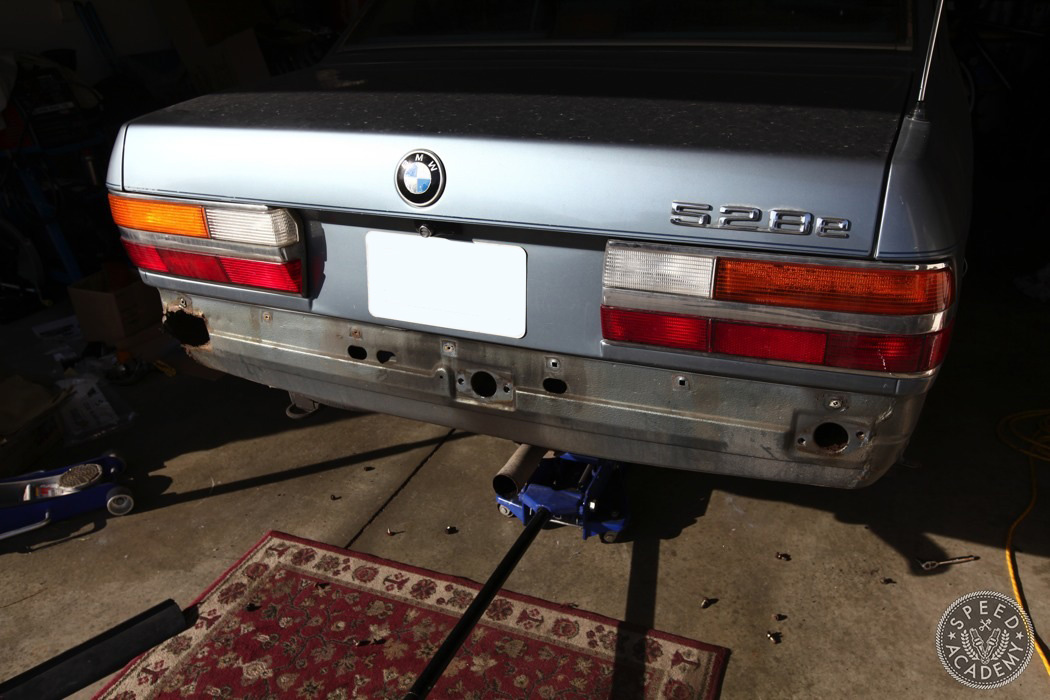
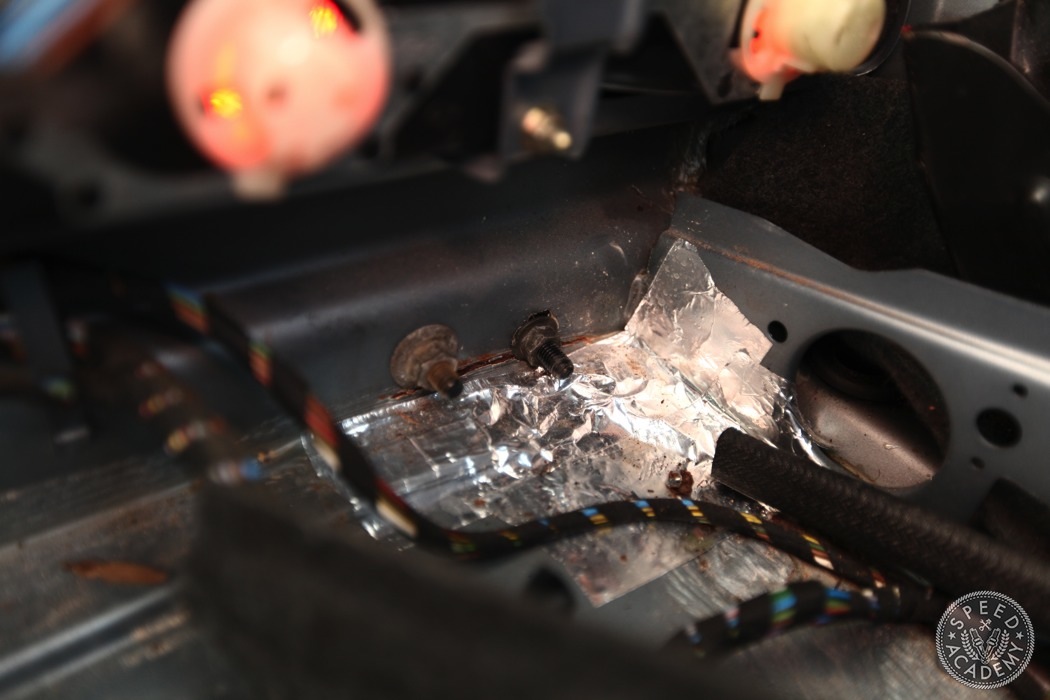
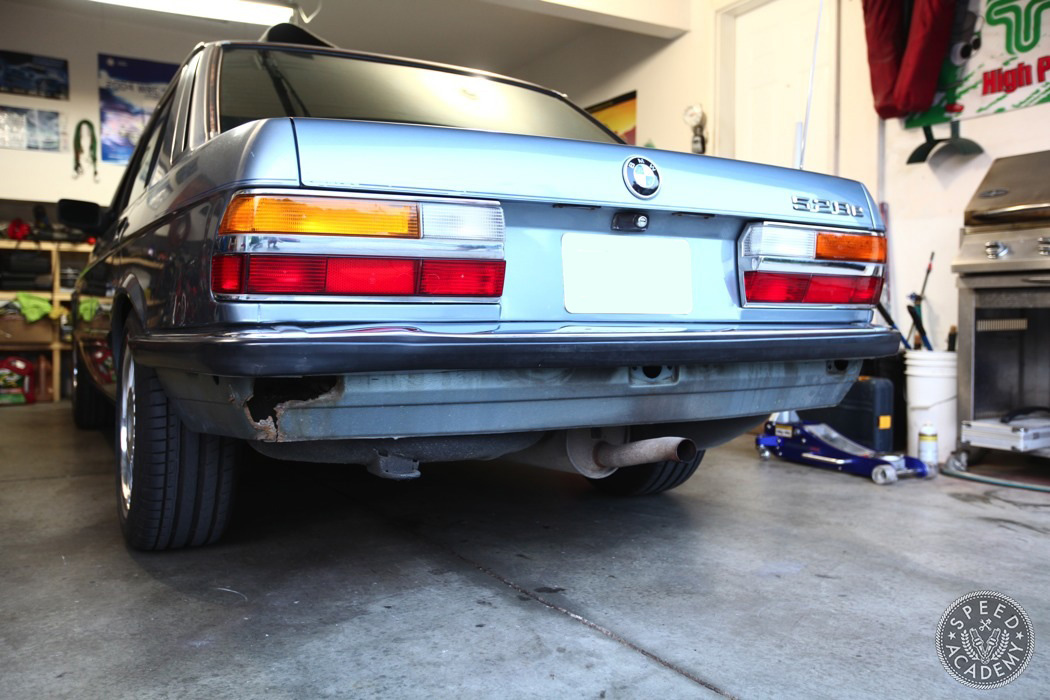
This is what the rear end looks like with the bumper off. You’ll notice there are a lot of holes that you probably didn’t see before. With the slimmer Euro bumper some of them will be exposed. There are two options, fill everything in with fiberglass, bondo, or metal. Or the proper, yet much more time consuming and expensive option is to buy a Euro lower panel replacement then cut the existing one out and weld the new one in place. If this were a full resto job or a car of high value then I’d be doing that but it isn’t so there was no chance I’m going to invest the time and money needed to do that. I’ll explain how I patched all the holes in another post.
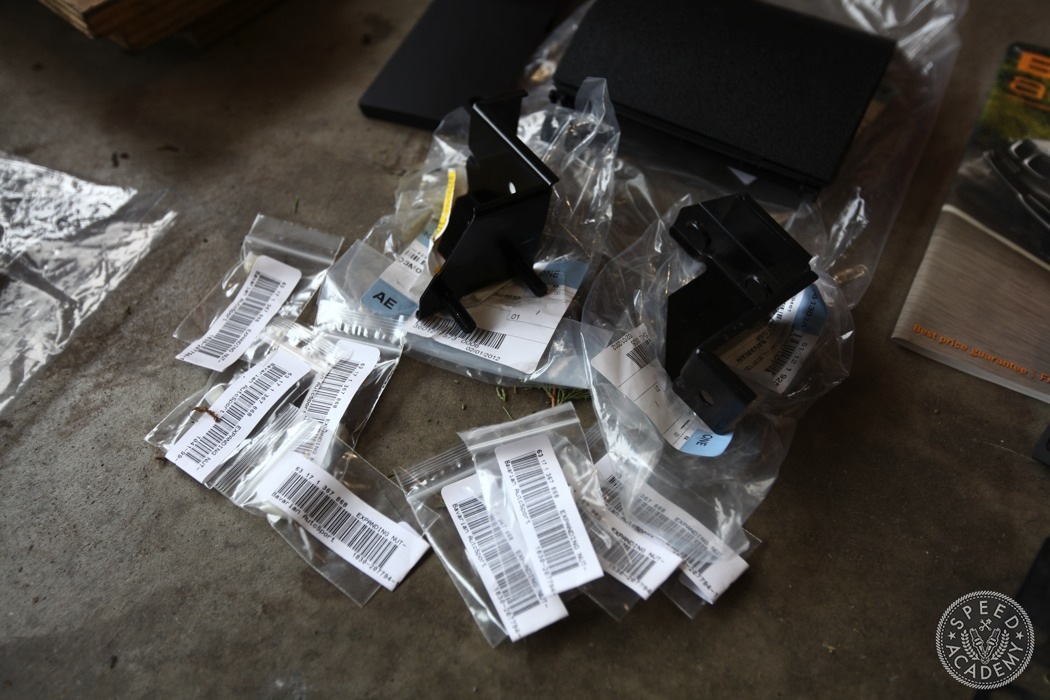
These are the Euro mounting brackets that should come with your bumper. Mine were so rusted that I bought OE replacements from Bavarian Autosport
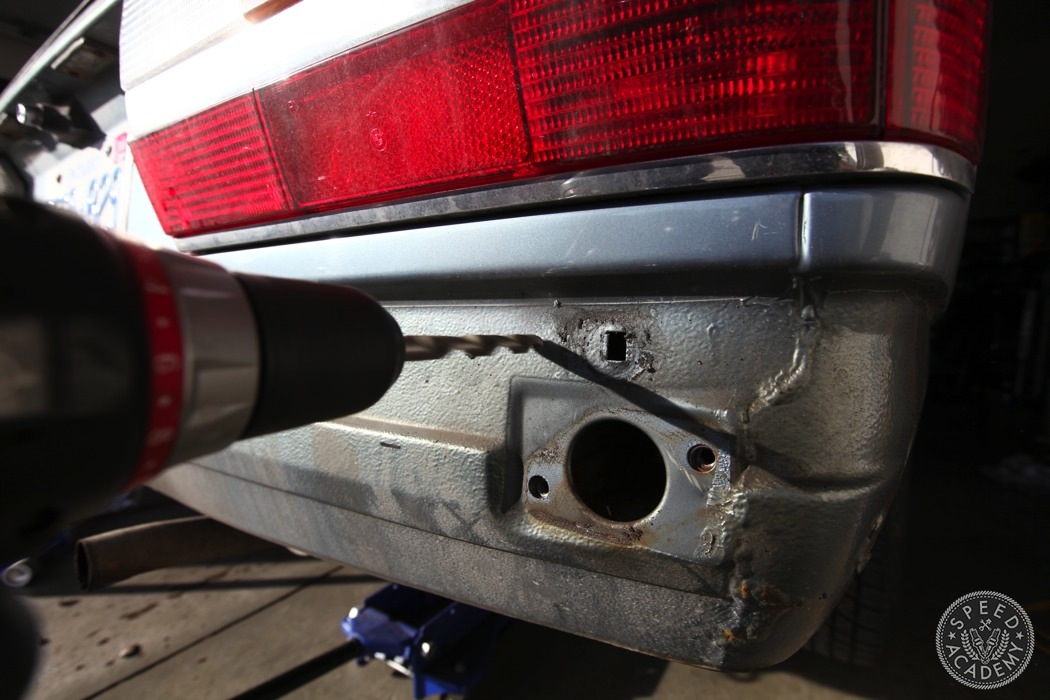
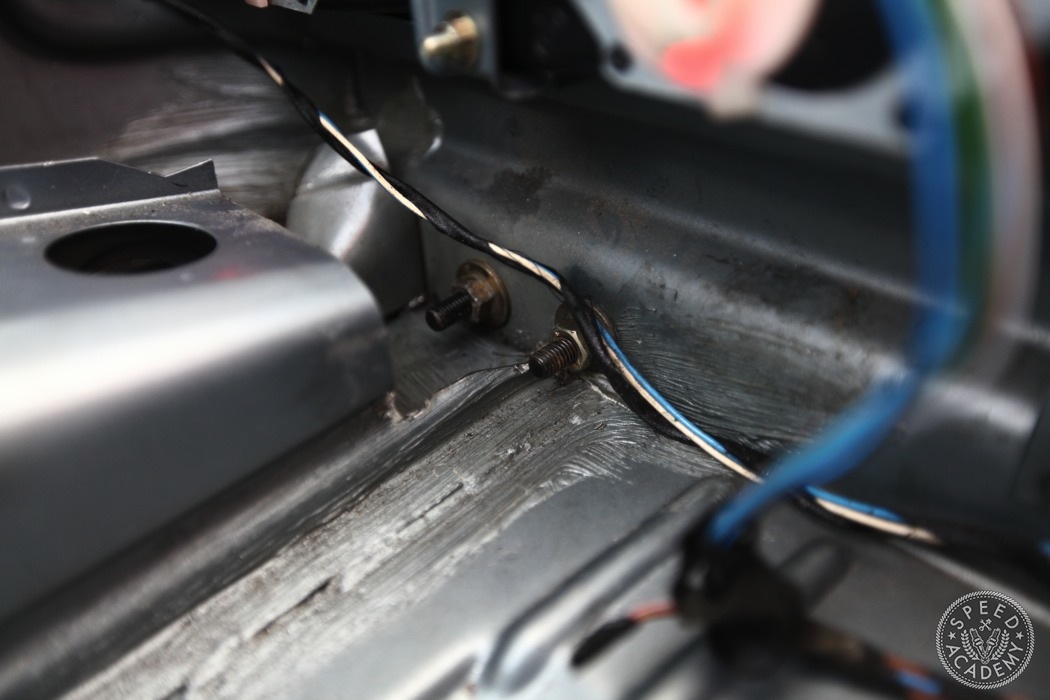
The euro brackets mount to the chassis with two studs and while there is one rectangular hole that conveniently lines up perfect with one of the studs you’ll need to drill the second hole.
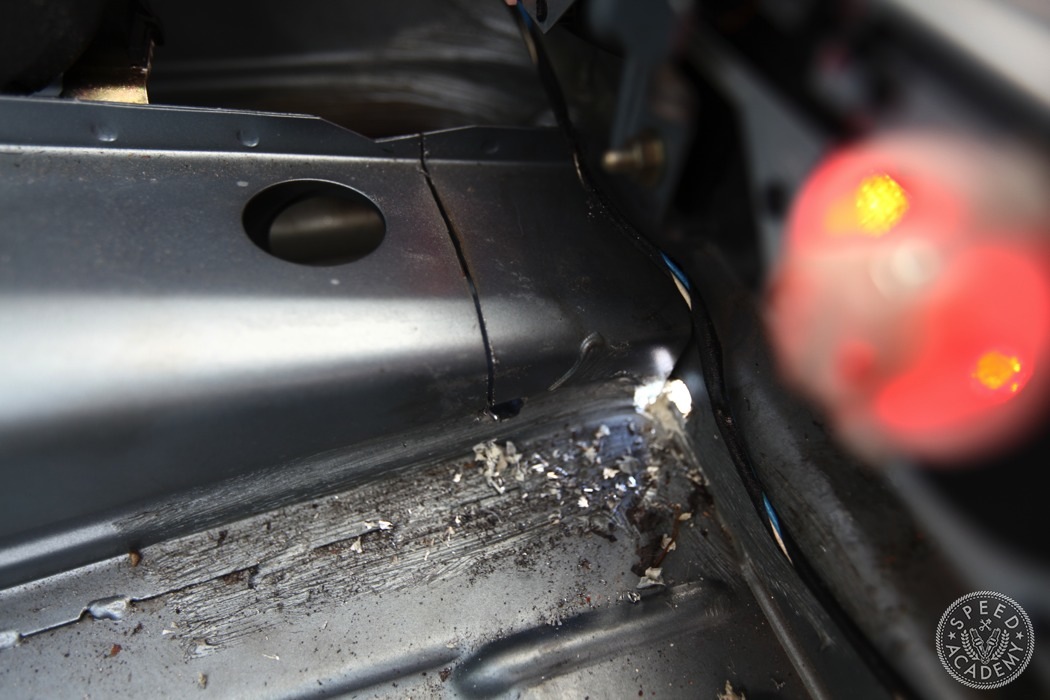
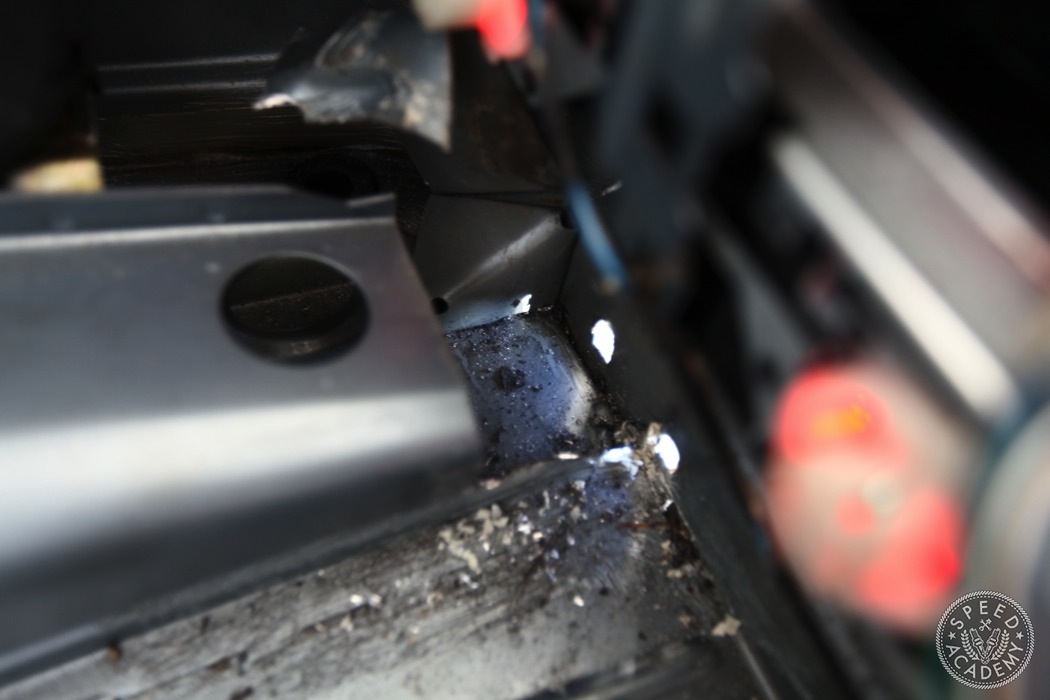
Inside there’s a bit of a problem, there’s no access to the studs!
My solution, cut part of the sheet metal out to gain access to the holes.
Using large washers ensures the rear bumper is properly secured to the chassis.
Thankfully the drivers side doesn’t require any cutting, just drill the holes for the studs and you’re done.
There are two sheet metal screws that hold the sides of the bumper in place. No modification or drilling needed as the US mounting provisions are a direct fit.
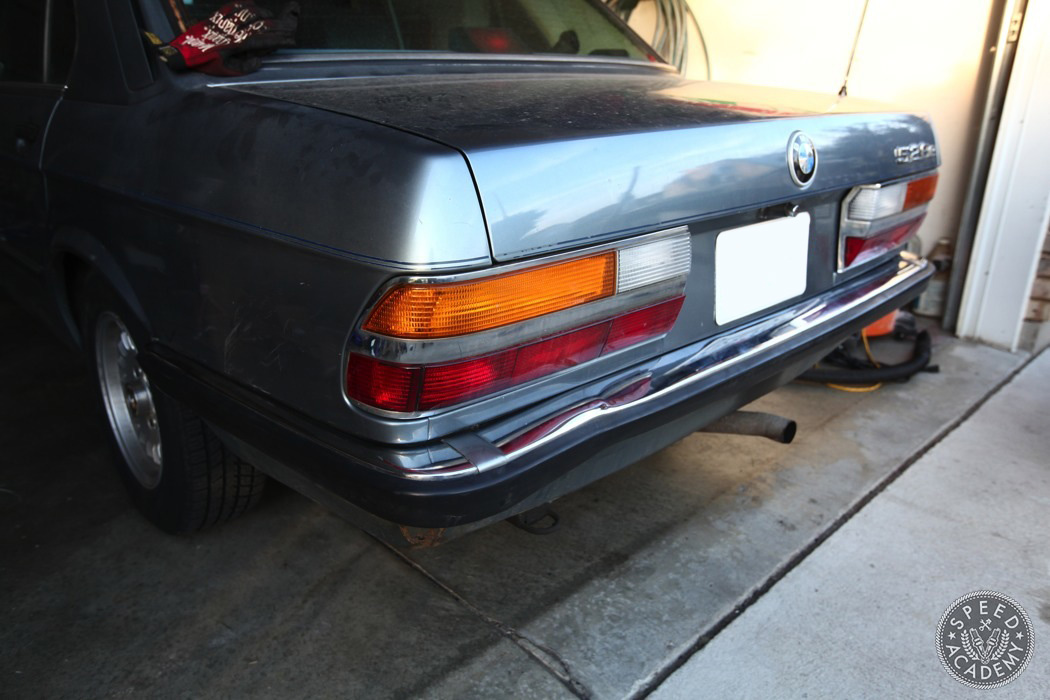
And that’s it! Not a bad job right? You can however see why it’s not complete. The US bumper mounting spots are a huge eye sore and so is that rust spot. I’ll tackle that in the next installment.
Continue onto Part 3 of the Euro Bumper Conversion
SOURCES
Bavarian Autosport: www.bavauto.com
