

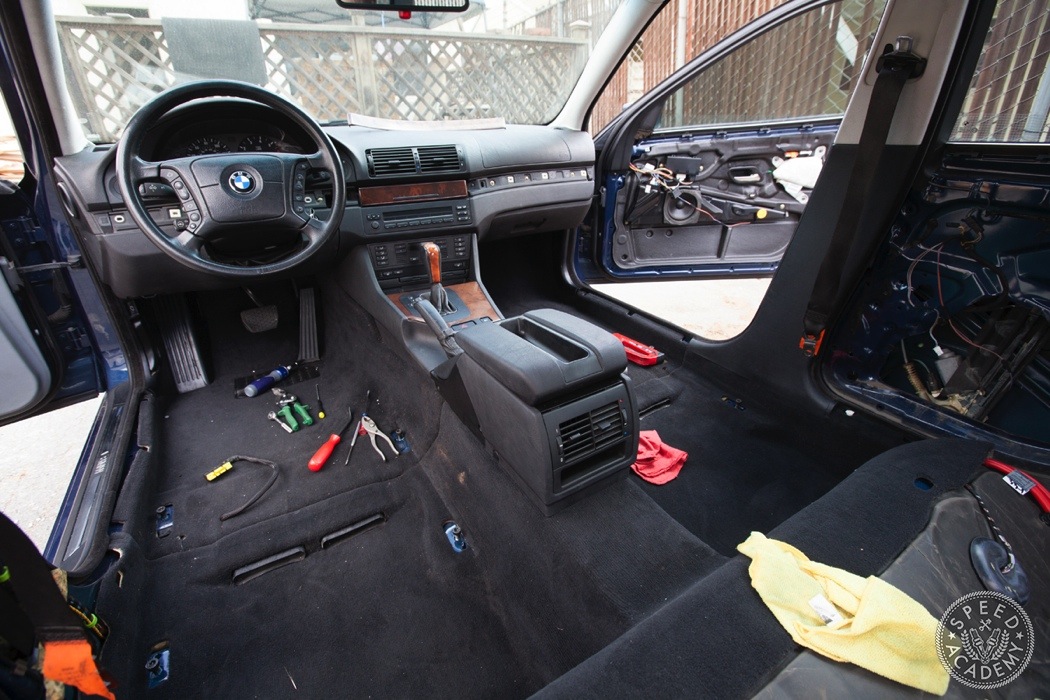
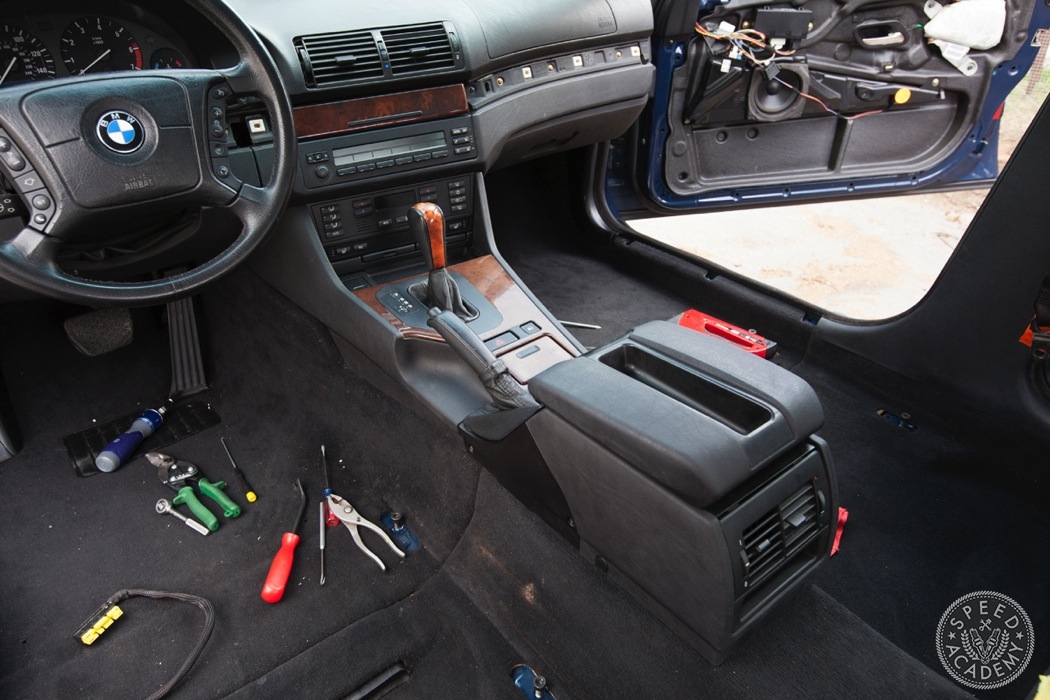
All the remaining trim and console accessories were fit up marking the completion of the front of the interior!
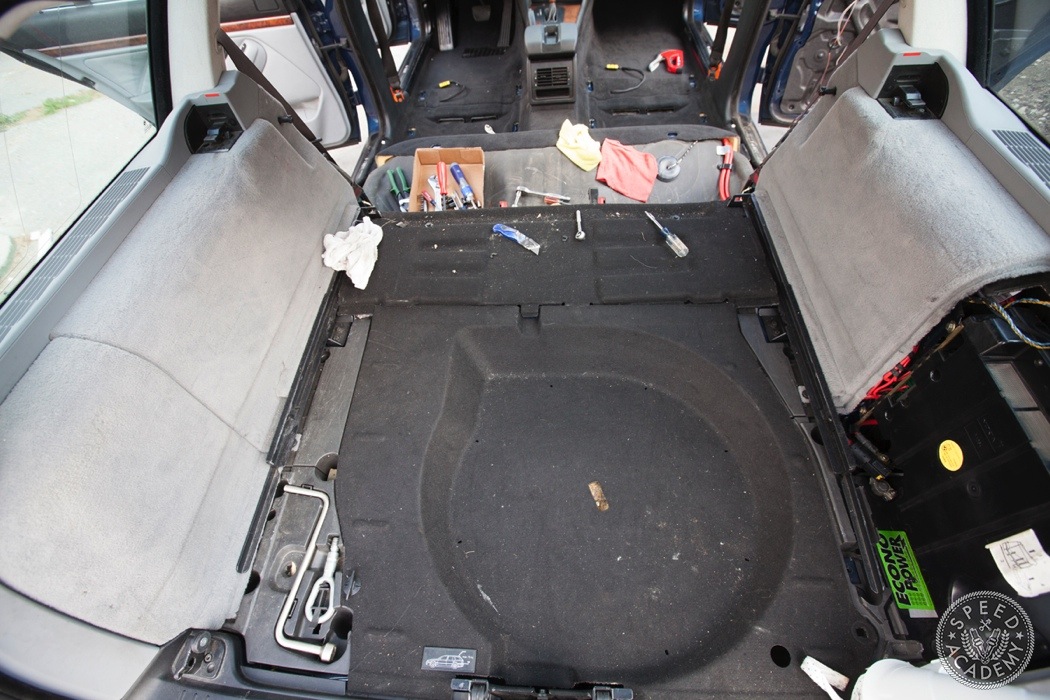
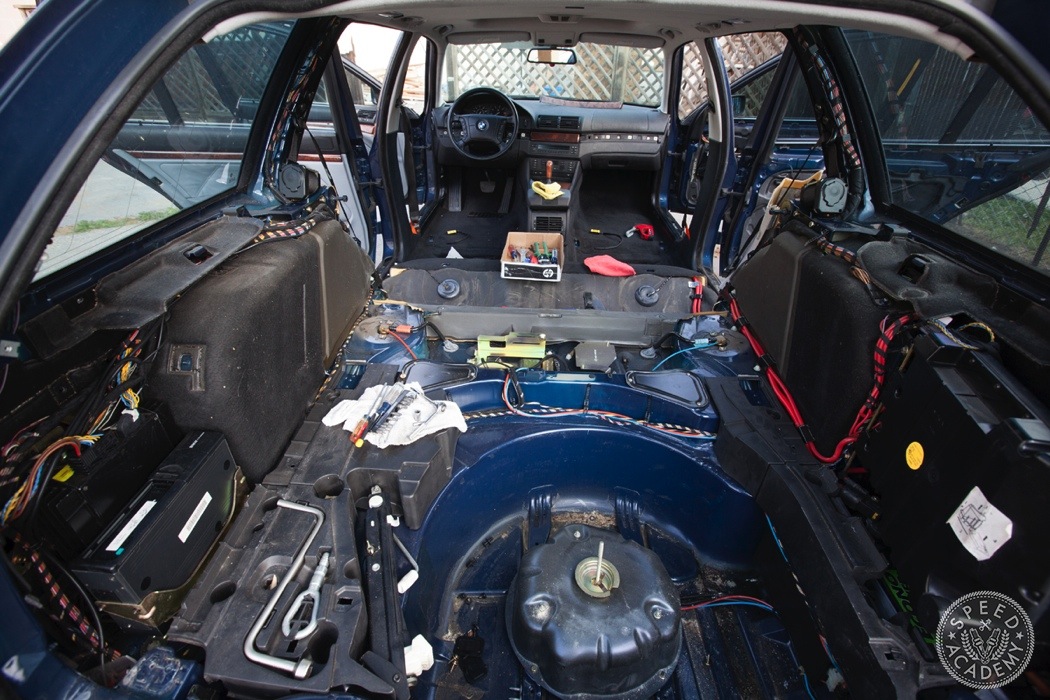
For the trunk and cargo area, the side carpeting, grey plastic trim, and some of the center section will all be replaced.
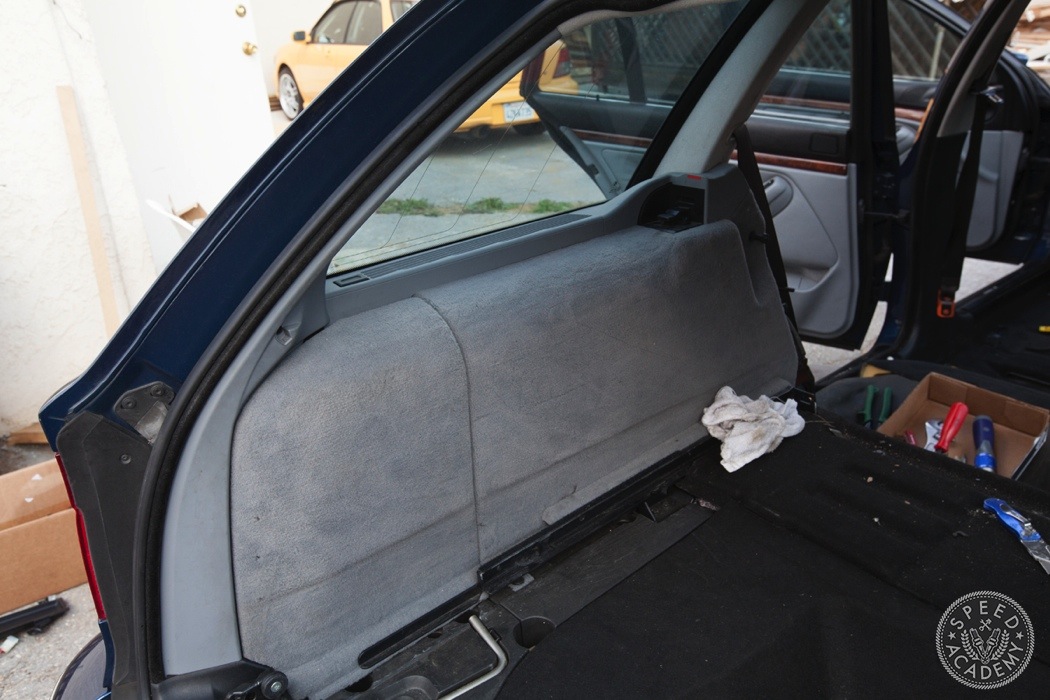
Most of this job is super straight forward, start with the carpeted pieces, once they are out you’ll have access to the plastic trim pieces which are held on with either bolts and/or clips.
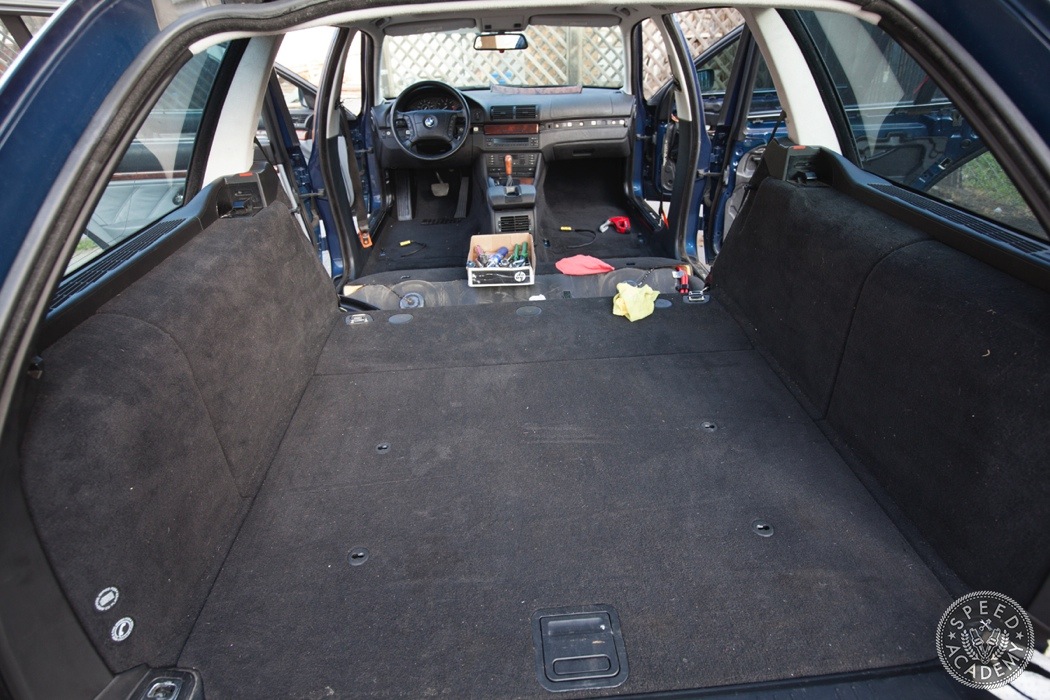
Before you know it, the trunk will look like this.
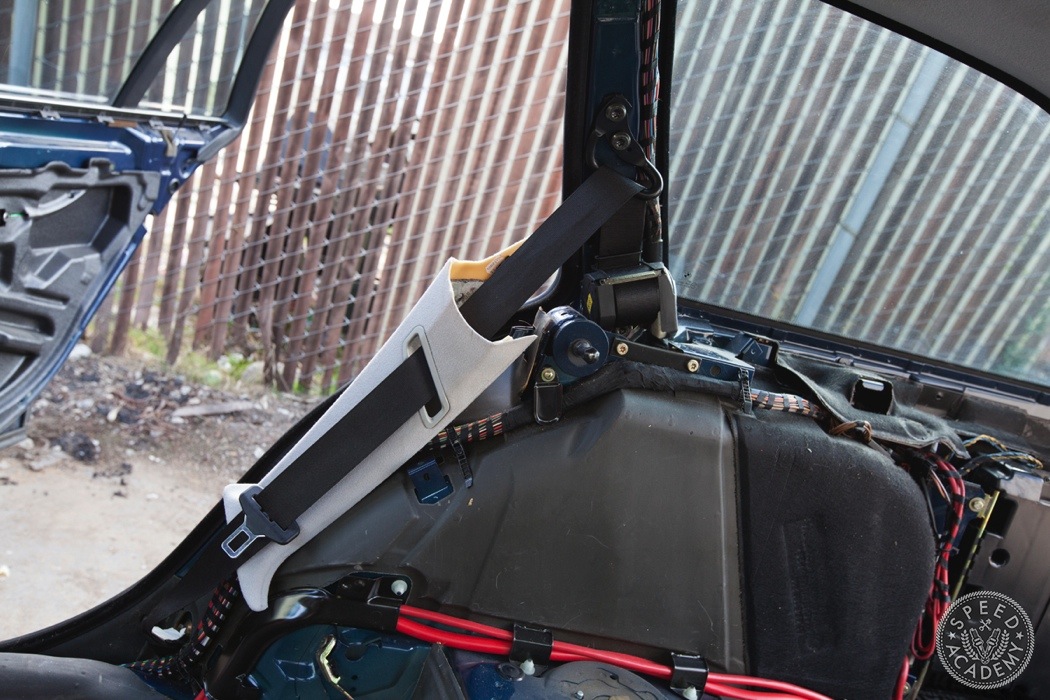
If you’re replacing the seat belts now is the time to swap them over. As with the fronts, there are a few large bolts holding the belts in place but once they’re loose the entire assembly comes off with ease.
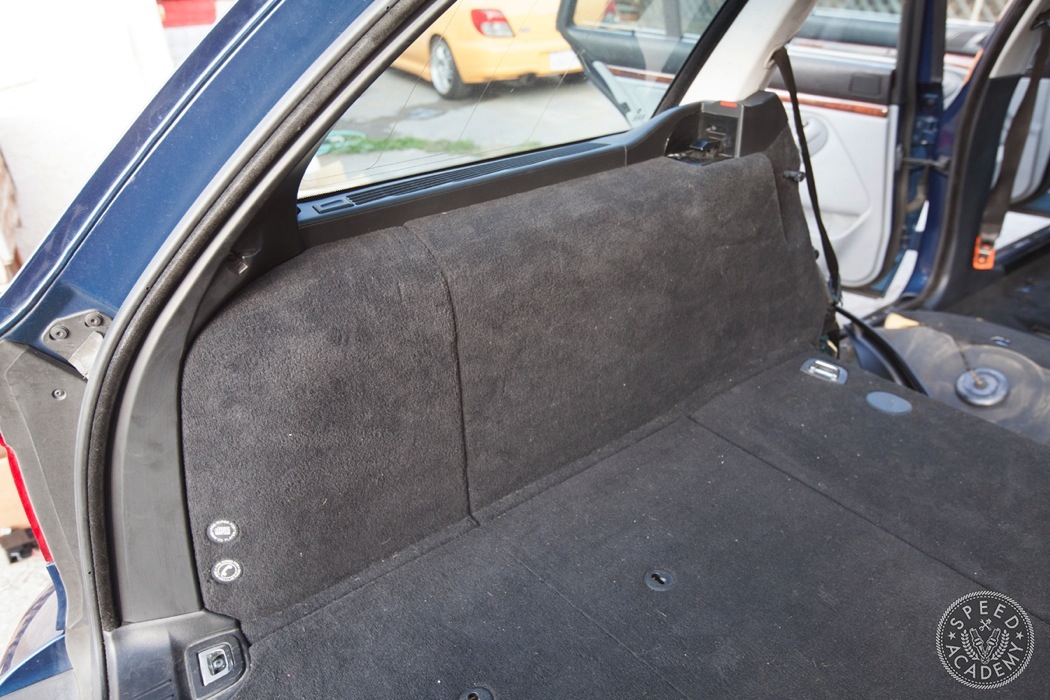
Then pretty much like it all came out, the black parts and carpeting go back in the same way. Since my grey setup had a cargo tray that slid in and out and this one didn’t it actually made for a much cleaner look and a little more space so that was a bonus.
I apologize since I failed at taking photos of the rear lift gate plastic trim swap. Like everything else though, it’s a fairly simple job, the only tricky part is removing some of the plastic around the wiper assembly but otherwise you won’t have any issues. If you don’t have those panels then I’d suggest leaving the liftgate as is and keeping the rear pillar plastic plastic trim grey as it actually looks decent. I contemplated leaving it but since I had all the black pieces my OCD took over and I installed them.
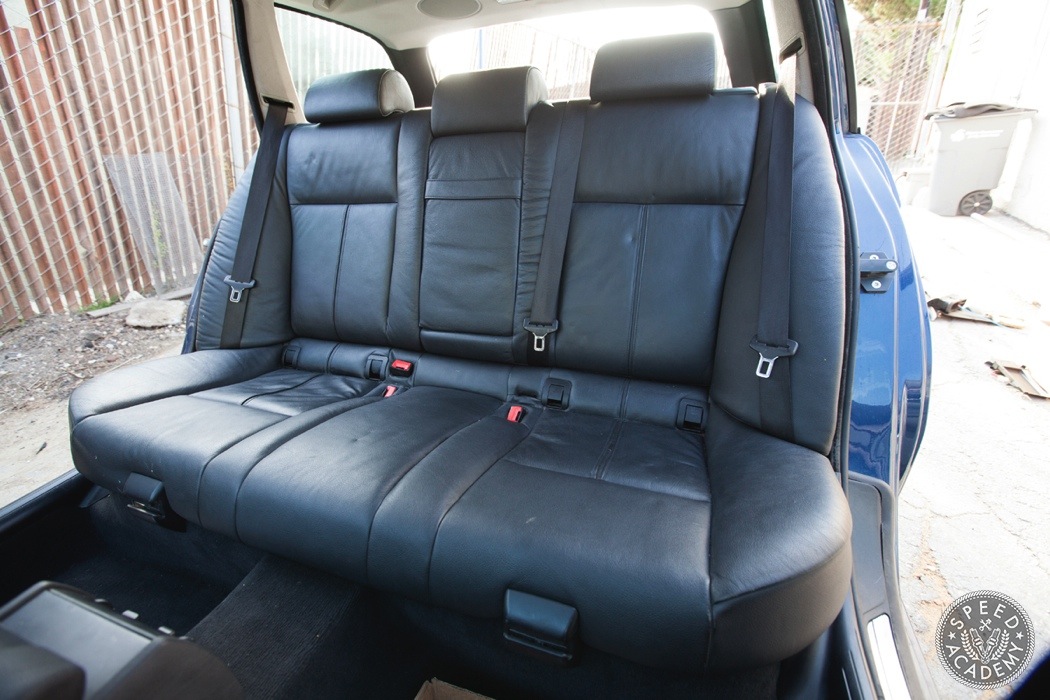
The rear seats can now be fitted, don’t they just look so much nicer then they grey ones!
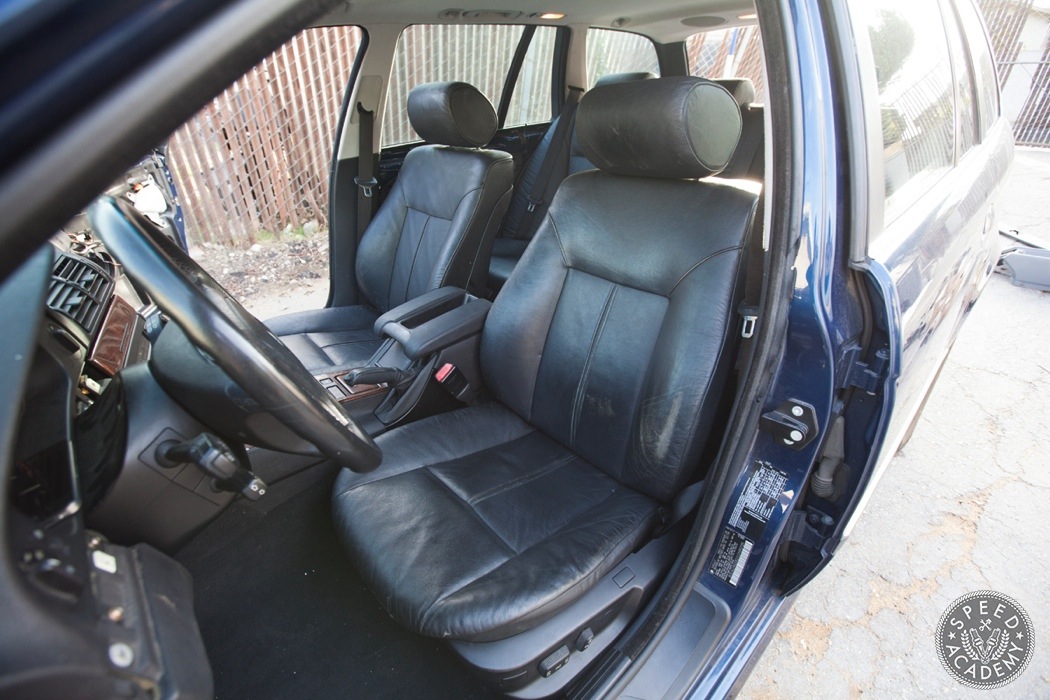
And then finally the fronts can be bolted back in as well.
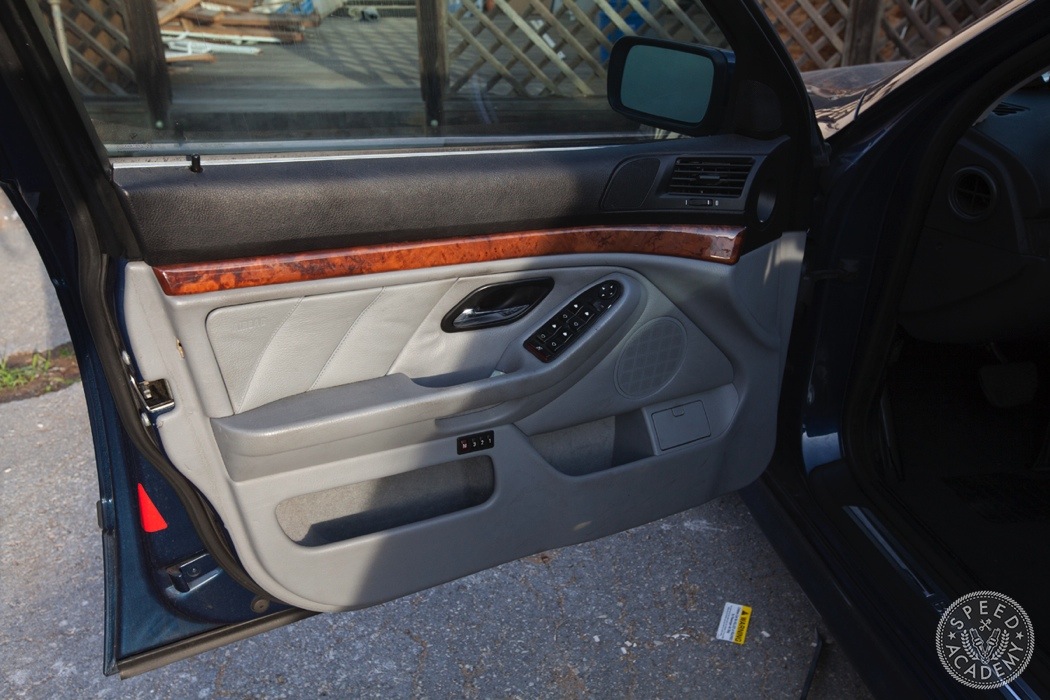
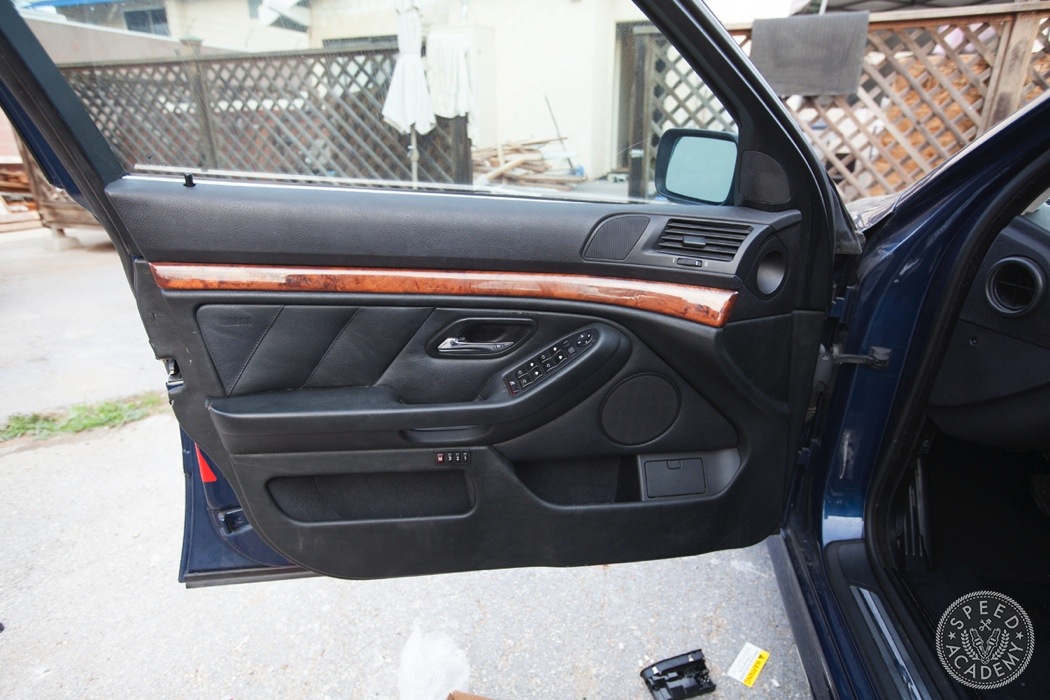
Last but not least, the black door panels can be swapped over completing the job! There are only a few screws to remove then the rest of the panel is held on by clips that pop off if you pry underneath the door card with a trim panel tool.
Even though this interior swap requires you to rip apart pretty much the entire inside of the car, as I’ve shown it’s not that difficult and if you take your time and more importantly keep tabs of what screws and clips go where then you’ll be done in no time with very little hassle.
If you’re working on an E39 sedan doing this swap, the procedure will pretty much be the same until the trunk area but even then it’ll still require removing the same side panels (just a different configuration) and center section so you should have no issues with it.
Good luck with the swap and if you have any questions or comments don’t hesitate to leave them below.
Looks much better with the black interior. Diggin’ the detailed write up!
Thanks Santiago!
It made such a huge difference in the look and feel. I’m already much happier with the wagon and haven’t even touched anything else on it yet.
Santiago Gomez Thanks! It’s a million times better. Now to get around to putting the 2JZ into it.
How did you attach the carpet?
Hey Pete! I’ve been watching you guys on youtube for awhile now and I love the content, I personally own an E39 530iA that I swapped to a 5 speed manual. So I guess you could say I’m a bit of a fan of the E39, so when I saw your video of your E39 touring I was hoping to see more, I hope to see more videos on your potential 2JZ swap on it, that sounds legit! Also I love your detailed write ups on the E39 DIY’s the one you posted on the twisted seat fix helped me… Read more »
Thanks so much! My E39 has been sitting under a car cover for way too long now but we’ve got one too many projects at the moment to start on so I’m sincerely hoping that come this winter I’ll be able to start working on the swap! I really want to get that 2J in there!
Wish I’d had my wagon back then, I’d have bought ALL the light grey stuff!
(I have tan interior and want to swap it out). Great writeup, definitely saving this one!
Prefer the grey myself
So much lighter and uplifting
Black is gloomy and kinda depressing and 99% of new cars have black interiors.
Each to their own though