Well, as sometimes happens, life has taken over. That’s not to say that Project Freedom Schnitzel is where it was when we last left off, it’s just not as far along as I (and I’m sure some of you) would have hoped it would be. Luckily my hectic life has afforded me some time to do the other necessary part of a build – research.
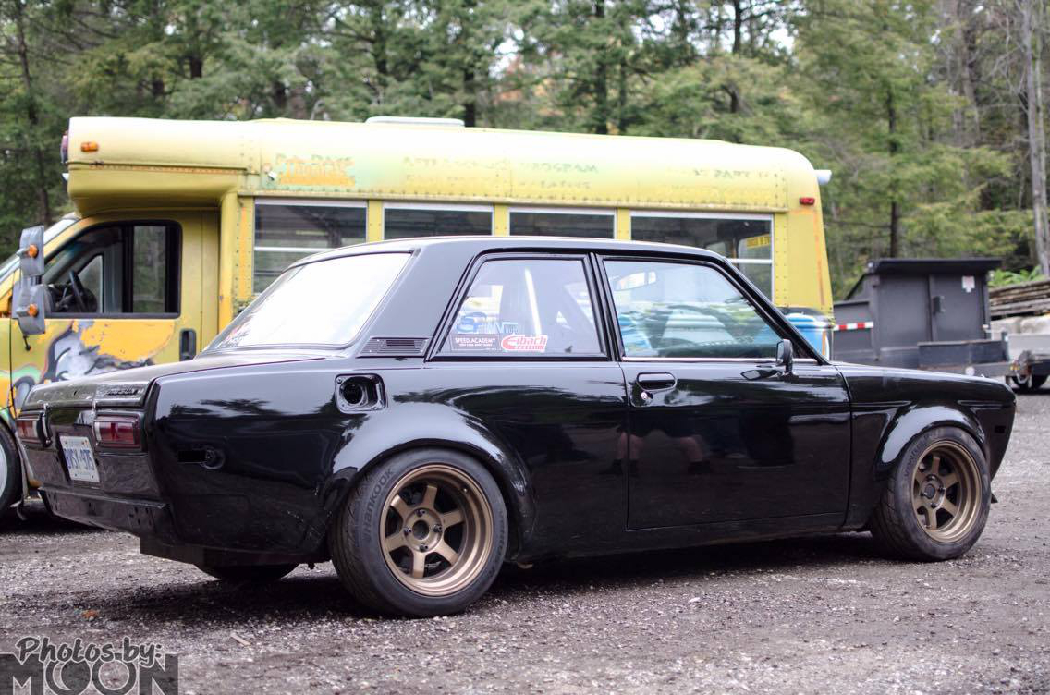
I also have made some serious leaps and bounds in making my other car, the F20-powered Datsun 510, faster and more driver-friendly. While, yes, some wrenching has happened, the planning critical to making sure this car gets finished, works correctly, and comes in on budget has been an enjoyable substitute for reality at times over the last few months. Finding ways to do things simply, effectively, function as I want, and on the cheap has soaked up many hours of the little spare time I have had and has borne fruits of cheap solutions to problems I don’t yet have.
At any rate, you’re probably wondering “well, what HAS been done?”
Well, I’m getting to that! Jeez. Patience.
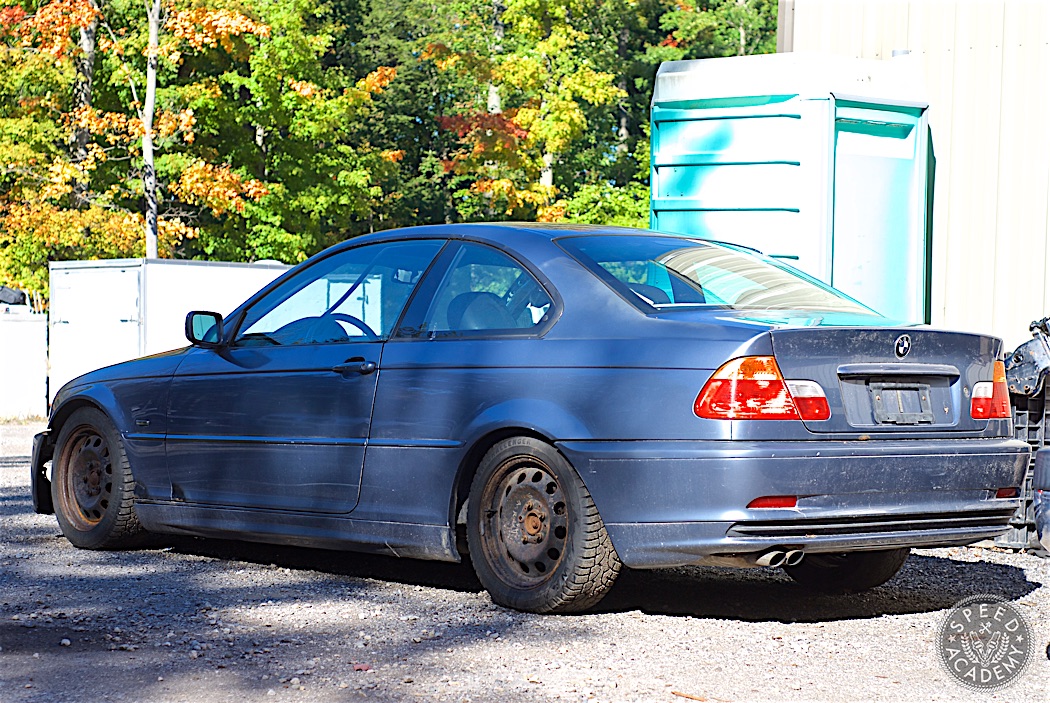
The first step, as with any project was to get it inside, get it in the air and see what sort of a mess I’ve gotten myself into. Once the car was on stands and I did some poking around, I was pleasantly surprised with how solid the car was. The dreaded cracks in the floor from the subframe were not present – although I already had plans to reinforce the area with a subframe reinforcement kit from Condor Speed Shop, but at least I would only be installing the kit and not also fixing existing damage.
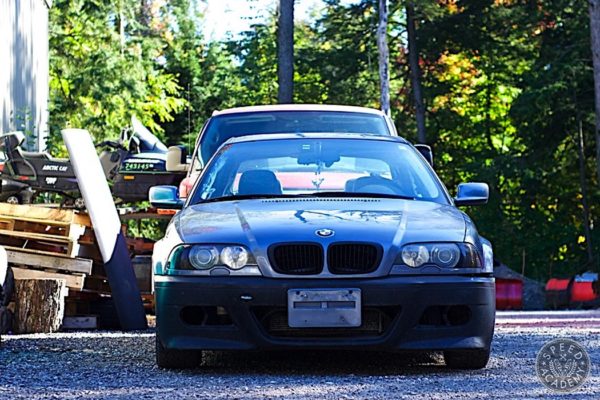
The only major rust I found was on the bottom of the doors and some reasonably healthy surface rust on the rear subframe – both of which were headed for the garbage anyway. After doing my happy dance that I had somehow actually realized the Internet’s promise of a reasonably healthy E46 for under $1000, I decided to get cracking and actually start taking the thing apart.

First up, we pulled the entire front end off the car. I never understood why the entire front of the car coming off as one piece never really caught on in a big way outside of Europe. It’s incredibly convenient for this sort of project, where I’ll be pulling the engine about a million times to check things. At any rate, the entire front end was removed and out came the engine and transmission. As always, everything gets bagged, tagged, and labeled – for the uninitiated, ziplock bags labeled with a sharpie are invaluable for tagging parts so you have an idea where they go when it’s time to put it all back together months (years?) from today. I will be using some sensors, and parts of the BMW engine and chassis harness, but more on that later. Next came all the associated bits –exhaust, drive shaft, shifter linkage etc. Followed by dropping the front and rear suspension assemblies as a whole, as I will be installing M3 spec bits.

Next on the list was to start prepping the car for the engine. a 6-liter LQ4 V8 (an LS based iron block GM engine used in Silverados and other truckish type things). Fitting it would mean it would need something to sit on, and some things “moved” out of the way.
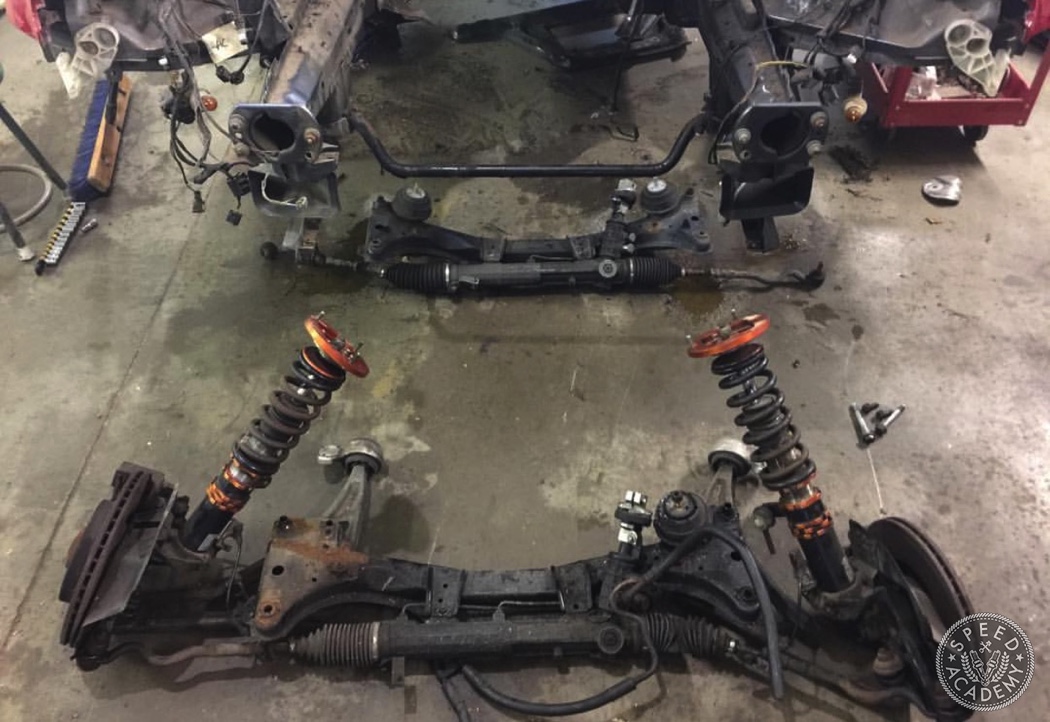
So, in went the M3 subframe, steering rack, control arms, brakes, and engine mounts. All these items are a bolt-in affair – increasing track width and adding slightly larger brakes in the process. I left the M3 motor mounts (the rubber isolator part) attached to the subframe as I will be using these as part of my engine mounting solution.
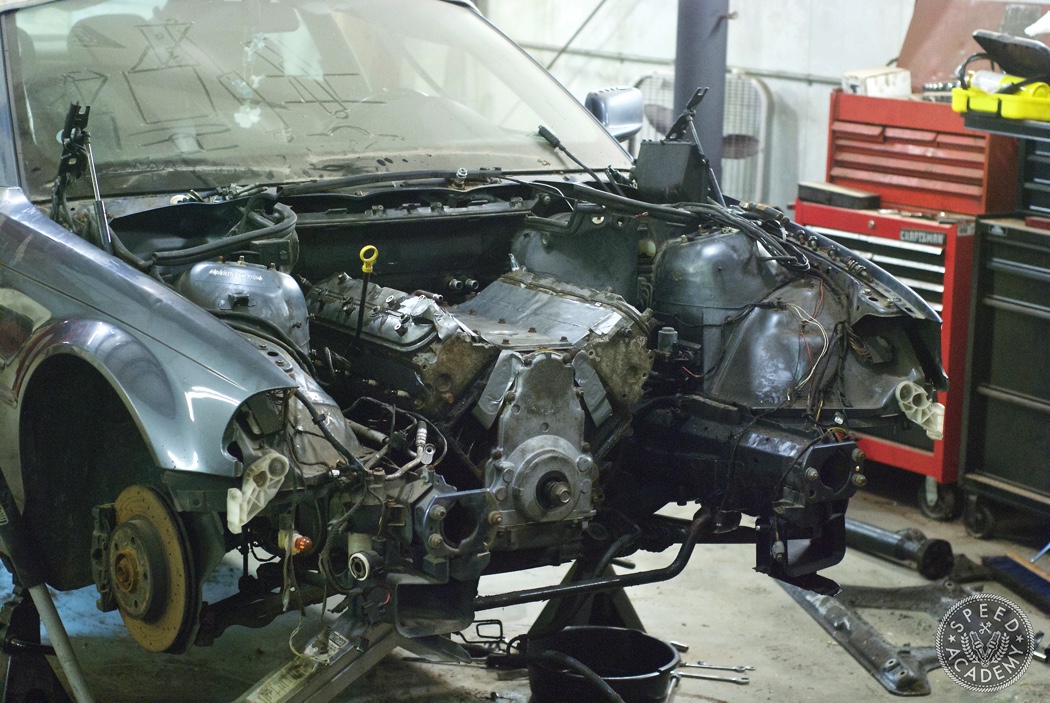
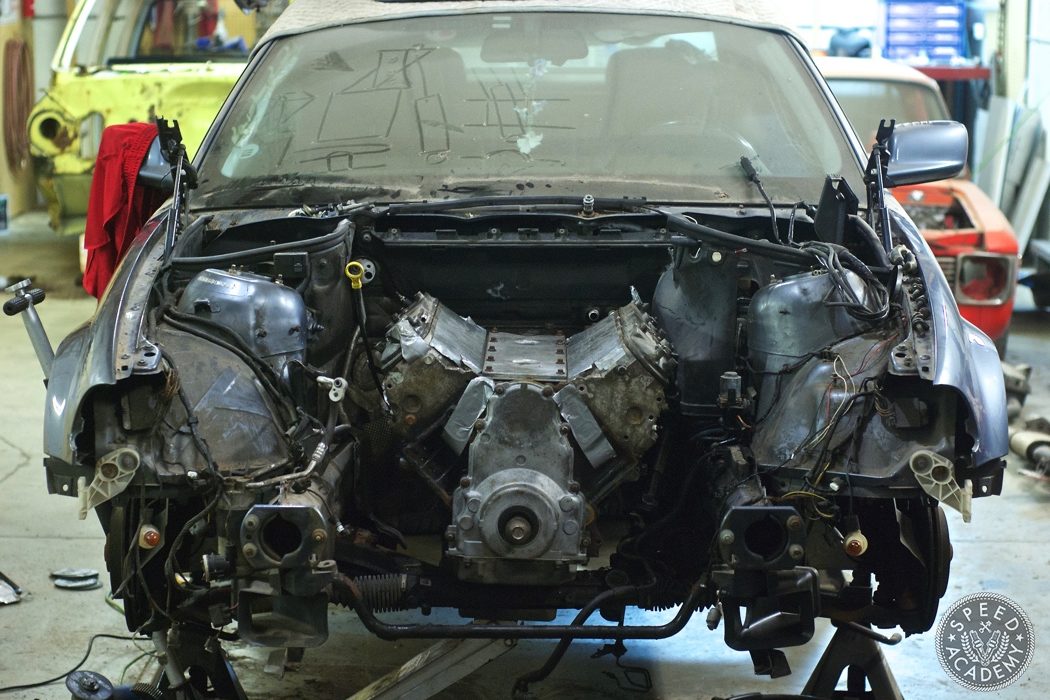
Next up, we fit the LQ4 in its future home. I was pleasantly surprised with just how well it fit in the hole! Almost the entire engine is behind the middle of the strut towers. In the pictures you’ll note that one or part of one cylinder is in front of the strut tower, leaving lots of room for accessories (more on that nightmare later) and implements of cooling. I rested the engine and F-body transmission bell housing (thanks to Richard for the extended usage!) on a plate on the subframe, spacing the engine up off the frame by the amount I wanted to leave. I then squared the engine to the frame rails and a spot on the firewall, centered it within the transmission tunnel and leveled it side to side.

The final component for making it all fit involved removing the sheet metal shield around the brake booster. Once the engine was in its home, I began work on making the engine mounts. My plan was to make a solid mount that would hang the LQ4 on the existing BMW rubber mounts, making the swap repeatable and allowing me to buy new engine mounts at any local parts store. I made up some steel templates and sent them off to be turned into pretty CNC aluminum pieces. More on that whole dealio later.
Any particular reason why you went with an e46 over an e36? I have a soft spot for e36’s and they have a decent aftermarket support
Hey there JPEllis, love your work, and I am in awe of your 510. I’ve been looking everywhere, and I cannot figure out what what fender flares you are using, are they fiberglass pieces bought from a vendor, or are they custom rolled?
Do you mean the flares on JP’s 510 or on his E46?
Sorry, his 510, figured I’d ask here as it was a more recent post
Rest assured, there’s more coming…. He says
“Rest assured…”
B is for Build did this to a Lamborghini build. But, if I were going to do an engine swap it would probably be an N54 if anything into it. Great motor, minimalistic mods to get it to 500-600 whp.
Let me know how your motor mounts come out. Im doing ls swap on my 05 330ci .. I like the whole idea of using the factory mounts.