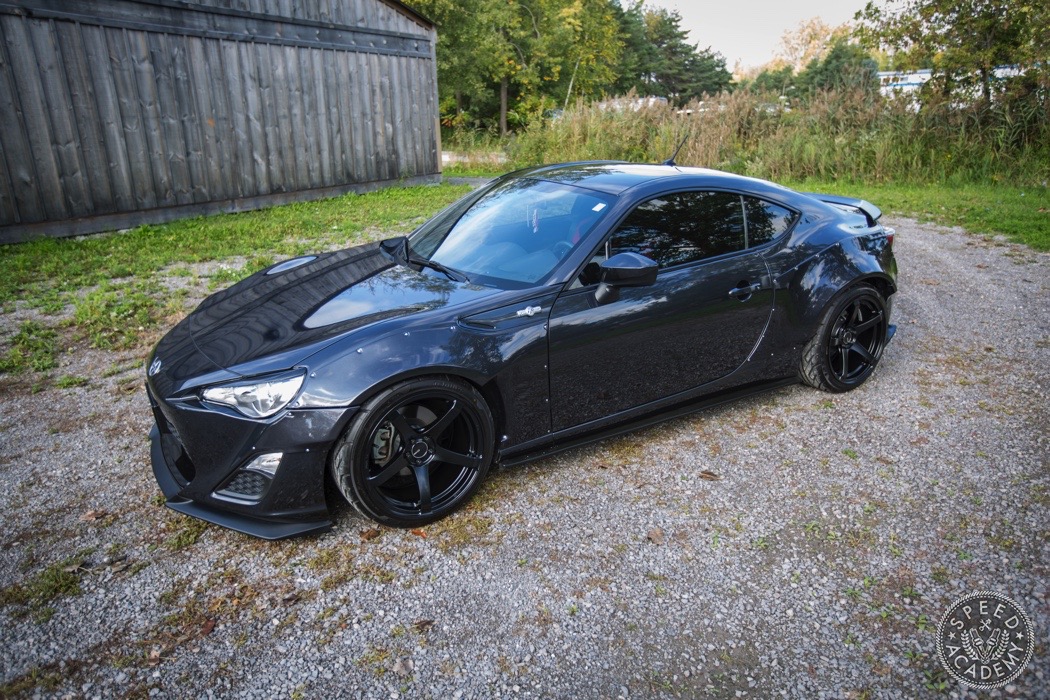
Greddy Rocket Bunny aero pieces, which you shop owners can source from Turn14 Distribution, continue to be quite a hot ticket item for Scion FR-S and Subaru BRZ owners, but they require quite a commitment because cutting up a relatively new car is not for the faint of heart.
Thankfully, you’ve come to the right place for installation steps as well as guidance.
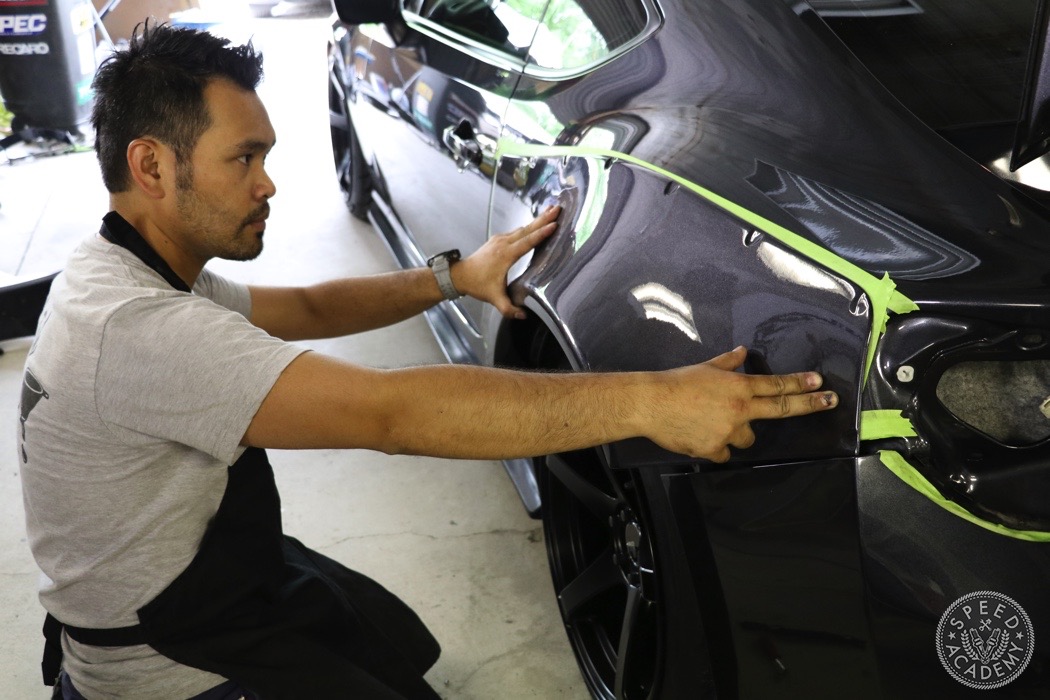
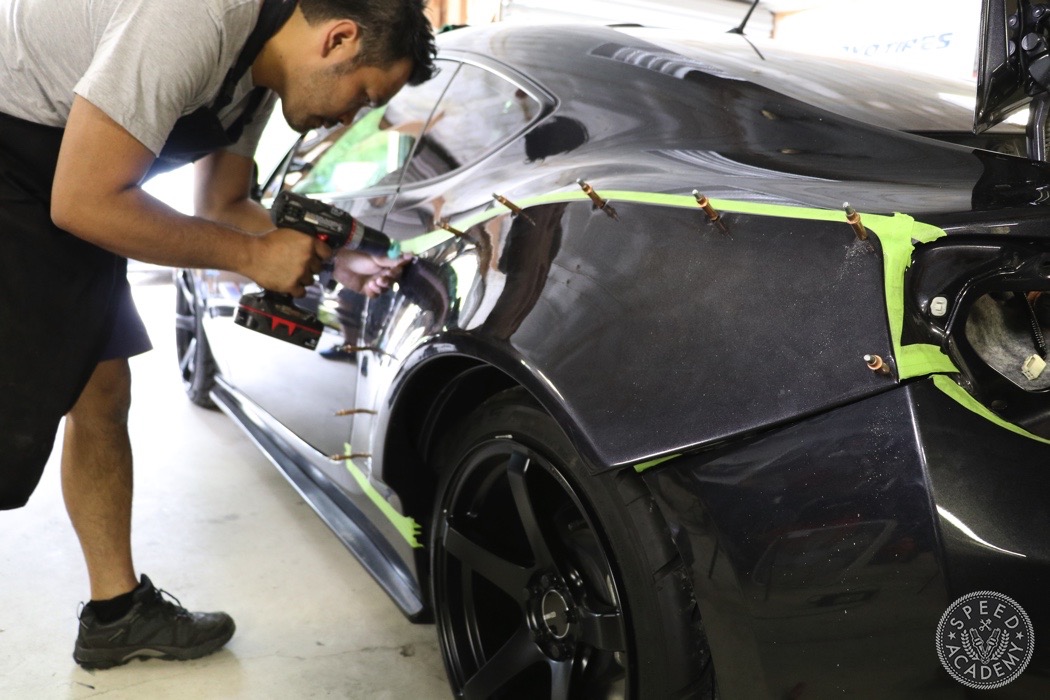
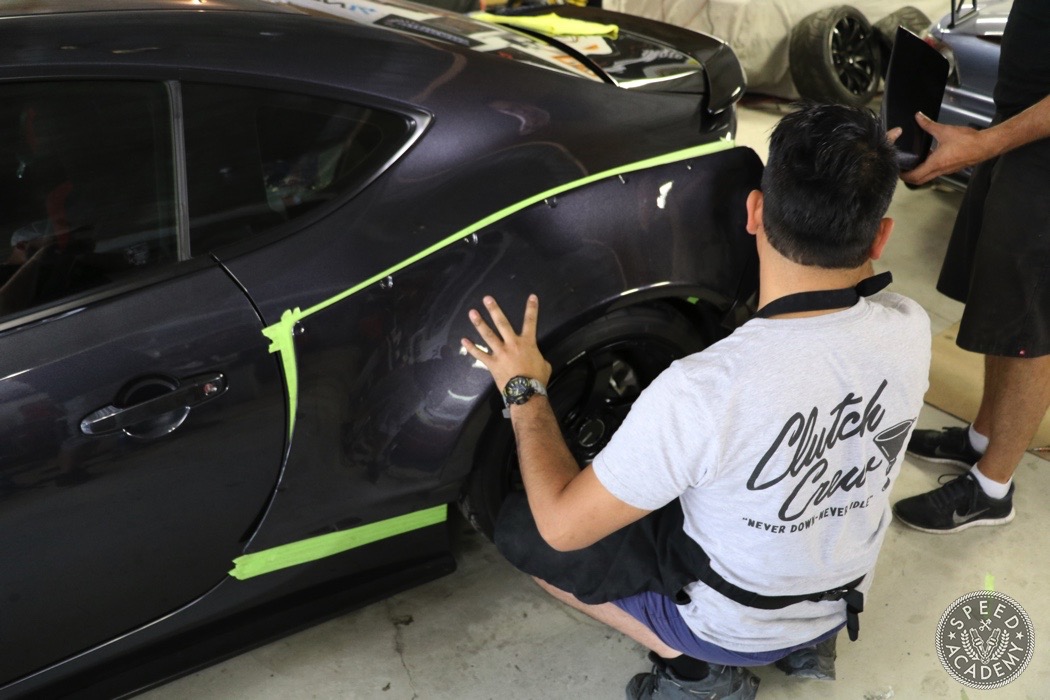
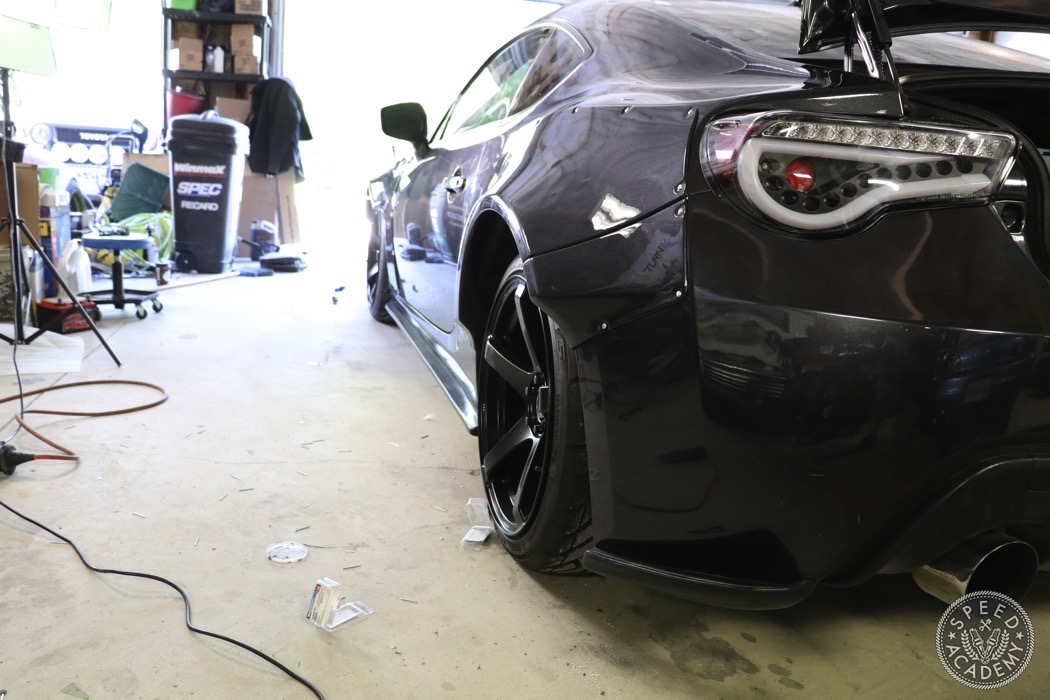
We just recently went through the entire process and documented it in a full step-by-step video found at the bottom of this post. But as you can see here, Ken our resident widebody expert started by positioning the rear over fender, drilling the holes and pinning it in place to ensure it’s positioned exactly the way it should be.
Things like where to cut and measure are covered off.
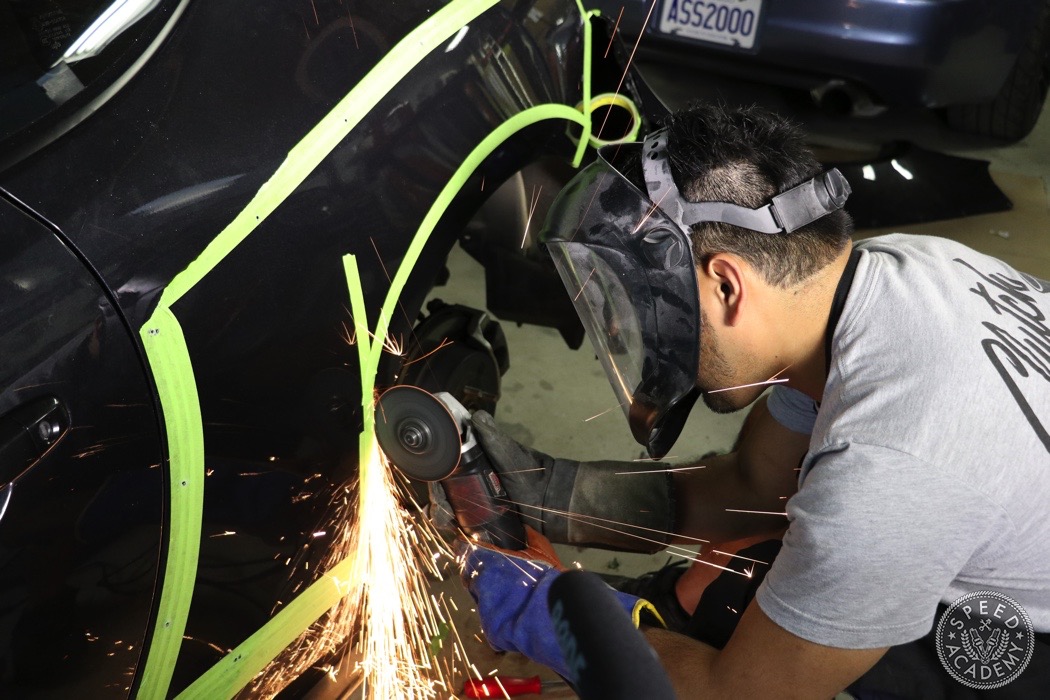
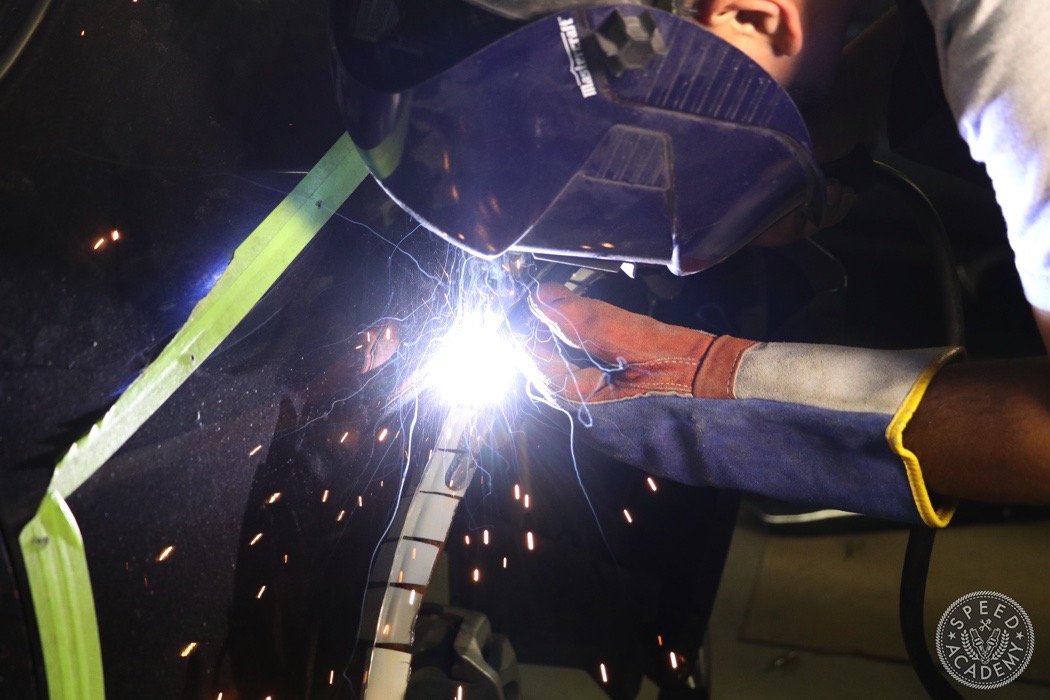
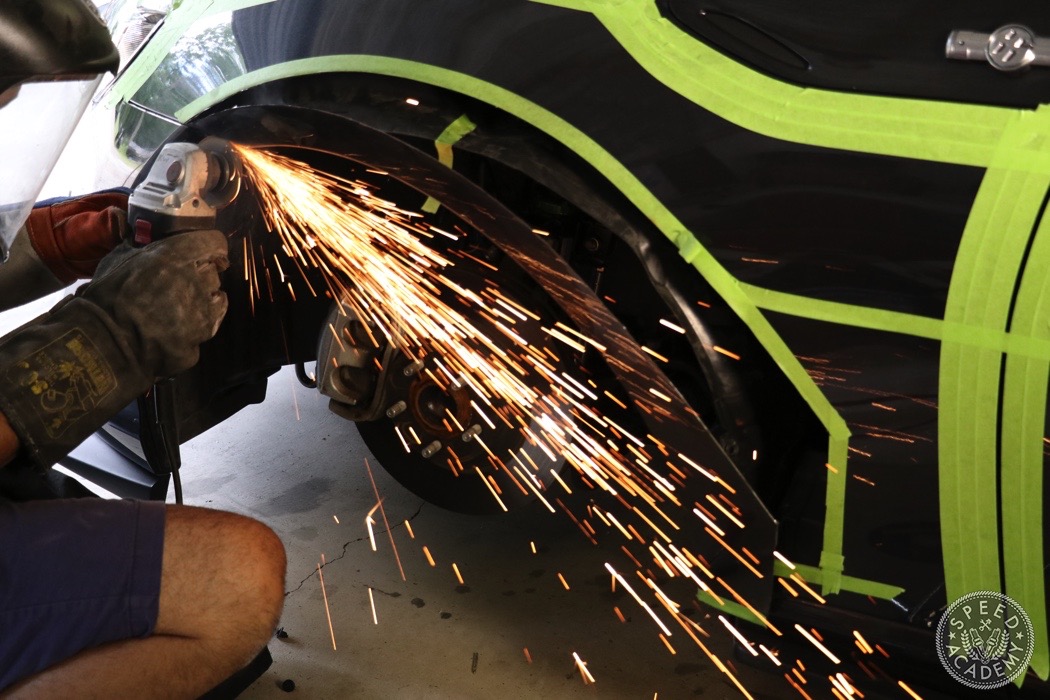
We explain and show the difficult part of cutting, welding, and sealing up the rear quarter panels, but as you can see it’s not something you’ll want to do yourself if you’re afraid of a little cutting and welding.
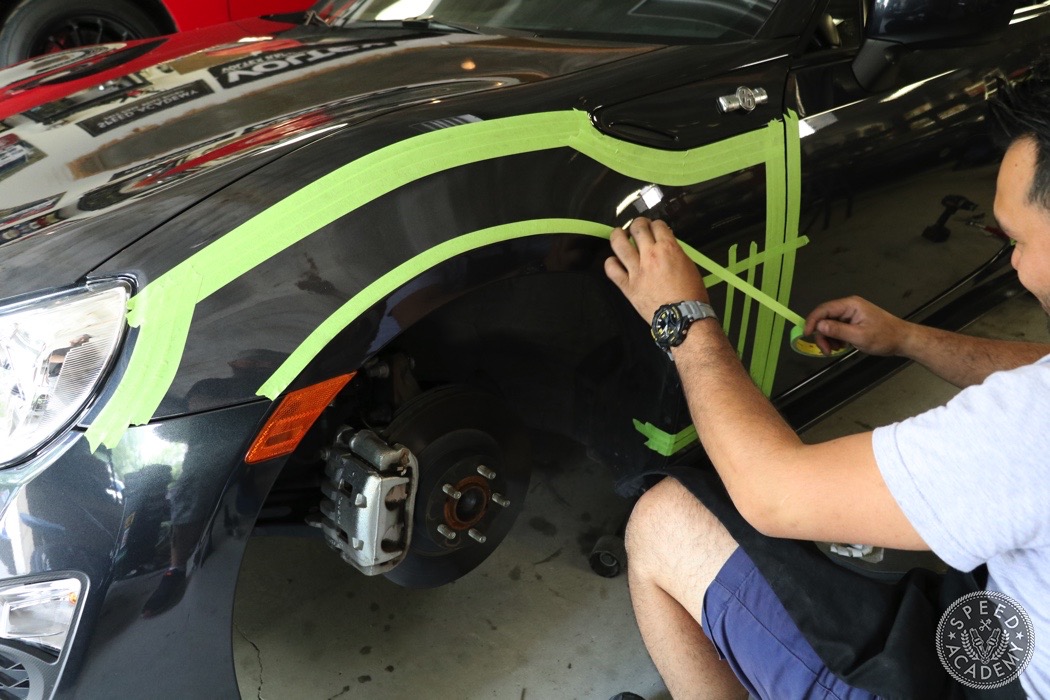
Plus, we cover what the best method for cutting the front fenders is.
The somewhat easier part, bolting on the Rocket Bunny fenders, can also be a challenge as everything needs to line-up properly. Thankfully, it’s all explained in the video.
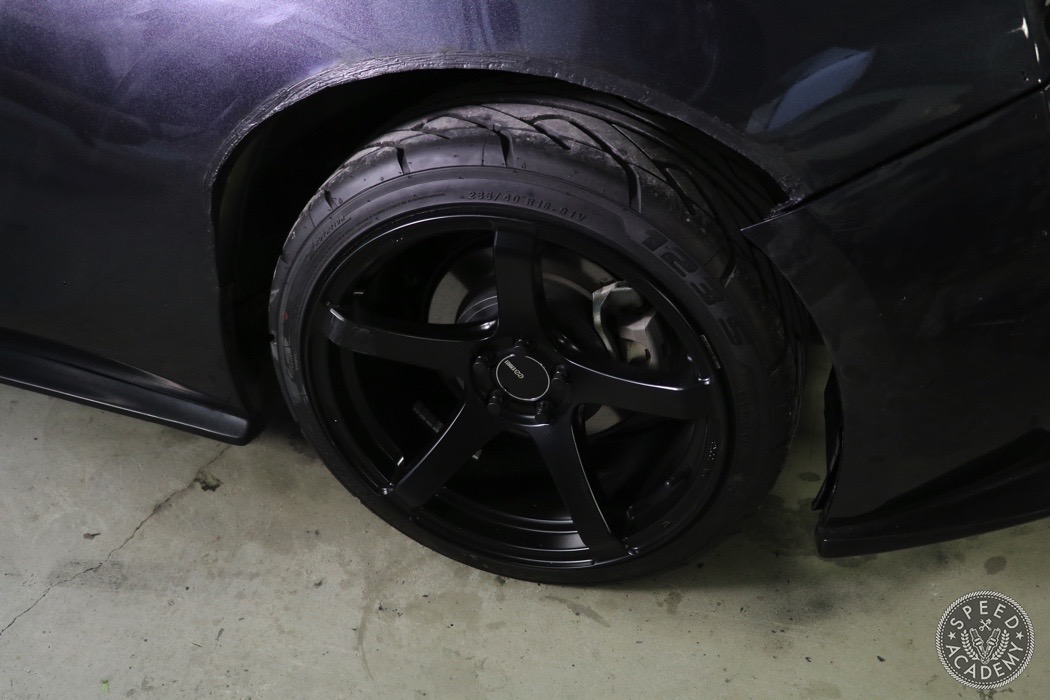
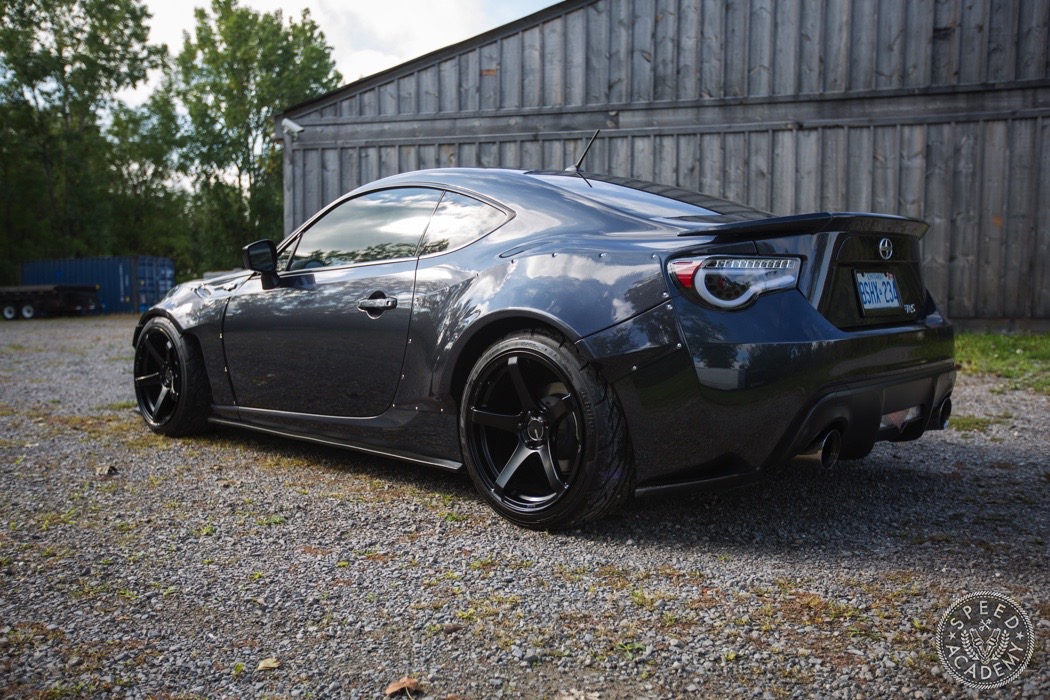
Rims, though, are another story. Mike, the owner of the FR-S, decided to re-use his wheels, an aggressively dished set of 18×9.5 Enkei Kojin wheels. Here’s how they look without wheel spacers. Sunken battleship!
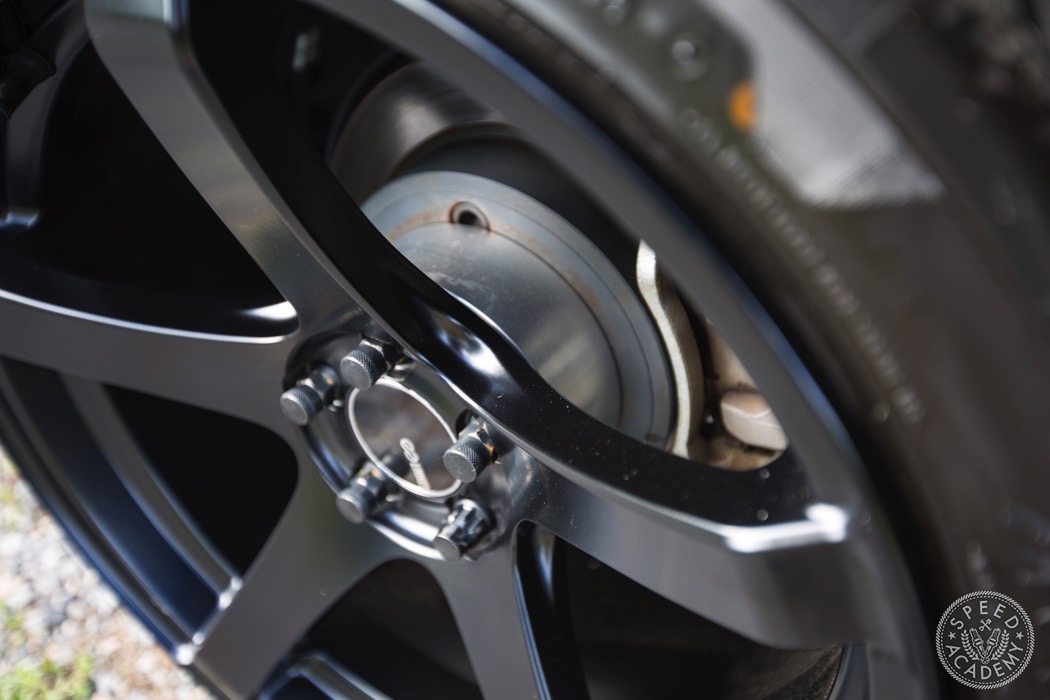
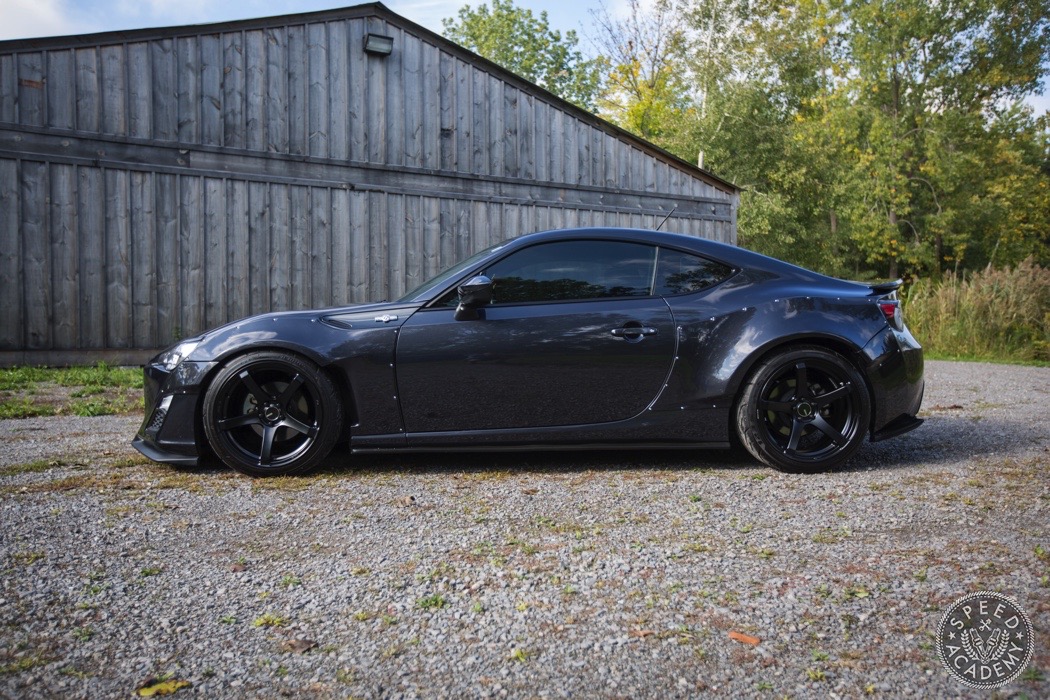
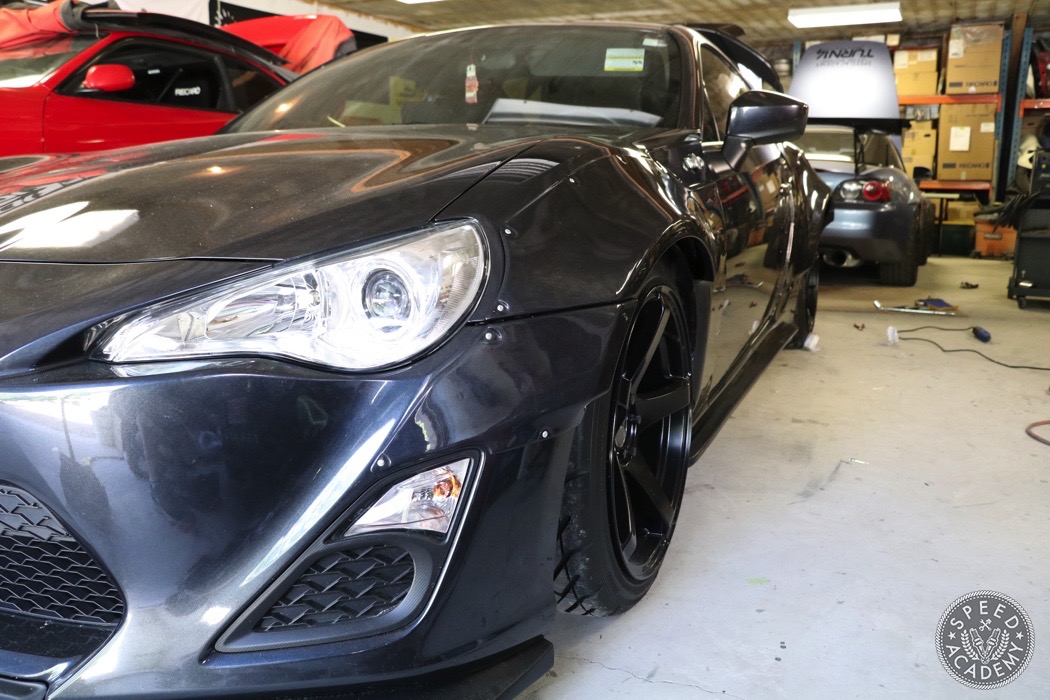
Eventually, Mike would like to order a set of custom wheels with the perfect offset for the Rocket Bunny fenders ($5k++, so he’s saving his pennies), but in the meantime, he’s using generic 50mm wheel spacers front and back. As you can see, 50mm works well up front, but he still needs another 25mm to get the rear offset flush with the fender lip so that they match up nicely with the look of the fronts.
We hope you find the video informative, entertaining, and of course if you have any questions feel free to post a comment below and we’ll try to help out as best we can.
Not exactly DIY if you pay a shop, now is it?
Pay a shop? We did this at our shop, on our friend’s car.
Do you replace the mud Gard plastic interior of the front fender with something?
No, we modified/moved the mounting points so that it fit with the over fenders.
Who is the owner of this FRS? I have some questions for what they’ve done to it.
Sorry, the car has been sold and the owner has passed away 🙁
Sorry to hear that, my sympathies. Was the car costumed painted or is that a standard paint? It isn’t quite black nor is it grey, I am curious.
It’s the factory paint, called Asphalt Grey, I believe. The fender flares were painted using the factory paint code by our buddy Omar at Ottawa Auto Body in Hamilton, Ontario.
did you cut the corner of the rear bumper that attach to the quarter panel?