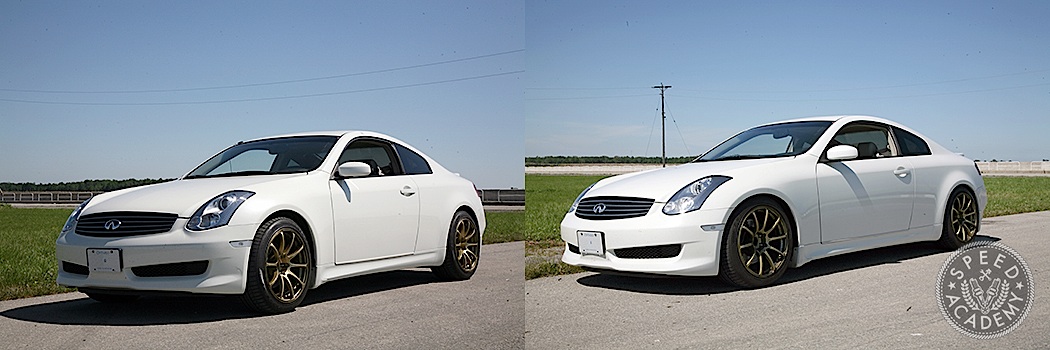
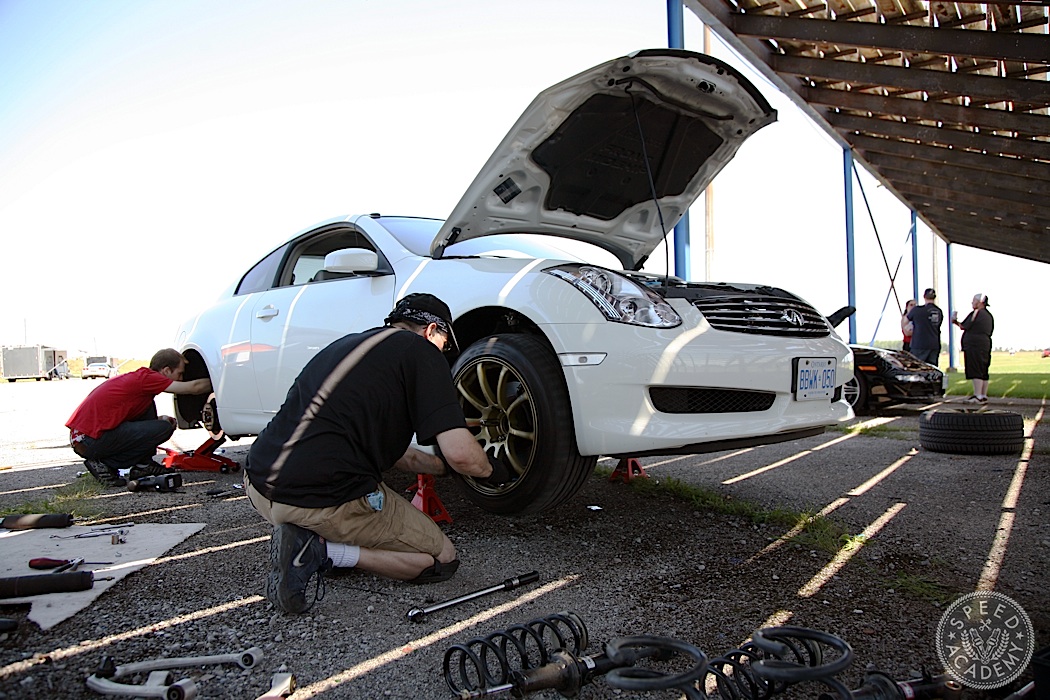
Setting up my G35 on KW V3 coilovers didn’t just make it look better, it also reduced lap times by over 2-seconds once we got the alignment dialled in using Stillen adjustable camber arms and the DIY alignment tools you’re about to read about.
One of the mods we do first to our project cars is a coilover suspension conversion, because nothing — except wheels and tires — transforms a car’s performance and attitude more than this relatively simple upgrade. We pretty much always start with wheels, tires and coilovers, because these really do work together as an overall package and, when done right, give your car a ton more grip and style. We certainly understand when the wallet turbo can’t handle all these mods in one big step, though, so no judgement here if you’re still chipping away at this all-important set of mods on your own project. It’s far more important to buy quality parts than it is to build your car quickly.
As for the specific advantages of a high quality coilover setup, we’ve covered that in a number of our FR-S stories and in our first stage of ASS2000 upgrades, but to summarize here, you get dampers (preferably with adjustable compression and rebound) capable of controlling higher spring rates, which in turn reduce body motion and thus improve roll control, which lets those stickier and wider tires you’ve invested in work their best. Plus with ride height adjustability you can reduce that heinous wheel well gap while corner balancing for optimum weight distribution. Just don’t go too low or you’ll start to ruin your car’s suspension geometry, a topic we’ll cover in a separate post.
So you’ve bolted up the best coilover shock and spring package you can afford and have set the ride height and hopefully even corner balanced it, but you’re not done yet! You need a proper wheel alignment, since any change to ride height will result in a change in wheel alignment, and what you don’t want to do is start driving around on a messed up alignment and trash those expensive new tires.
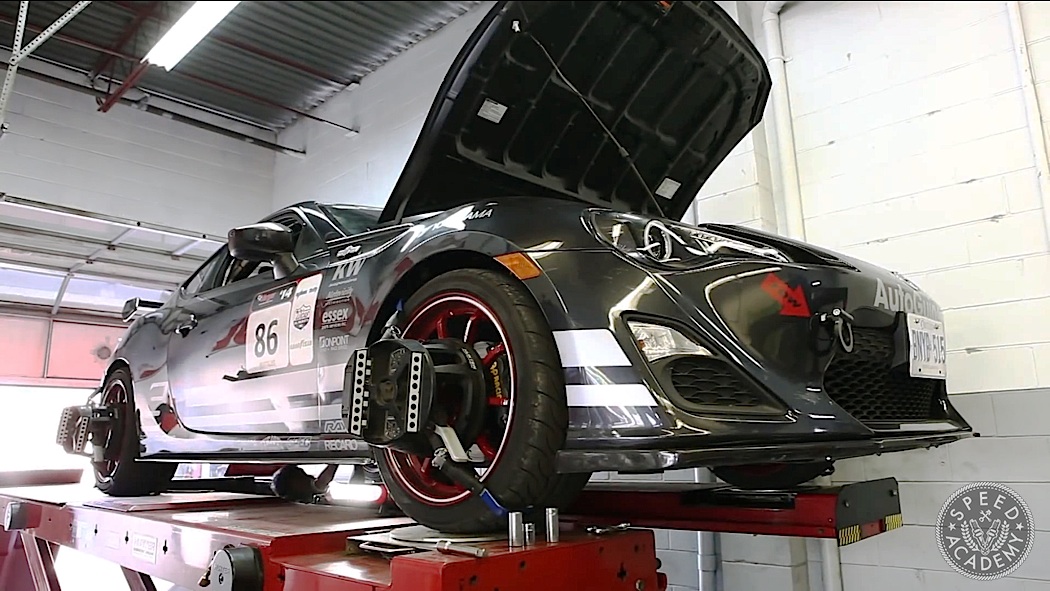
There are two ways to come at this, the first being a professional 3D alignment at a performance shop like NV Auto, which is equipped with a top-of-the-line Hunter alignment setup and knows how to dial in a proper high-performance street or race alignment. Whatever you do, avoid those “Quicky Alignment” or generic maintenance shops, because those places will just rough it in to OEM specs, and that’s not what you want if generating more grip and cornering speed on the street and at the rack track is what you’re shooting for. You’re going to want negative camber well outside the OEM specs at the very least, along with more front caster (if you can get it) and possibly some toe-in or toe-out depending on the chassis you’re working with and what sort of handing characteristics you’re aiming for.
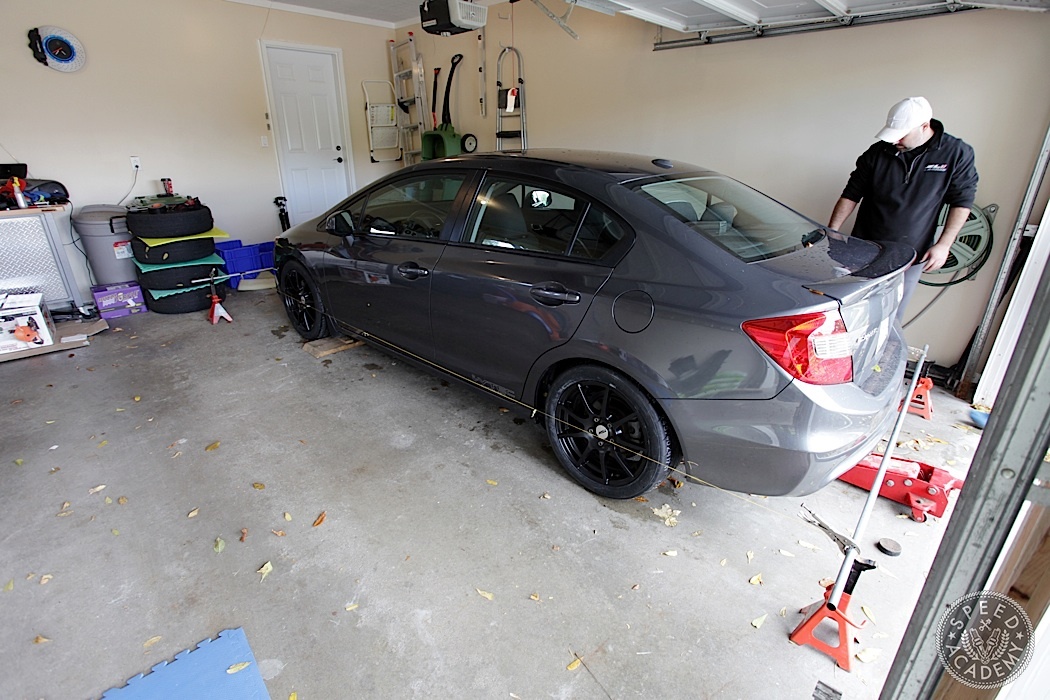
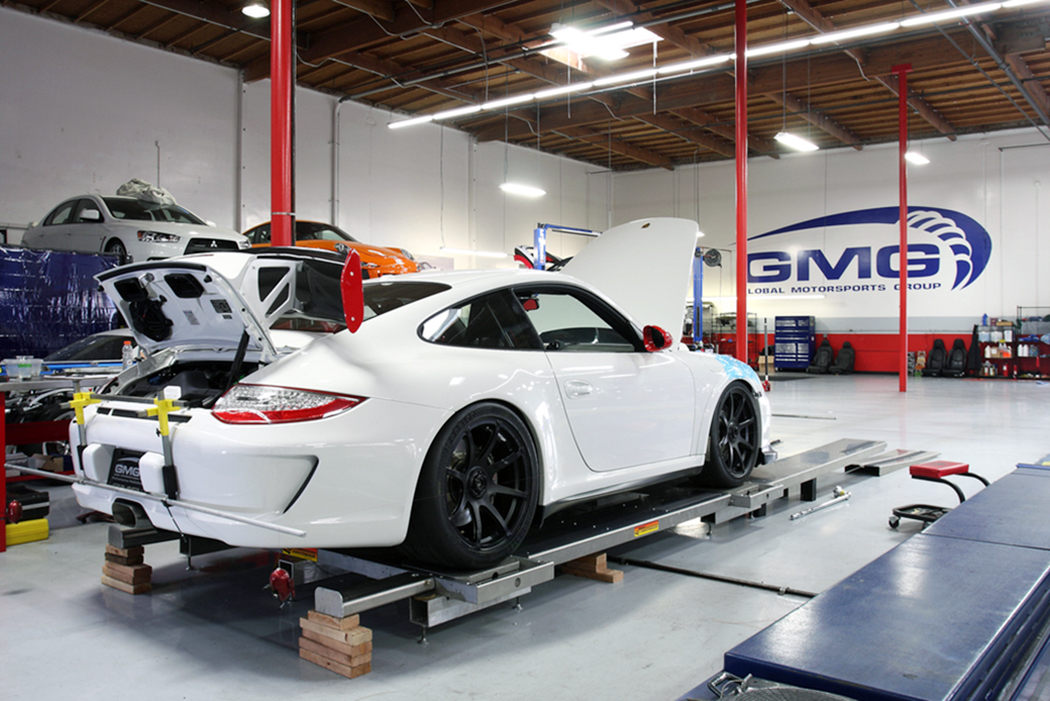
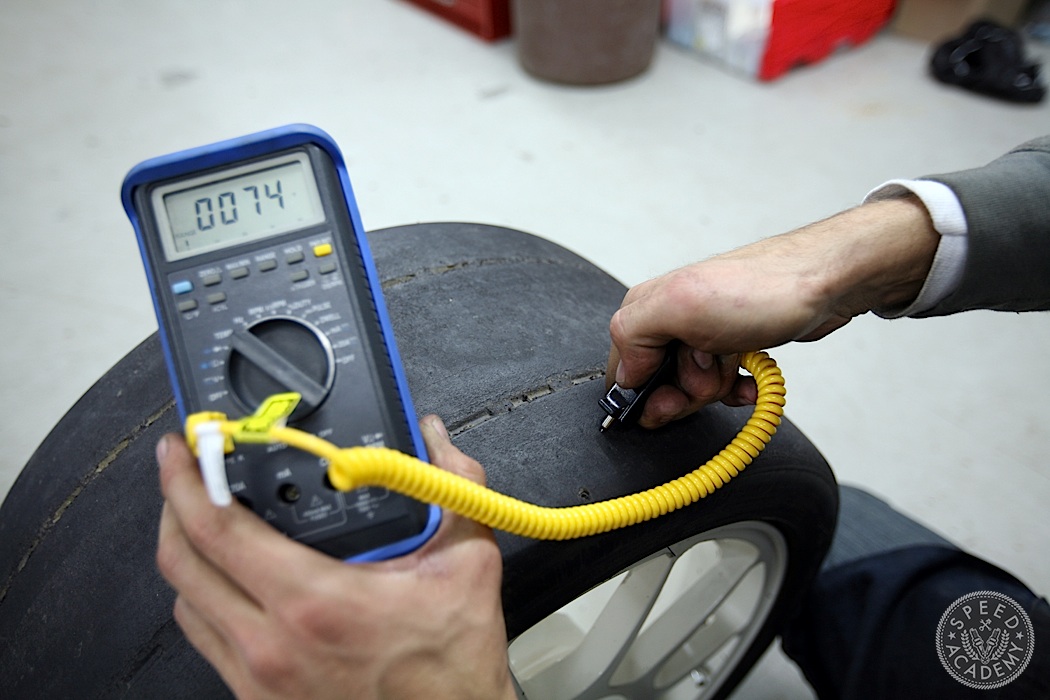
But if you’re like us and enjoy a DIY approach and want to be able to fine-tune the alignment at the race track so that you can make the alignment adjustments the tire temperature data you’re collecting using that probe-type tire pyrometer we urged you to buy in our latest Just The Tip video, then you’ll need to invest in a few simple tools including a camber gauge, toe plates, a string box setup and some measuring tapes. Having a ramp setup like GMG does above is, of course, the ballin’est DIY setup since it gives you a platform you can perfectly level for maximum alignment accuracy, but as long as your garage floor or paddock space at the track is reasonably level (and you can shim each wheel of the car a bit with shingles or tiles or whatever you have handy), you’re still going to get very close to where you want to be alignment-wise.
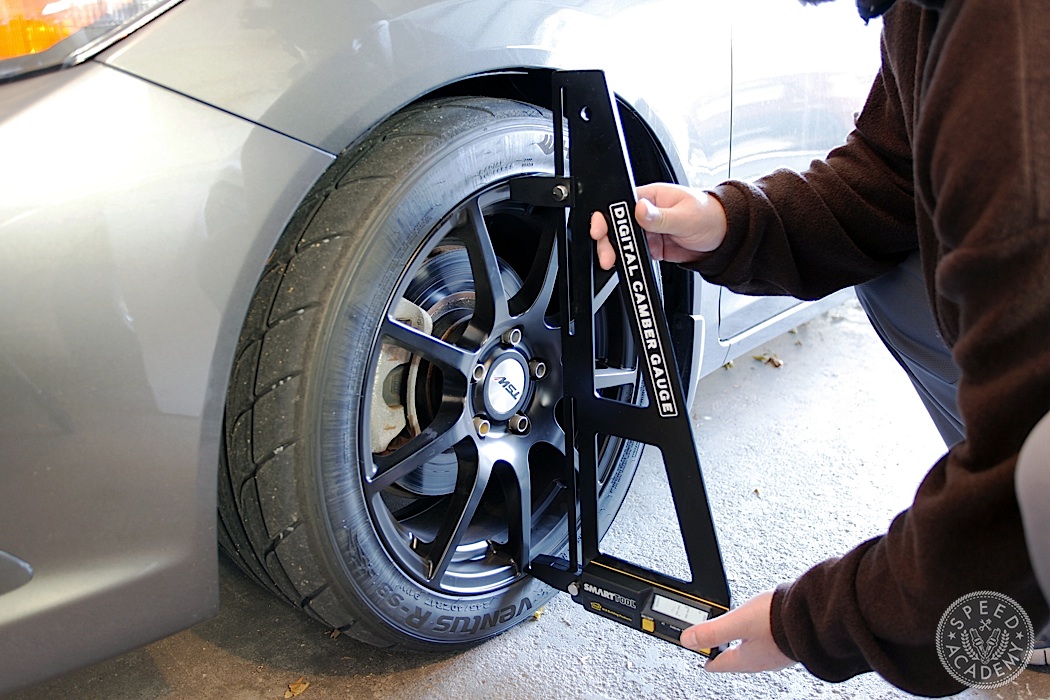
There are a lot different camber gauges on the market, and there are even some decent home-made options for very little money (Google DIY camber gauge and you’ll see what we mean). We prefer a professionally built digital camber gauge, though, which cost about $100-200 but makes the job much quicker because the arms at each end that allows you to hold the tool flush against the top and bottom lip of the wheel are adjustable and if used properly won’t scratch the finish on the wheels. The digital inclinometer attached to the straight edge of the level gives you a camber readout in degrees, and in our experience these are quite accurate as long as the car is parked on a level surface. Some higher end camber gauges correct for the angle of the surface via a calibration process or even via GPS, but for best results it is still a good practice to find the flattest and most level surface you can before getting started. And of course make sure you bring the tools needed to physically adjust the camber on your car, which may involved camber plates, camber bolts, eccentric bolts or camber arms, depending on the vehicle and how you’ve modified it.
Keep in mind, camber is best used as a way of maximizing tire grip while under lateral load, meaning cornering, so don’t think of it as a way of adjusting the car’s handling balance (though in extreme cases it can be used to reduce the size of the contact patch and thus adjust the grip level and handling balance). As I described in that Just The Tip video, the best way to figure out optimum camber settings is by using a probe-type tire pyrometer to measure tire temperatures at the race track. What you want to aim for is tire temps in the optimum operating range for the tire (which for high-performance street tires and race tires is generally in the 160-220F range), but with temps about 10-20F higher on the inside third of the contact patch than on the middle third and outer third. Many professional race teams and tire manufacturers have proven that this type of temperature spread across the contact patch delivers the fastest lap times, and at the end of the day that’s all that really matters.
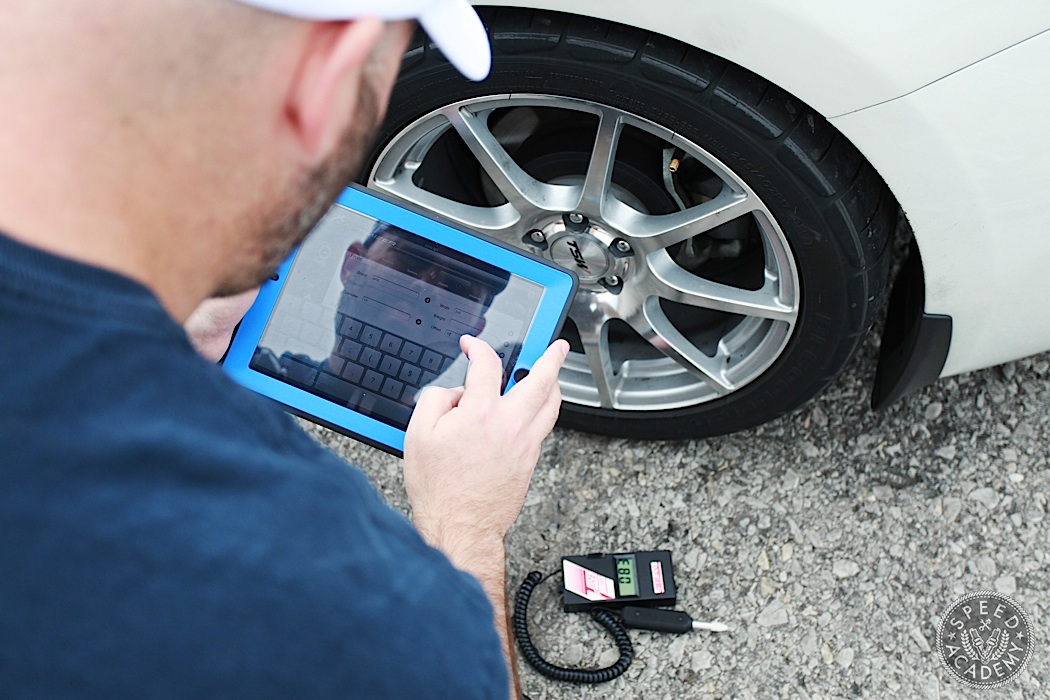
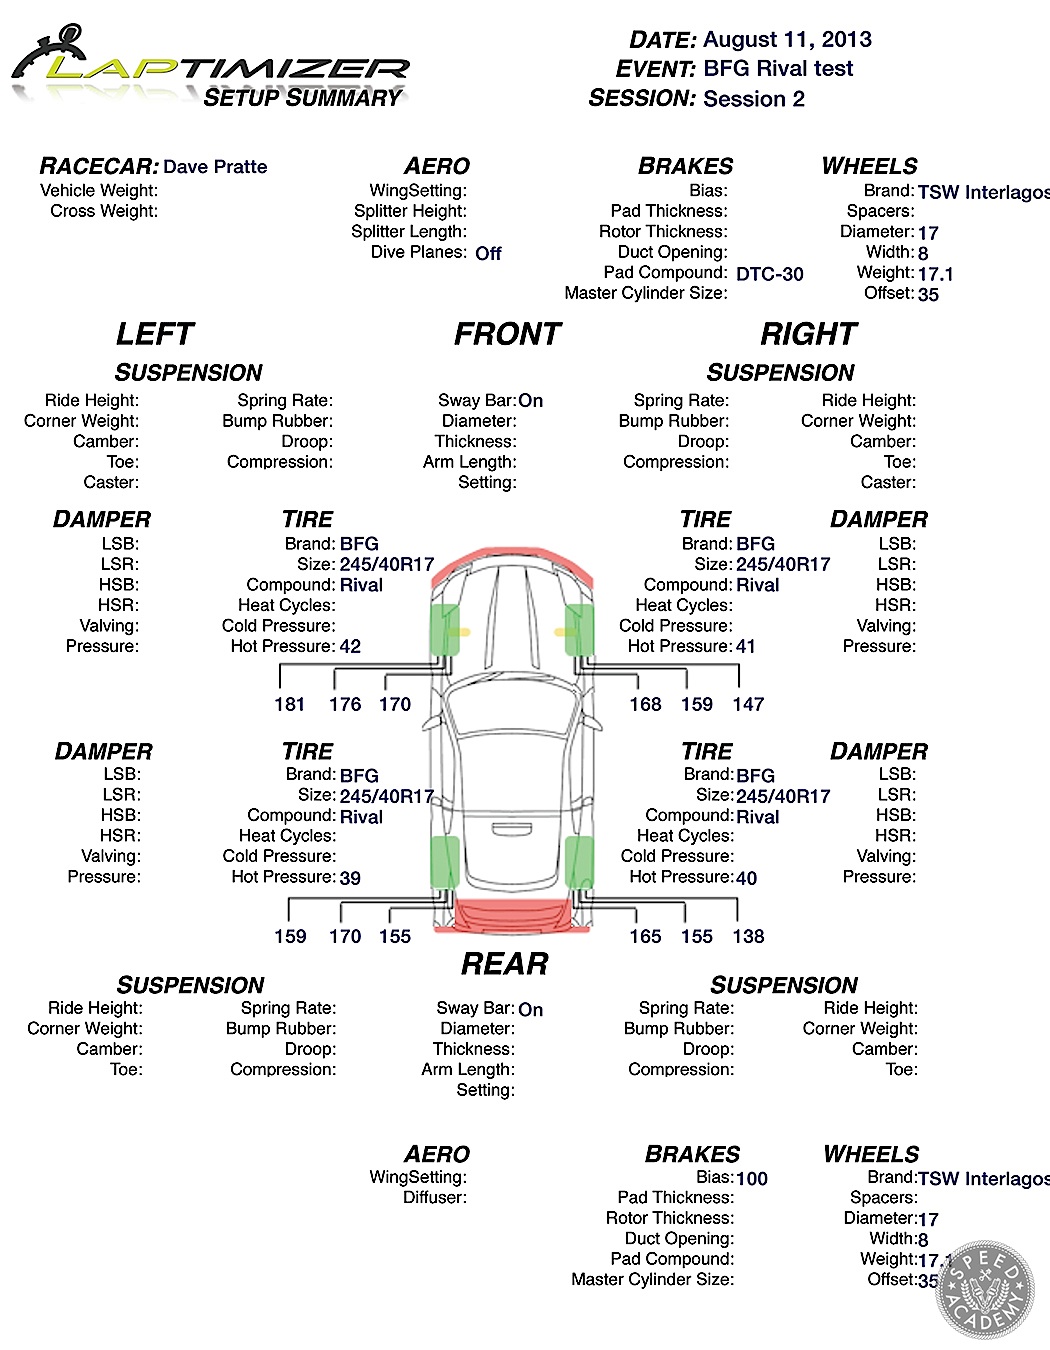
Which brings me to the importance of keeping notes. I’ve been using Laptimizer, an iPad app that’s designed to let racers keep accurate setup notes and then download them to Microsoft Excel or text or email them in PDF format. The reason I bring this up is that having notes on your alignment settings is really useful at the track, since any changes you make that don’t work can easily be set back to where you started.
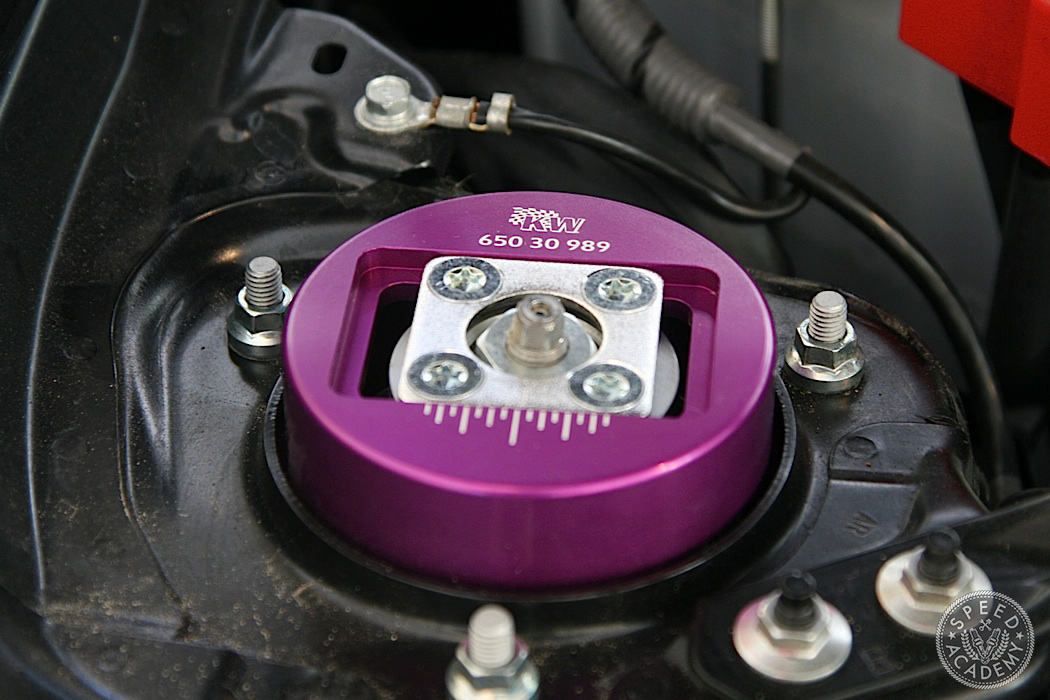
Plus if you’ve got marked camber plates or adjusters like the KW Clubsport front top plates on our Scion FR-S, you’ve also got excellent reference points for any changes you’ve made, so keep notes on those as well. The more data you collect, the faster you’ll be able to dial your car in for maximum grip the next time you’re at the track.
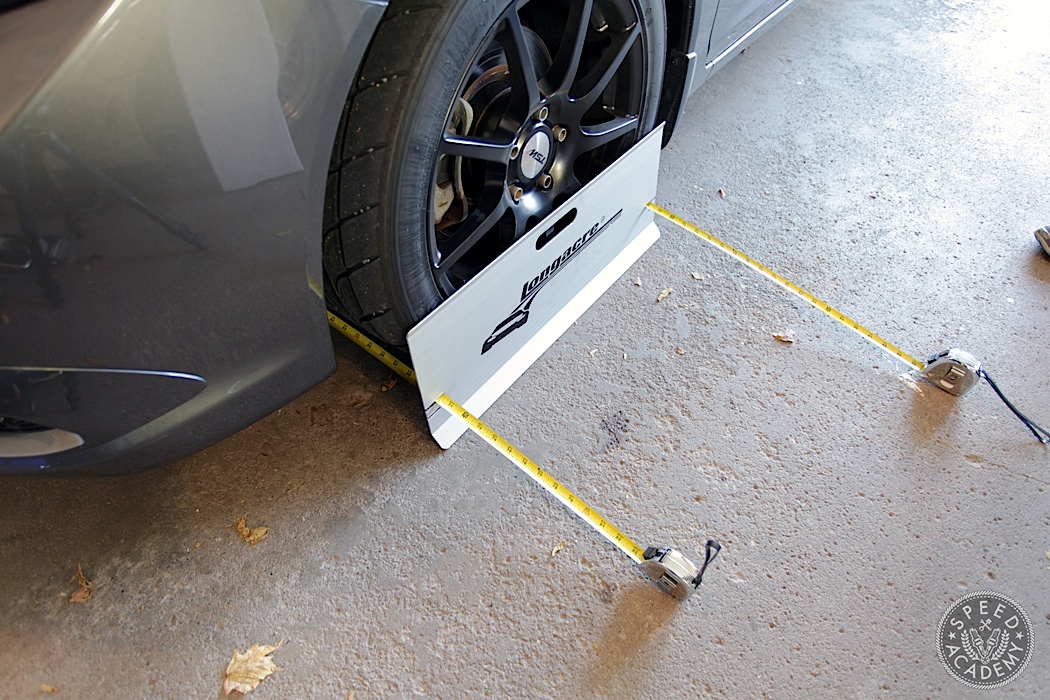
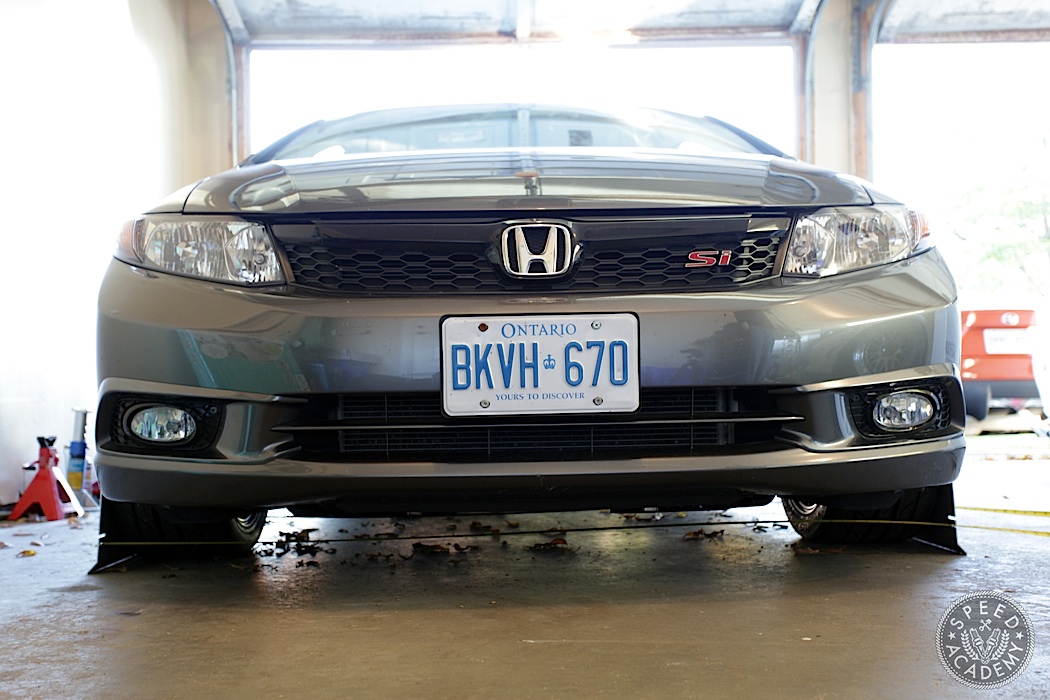
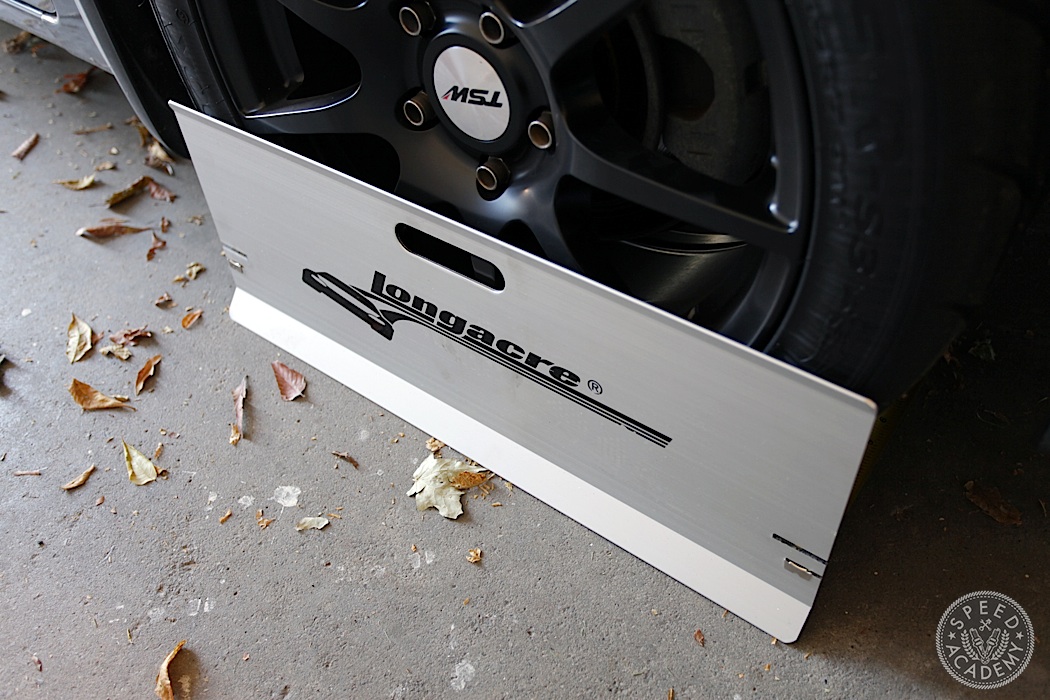
Ok, now back to the DIY part of aligning your car’s contact patches. Checking and setting camber is really pretty easy, but things get a little more difficult when it comes to toe, or the direction each tire is aimed relative to the front-to-rear centreline of the chassis. You can check toe quite easily with toe plates and a couple of measuring tapes, which can be bought as a kit for about $60-80 from companies like Longacre, but keep in mind this only gives you total toe measured across the front and rear axles. So, for example, if the measurement across the front of the front tires is 1/4” longer than the measurement across the rear of the front tires, then you have a total of 1/4” toe-out across the front axle, but you don’t know if that means all the toe-out is on one wheel or if it’s split 1/8” out on each side.
I am glad the wheel alignment is easier than I thought. The detailed instructions really help as well. The pictures also help a lot. I am a visual learner so the pictures will help me follow the instructions better. Where can I get some of the tools that were in the pictures?
We use Longacre toe plates, which you can pick up at just about any race shop (we got ours locally at Grisdale Racing Products), on the web at Summit Racing or probably even TireRack.com. It’s a very common tool for race guys to have in their toolbox for track weekends. You can make your own string box setup like we did, though there are string box kits for certain cars you can buy as well (that bolt to the chassis for consistency and ease of use).
Alignment shops have a tool that holds the steering wheel on center when making adjustments to the front end aligment, but in our experience unless you’re making big changes this is really not an issue. For your wheel to be way off center like that, you’ve either gone way too far with your alignment of you’ve got bigger issues. Center your wheel, remeasure your alignment, and go from there. Or take it to a shop if you’re really stumped. DIY alignment takes patience and practice to get right, but it ain’t rocket science, even if the wheel alignment shops would… Read more »
It can take a few hours to get your alignment sorted the first time you do it. With practice you’ll get more efficient at it. The front wheel toe settings you’re referring to really depends on the vehicle and how you want it to turn and track. A bit of front toe-in like you’re describing will help the car track straight down the road, which is a common setup for a commuter car that sees a lot of highway driving, but for a car you take to the track, we often use a bit of front toe-out to encourage quicker… Read more »
My car is due for a new alignment. This time instead of paying for it, I want to see if I can do it on my own. I am glad that I found this article because it teaches it very simply how to do it yourself. I also really like how it has a lot of pictures showing how it is done. Thanks for posting this article. I am excited to give this a try and I just hope that it works. http://www.eastcarolinaautos.com/Car_Maintenance_and_Repairs_Indian_Trail_NC.html
I’m happy to see that wheel alignment isn’t as difficult as I once thought it was. However, I am concerned about the strength required to align your tires. After all, I’m a small girl. I’ve never been one for heavy lifting. I really hope that a lot of strength isn’t required for this task. http://www.tyrepowermiami.com.au/wheel_alignment
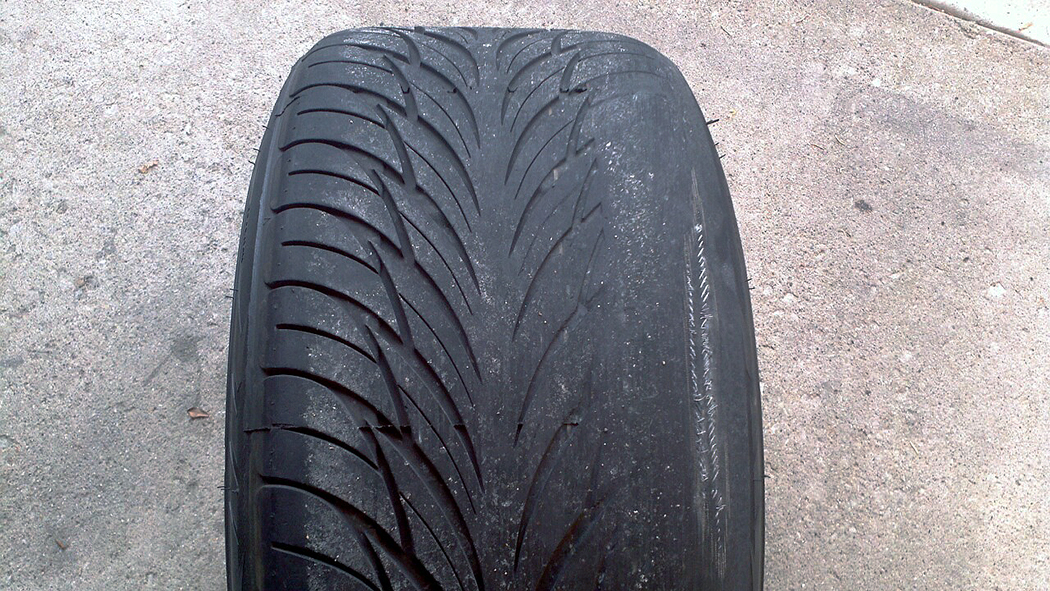
I never would have thought that aligning your own tires could be so easy! My husband is pretty car savvy, so I’m sure that he would be able to handle this on his own. It would help keep our tires in good shape, so they don’t wear down like the picture above.
http://www.kevinmckortscollisioncenter.ca/en/fleet_repair.html
I had no idea that you could do the alignment yourself. I just recently got it done, and just assumed it required a lot of equipment. I can see it still requires some gadgets, but I would imaging the cost of those is about the same as a single alignment anyways. I’ll have to give this a shot.
http://springsuspensionandalignment.com
That actually doesn’t look too hard and I think I should try something like that. I think it’s crazy that many people don’t try anything new with their cars and they don’t go out of their way to fix things themselves. A wheel alignment really doesn’t look too bad so I’ll have to try it out for sure! http://www.bstperformance.ca/en/services.html
Do you think this is something that I could do on my own? I would love to try and accomplish certain tasks on my own. However, I’m not very confident in my own ability when it comes to car repair. The last thing that I would want to do is more damage to my car. However, I understand that wheel alignment is very important. I just don’t know if I have all the tools necessary for that task. http://www.serviceproautoandtruckrepair.com/Services.html
Tyres are a really huge part of your car. So it would be smart to make sure everything is okay with them. It might be good to have some winter tyres as well. http://www.tyrestownsville.com
The way those people did their own wheel alignment looks somewhat simple to do. Well, if you have the tools for them and the knowledge of doing it than my guess is that it would be simple. Maybe that type of auto repair would be something for me to start learning about. http://www.southgateradandauto.ca/
I enjoyed this. And I’m not saying so just to put a link to my company here.
You didn’t turnplates? And also did you have to jack up the car every time you adjust either toe or camber? My car is too low to reach those bolts.
Can you describe the way you make sure the strings are adjusted square to the car?
I have often considered giving this a go, i am just a regular driver with very little know how of cars but my pet peeve is getting my alignment done and the steering wheel being slightly off centre to my preference ( everyone has a different view of what is central)
My biggest drwaback to giving this a go is i don’t have a garage or private park way and park on the street which is not close to being level…
How would one go about doing this sort of alignment in this situation ?
Find a level spot in a parking lot, I go to my local walmart and find the levelest spot and do it there.
This is some really good information truck wheel alignment. It really does seem like a good idea to have a professional look into getting wheels alignment done by a professional. That does seem like a good thing for me to know as a new truck owner.