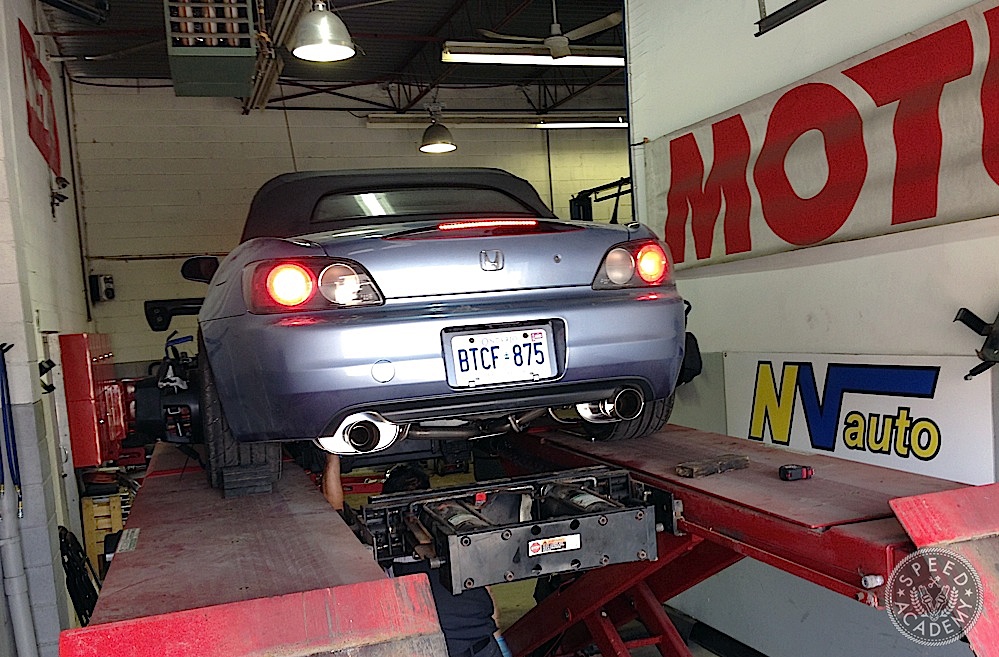
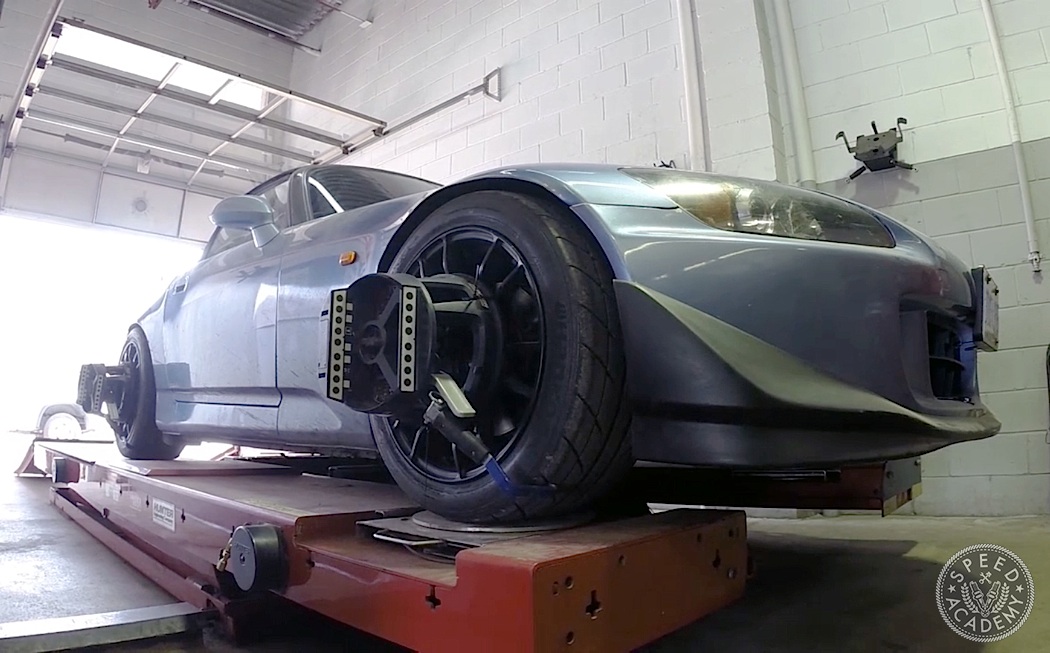
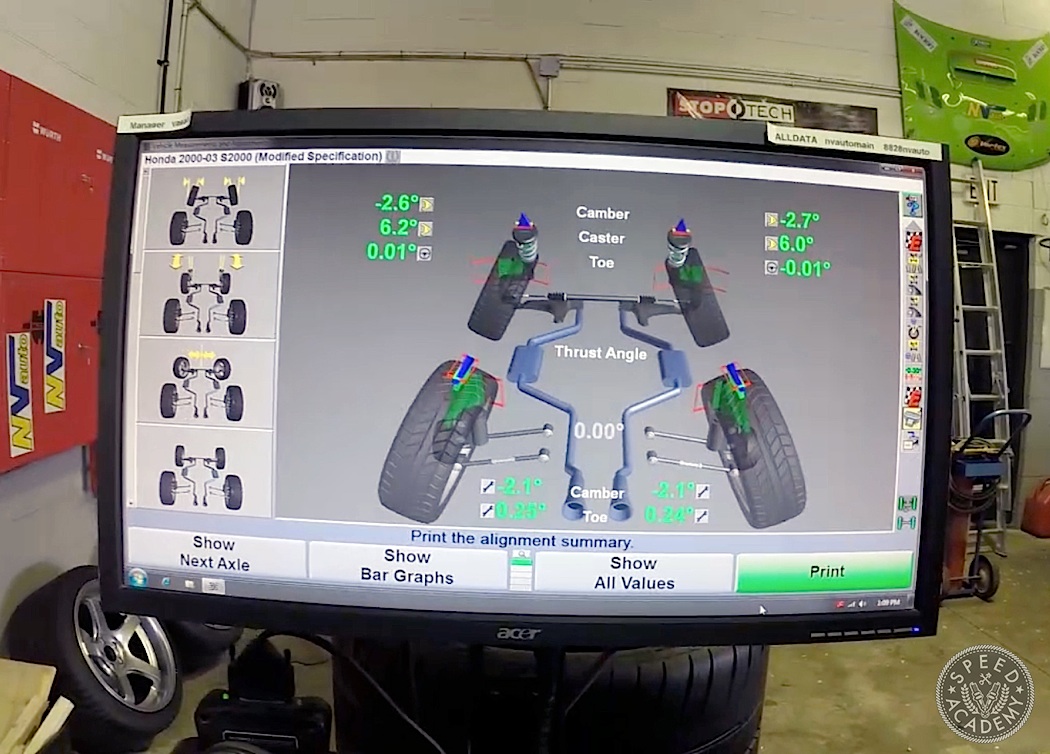
We often do our own alignments, as we showed you with our DIY alignment story, but any time you do this big an overhaul on a car’s suspension, it’s a very good idea to take it to a shop with a proper 3D alignment system to dial in an accurate baseline. For this we turned to Dov and the dudes at NV Auto, who’ve got a ton of experience aligning race cars, drift cars, rally cars and road cars and have a top of the line Hunter 3D laser alignment setup.
NV’s setup is so baller it even has tire pressure lines that attach to each wheel’s valve stem and then with the push of a button tire pressure is set evenly to a specified PSI at all four corners. Bam. They can also do corner balancing on this rack, as well as both OE spec and race spec alignments.
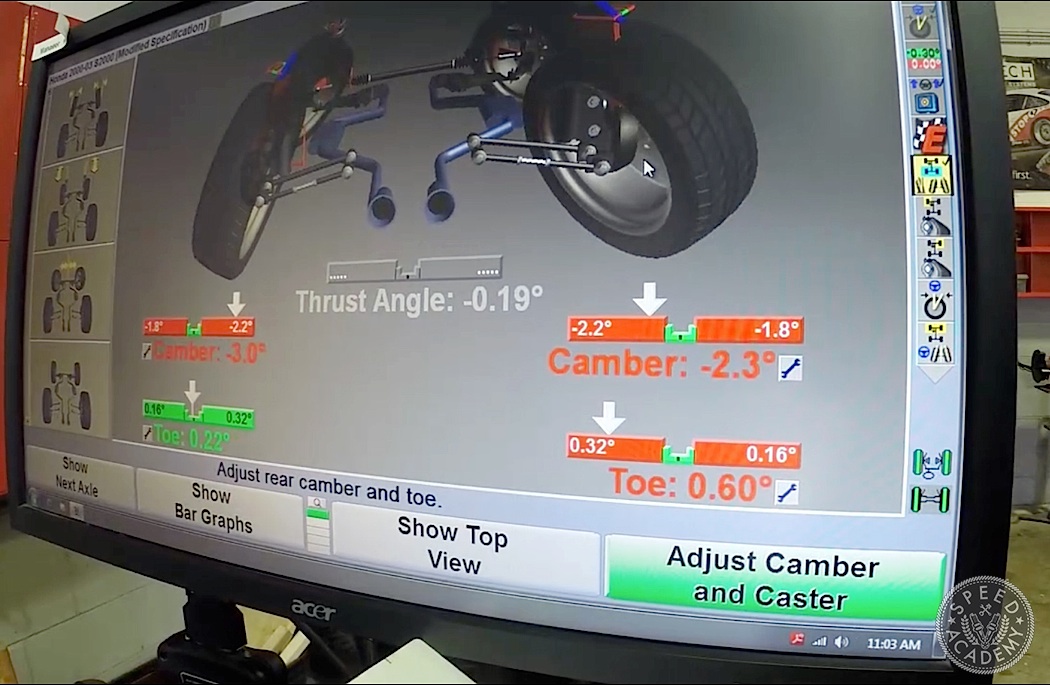
As you can see, the alignment was seriously funky when NV first put it on their rack, but after an hour or so of wrench turning and ball joint fiddling, all four wheels were squared up nicely and pointing in the direction we wanted. We opted for what we’d call a street & track alignment, with 2.7 degrees of negative camber up front along with zero front toe and 2 degrees of negative camber out back along with a 1/4” of rear toe-in (as per Honda’s specs, designed to tame the AP1’s twerky rear end).
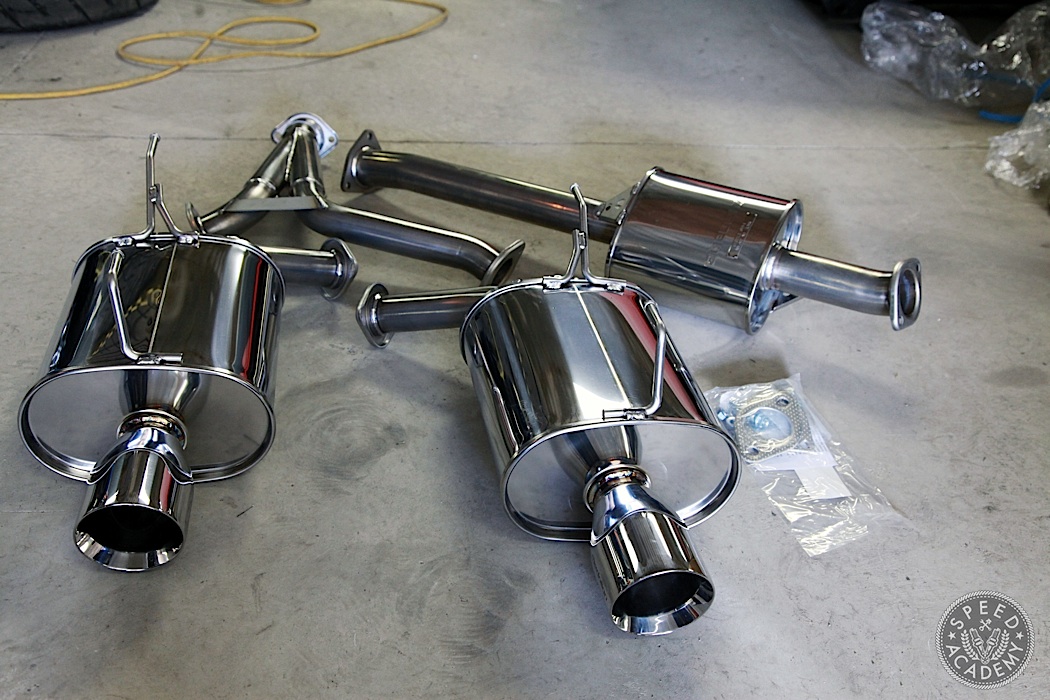
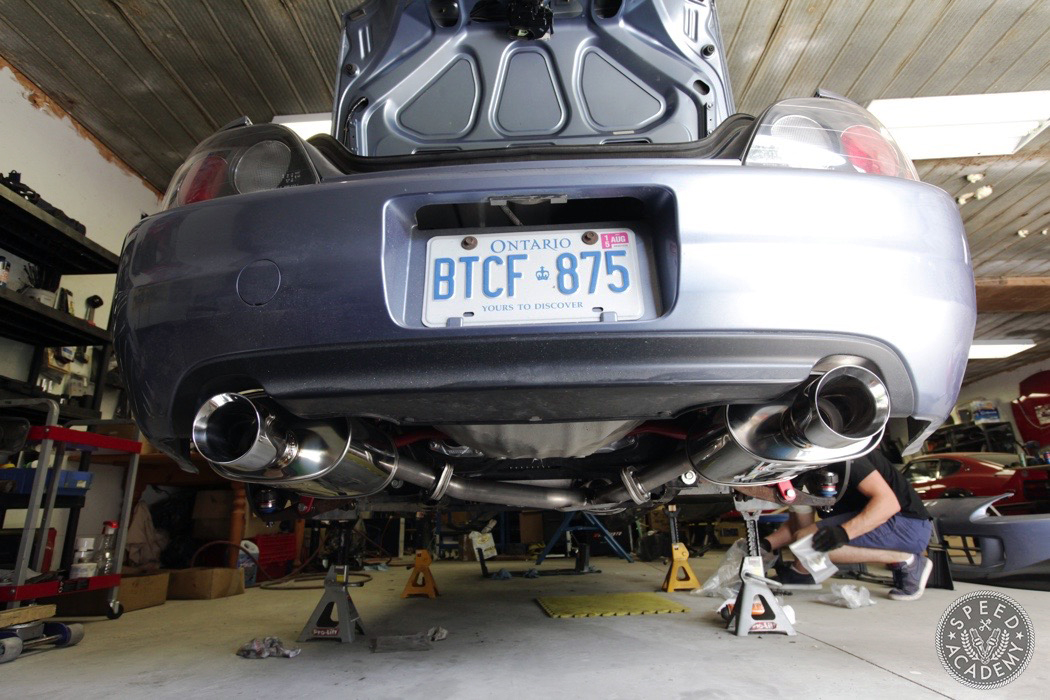
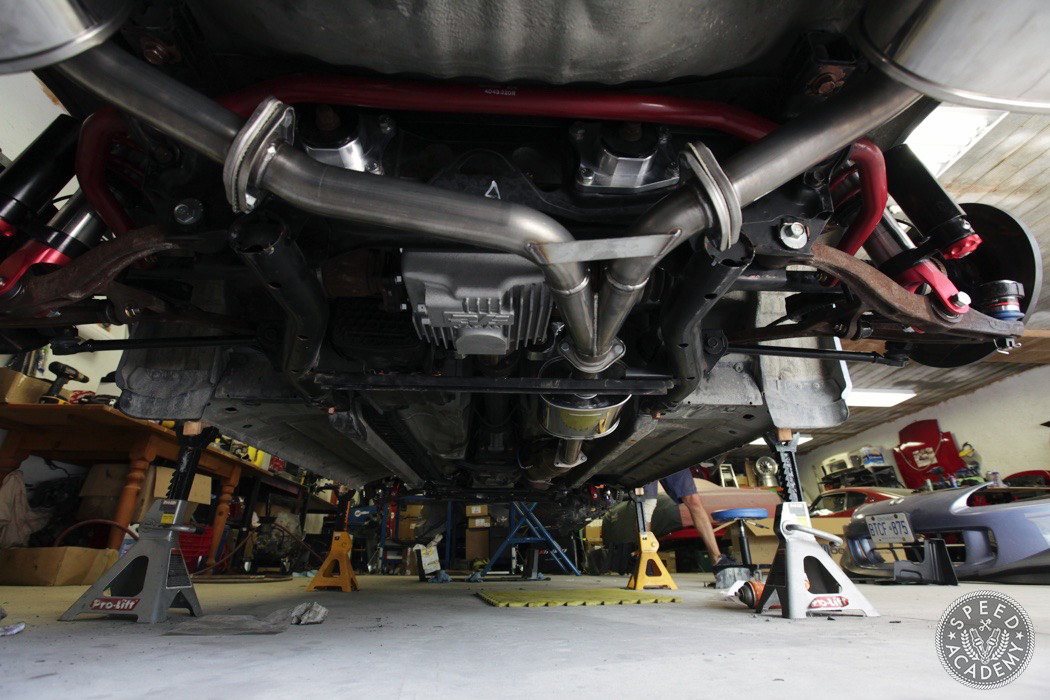
But before I drove the ASS2K to NV Auto, we bolted up the Tanabe exhaust system. We opted for the Medalion Touring system, which is made in Japan and designed to be a proper 93 decibel street legal system that won’t make our eardrums bleed or the cops look twice. Peter called it a “gentleman’s choice” since it’s got a restrained, mature sound quality and zero drone, and we’re nothing if not highly sophisticated gentlemen here at Speed Academy.
Or maybe we’re just getting too old for ear piecing fart cans that drone on the highway and wake the neighbours when you leave early for the track. Either way, we felt this was the perfect choice for the ASS2000, as it’ll free up some horsepower thanks to larger diameter mandrel bent stainless steel tubing, free-flowing resonator and mufflers, plus it weighs less than the OE system and has a really pleasing exhaust note when you unleash the VTEC unicorns.
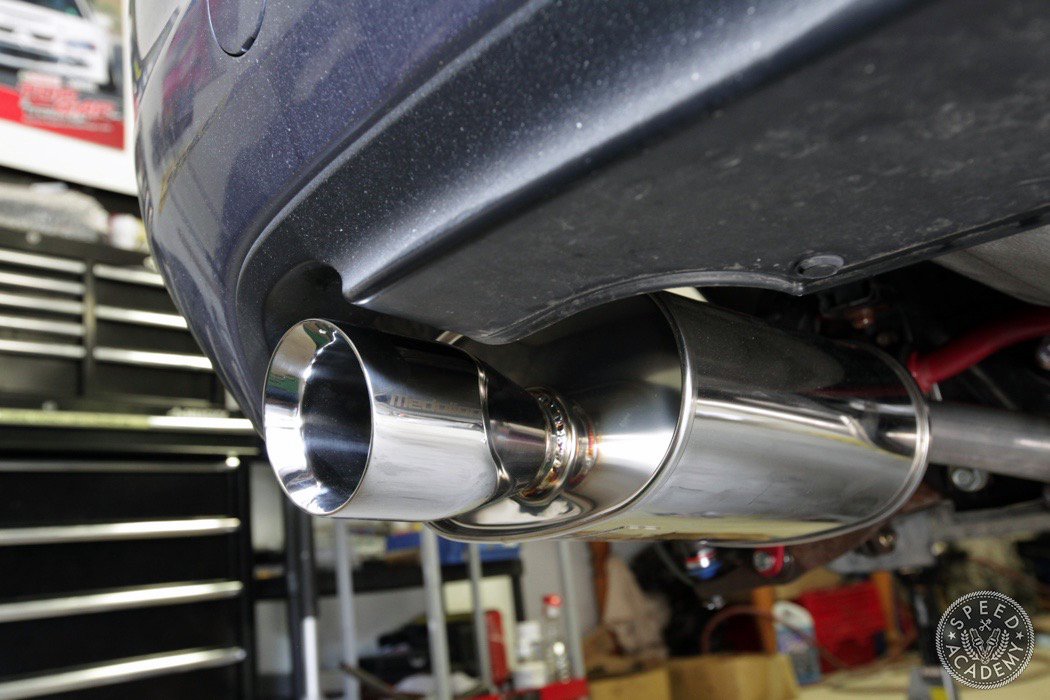
We’ll dyno test the car soon, so we’ll know how much power the AEM dual chamber intake and Tanabe exhaust have added and will report back on that in a future story. But in the meantime, what we can tell you is that the Tanabe system fits like a glove on the S2k. It’s truly a high quality product, from the welds to the fit and finish, it’s just on point the whole way round.
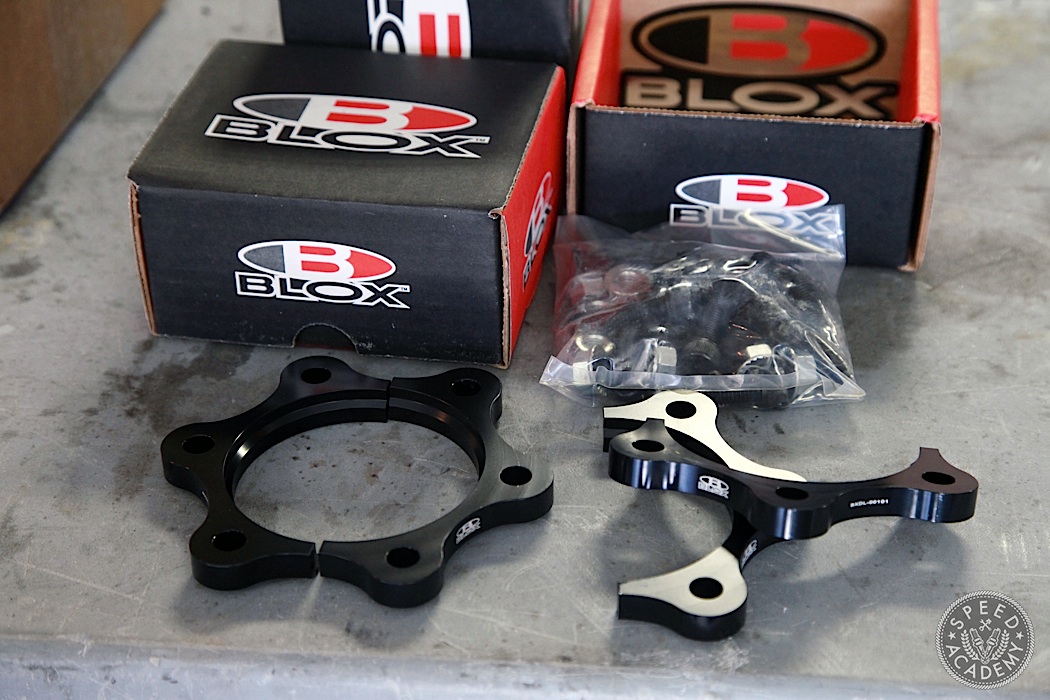
Pete also installed these Blox Racing half shaft spacers, also sourced from Turn14, which use a clever two piece design so you can slip them in between the inner CV and diff housing without needing to removing the axles from the hubs. The spacers help put the axle’s inner CV back into a more OE like position on a S2000 that’s been lowered 1.5” or more like ours, relieving stress on the CV joint and differential output shaft bearings as well as reducing unwanted play between the driveshaft roller and spider that can cause a clicking noise as well as rear-end vibrations. For $125, these are cheap insurance for the ASS2000’s ass end.
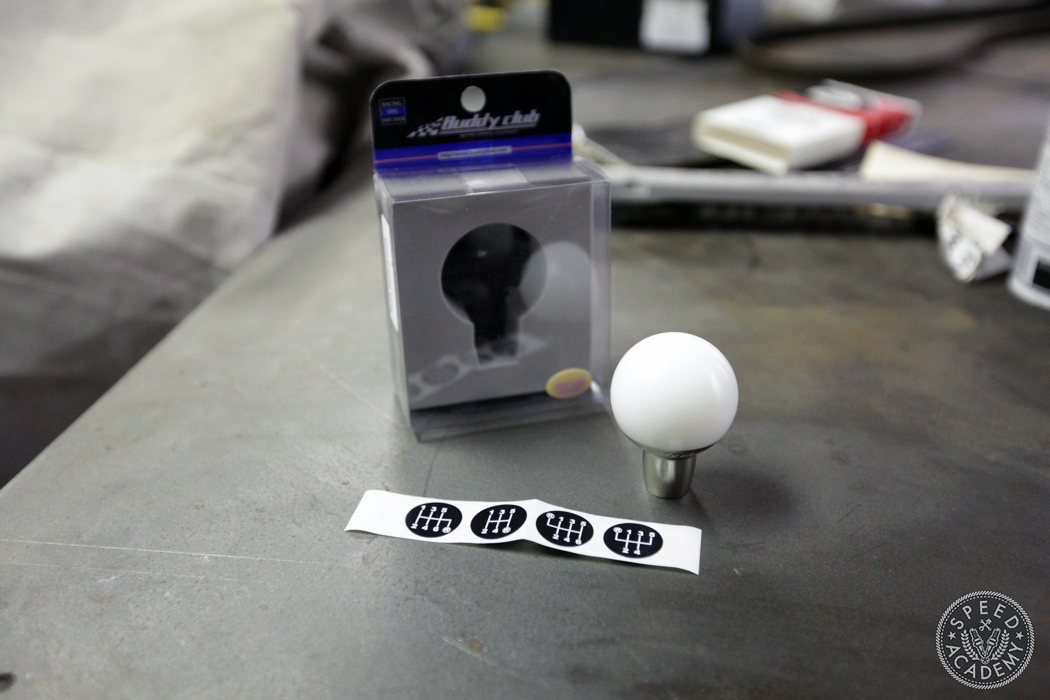
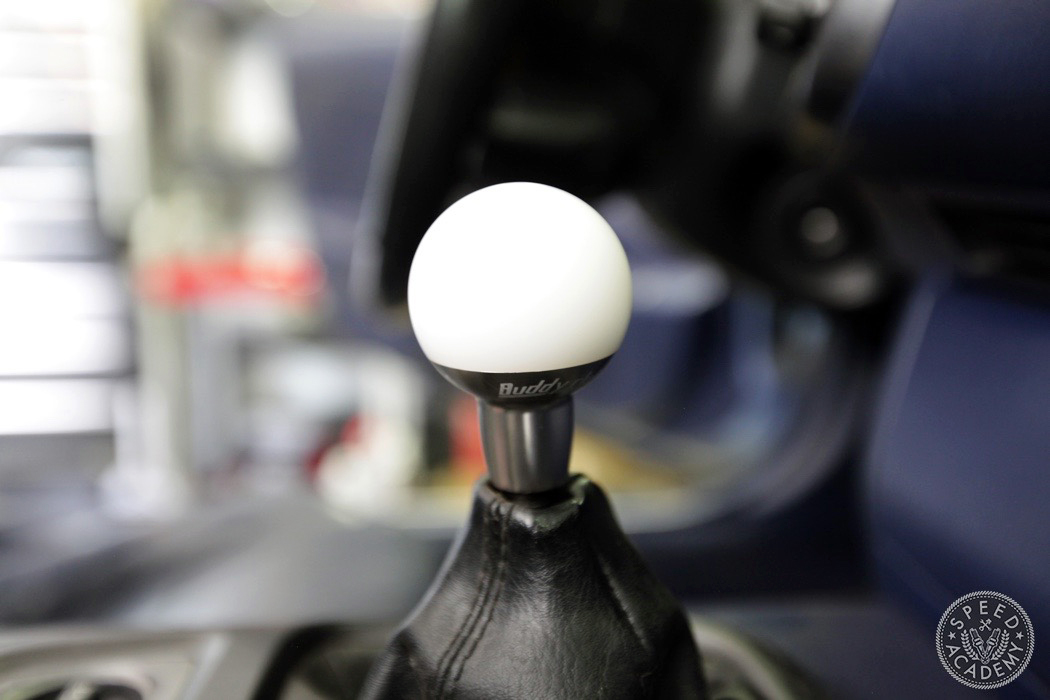
Then I tackled the toughest job of the day, installing the Buddy Club shift knob. This was right up my alley, since I’m a bit of knob myself. The installation involved threading it onto the shifter lever and turning the knob to the right until it was tight. Ya, I’m just that good. Why we chose a bright white shift knob in the dirtiest S2000 in the world is beyond me, but maybe it’ll motivate us to clean up the rest of the interior. Or maybe the knob will just turn brown over time.
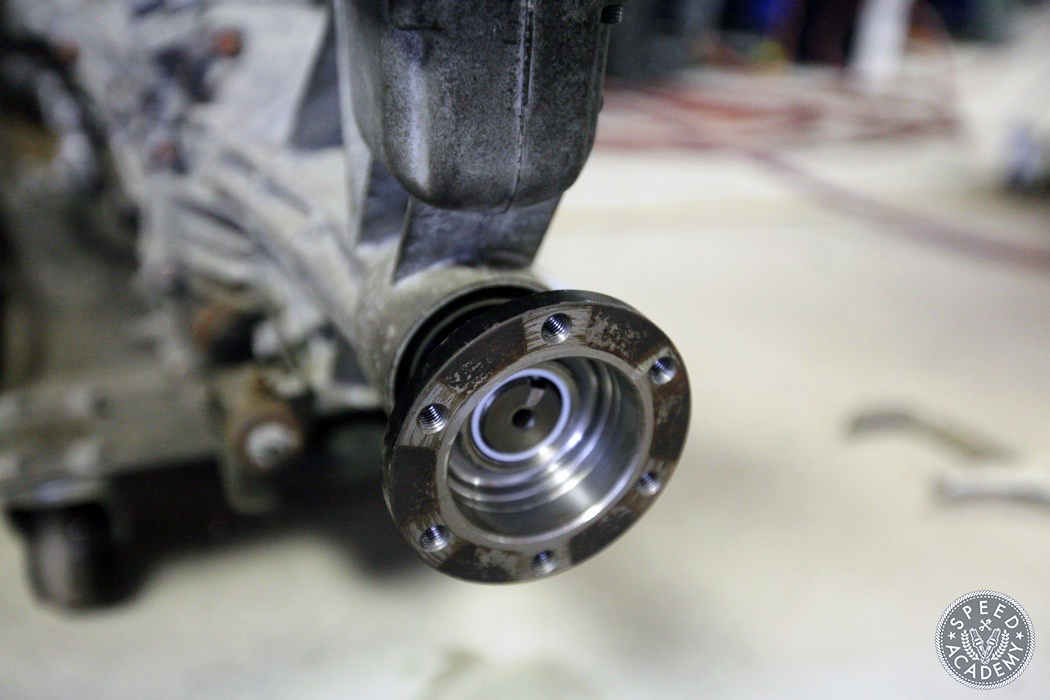
Slightly more difficult was swapping the driveshaft mounting flange off the AP1 transmission and onto the Ap2 transmission, a part of the tranny swap we overlooked when bolting the newer AP2 unit up to our trusty old AP1 engine. Turns out the AP2 flange is slightly larger in diameter and uses larger diameter bolts to attach the driveshaft to it, and since we were using the original AP1 driveshaft we needed to swap over the AP1 flange and bolts that go with it.
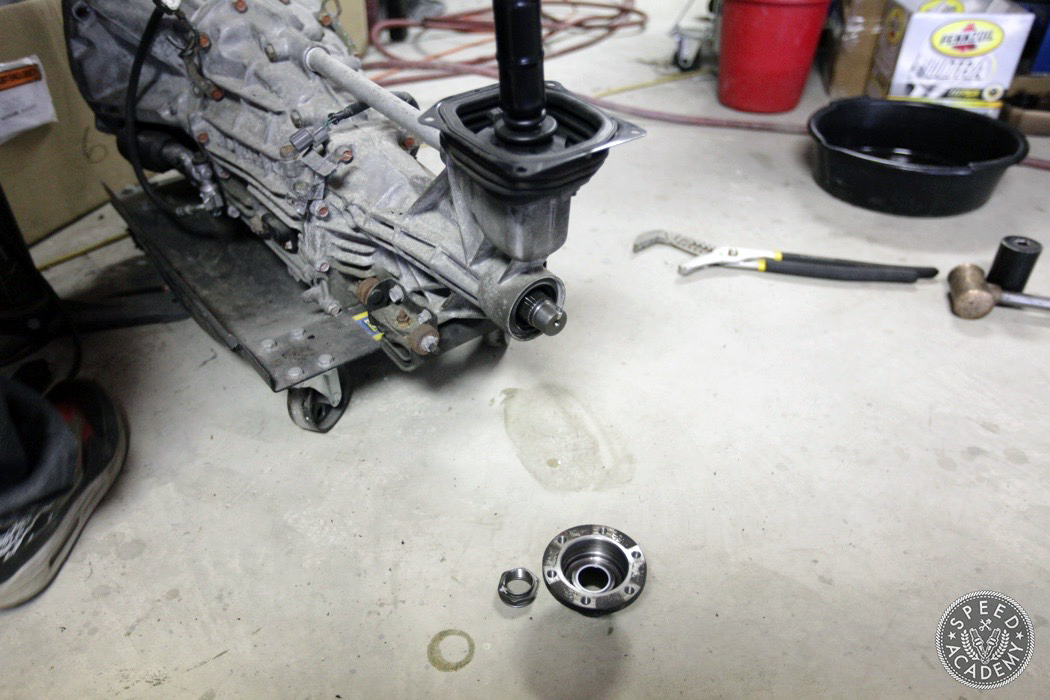
There’s a single large nut (similar to an axle nut) holding the flange to the output shaft on the tail of the transmission, so we gunned them off and torqued the AP1 version onto the AP2 trans tail before reinstalling the driveshaft that connects the gearbox to the rear differential. This was actually a quick and easy job, but it would have been easier had we remembered to do it before installing the engine and trans. Or should I say had we known this was a necessary step to complete the swap.
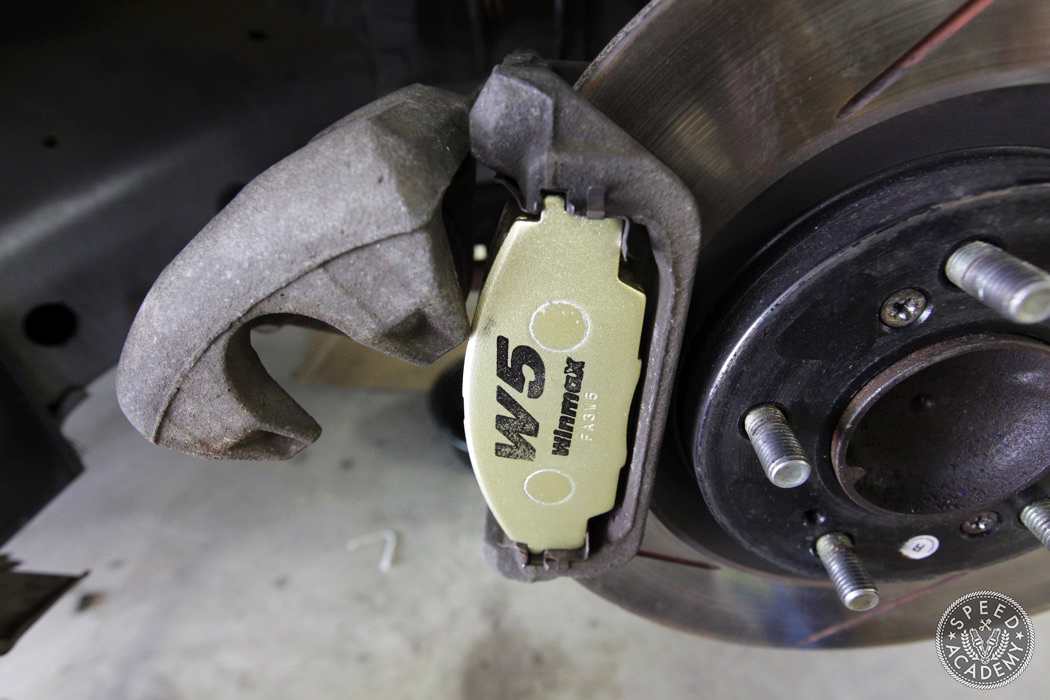
Oh, and I also installed a fresh set of Winmax W5 brake pads on the front and W3 pads on the rear of the ASS2K, since we wanted to dial up the stopping power. We’ve never tried Winmax pads before, but they’re a very reputable Japanese brand so we’re excited to see how they performance at the race track.
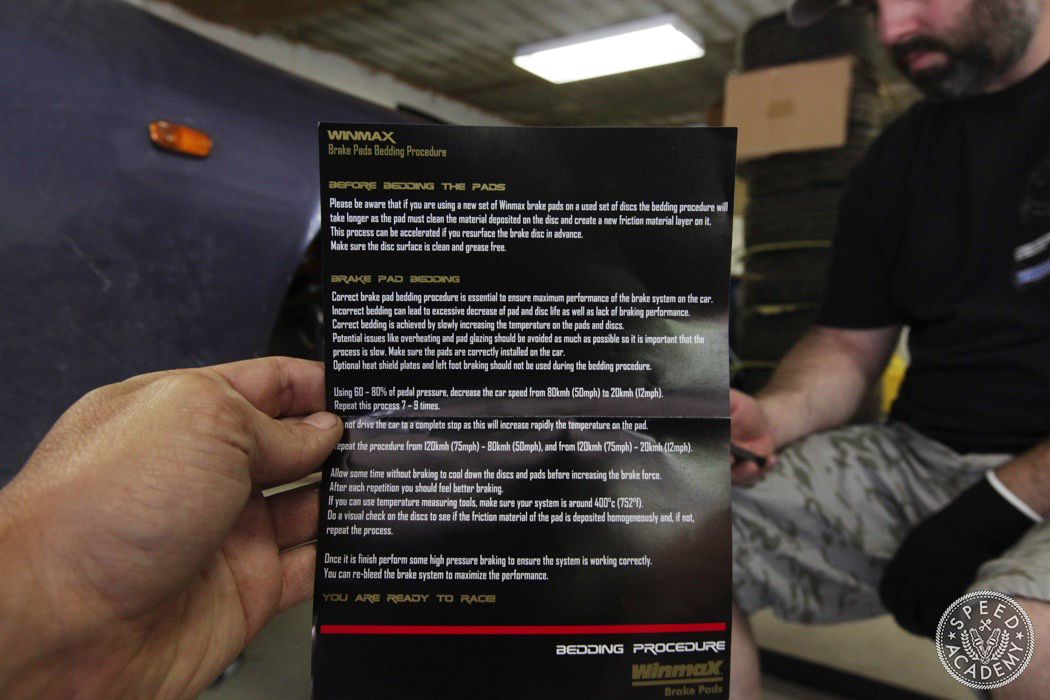
I was impressed by the level of consultation with Sam from Winmax USA, who asked for a ton of details on our car’s setup including tire size and compound, suspension setup, and even the local climate before recommending the W5 front W3 rear compounds. I was also impressed by the detailed bedding instructions Winmax supplies with the pads, a process which should help them perform optimally and last longer too. We’ll report back soon on how these pads perform, since we’re planning to track test the car in a few days to see how all our winter fixes and upgrades have changed the AP1’s performance around Toronto Motorsports Park.
Until then, we hope you enjoy our video recap of all these upgrades. We’ll know soon how close we are to the Jag F-Type’s lap time, and we’ve got some safety and aero mods coming that may just be enough to get us below the target time of 1-minute 20-seconds at TMP.
Oh, and as for our running total on the cost of the project, this set of upgrades set us back $1826, so we’re up to a little over $18k including the purchase price of the car, but we’ve now got a pretty much new-underneath AP1, so once we freshen up the interior and exterior we’re going to have a killer S2000 that’s potentially faster than a $100k Jaguar for marginally more money than a low mileage AP2. Even if the YouTube experts questions the numbers, we still think we’re doing it right!
Looking good gents!
Thanks Damon! She’s coming together quite nicely.
when will see it up against the jag?
As a fellow S2k owner from the UK we have to replace everything because of the higher rain fall. So rust isnt a new thing to us.
Have you been following along on our Youtube channel? We’ve had it out at the track and will be soon testing it at the dyno.
Check it out here: https://www.youtube.com/spdacademy
Hello, can you tell me the size of the camber bolt as I am getting either 12mm or 14mm?