Isn’t it great when a neighbour helps you dig out from a big snow storm or mows the lawn while you’re away on vacation? Good neighbours really can make life so much more pleasant. And since I’m often spotted in my garage working on cars, I’ve sort of become the neighbourhood mechanic. Everyone within a 5-km radius seems to come to me when their car starts acting up, and generally speaking I’m happy to help.

But this year I stepped up my Good Neighbour game by helping Mike K. from across the street pimp his Scion tC.
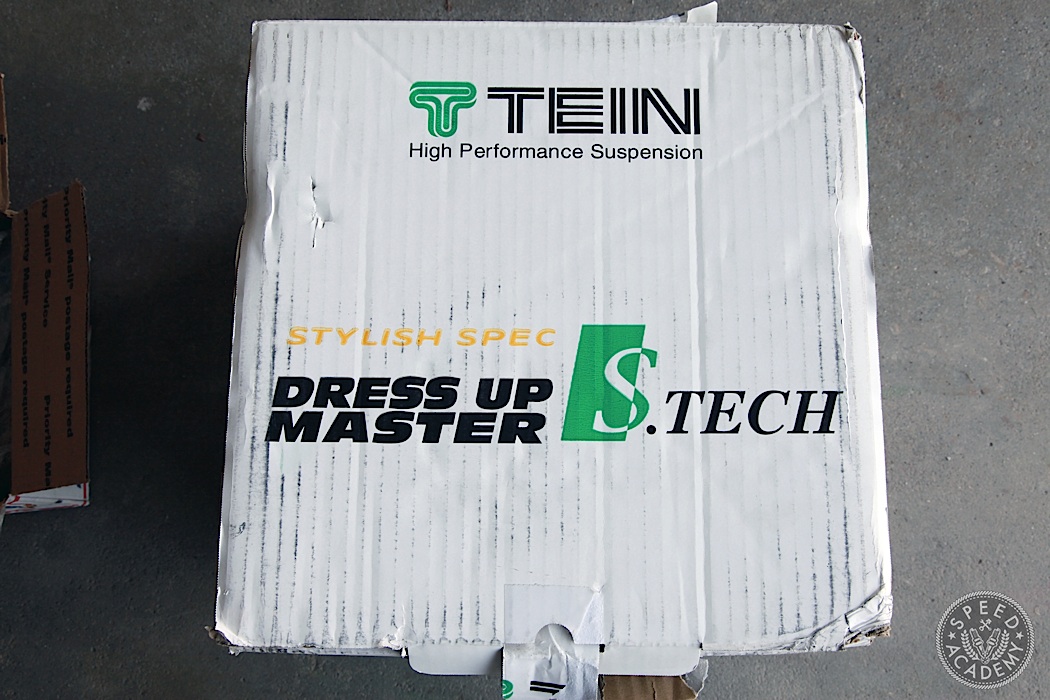
Stylish Spec and Dress Up Master, all in one box!? Almost too much awesome going on here.

I don’t know about you, but personally I think the tC is a pretty cool looking front-wheel drive coupe, especially in Concrete Grey like Mike opted for. In a sea of boring looking FWD compact cars, the tC2 really stands out from the crowd and Mike had already made some cosmetic mods to his before I laid hands on it, including side window rain guards/wind deflectors and some custom LED lighting. I helped him install a Seibon carbon hood, and once the weather warmed up we moved on to installing the Tein S-Tech lowering springs he’d ordered online. The tuner bug had fully infected Mike at this point, so pretty soon I was helping him source some wider and more aggressively offset TSW Panorama wheels and sticky Continental ContiSportContact 5P tires, which meant taking it to the track to see if we’d made it any faster than stock.
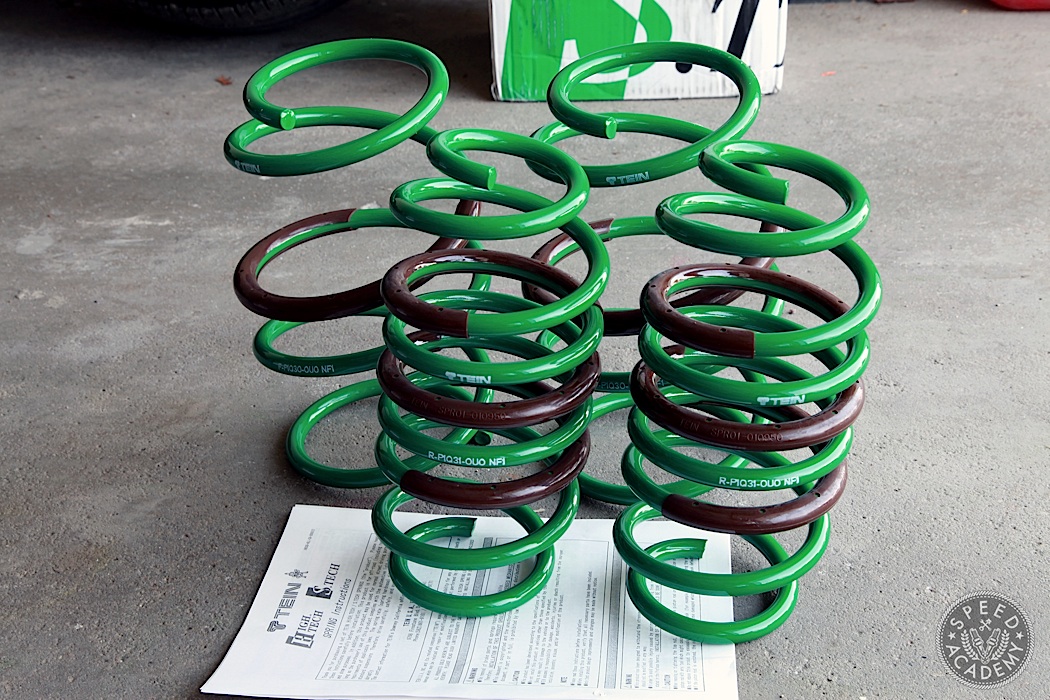
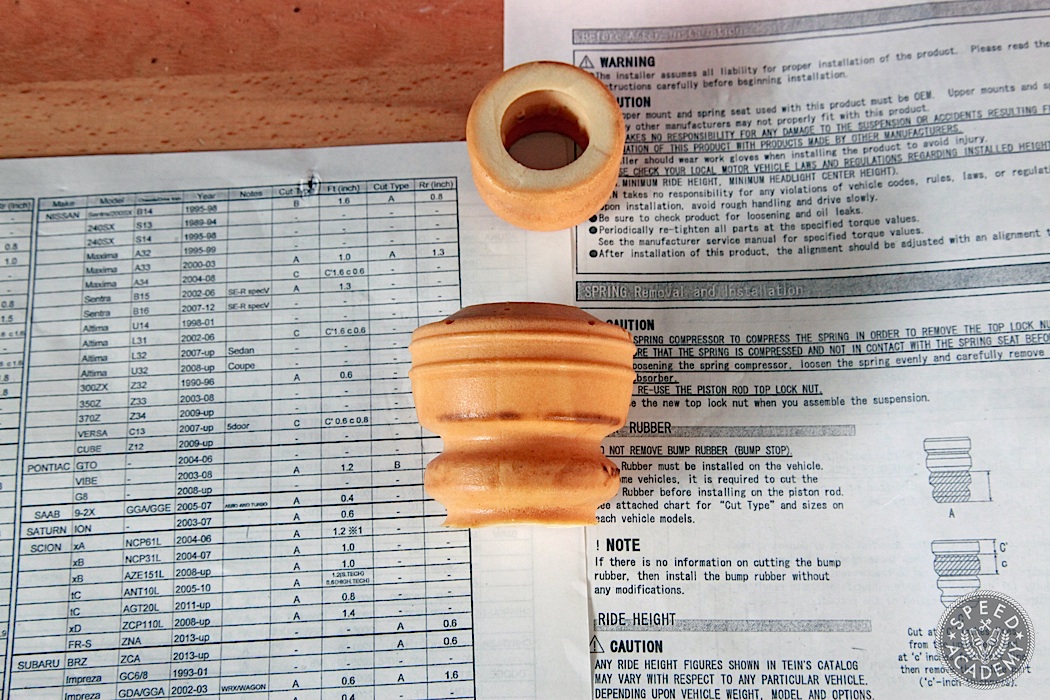
Installing the S-Tech springs is pretty straightforward and the instructions include details on how much to trim the front bump-stops by. I also have to give Tein credit for their instructions being clearly written and including some helpful diagrams.
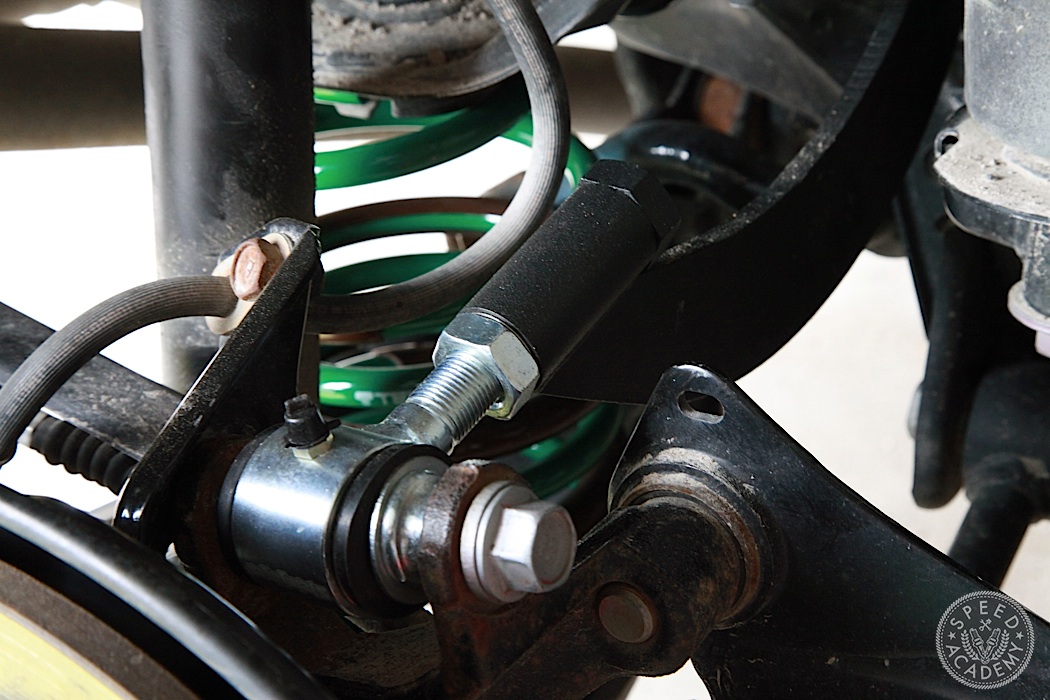
One of the challenges with the tC2 chassis is the inability to adjust rear camber (you can adjust the front with crash bolts), something Mike wanted to be able to do given the camber gain that comes with lowering his Scion almost 2” in the rear (1.54” lower up front and 1.81” lower out back, to be exact). To address this, we turned to TB Performance, a great example of a small business owned by a true car enthusiast (Danny Check), whose developed some high-quality suspension bits for niches nobody else has properly filled.
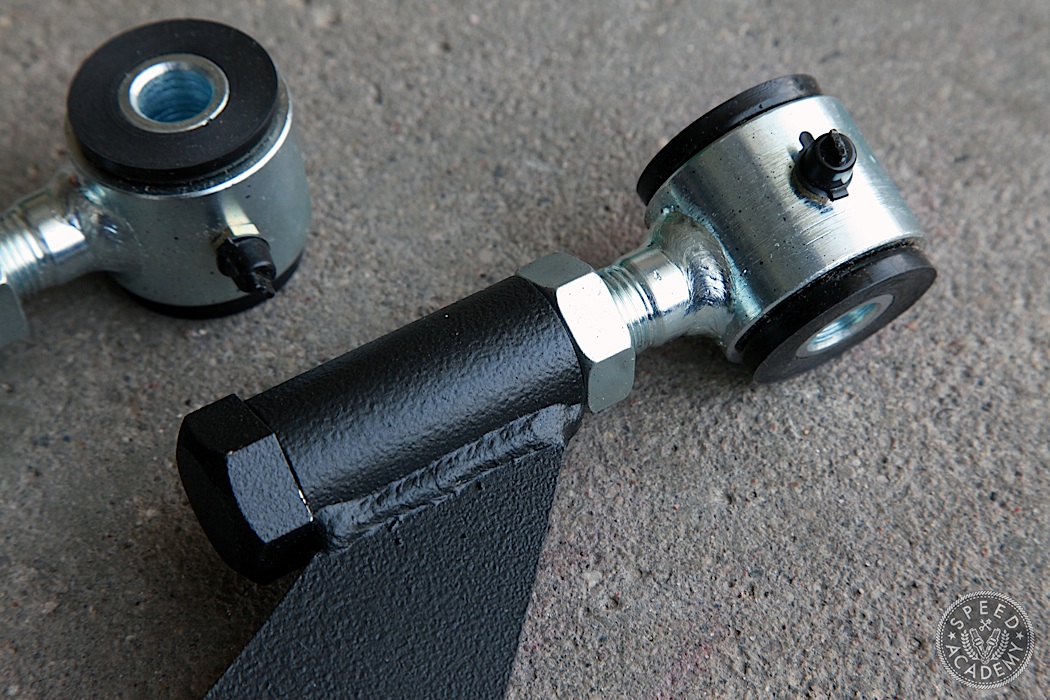
To adjust camber, simply loosen the jam nut on the rod end side and turn out the nut on the far end. Don’t forget to tighten the jam nut when you’re done.
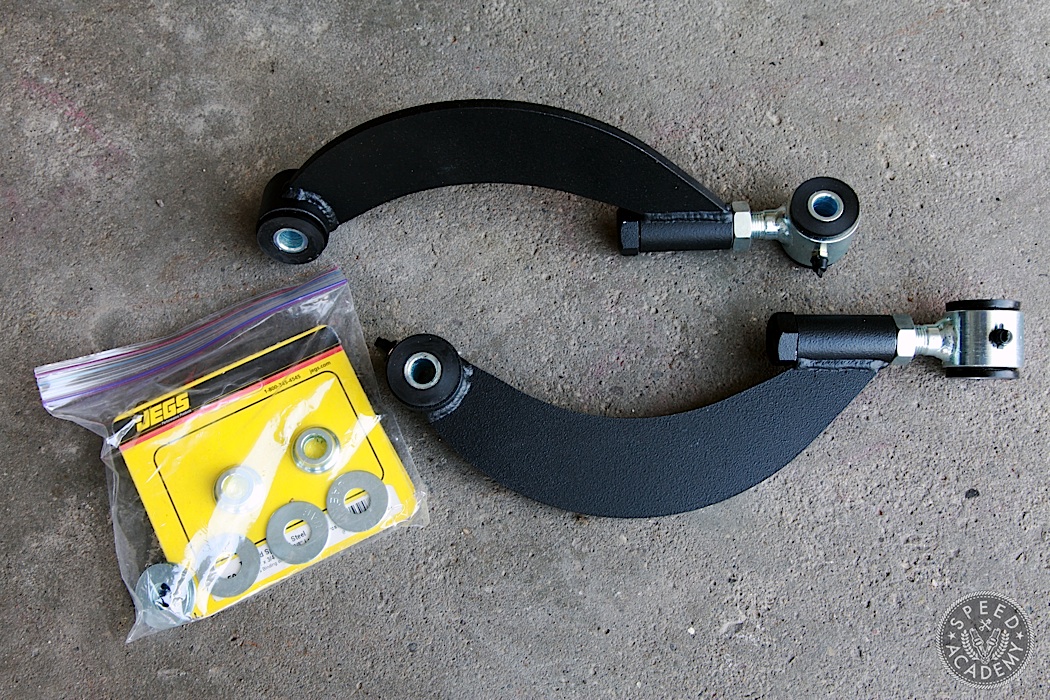
Case in point are these beautifully crafted rear control arms for the tC2, built from 1/4” 4130 Chromoly with a fixed .120 DOM bushing mount and a Steinjager 4140 Chromoly threaded male rod end. These arms use standard Energy Suspension polyurethane bushing, meaning replacement bushings are inexpensive and easy to find, and the grease nipple on the bushing mounts makes it quick and easy to keep them properly lubricated for quiet and long-lasting performance. The dimple-black powdercoat finish gives them a nice OE look, too. All in all, these are a very well thought-out set of arms that include spacers and washers for a painless installation (FYI you reuse the factory bolts, the inner bushing requiring a spacer and a washer on each side for a snug fit, while the outer bushing on the rod end only requires spacers and a washer on one side).
Sadly, TB Performance’s owner Danny Check just announced on Facebook that he’ll be closing the business this summer to focus on other opportunities (XDCglobal.com), so you tC2 owners better grab a set of these while you still can! With ours bolted up, along with the Tein lowering springs, it was finally time to install the new rims and rubber and head to the track.