Unfortunately, this made me realize that it would be a massive ordeal with the plenum because it’s a far larger heatsink and I was barely able to anneal the small plate for the coolant tank. So I chose to make it using 3003. It is a softer, weaker material than 6061 but still quite strong and not being heat treatable, is much more formable.
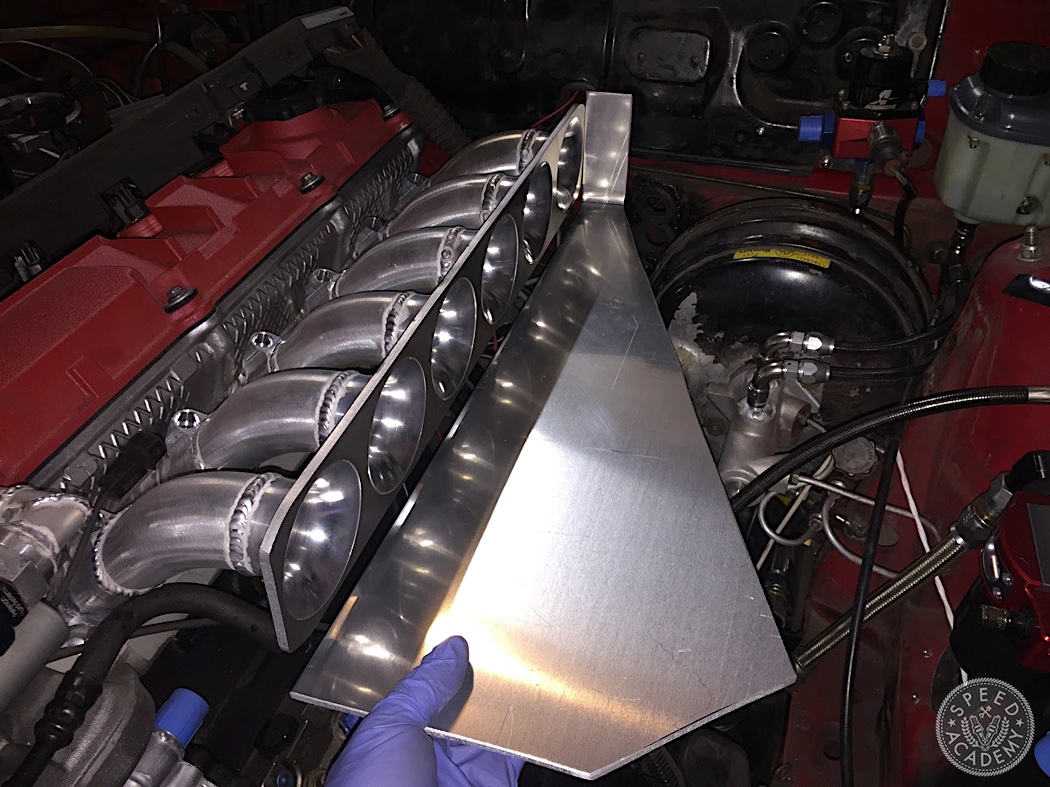
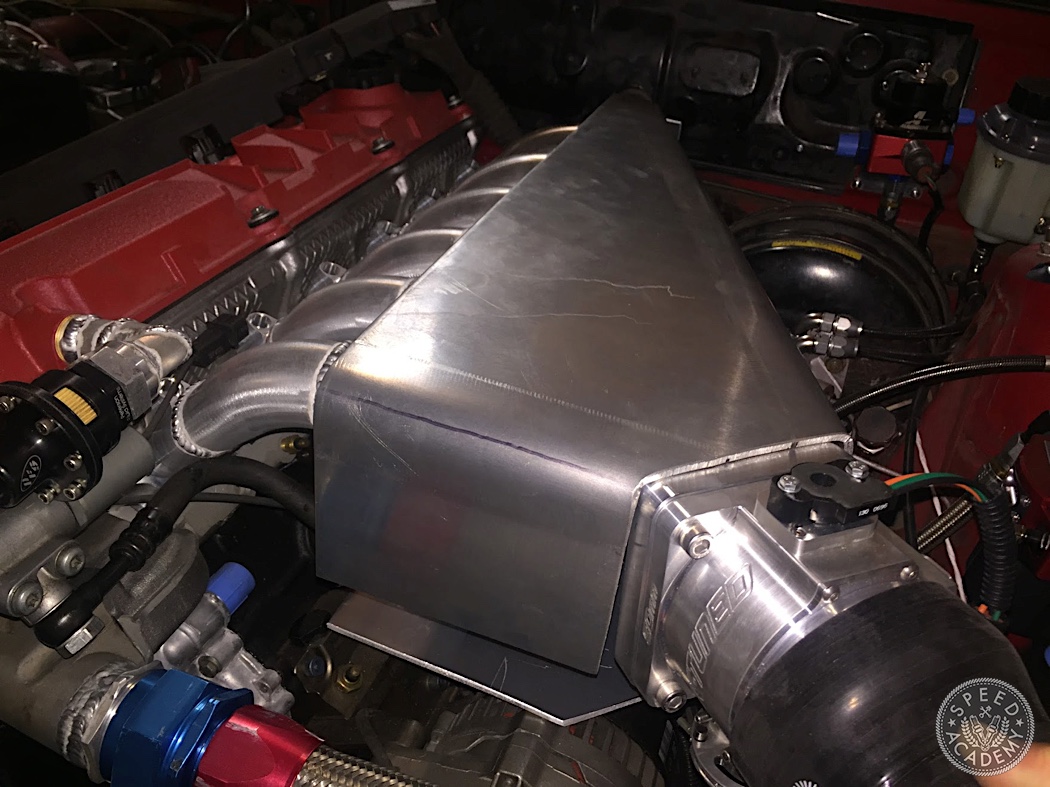
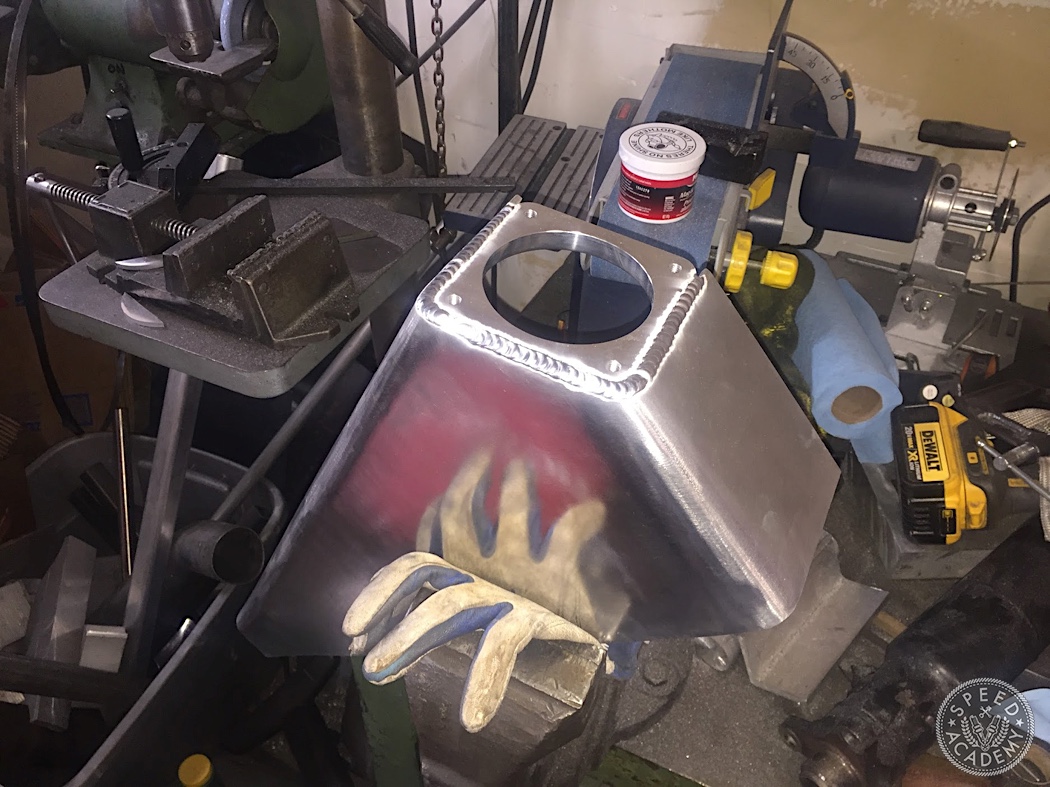
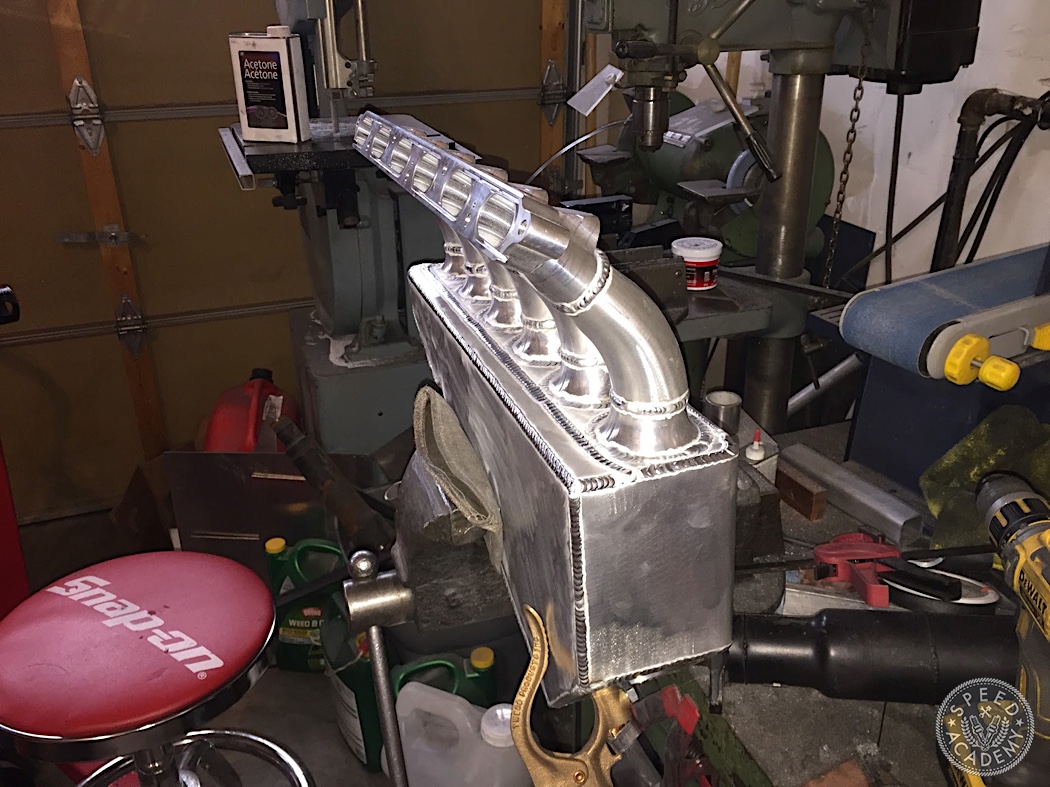
I started by positioning the throttle body where I wanted it and based on its location, measured and cut the bottom and rear panel of the plenum.
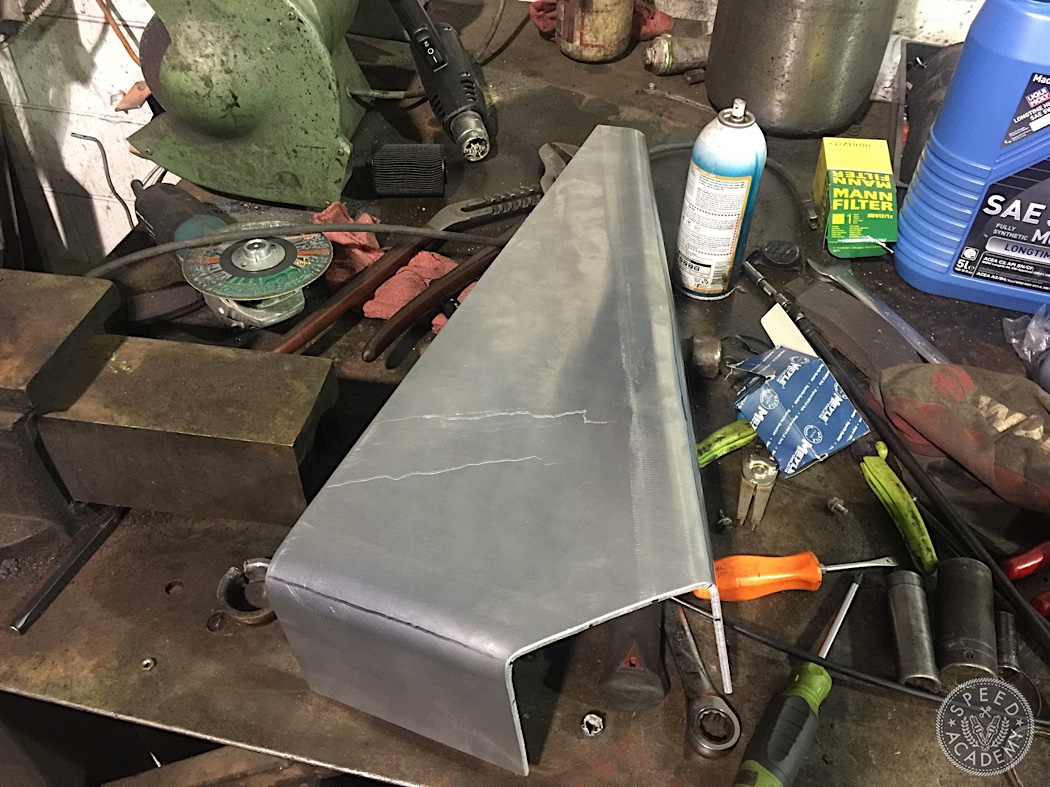
Next was the top. I cut it out and marked it, and took it to my friend Rob’s shop, Auto Evolution. He has a large air-powered hydraulic press. I got a thick wall length of angle aluminum and a 1.5” solid aluminum rod to use for the forming. This proved to be a much bigger challenge than I had hoped. The span of the long face meant that the rod was bending. I tried several audibles, bending several steel pipes I found until I got a hold of a heavy wall steel pipe which finally did the trick.
Maybe this will actually work.
Let’s get melting.
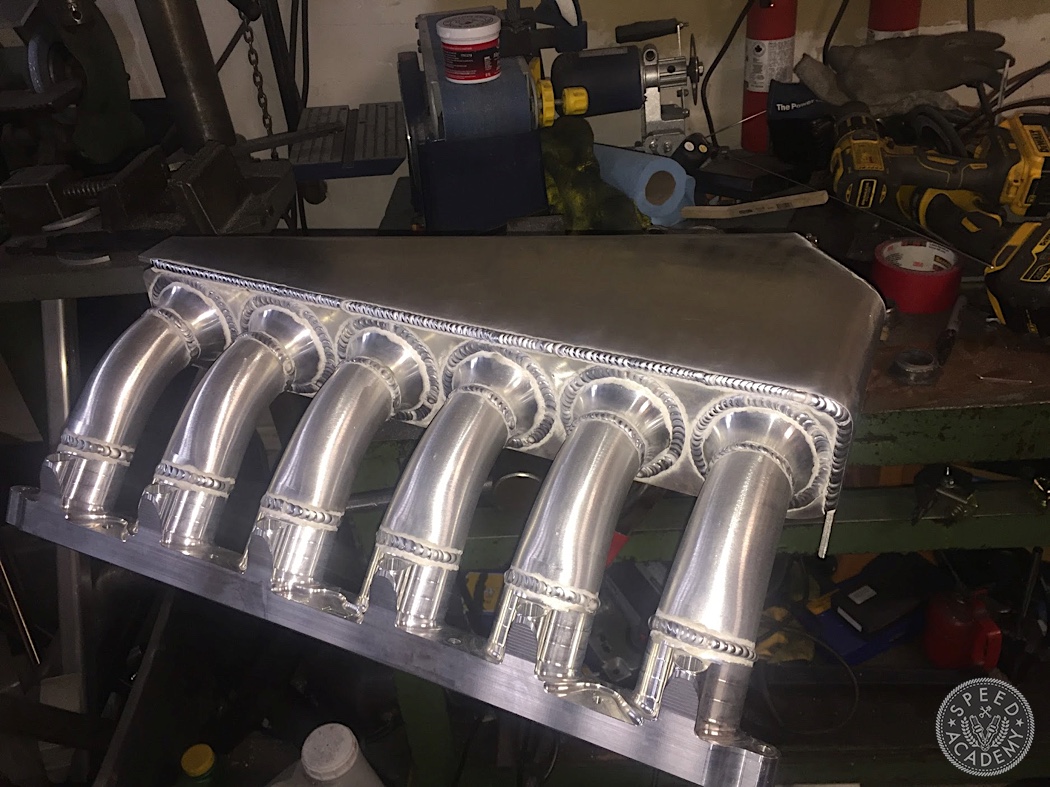
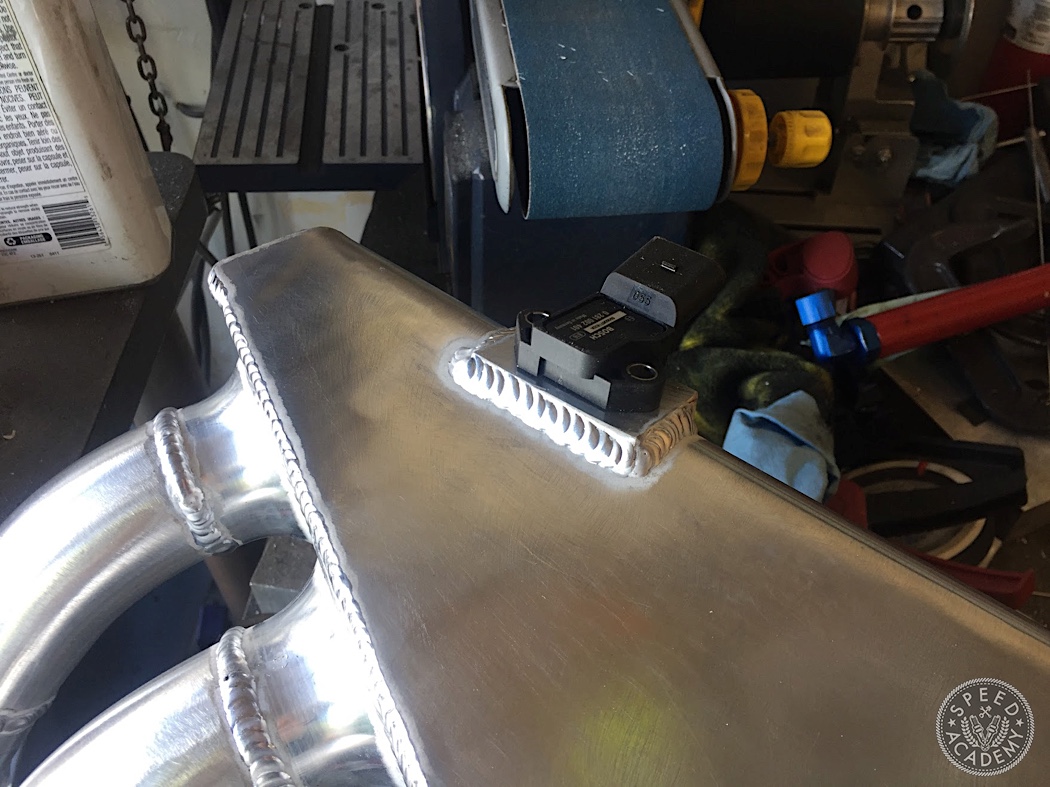
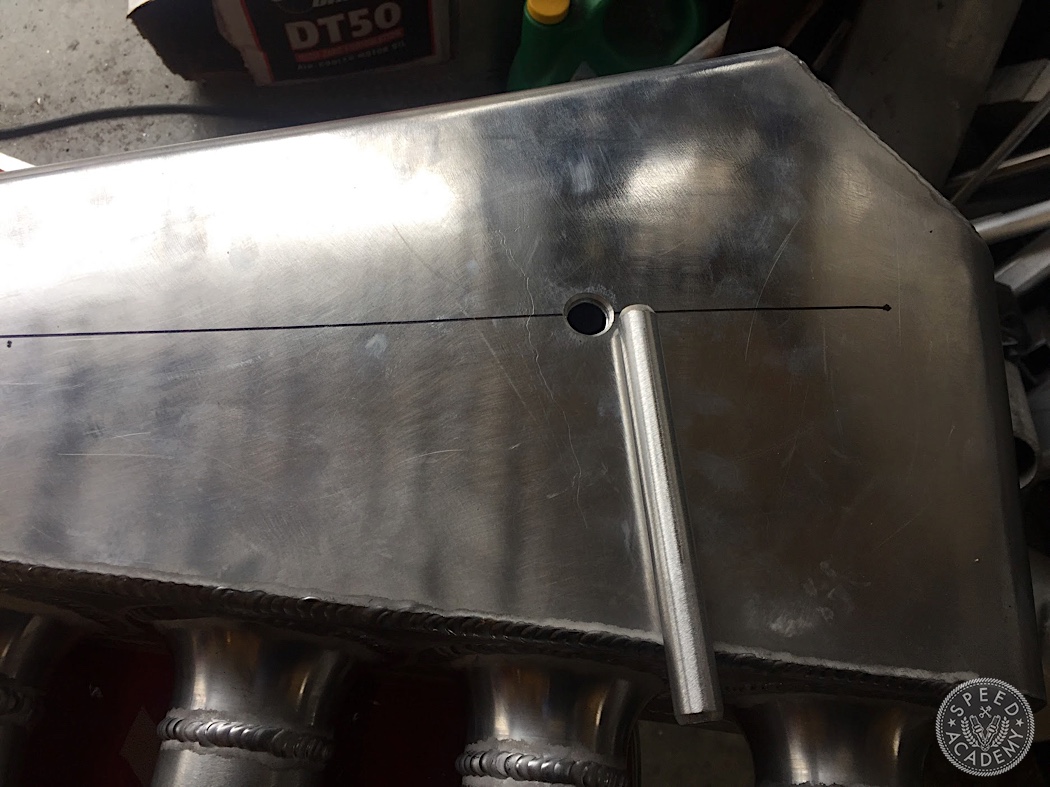
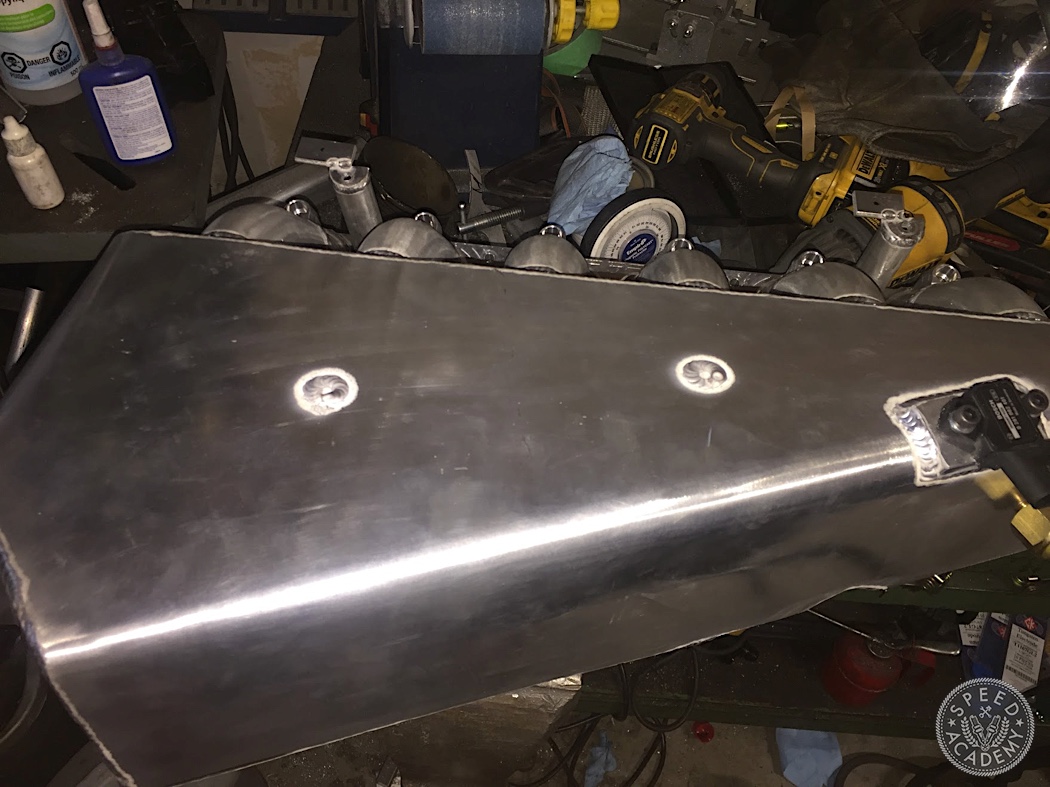
At this point, I thought I was pretty much done. I needed to add the map sensor and some reference bungs, as well as a brace to the block.
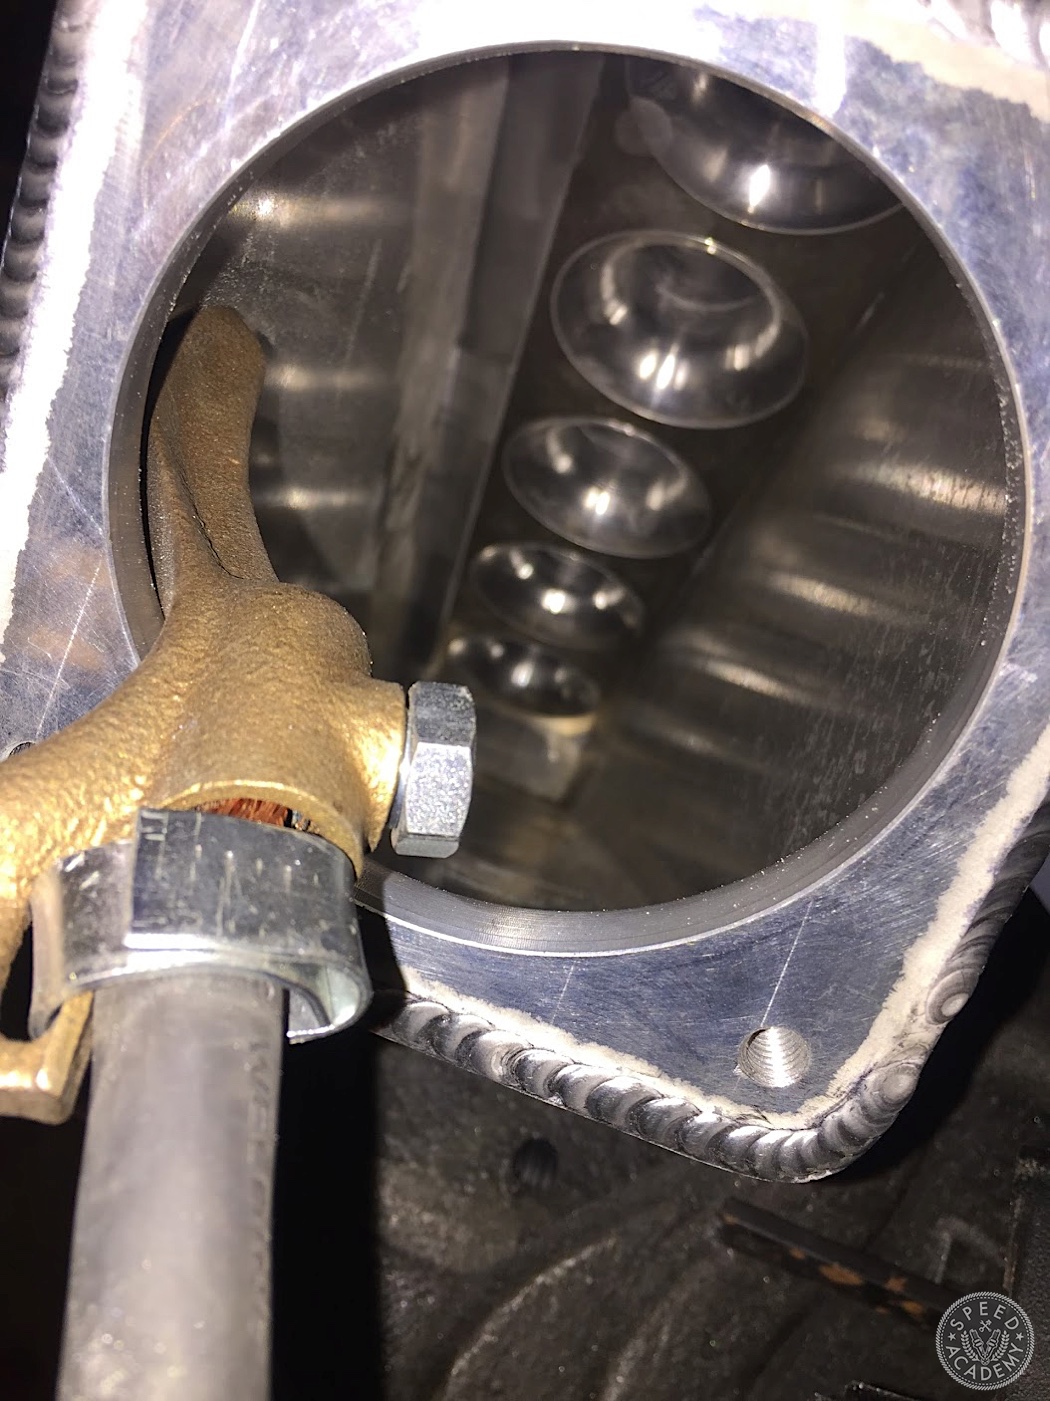
But someone pointed out that with the size of the plenum, which is a really large unsupported surface area, would eventually fail at the edges. It seemed wrong to me that 3/16” thick metal would fatigue out even at 30psi, but after doing some napkin math I realized how much force would be born by the joints. So I added a pair of 1/2” pillars bisecting the plenum.
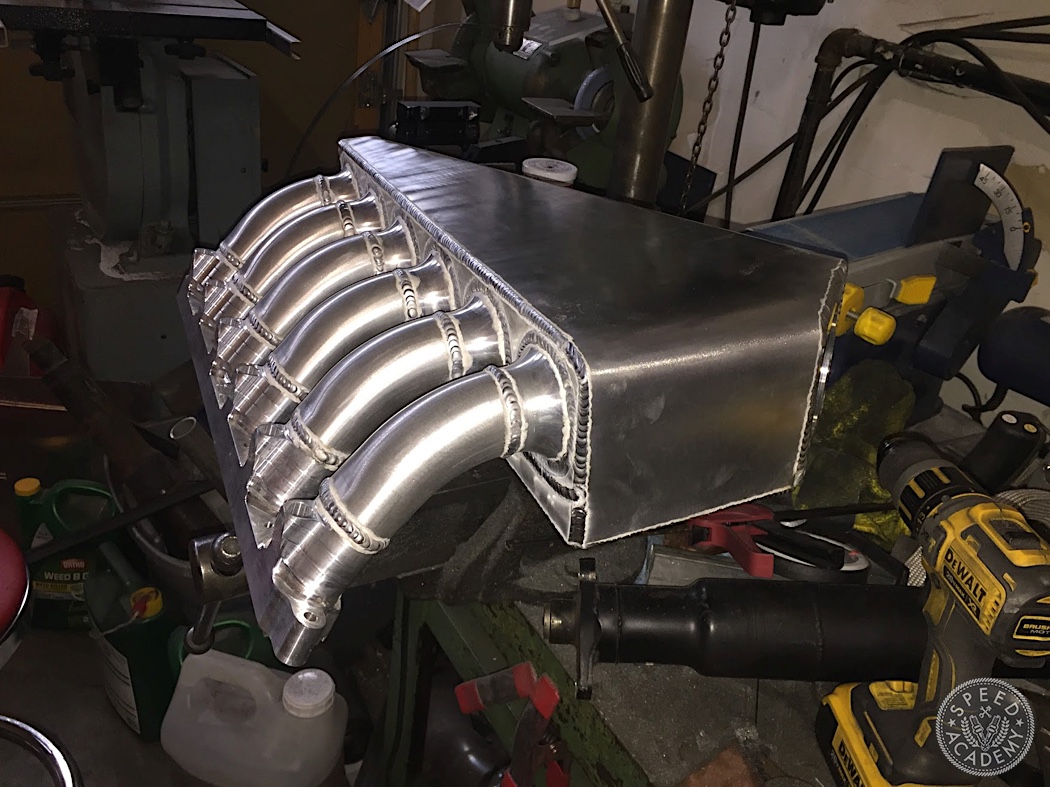
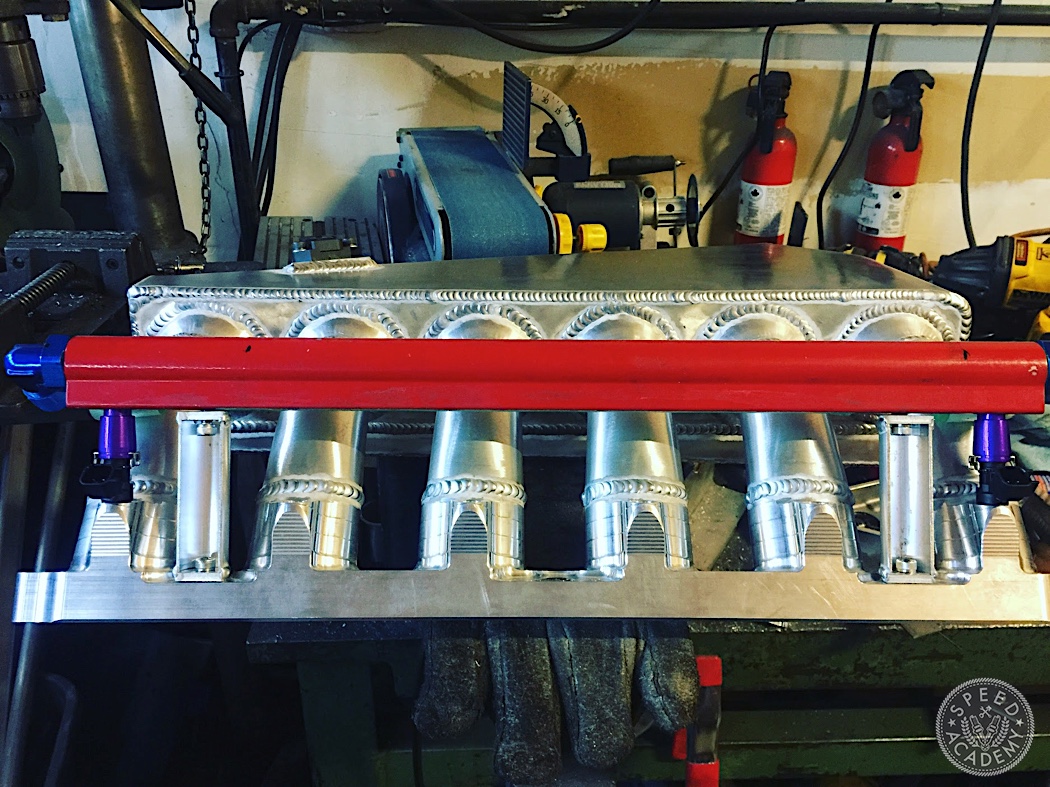
A few more bungs later, a check valve from Vibrant and a welded bung to the brake booster, and it was all done!
All told, the manifold came in at a bit over a grand.
Total cost:
Components from PPF to my door: $633.84
3/16″ plate for the plenum: $80
K-Tuned Domestic 90mm Throttle Body: $379.99
Freed Engineering weld-on TB flange: $45
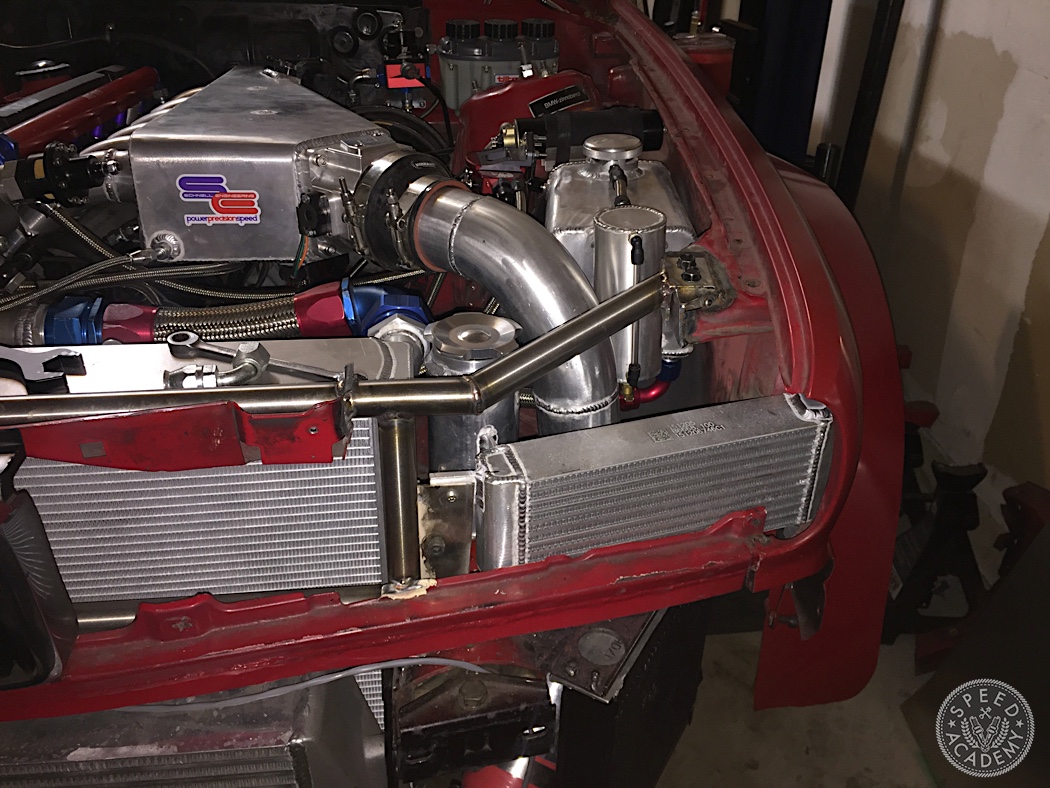
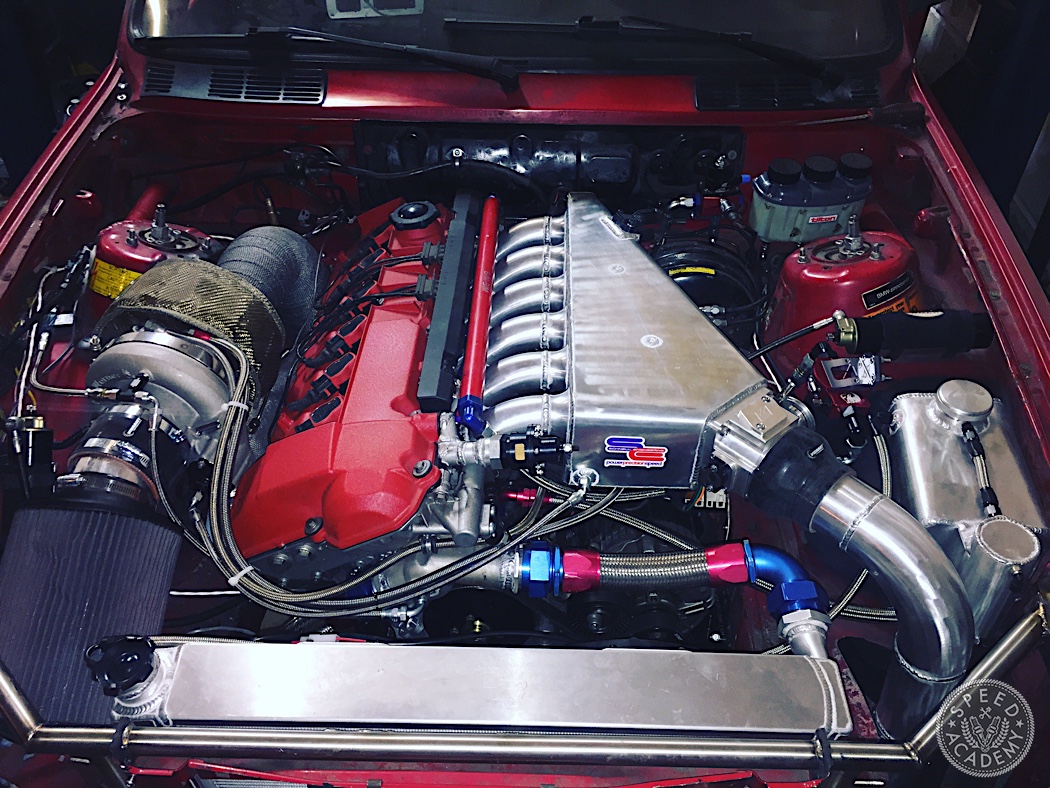
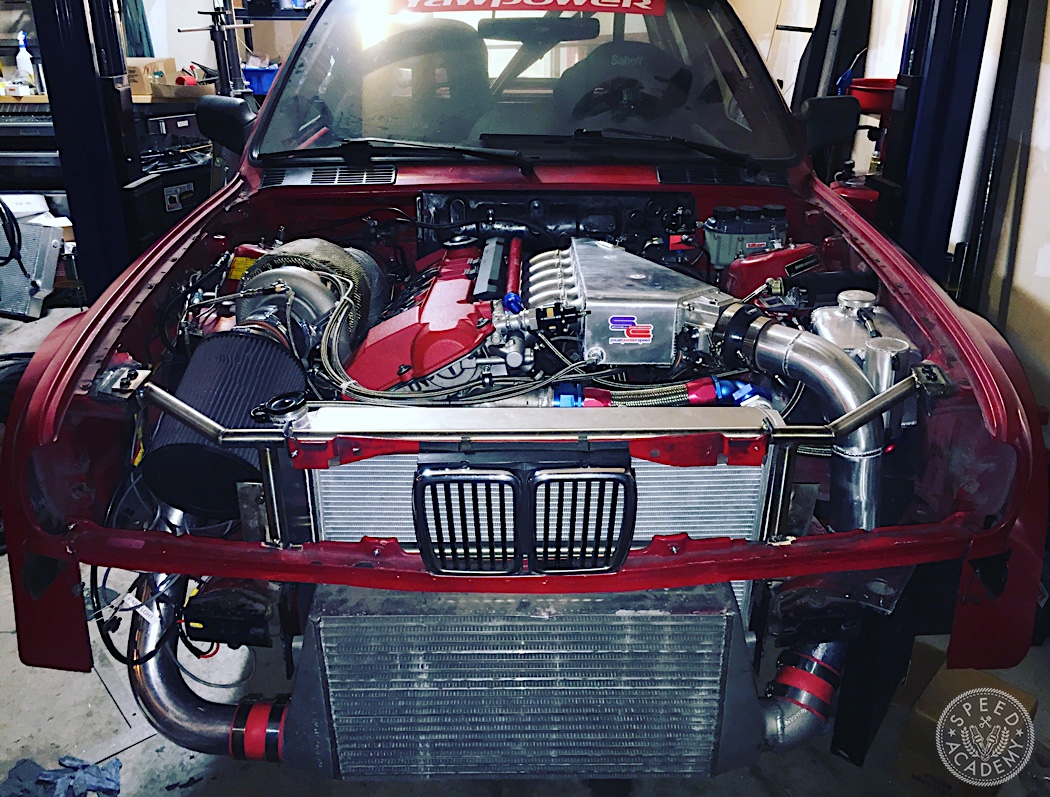
Pad that with a few bucks for some parts from Vibrant like the check-valve, some bungs and hose ends, and I ended up with exactly what I wanted for a price that no one could touch retail for double what it cost. The end result was also very pleasing. Not only does it look exactly as I wanted but the engine makes a good 50-hp and ft-lbs more across the board (roughly 900-hp/800 ft-lbs to the rear wheels) and negligible loss in low rpm performance.
Normally, custom projects end with some regrets and lessons learned to improve for V2 but this was one of those rare ones where there really isn’t anything I would do differently. I would certainly have an easier time if I were to do it again, since a lot of the fabrication techniques I had to figure out as I went, like bending the plates for the plenum. Now I know exactly how to do it.
So that’s it. I hope this inspires some of you to give it a shot yourselves. I don’t think I would have attempted this without the head flange from PPF but all of the popular platforms out there have a source for something like that, so if you’ve been thinking of trying this yourself, get on it! If you need ideas, get stuck or just need a cheerleader, hit up Speed Academy and we’ll figure it out together!
I really like your squishing jig. Good idea.
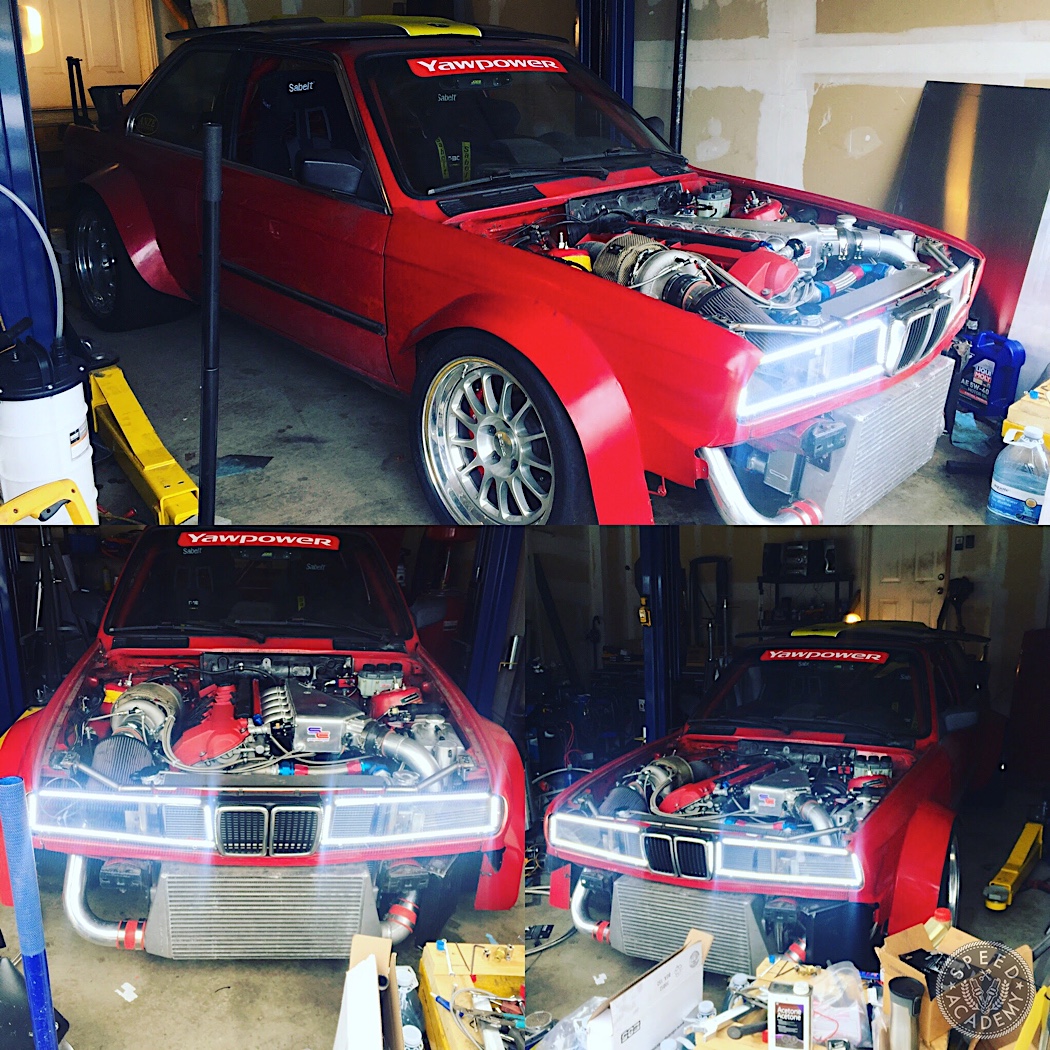
Do those LED rings function as your headlights?
Yes they do, although he’s since made new housings for round LEDs so it’ll look more E30ish.
Very nice project. Thanks for sharing. Inspiring! I’ll build something similar myself this summer.
Really nice plenum. What size are those runner pipes what you was using? (outside, inside diameter)