At this point, the only thing keeping me from my dreams of Ecotec Miataness is a few vacuum and fuel lines. There are two Miata vacuum lines that need to be modified and attached to the Ecotec engine; one comes off the charcoal canister, the other from the heater core.
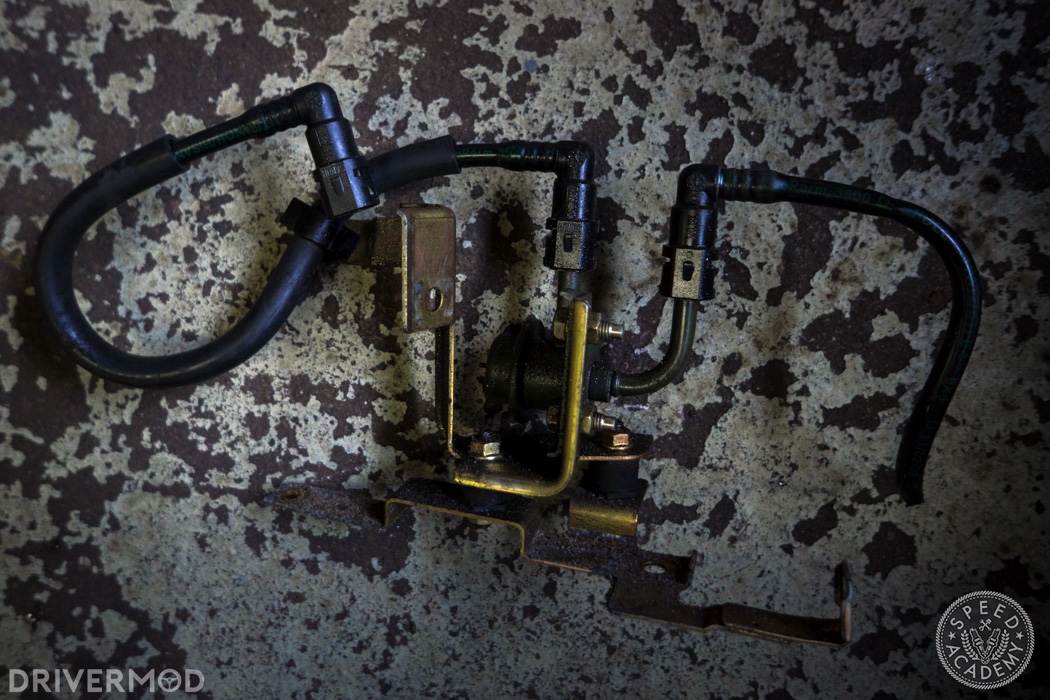
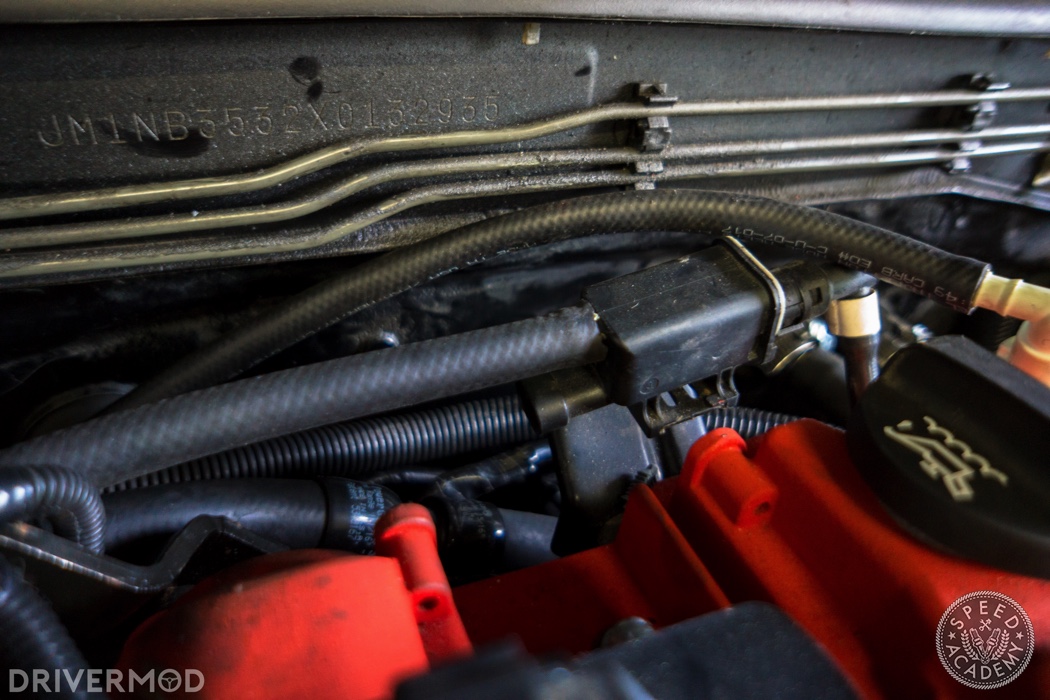
On the passenger side of the engine bay, you will find this gold bracket with two hoses coming off it. One of them went to your BP motor and has either been cut or removed since, while the other goes to your charcoal canister. This bracket can be removed, and you can remove the vacuum line going to the charcoal canister.
At this mount, it’s just a matter of running a 3/8” rubber hose from the charcoal canister to the purge valve located directly behind the oil cap.
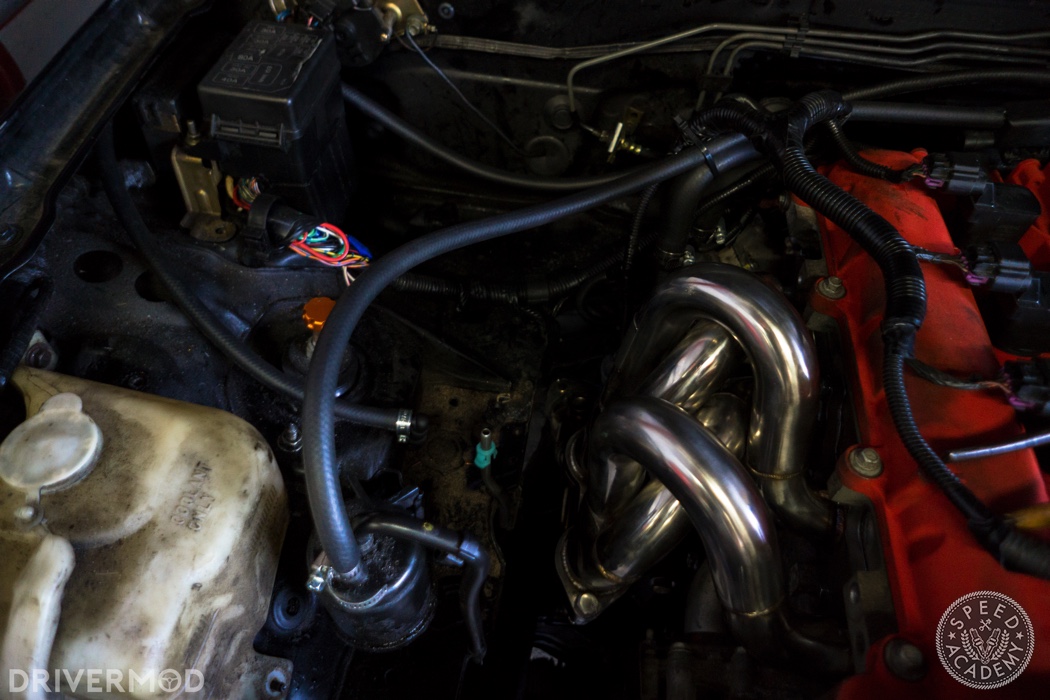
The vacuum line coming off the Miata’s heater core then needs to be connected to a nipple on your intake manifold. You will notice that currently, there’s a factory rubber hose that runs off the heater core, and connects to a gold hardline. Here is what makes this tricky; within the factory rubber hose, there is a small heater check valve.
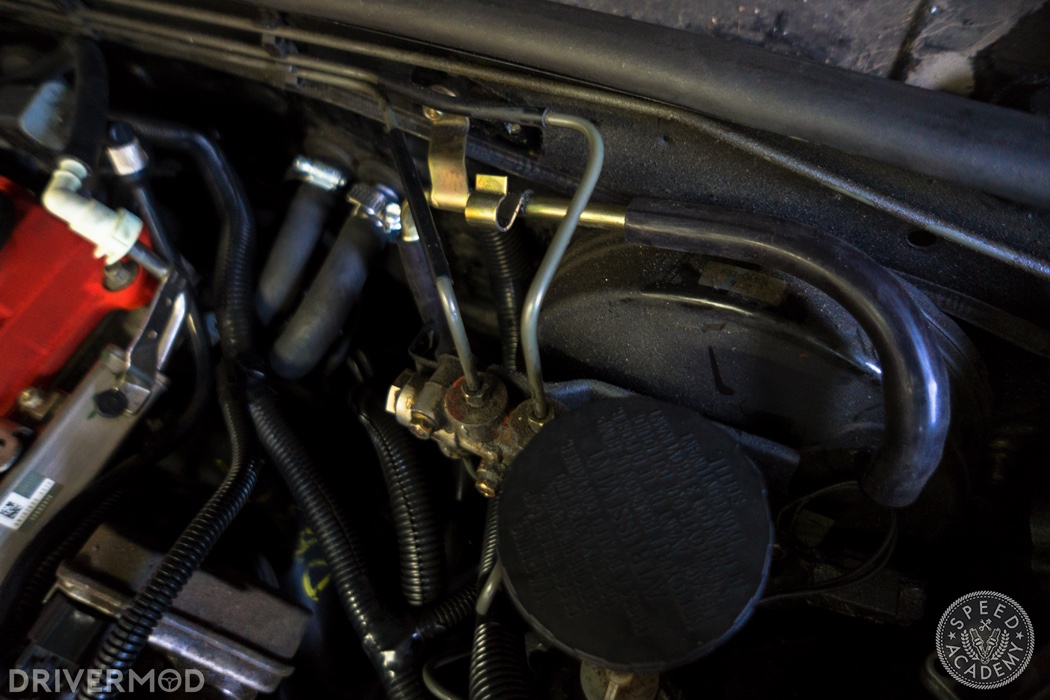
You can either get a new rubber hose and squeeze the factory check valve into it, or you will need to find a way to reuse the factory rubber hose. We managed to do the latter by reusing some of the gold hard line. The factory rubber hose runs to the gold hardline, which is attached to a new rubber hose running to the intake manifold.
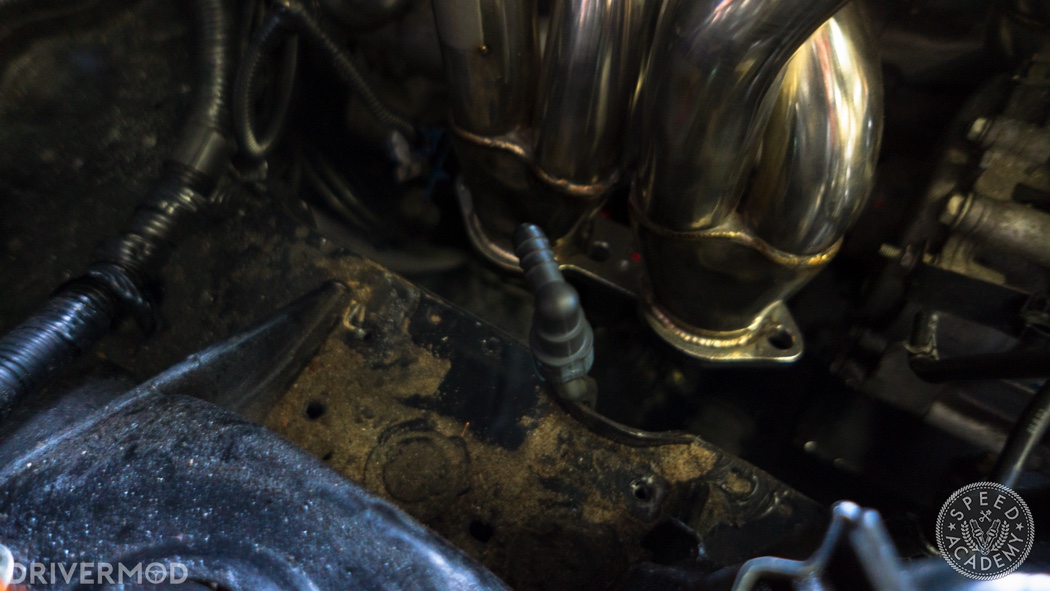
Finally, you will need to hook up your fuel line. Both the Ecotec engine and the Mazda BP motor have a return-less system, making this super simple. You’ll need to get a 3/8” quick connect fuel line fitting, -6AN steel braided fuel hose, and fuel line clamps. You then need to remove the factory fuel line fitting (if you haven’t already), attach your quick connect fitting, and run the steel braided line from the quick connect fitting, to the Miata’s hard fuel line nipple. You can find the Miata’s hard fuel line nipple next to the gold bracket you removed earlier. Here’s a photo of it with a quick connect fitting attached. Make sure you add fuel line clamps to each end of the fuel line and tighten them down good!
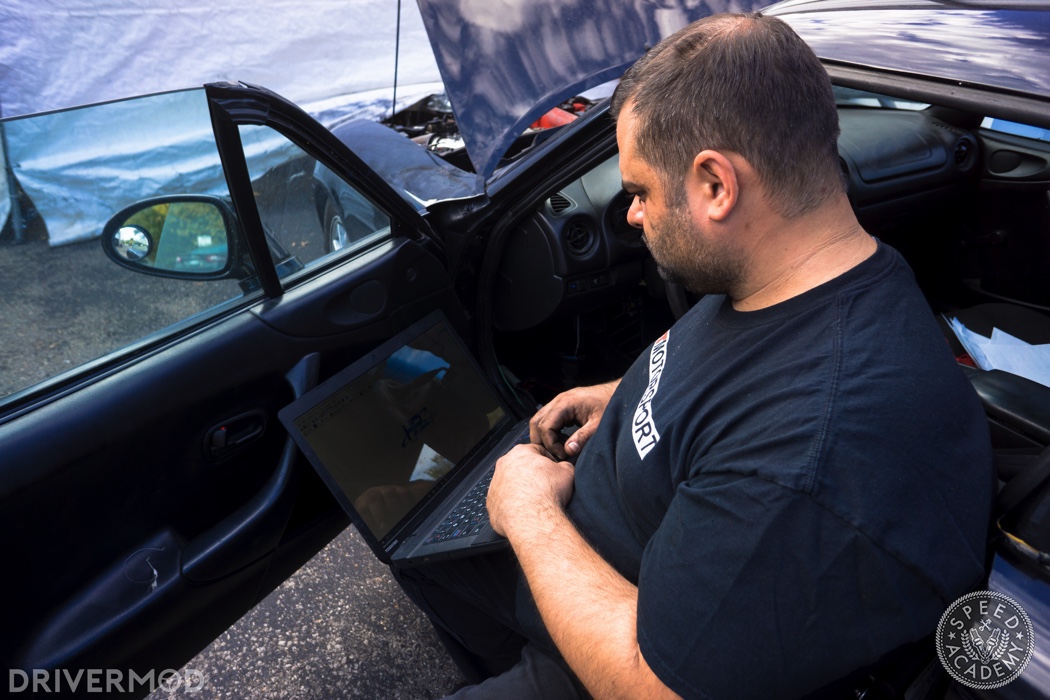
From here, I would love to tell you that we fired up the car and drove off into the sunset. Unfortunately, like any project car, things weren’t that simple. The car wouldn’t start, and when we plugged an OBD2 scanner into the OBD2 port, we got nothing. As it turns out, despite both 06-07, and 08’ cars sharing the same E67 ECU, they are pinned differently. Because our wiring harness was from a 2006 Cobalt SS, and our ECU was from a 2008 GMC Acadia, they’re pinned differently. If you’re wondering why we had an ECU from an Acadia, a truck which never came with a 2.4l Ecotec… we’ll get to that.
Once we re-pinned the ECU clips to accommodate the 2008 ECU, we could check for problems in the wiring harness. That told us that one of the pink and black power wires running from the ECU underneath the dash was disconnected. With that fixed, the car was finally running. Sorta.
It would run fine until you touched the throttle pedal. At that point, it would start sounding like it was running on three cylinders. At that point, we took a closer look at the ECU that came with our engine and learned that it was not for a 2008 Saturn Aura, but for a 2008 GMC Acadia. The map we uploaded to the ECU allowed it to run the engine, but the V6 throttle controller meant that the throttle pedal mapping was all wrong. At that point I bought a different ECU, this time from a 2006 Pontiac G6, which we re-pinned to revert to our previous changes and the engine finally ran fine.
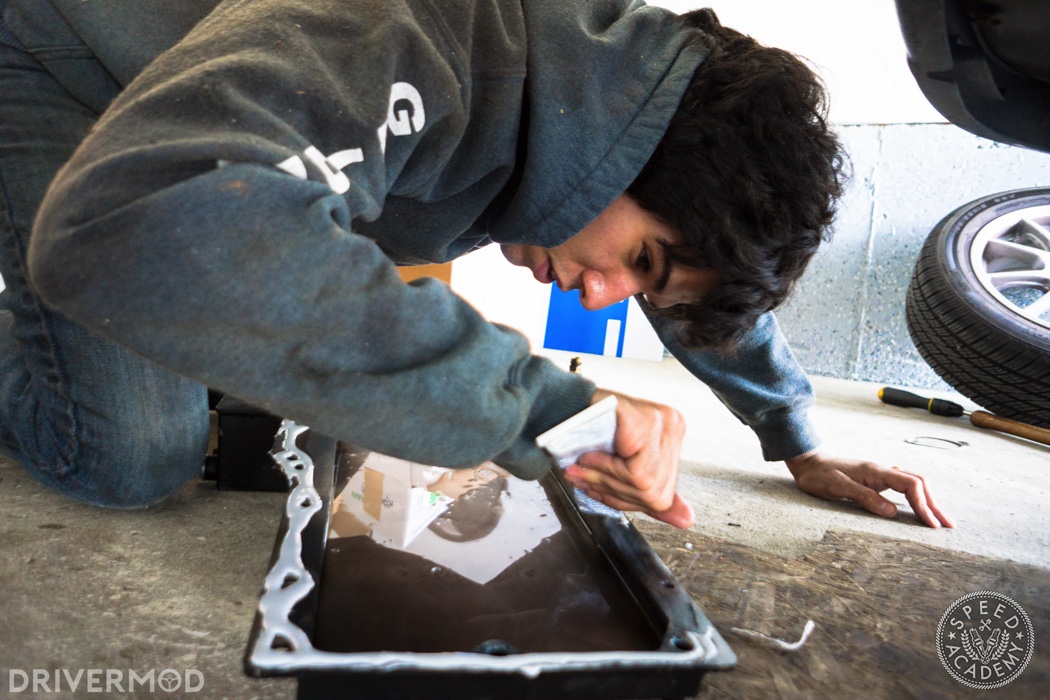
I mentioned in our first article that we screwed up by applying sealant to the oil pan, rather than the engine. This caused froth and air bubbles to appear on the dipstick. At that point, I limped the car back to my place, and we resealed the oil pan applying liberal amounts of sealant. We let it dry for 24 hours, filled it with fresh oil, and triumphantly announced that the car was done. I let two of my friends drive it, and I drove it home that night.
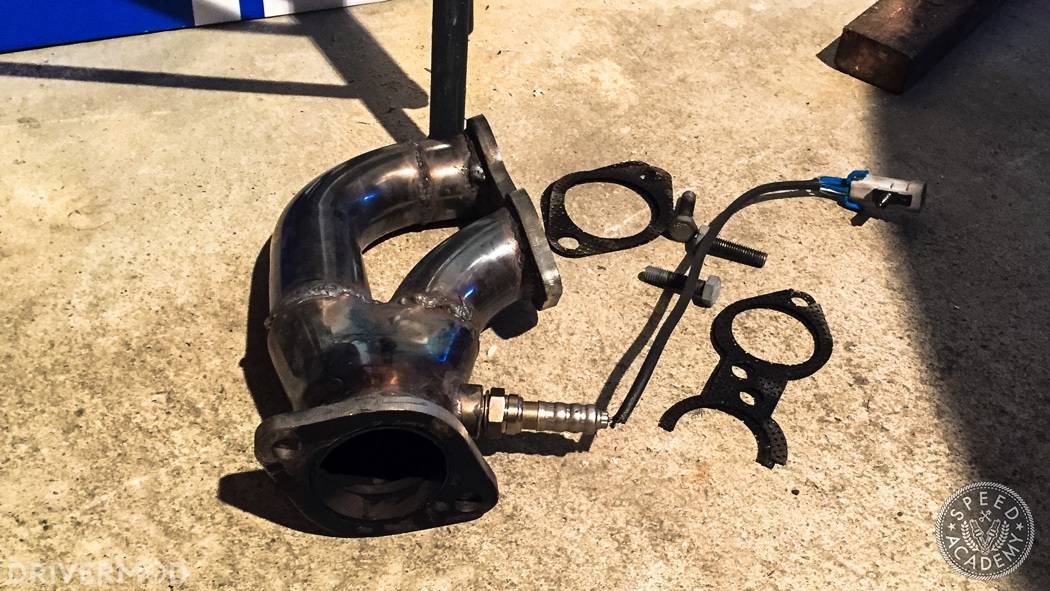
However, on the way, disaster struck. Our header rattled itself apart. So much so, that I later pulled this out of the car without tools.
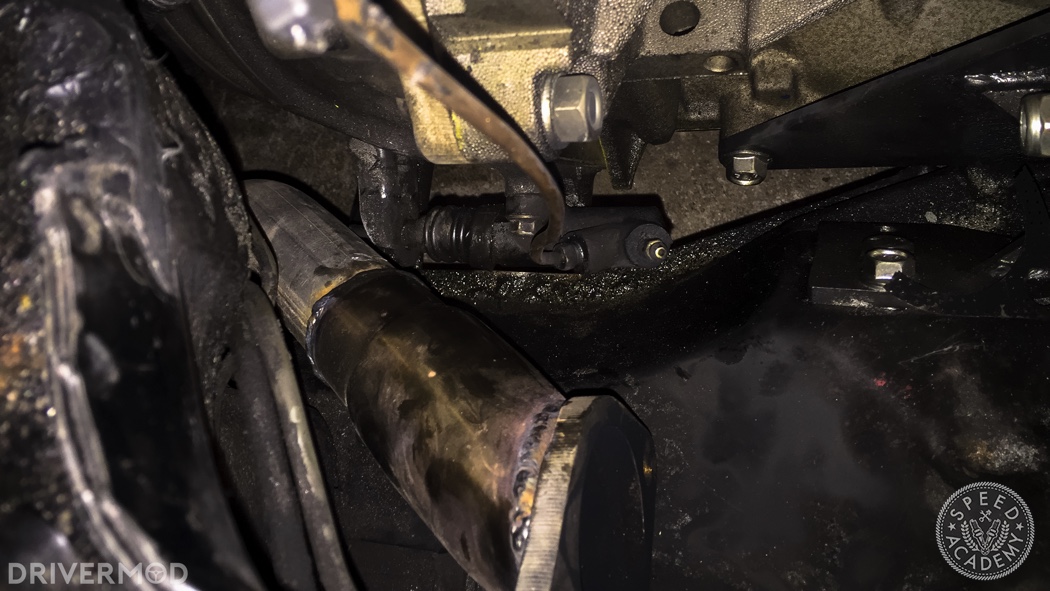
Worse yet, our down pipe got lodged between the car’s subframe and transmission clutch fork, causing me to lose use of my clutch. Determined to get the car home, I drove it nearly eight kilometers without a clutch.
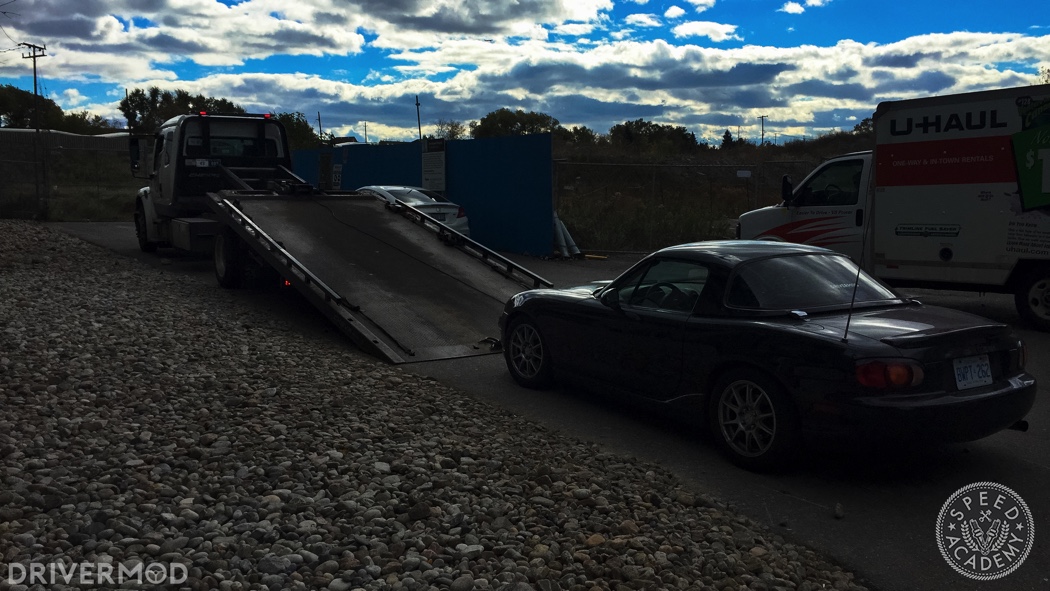

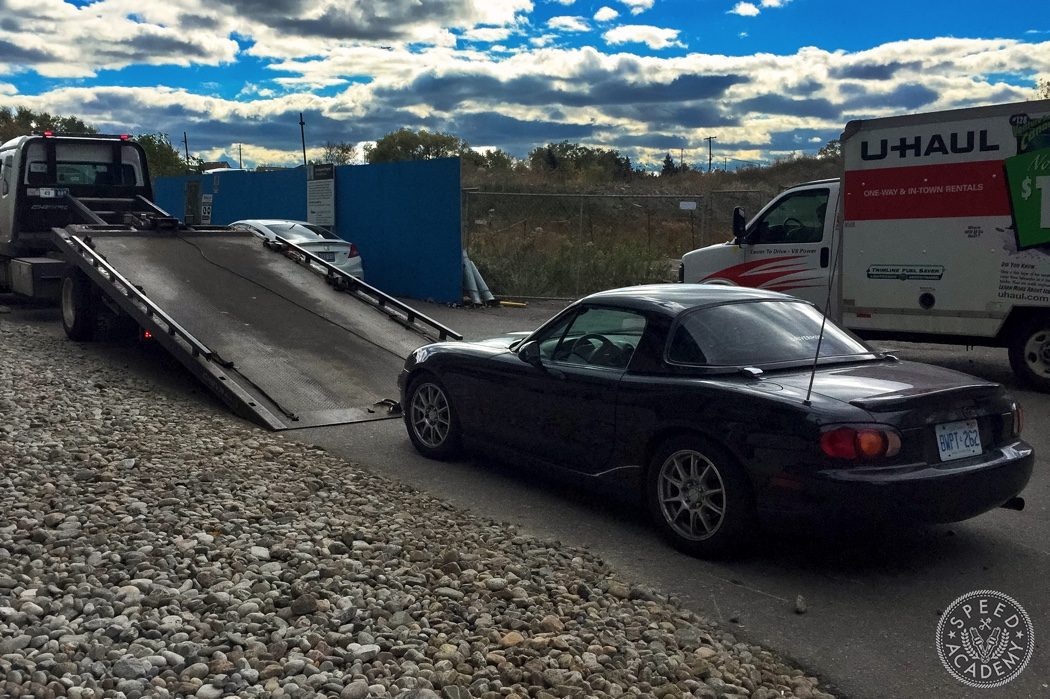
The next morning, I got a tow truck to bring the car back so we could figure out exactly what went wrong. We reassembled the header using locking washers and double nuts, but this was symptomatic of a bigger problem; the car was running rough. Worse yet, my second gear synchro was obliterated because as it turns out, I suck at driving clutchless.
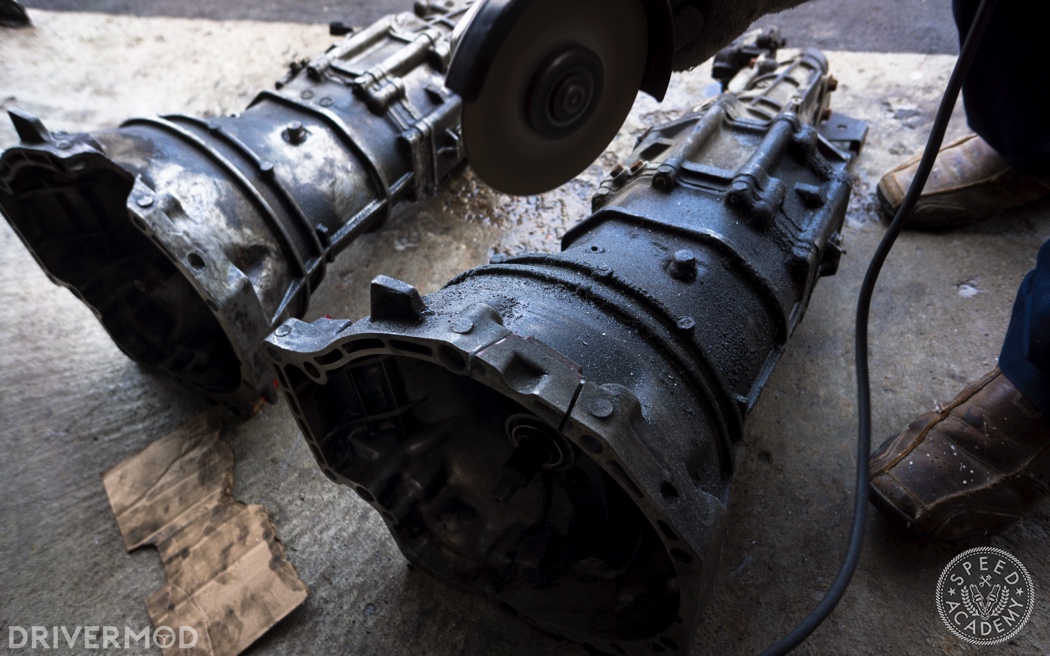
The next weekend, we spent the day swapping a new transmission into the car. We suspected that the roughness was caused either by a misaligned balance shaft or timing chain being off. Either way, we replaced both and the car is running well.
If you don’t read any other part of this swap series, take in these points and you’ll save yourself a world of hurt should you attempt this swap yourself:
- BUY EVERYTHING FROM THE SAME CAR. There are small differences in the wiring harness and ECU pin maps of LE5 powered cars. If you value your sanity, this will save you a ton of troubleshooting. Also, take everything from a car with an E67 ECU (three port).
- Use locking nuts when assembling your exhaust.
- Replace your balance shaft chain, timing chain, and both tensioners before install. They have a service life of 160,000-km and have been known to go sooner. There will never be an easier time to get this job done.
- Apply sealant to the engine, not the oil pan. The edges of the custom pan aren’t molded to the edges of the engine and oil pick up, so you’ll end up with oil leaking from the pan and/or air entering the oil pick up.
- Secure your starter wires seriously tight – I had both the relay signal and starter wire come loose from their terminals.
This is a project car. As such, it won’t ever really be done. The goal now is to put some miles on it, do a few power mods, and get it on the dyno for a proper tune come spring. We’ll be sure to update you when that happens. In the meantime, I’d like to take a second to thank everyone who made this build happen; everyone who helped with wrenching, the CAA drivers who towed me around mid-build, and the guys at MT Motorsport who provided the swap kit and made this whole thing happen.
Above is a video my buddy Milan put together covering the build, and if you jump to 11:53 you’ll see the first start up. Since then I’ve done a track test video with Dave from Speed Academy, which you’ll see on the Speed Academy YouTube channel soon, plus I’ll be writing a few more updates as I work out some of the bugs with the swap.
If you’re considering doing your own Ecotec Miata swap, you can get all the info you could possibly need at ecotecmiata.ca, and feel free to reach me at phill@drivermod.ca with any questions you may have.
Phillip Oliveira is a local track day junkie who spends his days running the Canadian car culture journal DriverMod, and his nights awake wondering if his Ecotec-swapped Miata will ever be finished. You can see more of his work at www.drivermod.ca