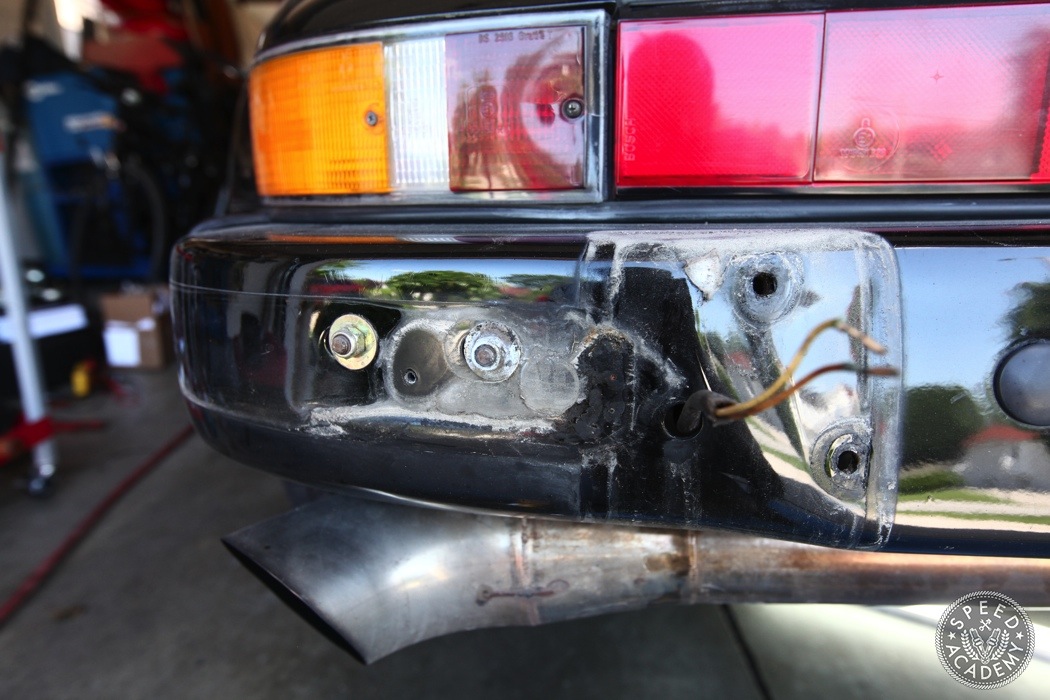
Removing the rubber strip exposes these two bolts on each side that hold the bumper in place.

After you remove all four of them you’ll be tempted to yank on the bumper (if it’s your first time doing this of course) but refrain from the yanking because it will get you no where.
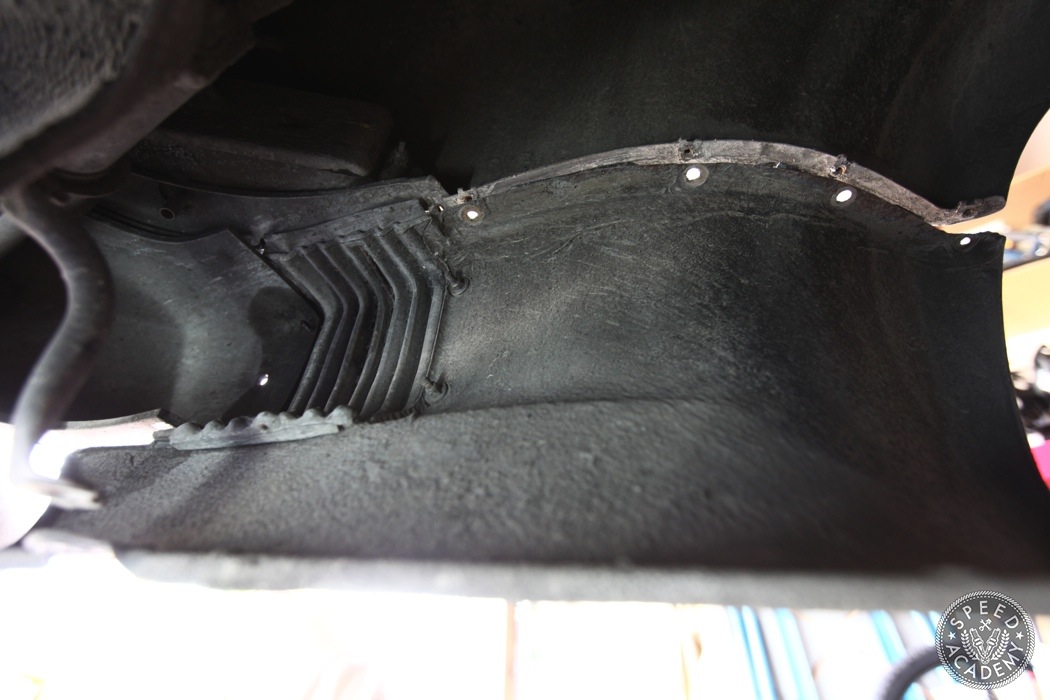
You see, these side sills have to come off before the rear center section will slide off its mounting points. It should be noted that this area is one of the few that has easy access to the mounting hardware so bask in the vast space you have to remove it.
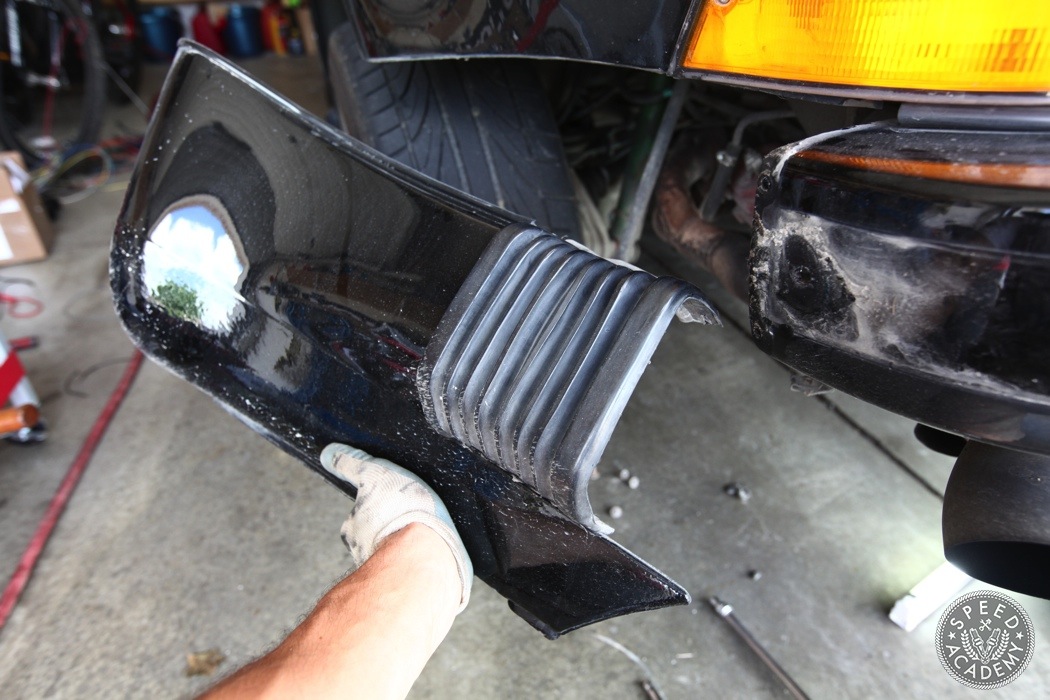
Admire the wonderfully hideous (or gorgeous?) accordion bumper trim that defines so many classic 911’s styling.
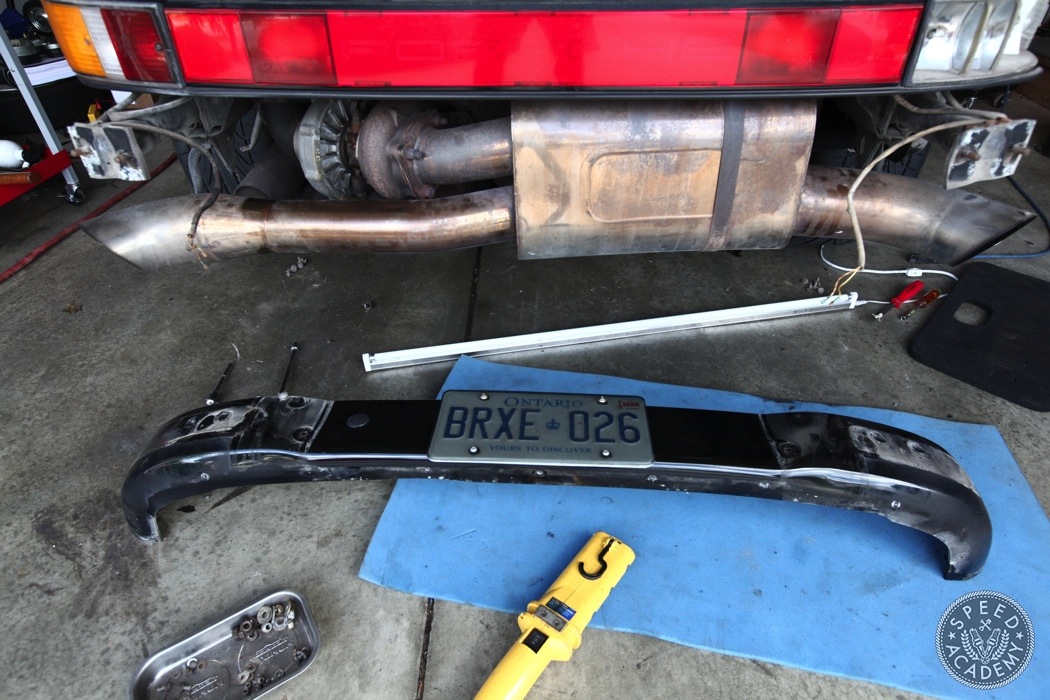
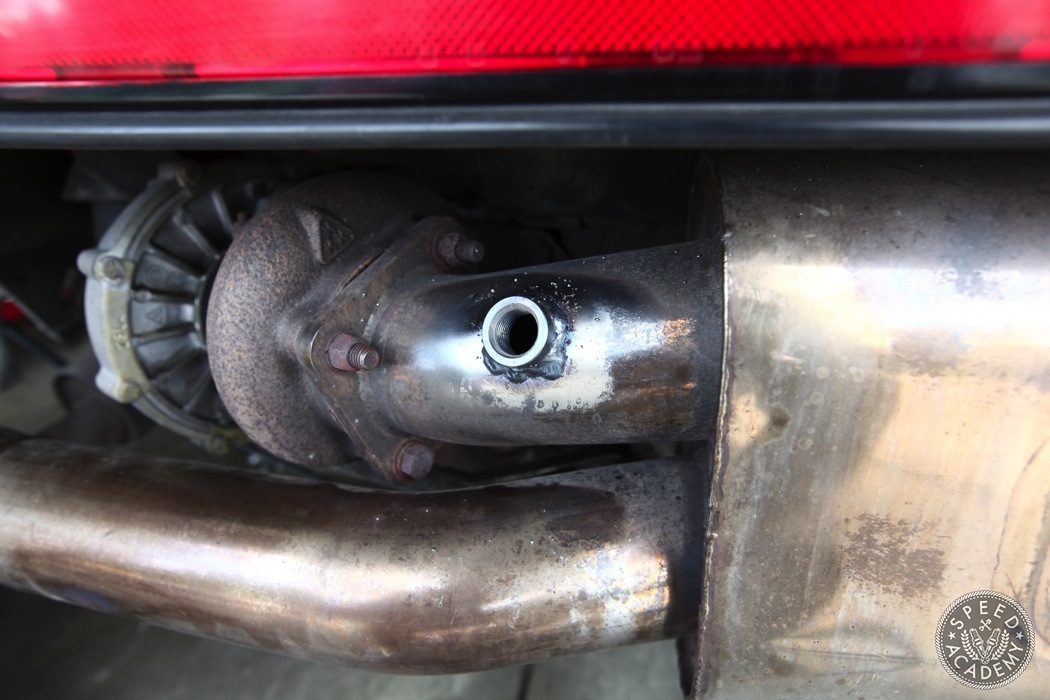
Rejoice! We now have access to the complete exhaust system.
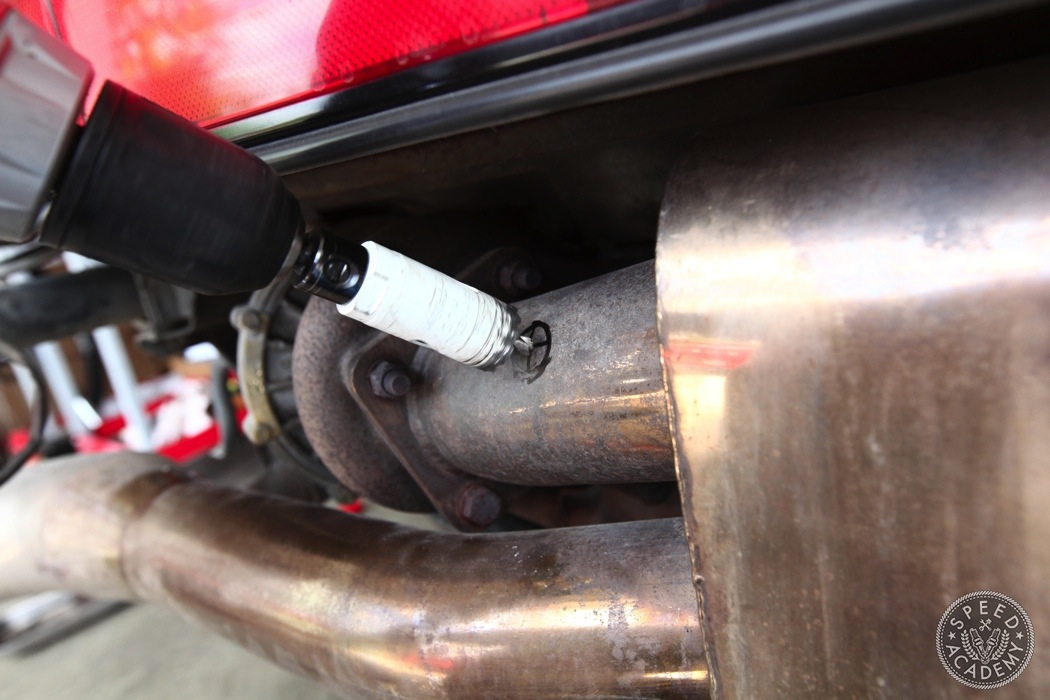
Typically you’d like to have the sensor mounted further away from the turbo’s exhaust housing but my B&B muffler is a little short on the real estate. The further that you install your sensor from the turbo exhaust housing the better. However, I spoke with an AEM engineer and he stated that even though my location isn’t recommended it’ll still work. The only downside is that it will kill the sensor a bit faster than if it were further away from the heat source. So I have to change a sensor every two years instead of three, no big deal.
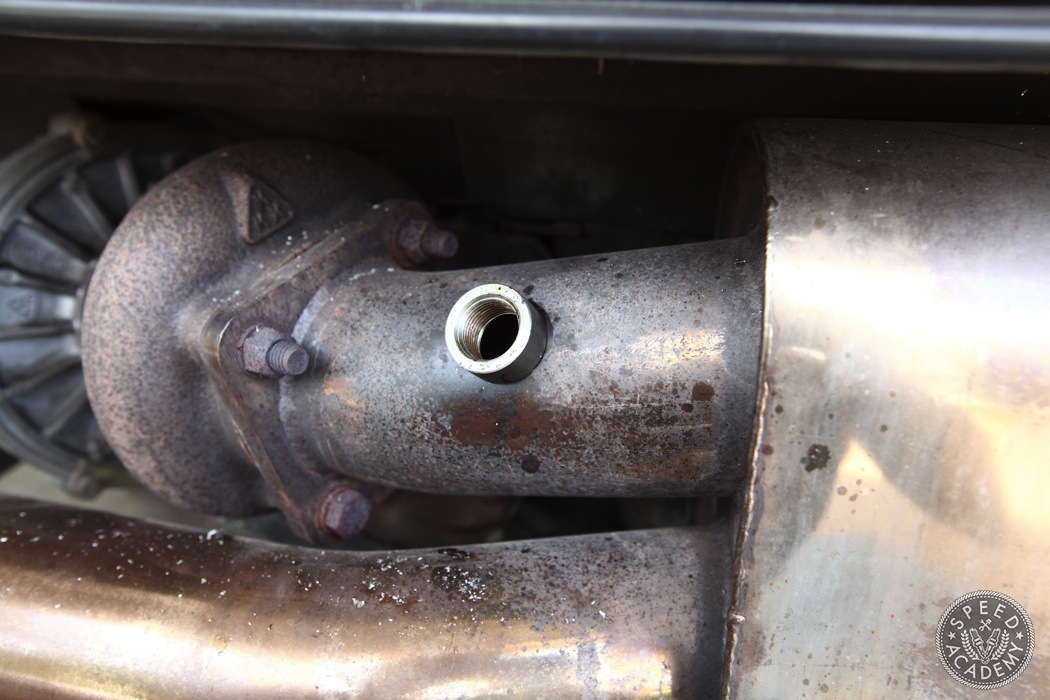
After tapping the hole, set the bung in place and you better hope you used the right size hole saw. Otherwise, patch, repair and repeat.
Put the bumper back on and ensure your sensor isn’t rubbing up against it. Remember the exhaust moves and expands so leave at least an inch of clearance back there.
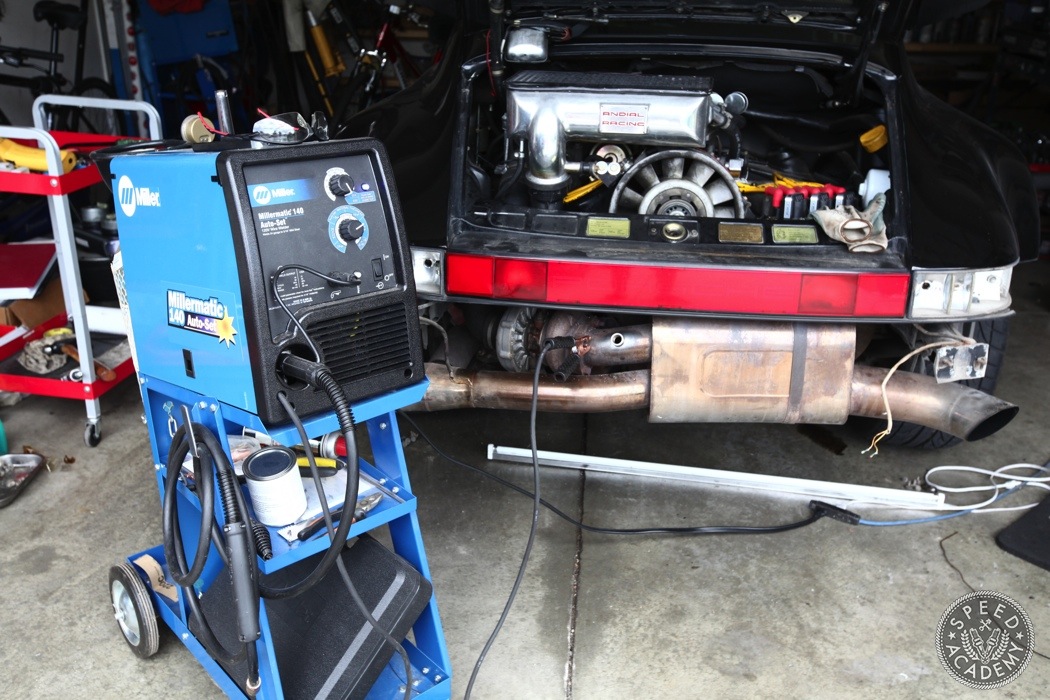
Now it’s my favorite part of the job, welding! I’m hardly a pro but thanks to my Millermatic 140 Auto-Set MIG welder I don’t worry about line speed and amperage rather I set the metal thickness and blast away!
Before doing any welding always make sure the area you’re working on is clean and free of debris. Not clean = bad welds. Also, ensure you get good penetration. Heating up the bung with a blow torch can help.
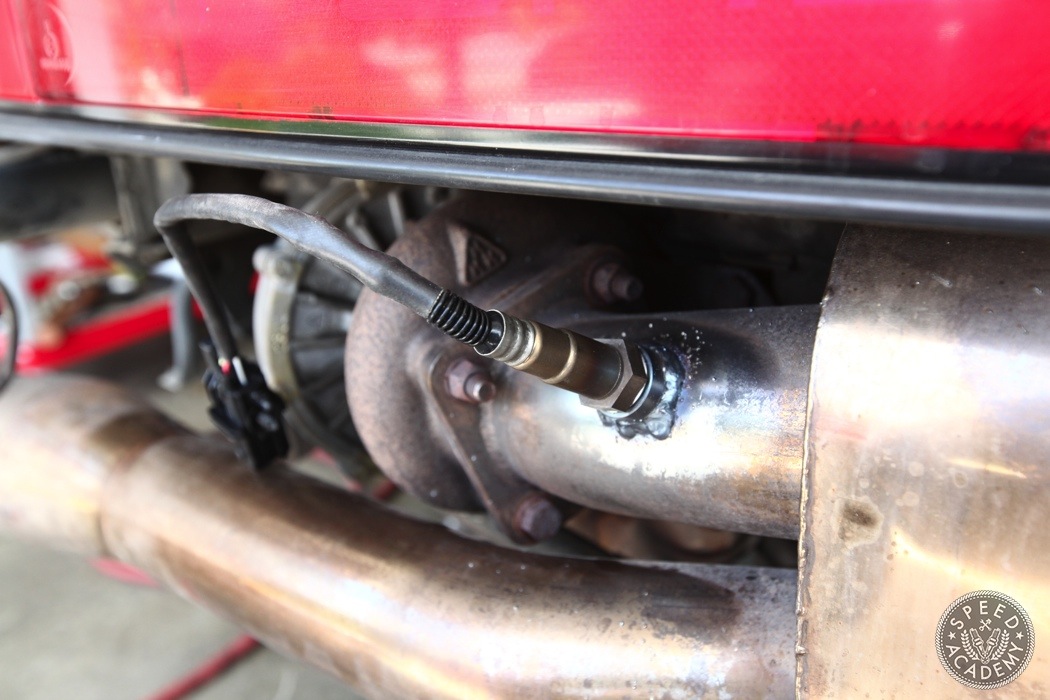
Screw the AEM sensor in and marvel at the great DIY job you’ve done.
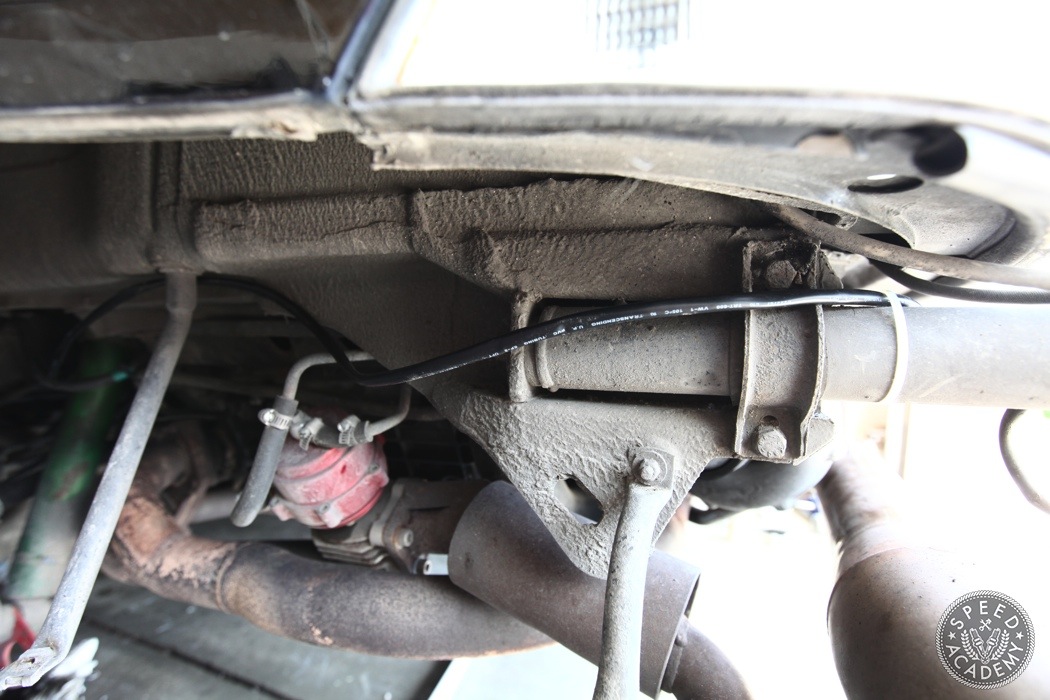
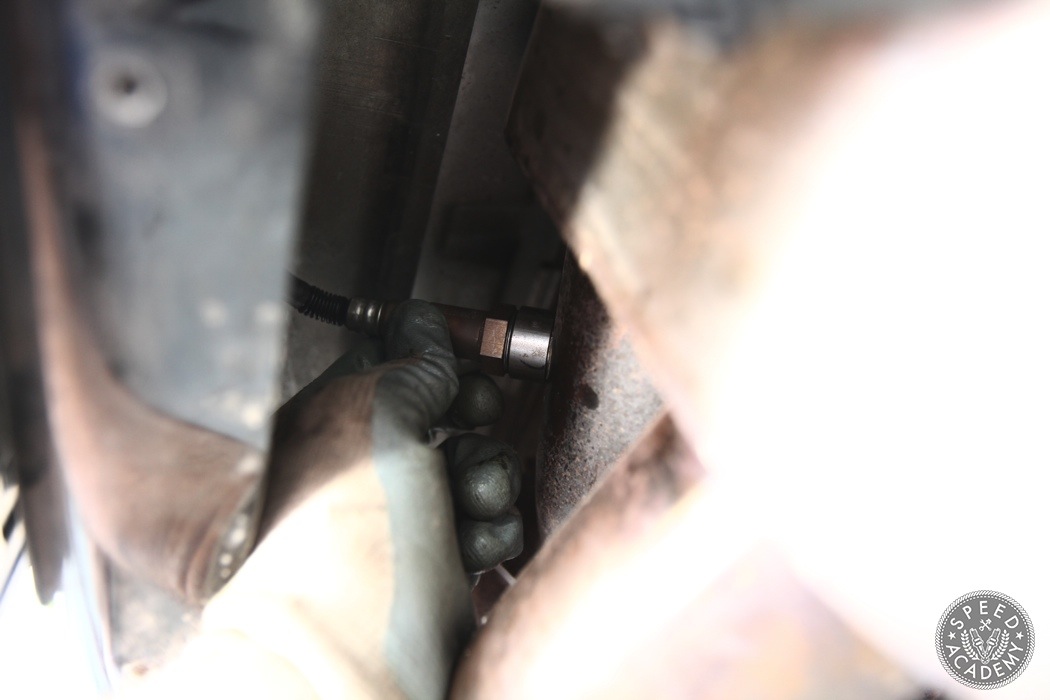
Finding a good route for the wideband wiring harness is like a game of thread the needle. Find existing mounting points and zip ties the loom up nice and tight to the chassis. But not crazy tight, a little play never hurt anyone.
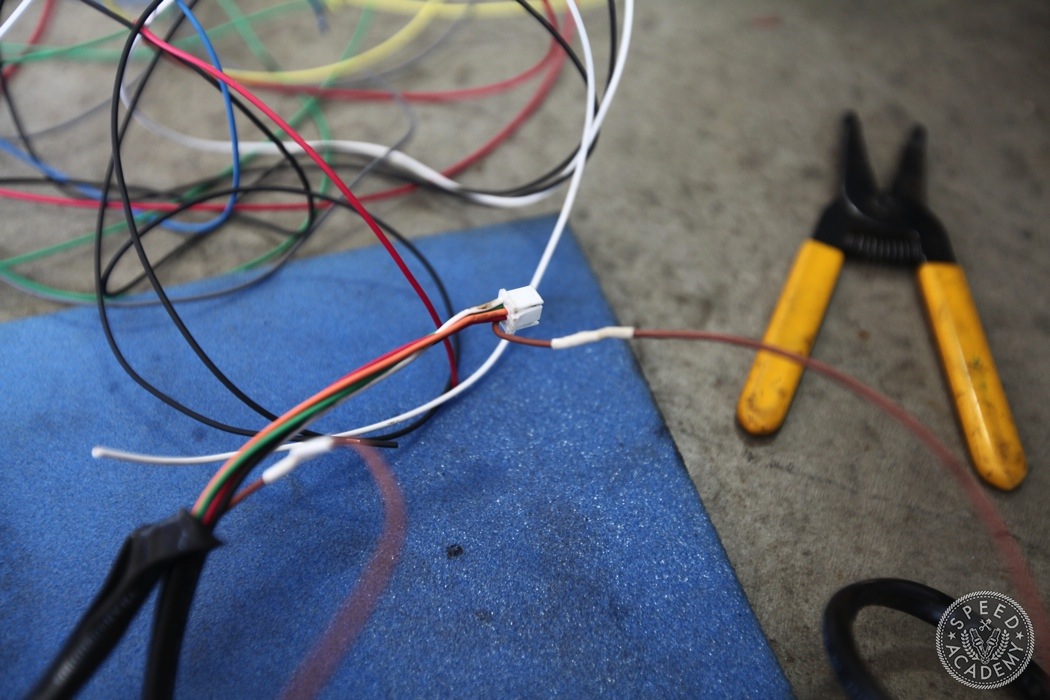
AEM provides a harness that has ample length for most front engine setups. However, you don’t own a conventional car. Oh no, your 930 is special. Therefore, it requires an extension of the harness to reach the gauge.
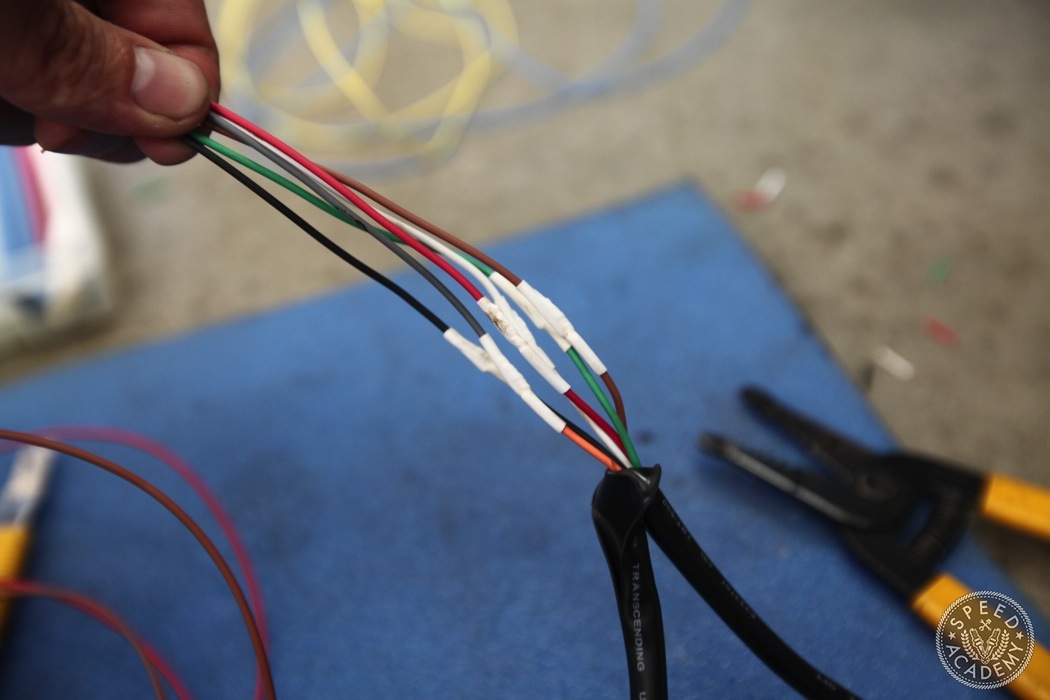
Some quick splicing, crimping and heat shrink tubing plus a burnt finger or two and I had myself an additional 4 feet of wiring to play with.
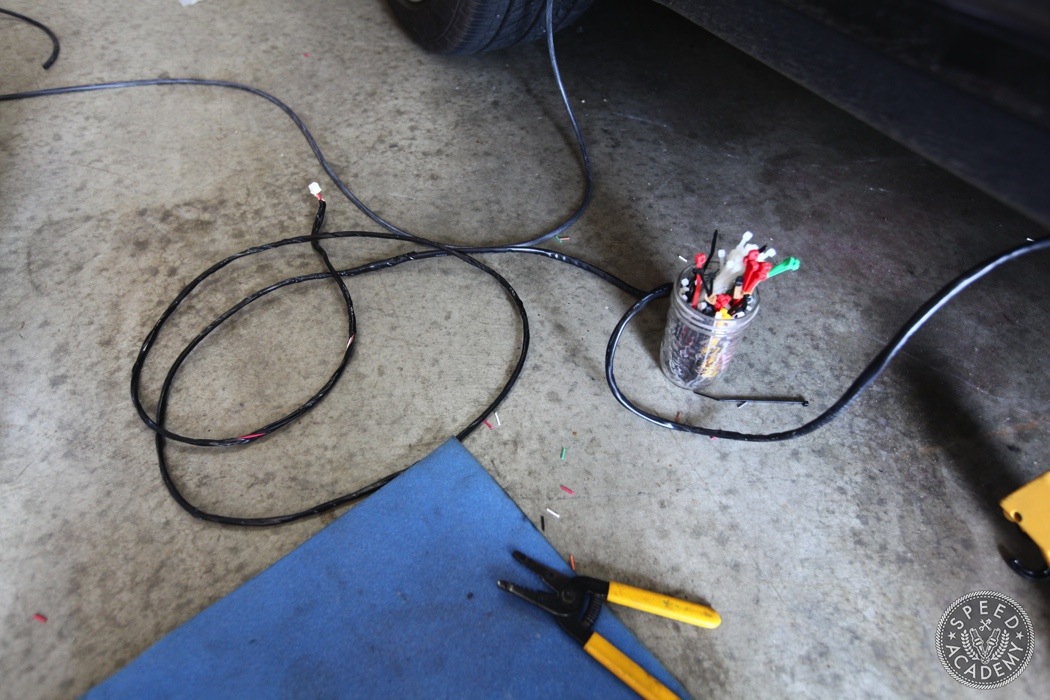
Exposed wires are an indecent act so cover them up with some electrical tape or wire loom. The community thanks you in advance.