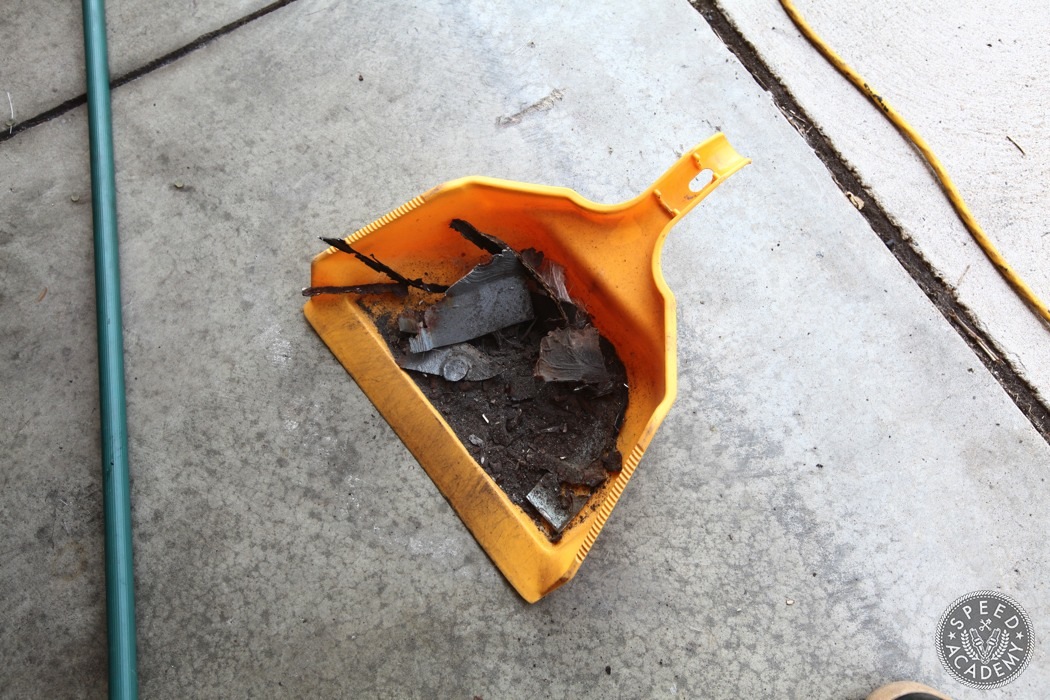
Slowly more and more of the rear corner was removed. At one point I looked down at the dust pan that kept filling up with rusty remains and thought, that’s a lot of metal in there I hope this works out!
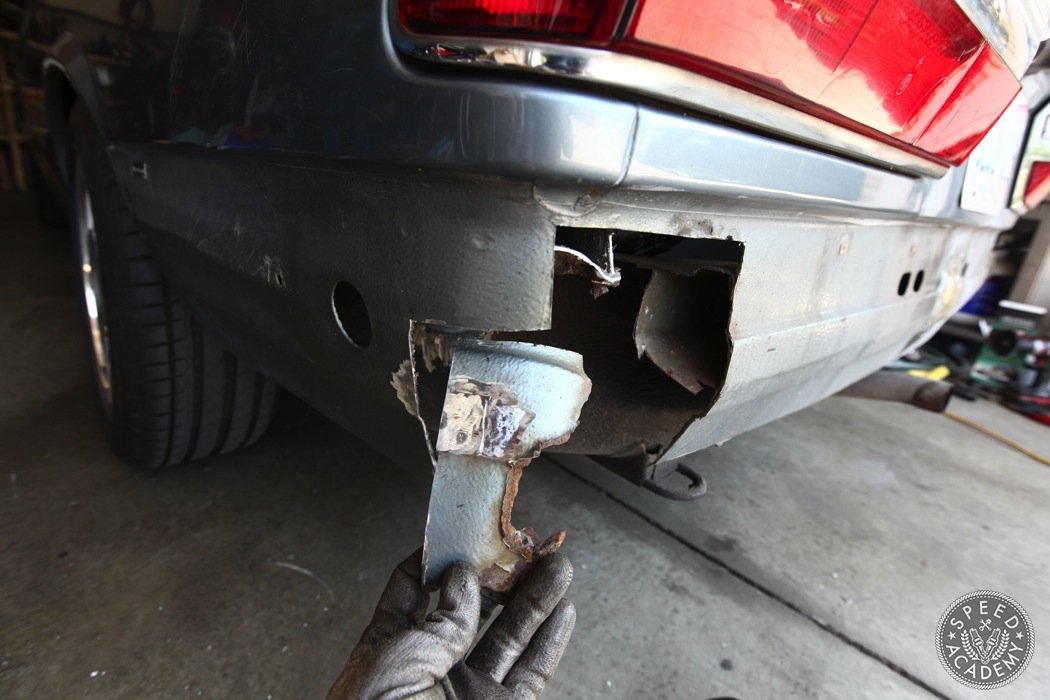
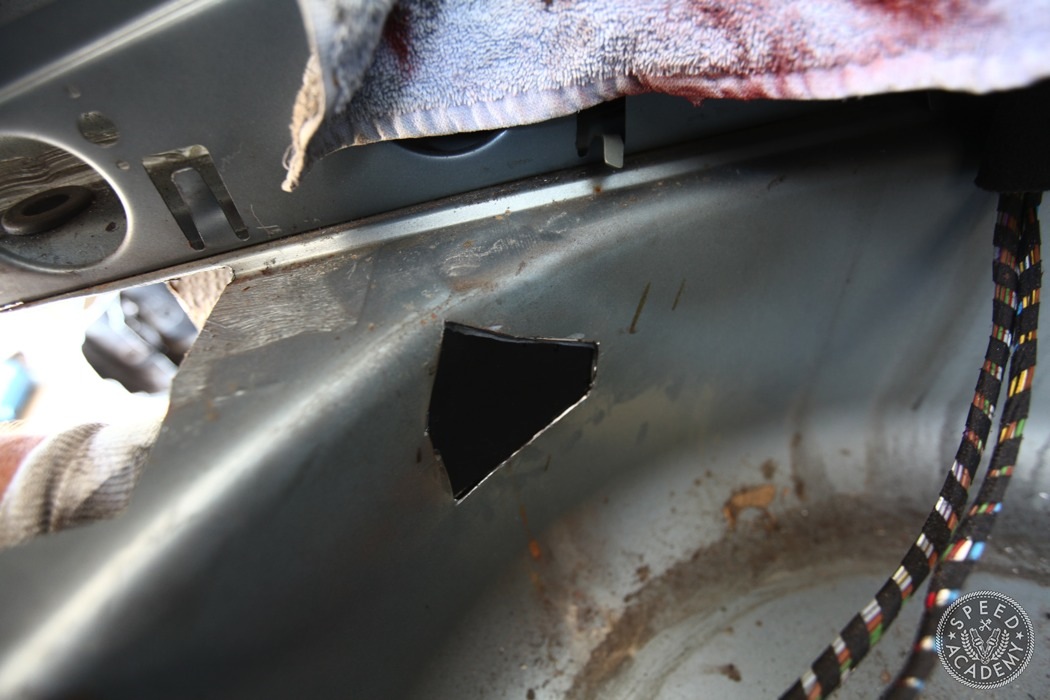
I hadn’t anticipated on finding rust in the spare wheel area but sure enough it was there and rotted straight though. This job would be a quick fix though and best of all no body work required!
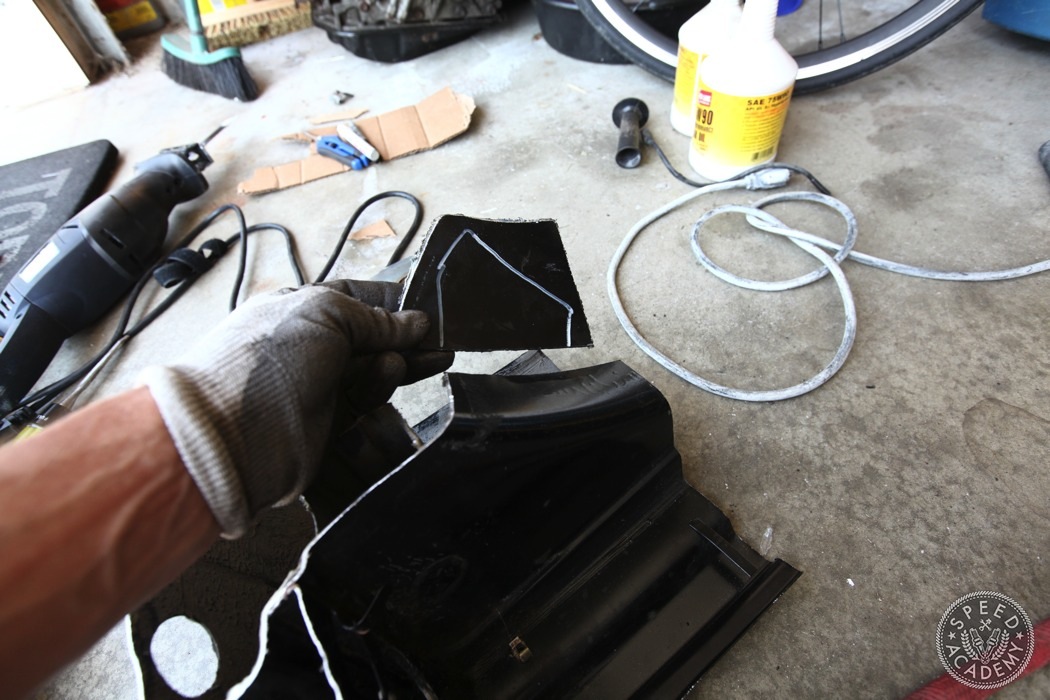
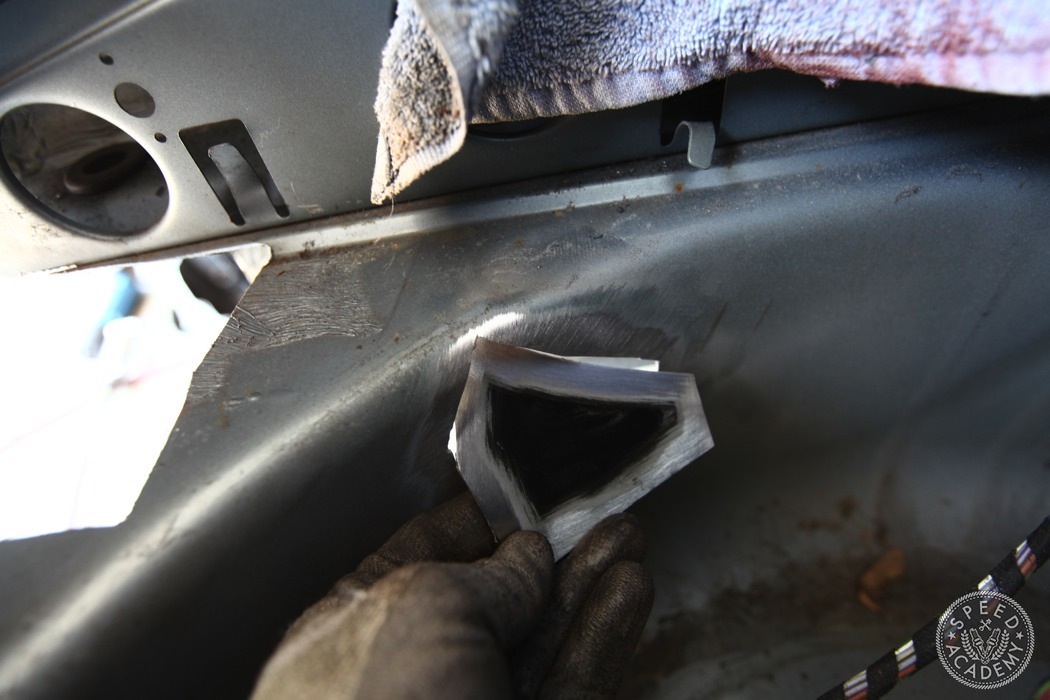
Luckily had a matching piece off the rust free corner so I copied the shape and cut it out.
If you’re new to welding, one of the key things to never forget is to have clean mating surfaces. Any continuation like paint, dirt, or grease can cause improper penetration and poor welds.
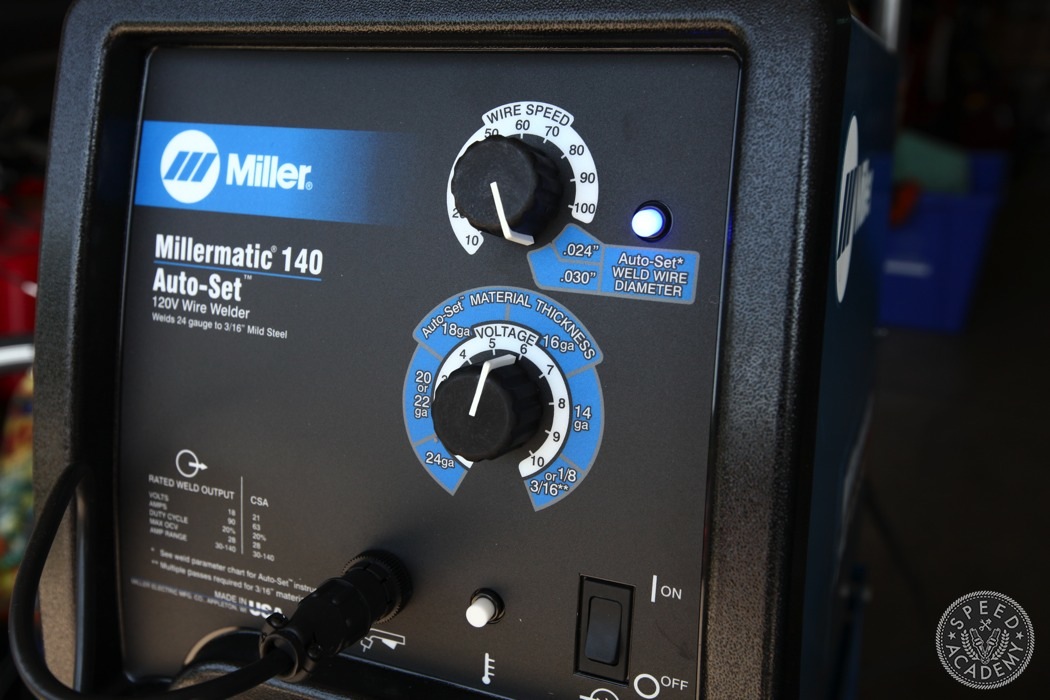
I’ll admit I’m still somewhat of a novice welder but thanks to Miller’s great welding products, like its Millermatic 140 Auto-Set Mig Welder, it’s made my life so much easier to figure out how to properly weld.
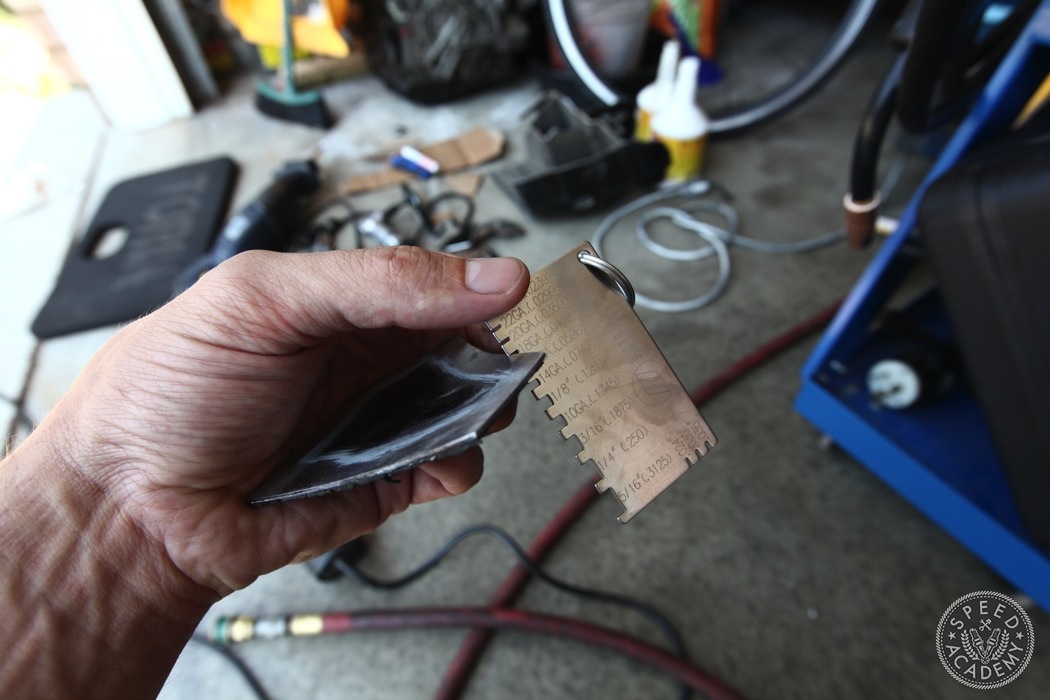
I use a gauge to figure out the thickness and set it on the welder and away I go! No guessing amperage or wire speed!
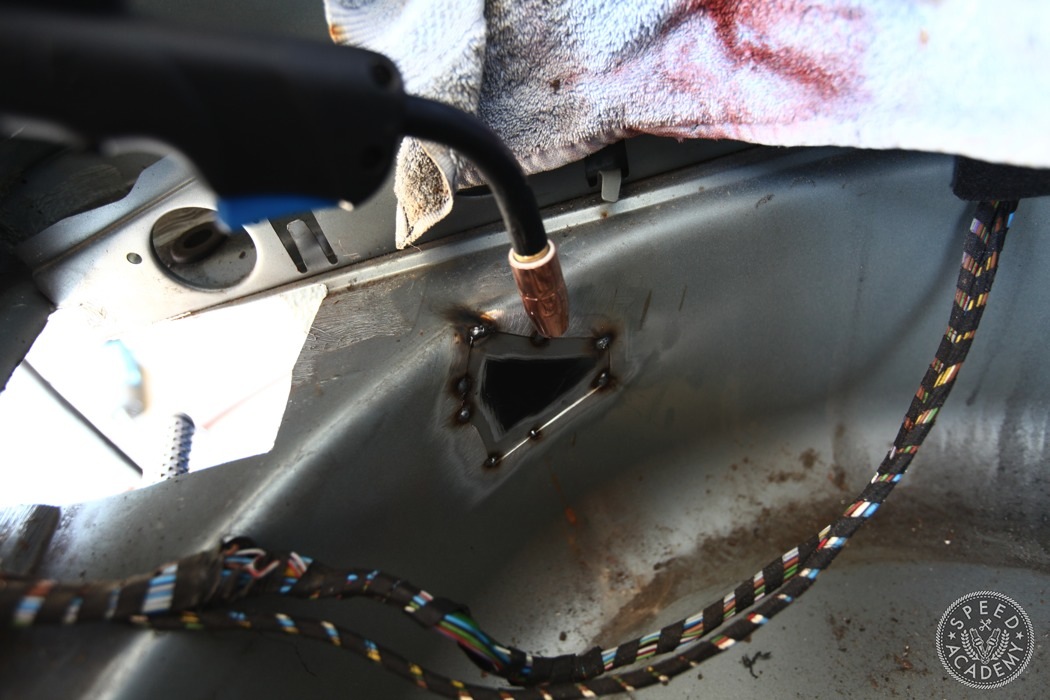
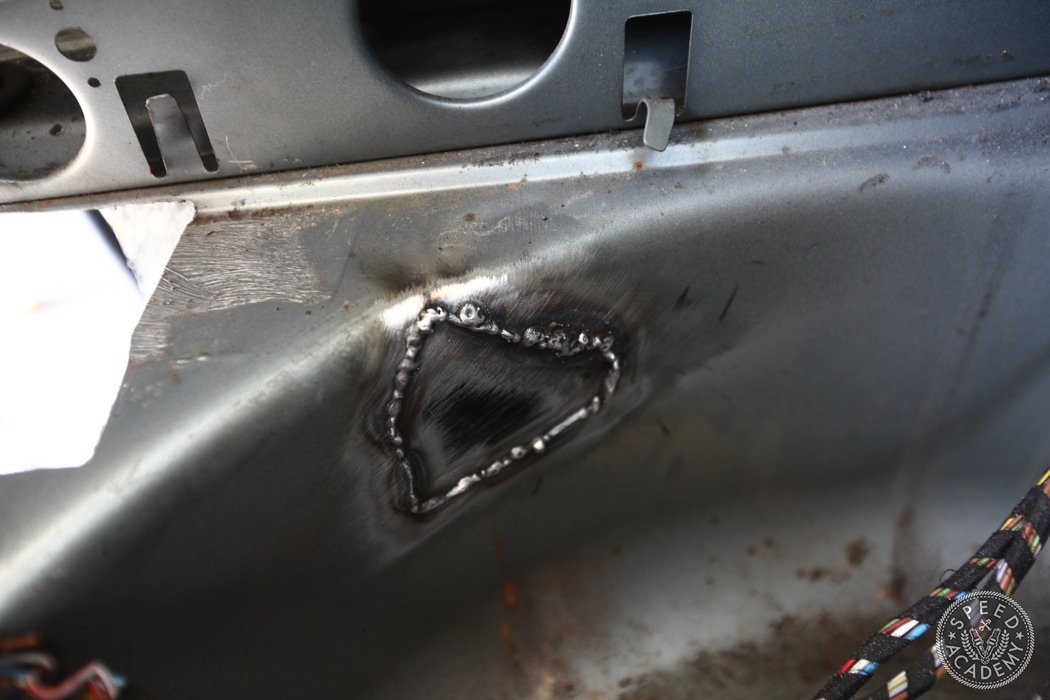
Look at those tack welds! You’d think I was a pro.
Ok maybe not a pro but I got the job done and the new piece of metal welded in place. To finish it off, I ground the excess weld material off and painted the area with Eastwood’s Rust Converter.
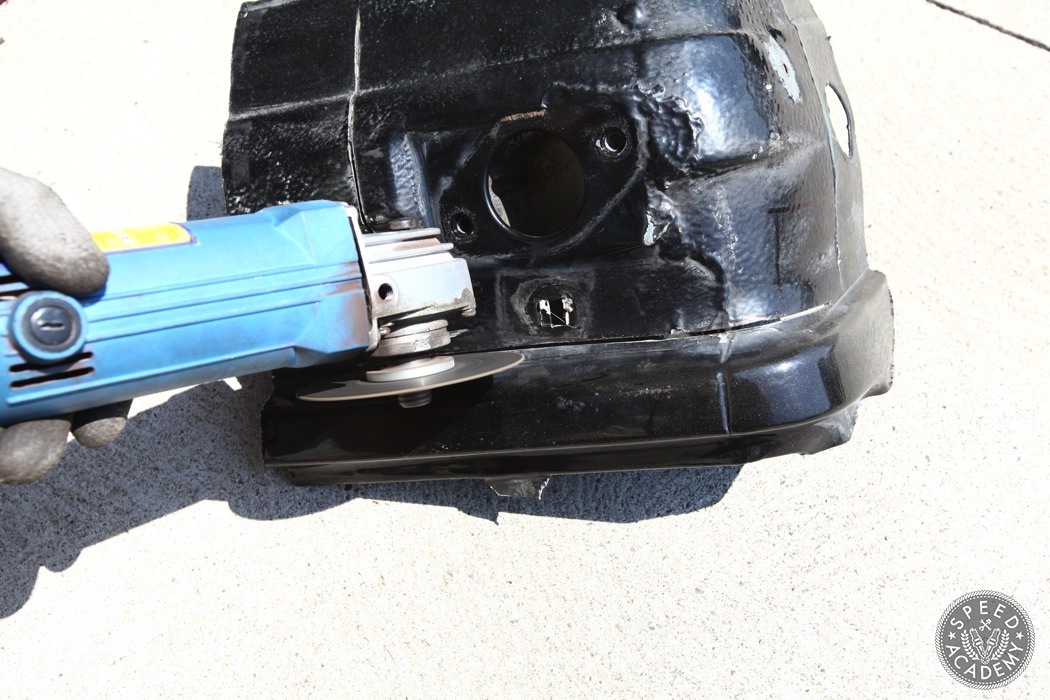
Back to the grind, literally. I kept removing more and more material, gradually getting a tighter and tighter fit.
Great post! Thanks for putting this online, all the other tutorials are so outdated that the pics are all gone.
Thanks for going through the effort to show all these steps. I’m getting ready to do my own conversion so I’m sure I’ll be referencing your photos along the way.
where do you live? will do similar bumper repair on my e28?!
We’re in the Toronto area.
And the repair is simpler than you think. Just takes a lot of time and patience!