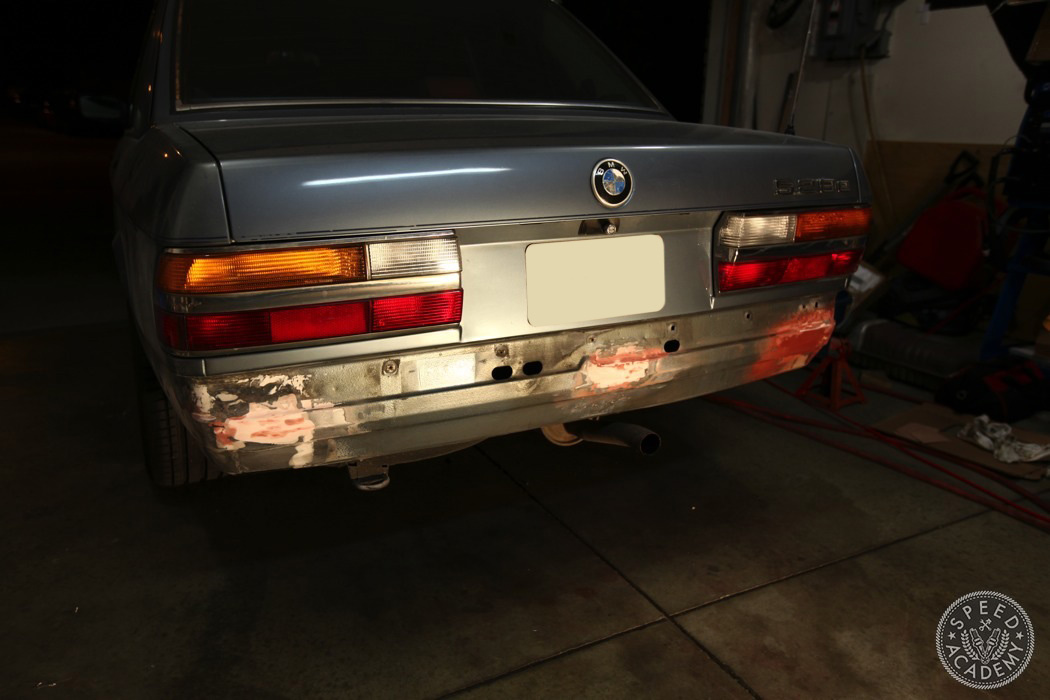
After a solid day of bondo work, I was content with the results. I didn’t have to be too critical of my work since the lower valance has been sprayed with an undercoating from the factory (to resist chipping) so my goal was to match that look and that meant the finish wouldn’t be smooth so imperfections wouldn’t show as much.
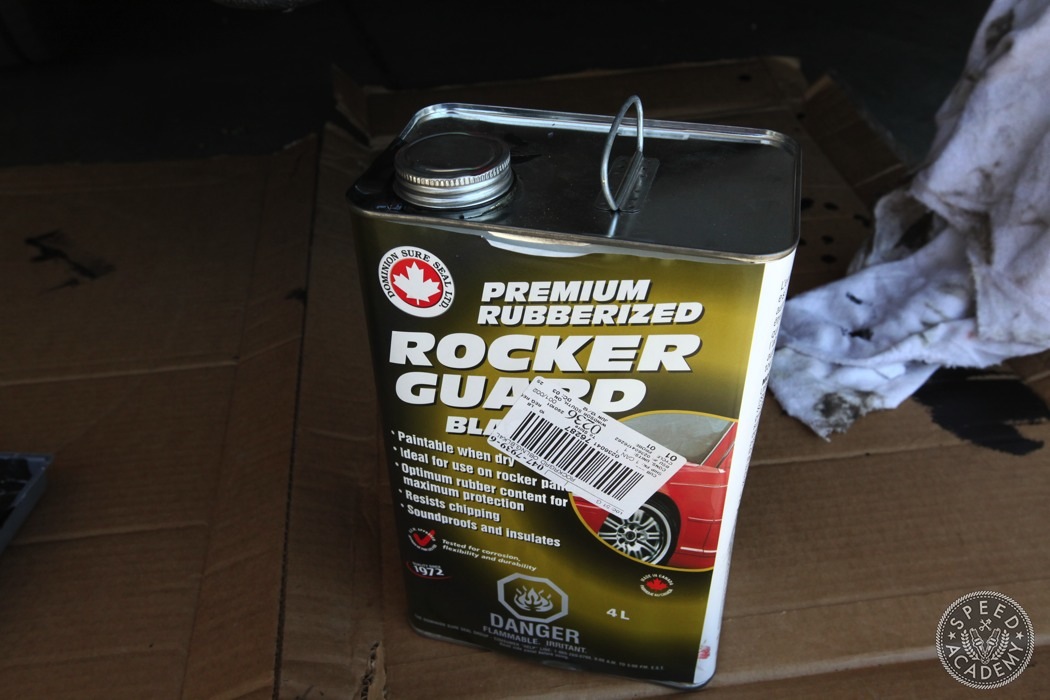
I decided I would Rocker Guard the entire lower valance area as it was the closest thing I could find that would match the factory undercoating.
It turns out that I didn’t prep the surface properly before applying the undercoat because about two weeks ago I noticed that some of the paint and undercoating is cracking (it lasted almost two years so it wasn’t that bad a prep job). Don’t make the same mistake I did and figure out how to prep your surface properly. Applying rubberized rocker guard onto bare metal doesn’t seem to be the right method.
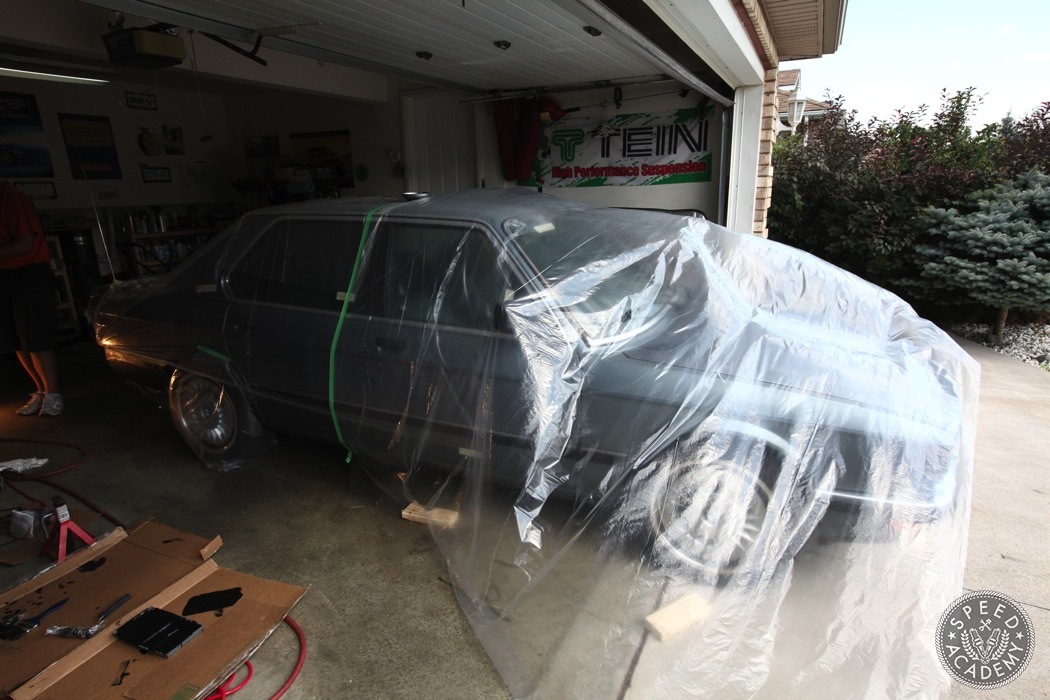
Despite only painting a small portion of the back of the car, I don’t take my masking lightly. I’ve learned the hard way how far paint can travel and what a pain in the ass it is to remove when it’s dryed all over the top of your car so better safe then sorry right.
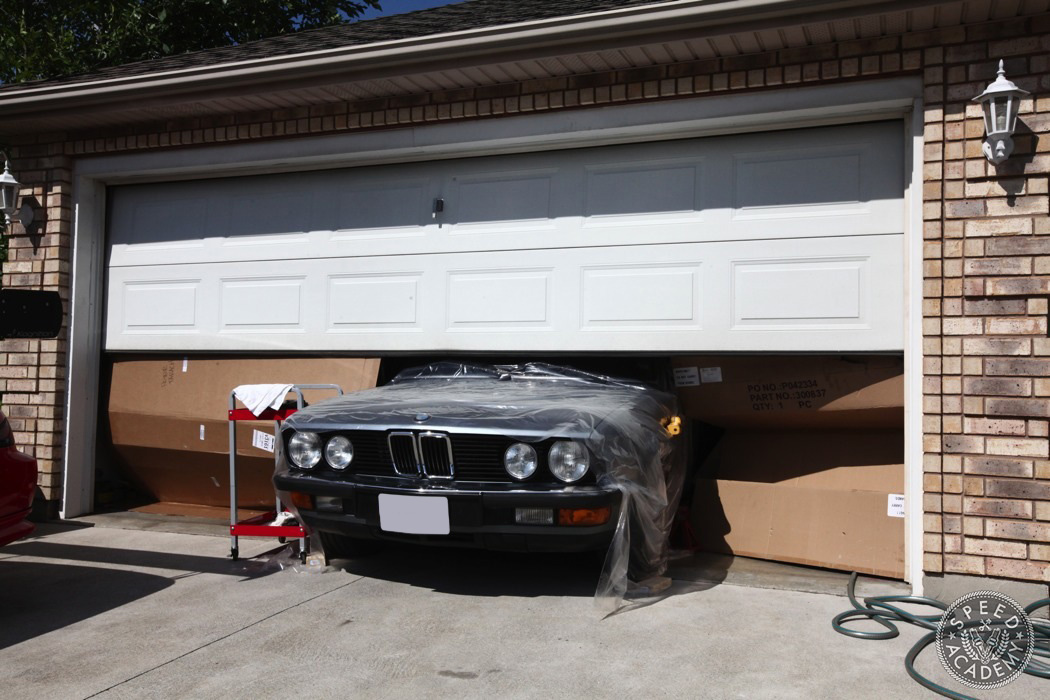
Also, when you’ve got a home garage doubling as your paint shop, this is what the outcome usually looks like.
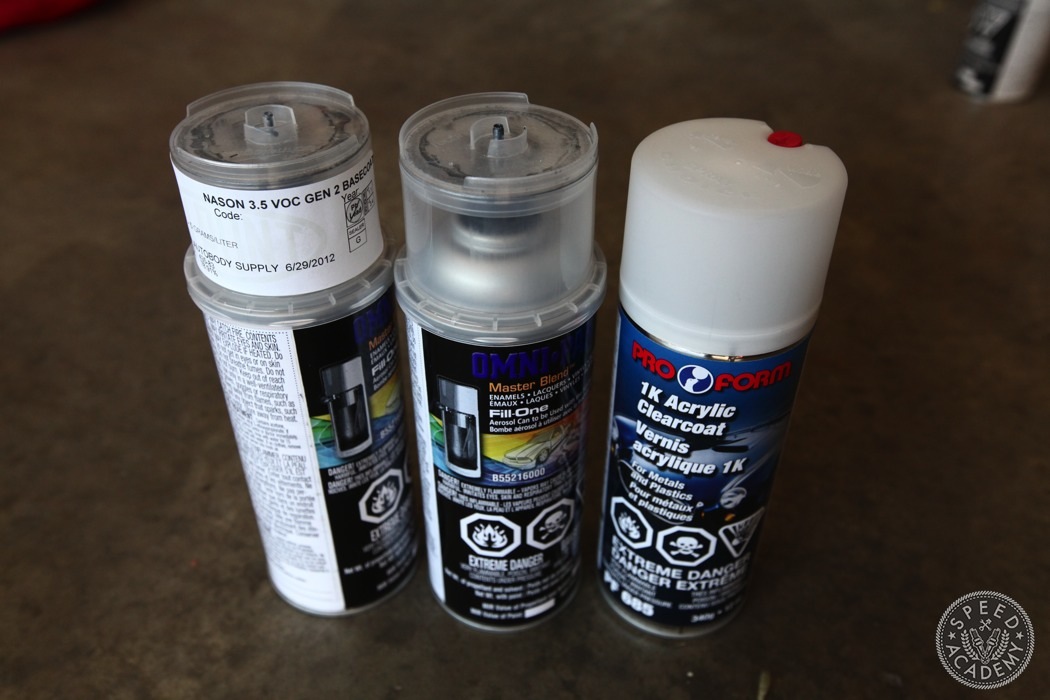
For the paint itself, I headed over to my local automotive paint specialty shop and had them mix me up a batch of spray cans that were color matched to my gas door. On older cars its better to do that since the paint has oxidized and probably lightened up a bit over all those years in the sun. I also picked up some clear coat which helps protect the paint from chipping and in an area like the rear valance it makes a lot of sense.
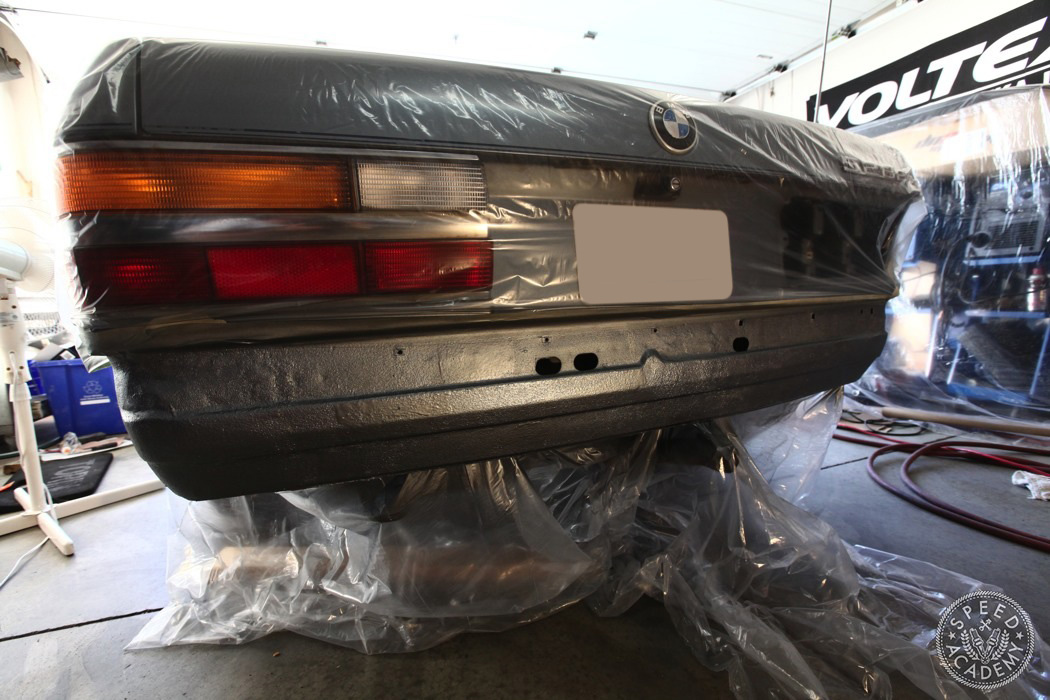
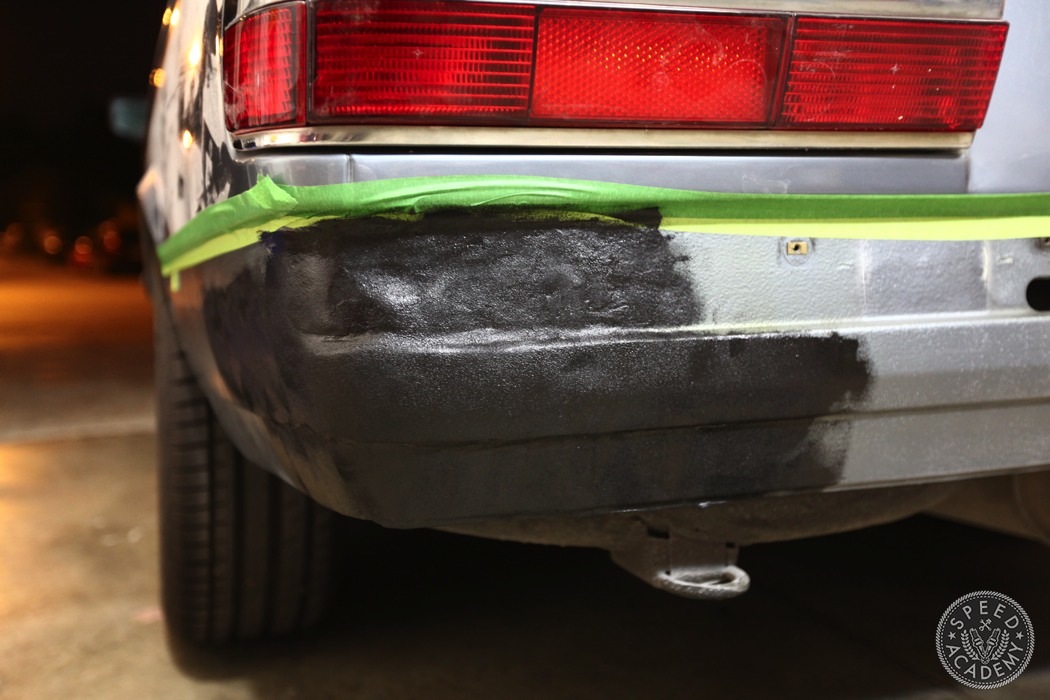
Here’s the result after spray bombing the rocker guard, it’s not exaxtly the same texture as the OE factory undercoating, this one has a more rough look to it but all in all I think it turned out pretty good for the time and effort put into the job.
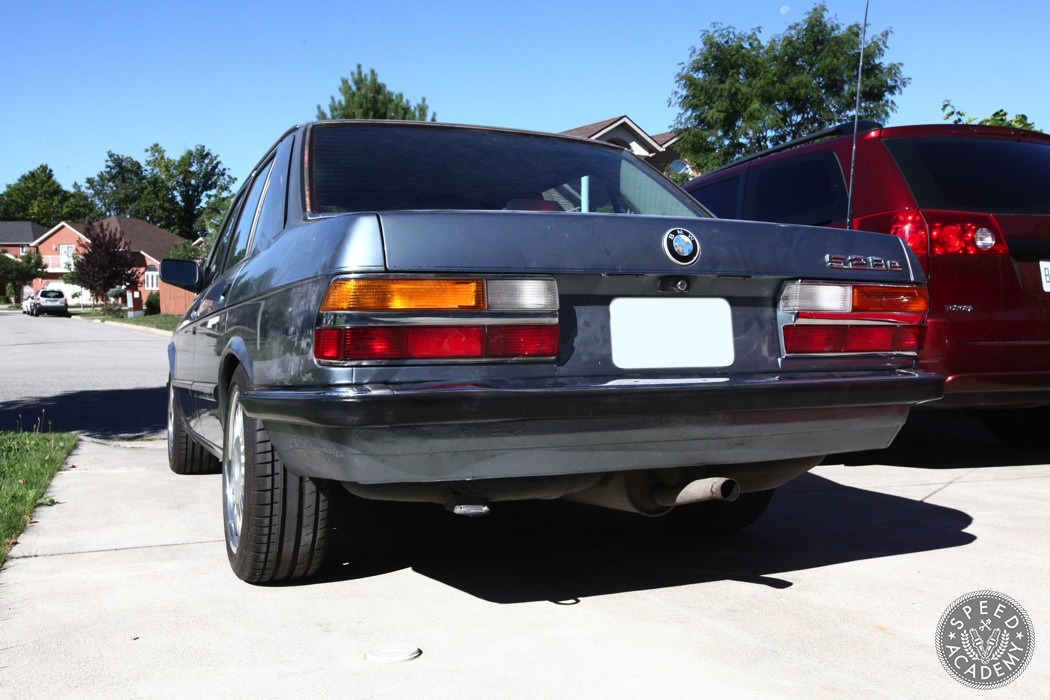
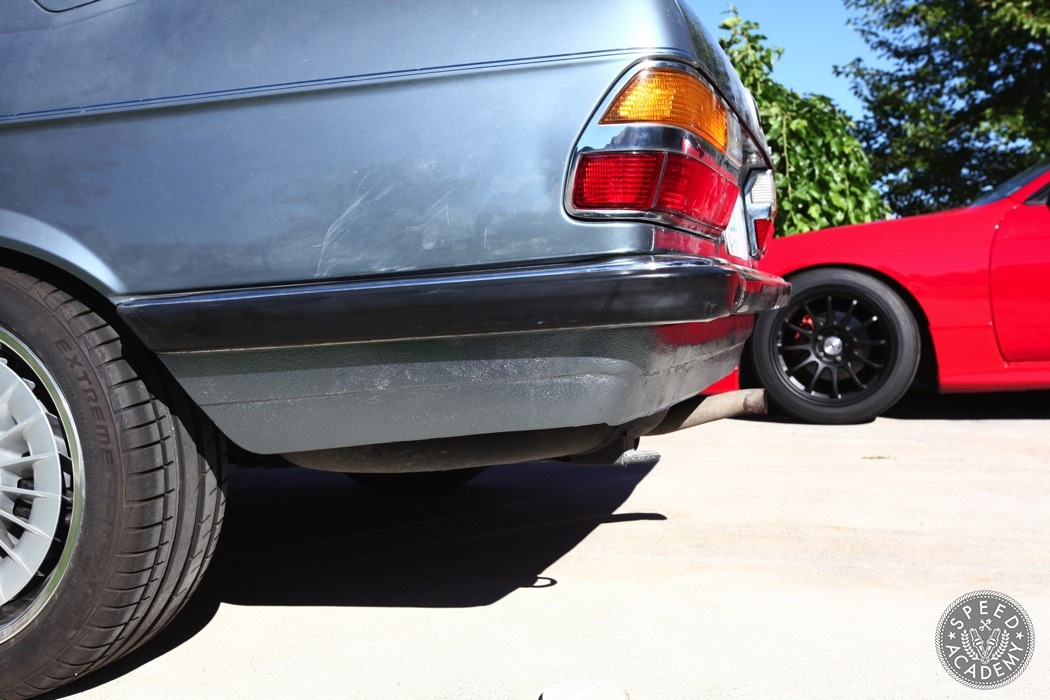
With the bumper back on and the car out in the sun the imperfections in my body work are hardly noticeable. and as far as I can tell there aren’t any holes showing so I’d say mission accomplished!
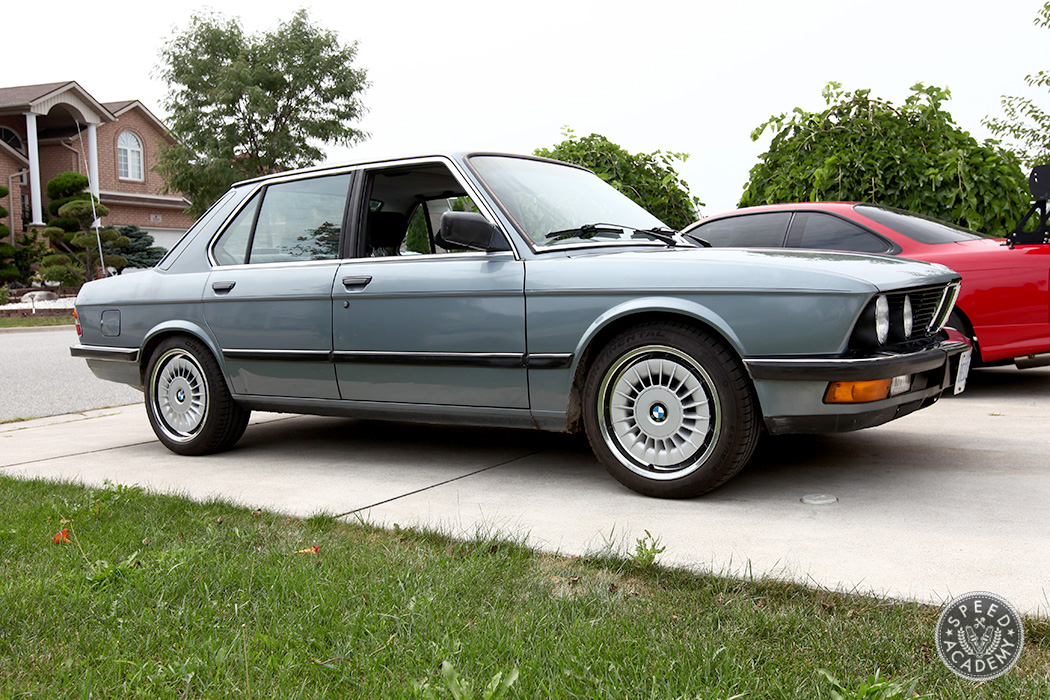
Here’s the finished product spiced up with some 17-inch BMW M5 Turbine wheels. It needs a front lip badly and I’m sure it’s not low enough for most of you but when you compare the Euro look to the US spec one, it’s night and day. The car looks much more trim and proper, like an 80’s BMW should!
In my books, The Euro bumper conversion is a no brainer, especially since I’ve just shown you how to do it.
Comments or questions? Post below or email me at peter@speed.academy
Part 1 and 2 of the Euro Bumper Conversion can be found here: Part 1 Part 2
SOURCES
Miller: www.millerwelds.com
3M Bondo: bondo.com
Eastwood: www.eastwood.com
Great post! Thanks for putting this online, all the other tutorials are so outdated that the pics are all gone.
Thanks for going through the effort to show all these steps. I’m getting ready to do my own conversion so I’m sure I’ll be referencing your photos along the way.
where do you live? will do similar bumper repair on my e28?!
We’re in the Toronto area.
And the repair is simpler than you think. Just takes a lot of time and patience!