
Actually, let me backtrack for just a second to mention that you must first put the engine at Top Dead Center by lining up the dark chain link on both timing chains with the L and R marks on the phasers. If you want to be doubly sure you’re at TDC you can also take the front cover off the engine and check the timing mark on the crank, but that’s a big job so we decided to do the swap without removing the front cover.
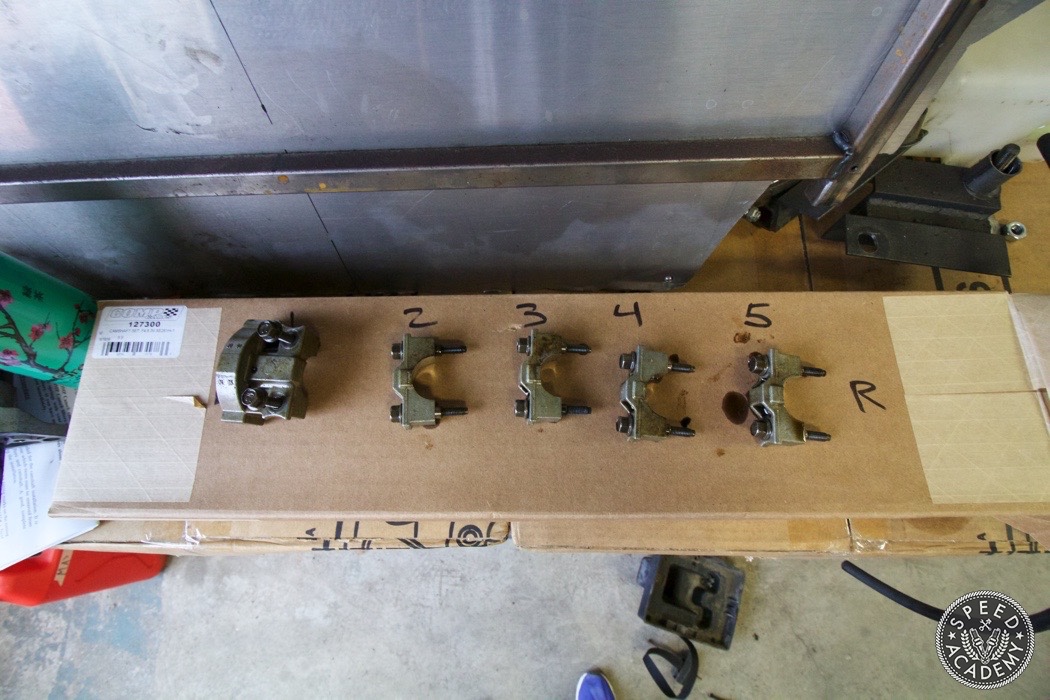 With the cam caps off, we pulled the stock camshafts and prepared for the arduous task of installing the new valve springs, retainers and seals. I think our video covers this process in plenty of detail, so I’ll skip that here and let you get the full effect by watching Pete and I struggle with it in the first video below.
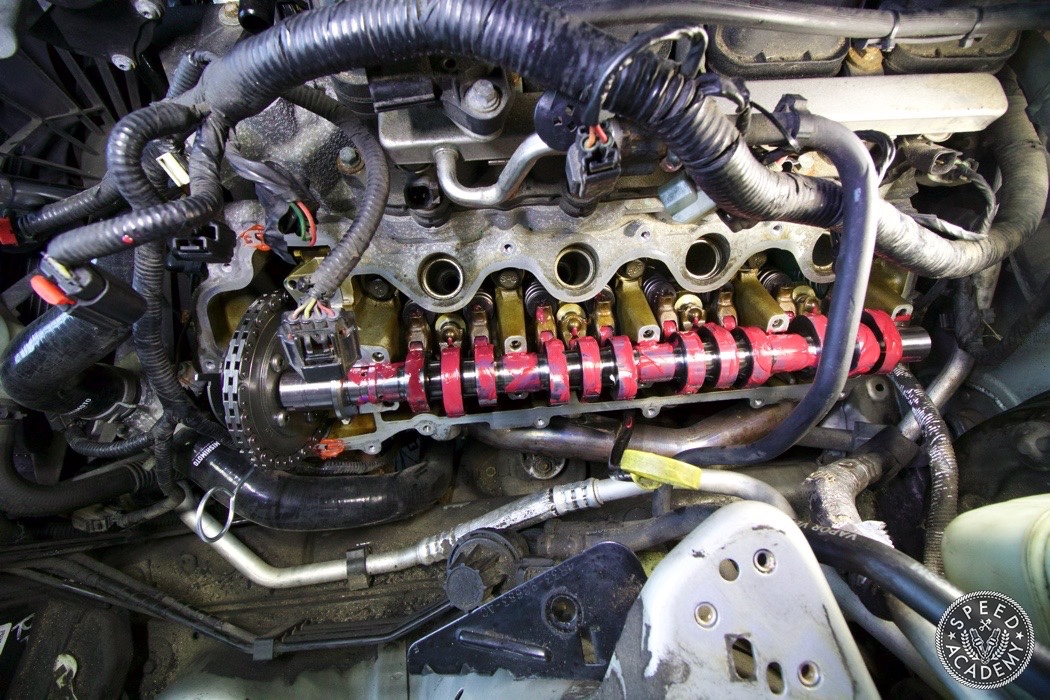
With the new Beehive springs, steel retainers and seals installed, we applied a liberal coating of break-in lube on the camshafts. We also rotated the engine through a full cycle to ensure the dark chain links still lined up on the L and R marks indicating that timing was still correct.

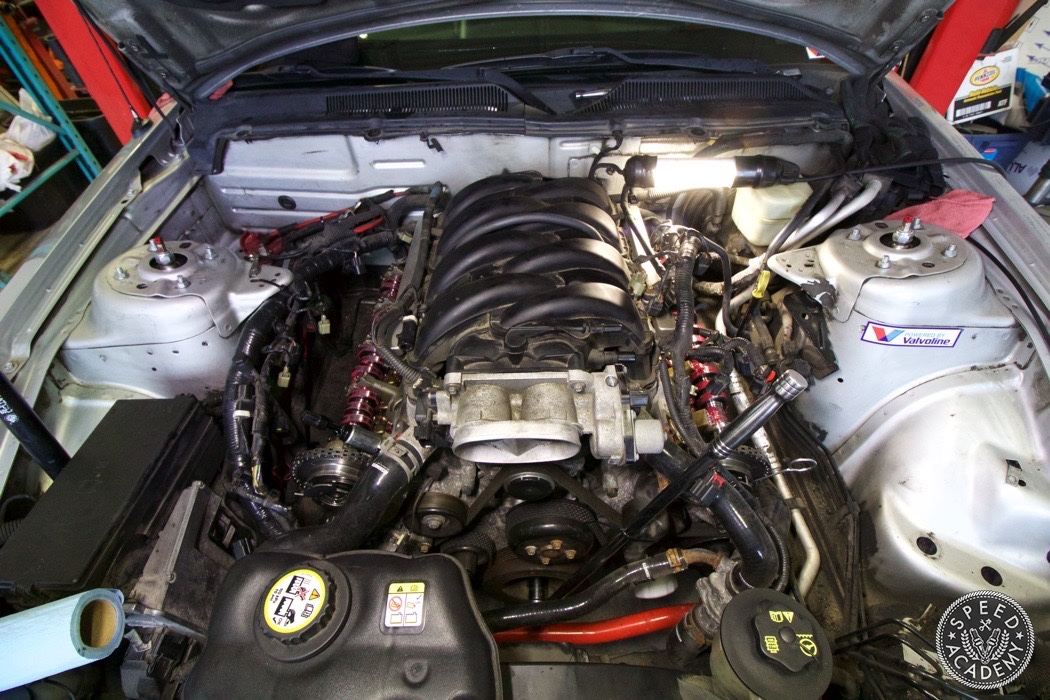
From there we installed the Fel-Pro valve cover seals and buttoning everything back up before turning the key. As you’ll see in the first video it didn’t go smoothly at first, but we got it sorted and onto the OnPoint Dyno Dynapack hub dyno for a tune.
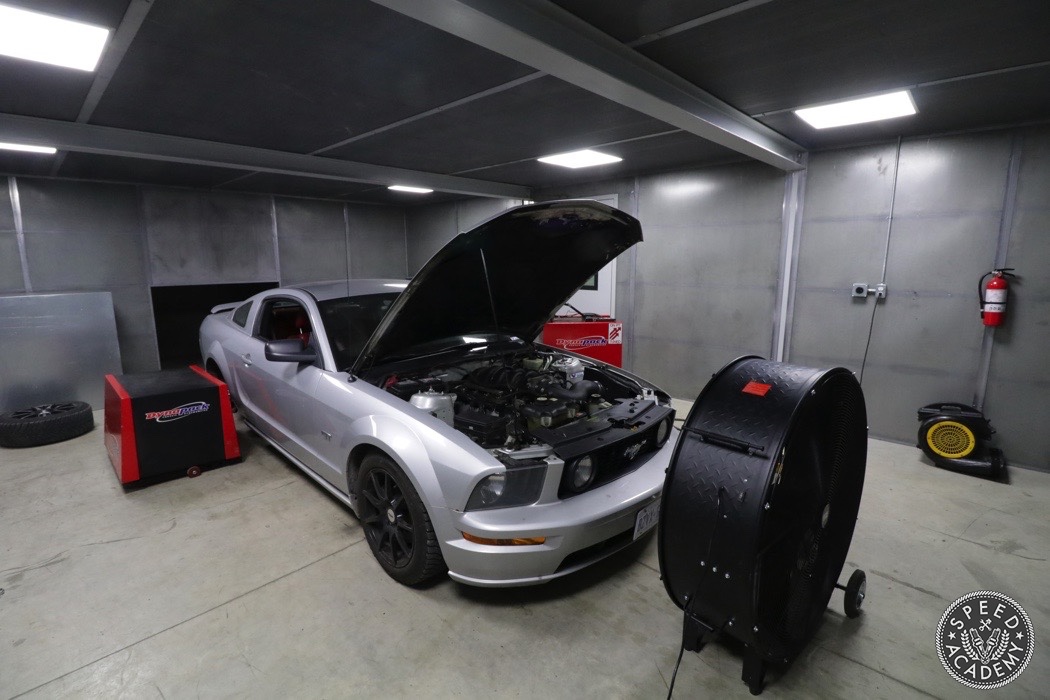
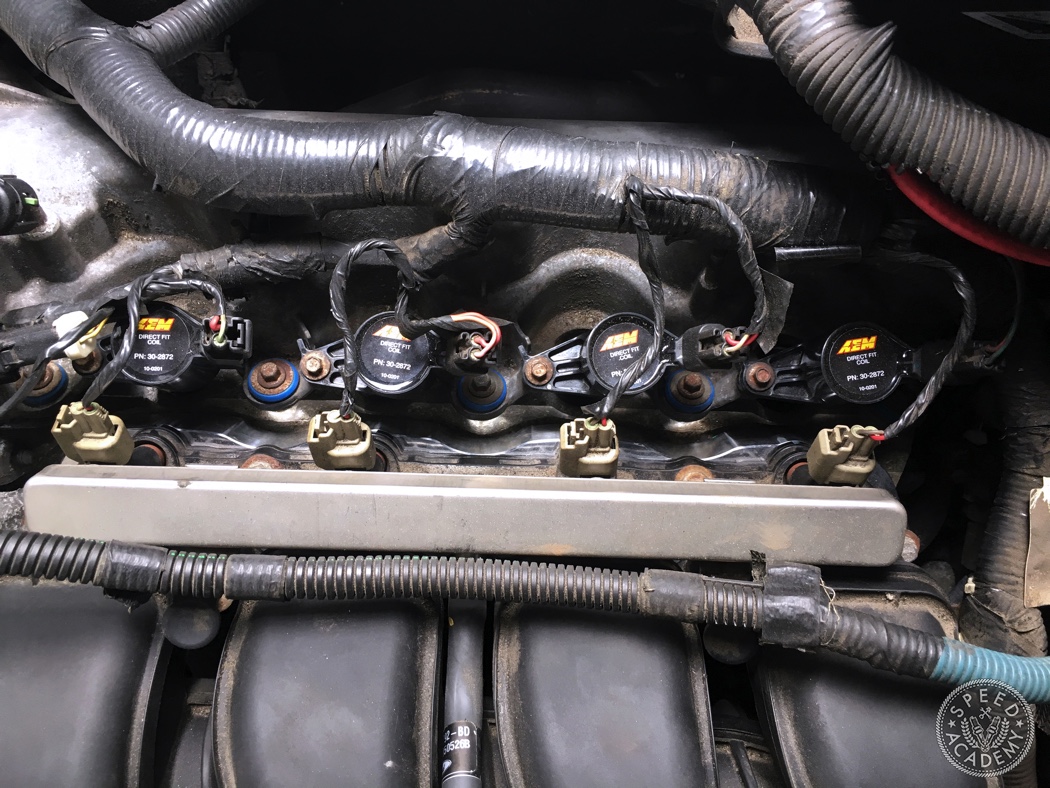
As you’ll see in the second video below, we ran into a strange misfire issue on a few cylinders when Sasha started the tuning process, so we swapped in some different spark plugs as well as a fresh set of AEM high output direct-fit coils, which literally bolt up exactly like OE coils and produce 15% more spark energy than the OE coils, making them a perfect upgrade for stock to mildly modified S197 Mustangs like ours.

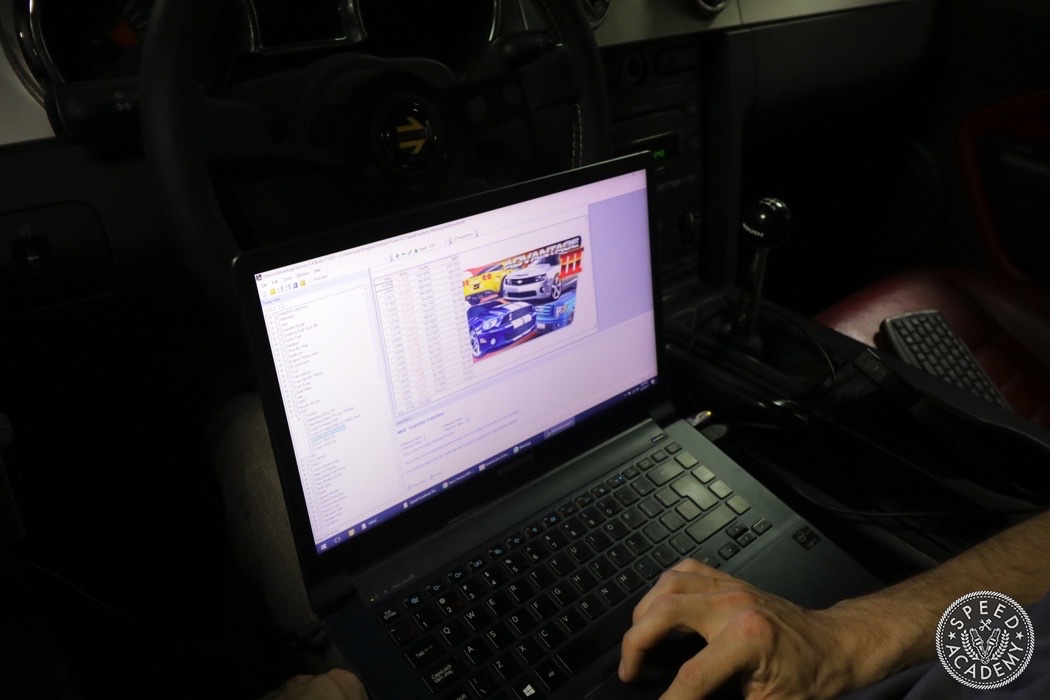
With the misfire issue fixed (mostly like bad spark plugs, although we also found a ground wire that was a bit suspicious so cleaned that up as well), Sasha could work his magic on the dyno with SCT’s Advantage III software, the full pro tuner software package that lets anyone (with the required skill and experience) fine-tune the mapping via the SCT X4 Performance Programmer. We’ve been impressed by the X4’s power and versatility since it’s also a fully functional scan tool for reading and clearing engine error codes as well as a datalogger, and a full colour backlit LCD multi-gauge display. That’s a lot of bang for the buck out of a $400 tool.
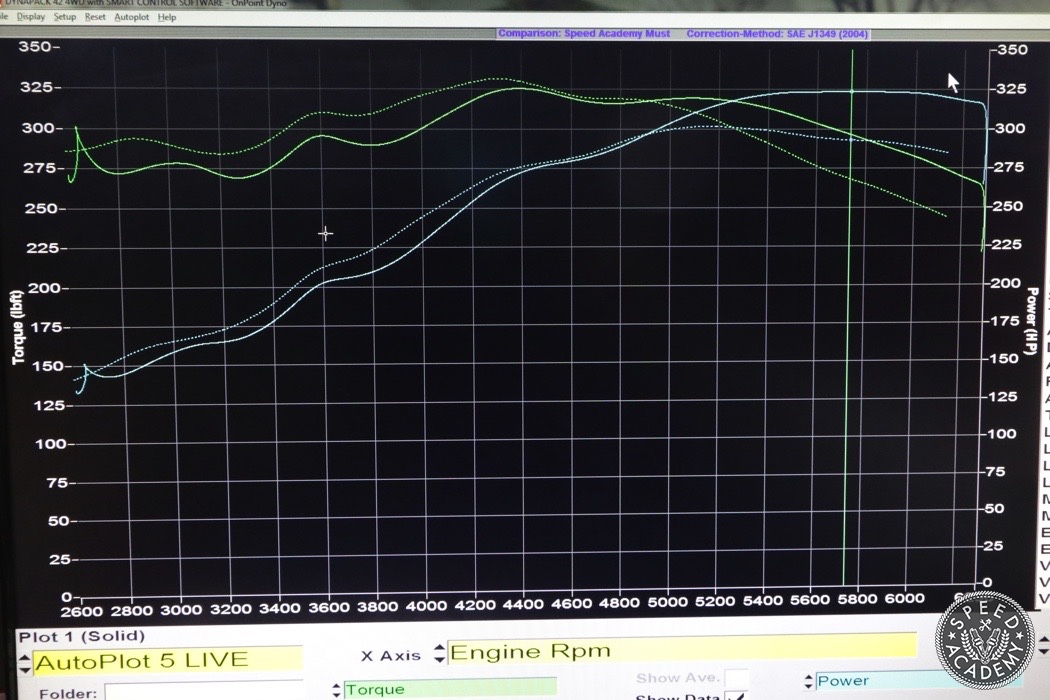
As you can, prior to the cam install (dotted lines) peak WHP was a hair over 300 and peak torque was about 330. Prior to tuning, the XFI Stage 2 cams picked up 15-whp and after Sasha’s tune that rose to an impressive 25-whp gain over the stock cams. We did lose a bit of peak torque, but we still gained a ton of torque from 4900 RPM to the 6500 RPM fuel cut, horsepower area-under-the-curve gains across the top 2000 RPM was even more impressive. Since it’s these last 2000 RPM that we use most at the race track, we’re confident the cam upgrade and retune has been well worth the time and effort, but we’ll prove that theory at the track soon enough! In the meantime, enjoy the videos below and we’ll have another Mullet Mustang update for you soon.

Hi, I would replace rocker armrs and Lash Adjuster, into a 2006 Mustang GT 3v there would be someone kindly, which explain the procedure ? I read in the Ford manual, wich Rotate the Crankshat until the Piston for the valve being serviced is at the top of its stroke with the Intake valve and the Exhaust valves closed . Repeat the previous 2 steps for each roller follower being serviced ! Theoretically, I get some doubt ! Someone could give me a practical example Applied to a cylinder .Thanks so much for understanding
Best Regards Francesco