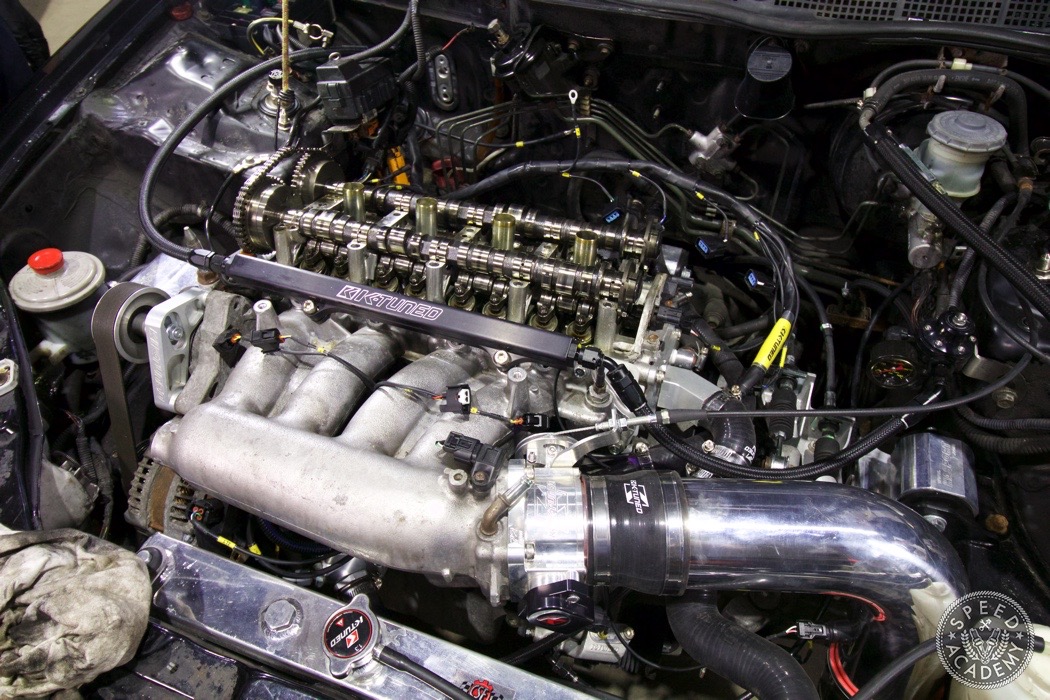
Honda’s iVTEC K-series lineup of engines are pretty incredible, especially considering they’ve been around now for about 15 years. Having “grown up” on D-series and B-series engines (and having blown up a few of each at the race track), when the K-series came along it was a bit of a game changer. Suddenly 200-whp, a magical and even mythical number for built B18C guys to strive for back in the day was now easily achieved with a K20 or K24 swap along with the usual bolt-ons and a tune.

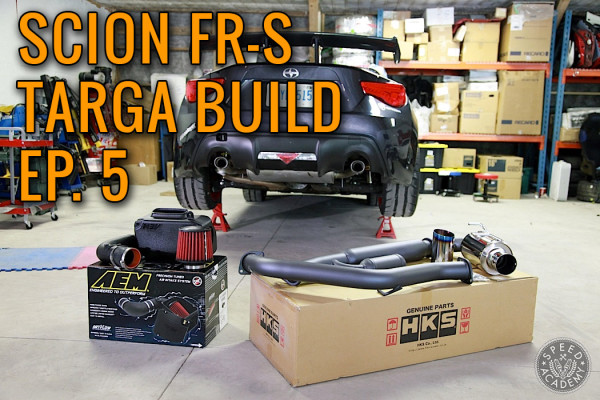
Which is exactly what we did with our Track Built EK Civic project, swapping in a bone stock 2006 Civic Si engine (K20Z3) along with K-tuned’s cold-air intake and 4-2-1 K-swap header, 2-1/4” Magnaflow exhaust and a 94-octane OnPoint Dyno tune using a Ktuner ECU. This resulted in 198-whp, which in a 2400-lbs EK Civic coupe feels pretty damn quick, but we wanted more.
Reaching 230-whp with this engine is well within reason if you step up to 3” diameter exhaust system and a set of more aggressive camshafts. On the exhaust side we sourced a mandrel bent 3” diameter tubing kit from Kteller, to which we added a Vibrant GESI high output catalytic converter and a Vibrant 18” long resonator along with a K-tuned turndown muffler. And for cams, we opted for Drag Cartel’s Drop-In Camshafts, which (as the name implies) do not require an upgrade to the valve springs or retainers.
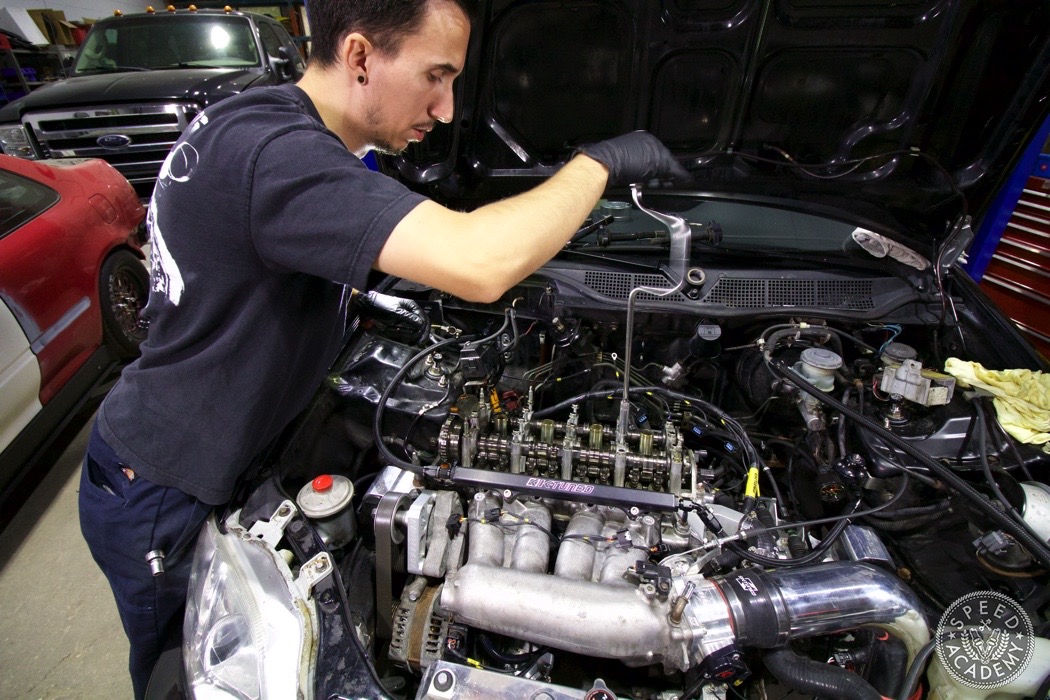
To install the cams, we turned to Rui Mateus at K-tuned, their in-house technician and a long-time Honda drag racer. As Rui told us during the job, he’s swapped cams in these motors more times than he can count, so he was the perfect man to show us (and you) exactly how to do it.
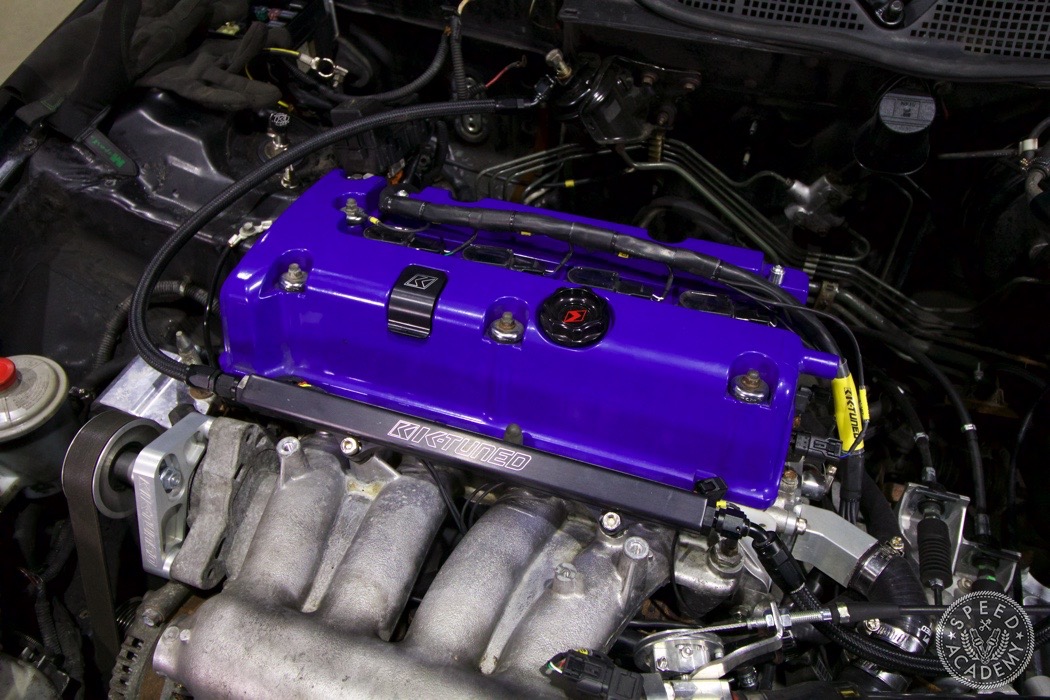
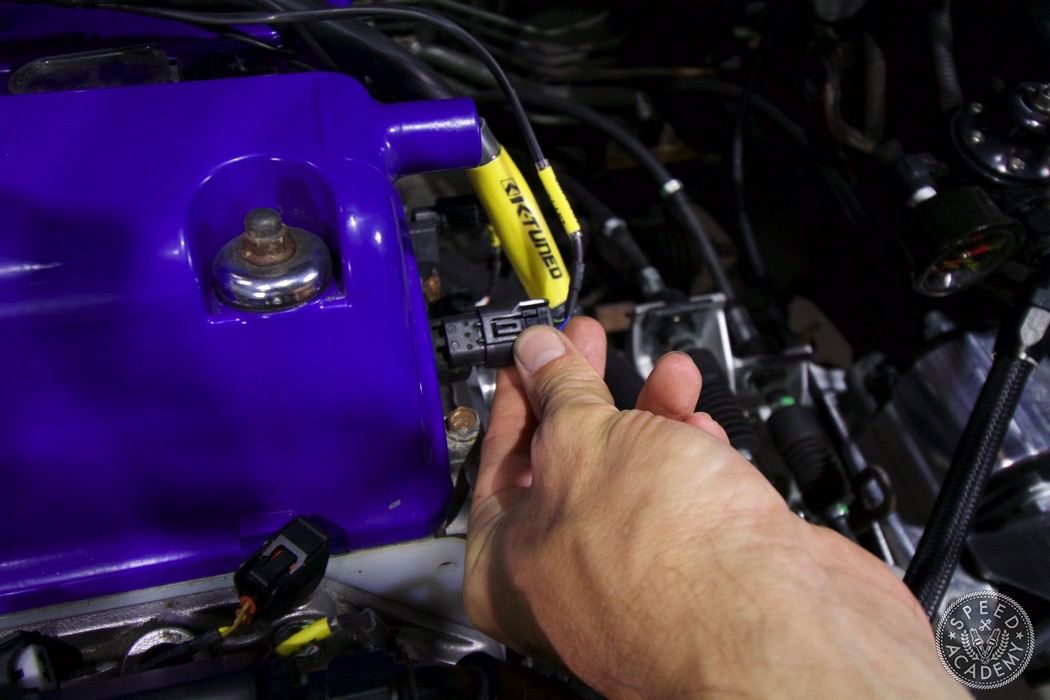
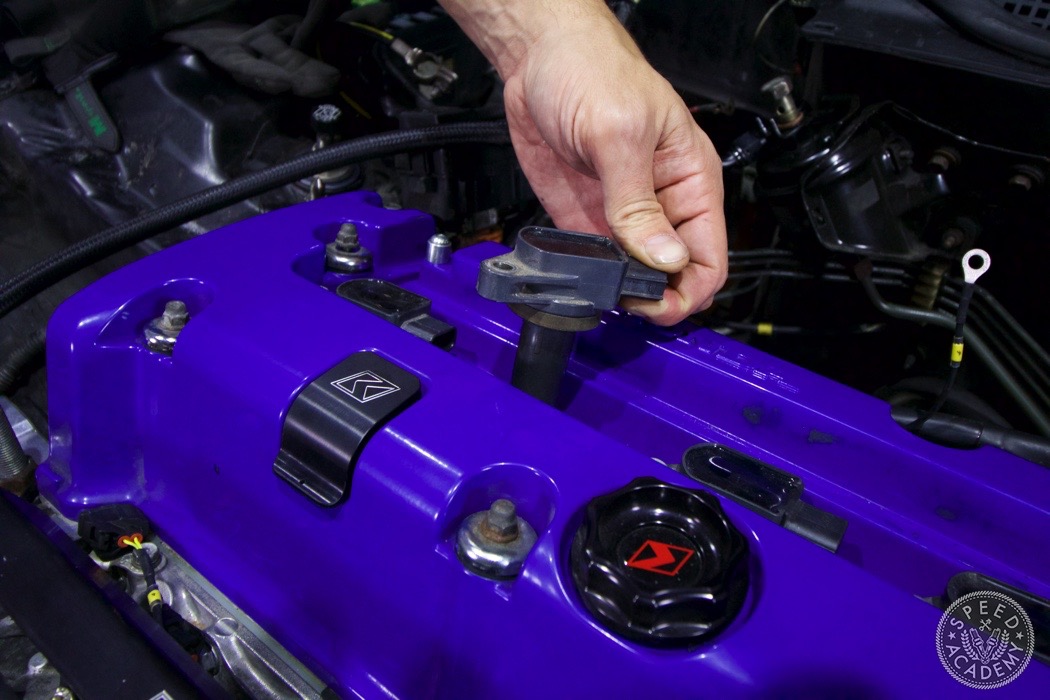

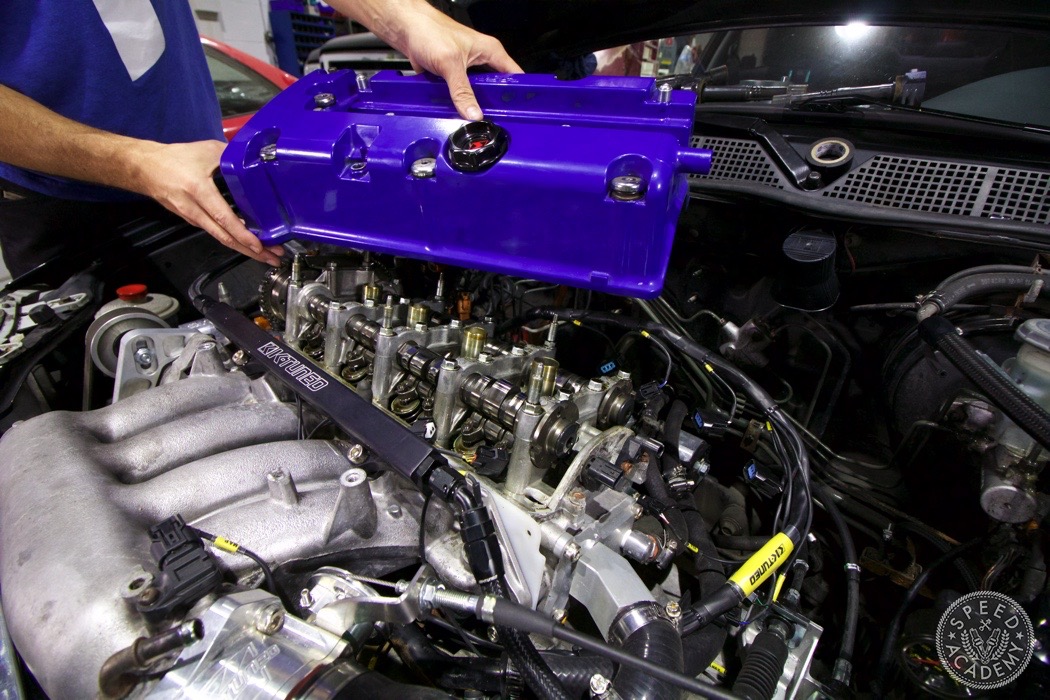
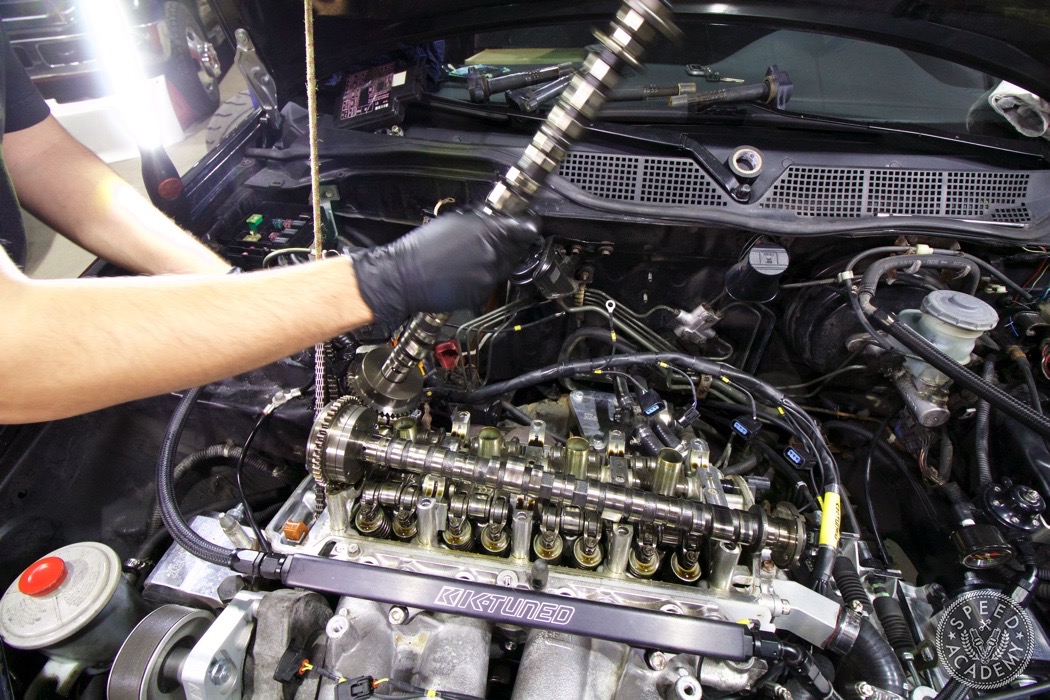
But before Rui could spin off those cam caps, first we needed to disconnect the wiring harness from the coil packs and valve cover, pull the coils, and pop the valve cover off.
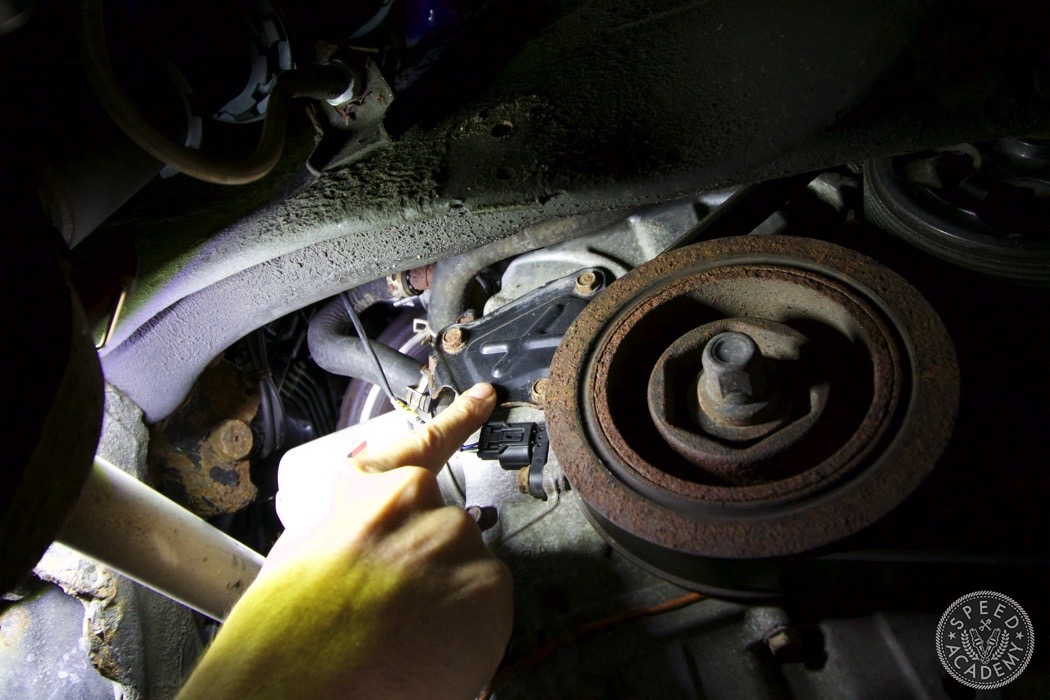

After that, we removed the timing chain tensioner cover, which is located on the passenger side of the block just above the crank pulley. As you can see, we also disconnected the crank position sensor just below the cover so as not to damage the connector while spinning wrenches near it.
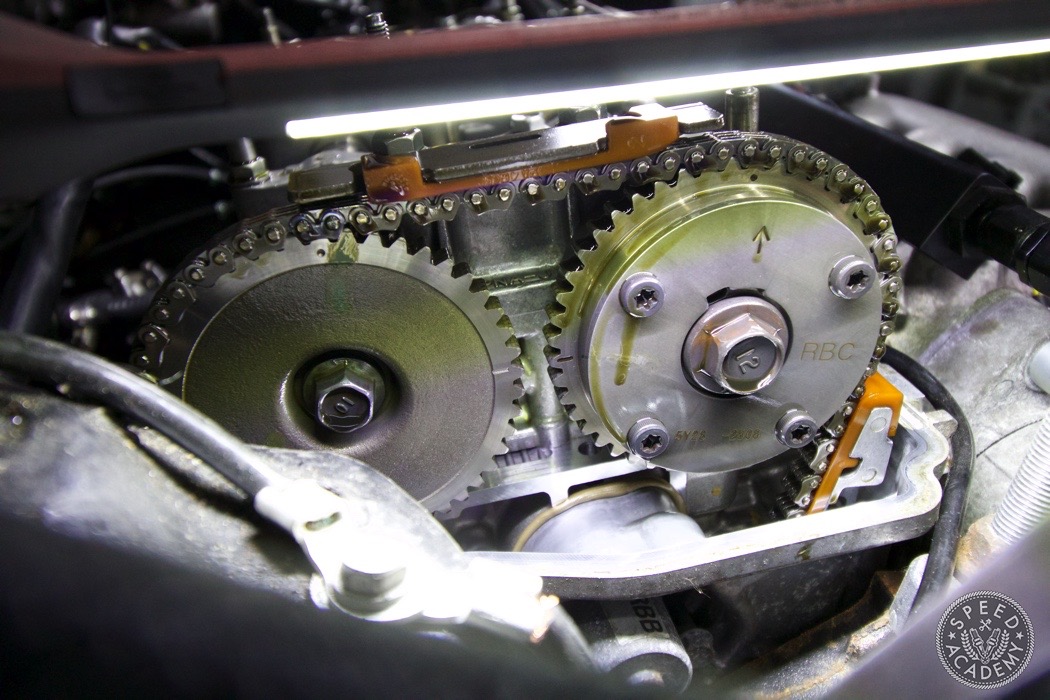
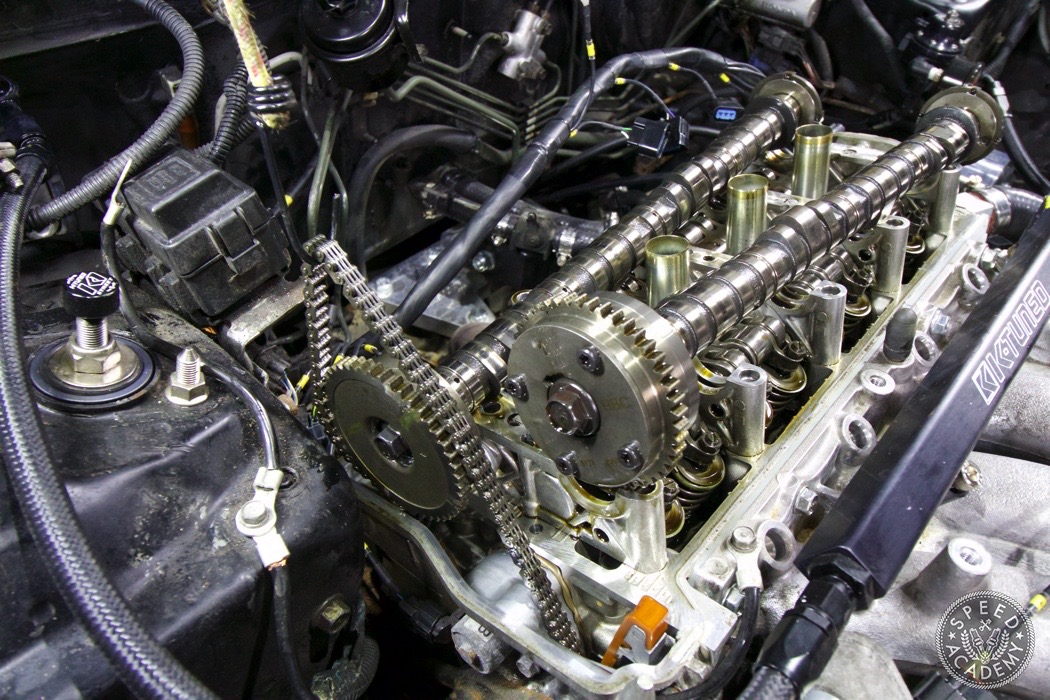
Before removing the tensioner, Rui set the engine to Top Dead Center (TDC), with the dot on each cam gear oriented at the 12-o’clock mark. You can’t see it here very clearly, but he also used a paint pen to mark the chain so he could put it back in the same spot on each cam gear during reassembly.

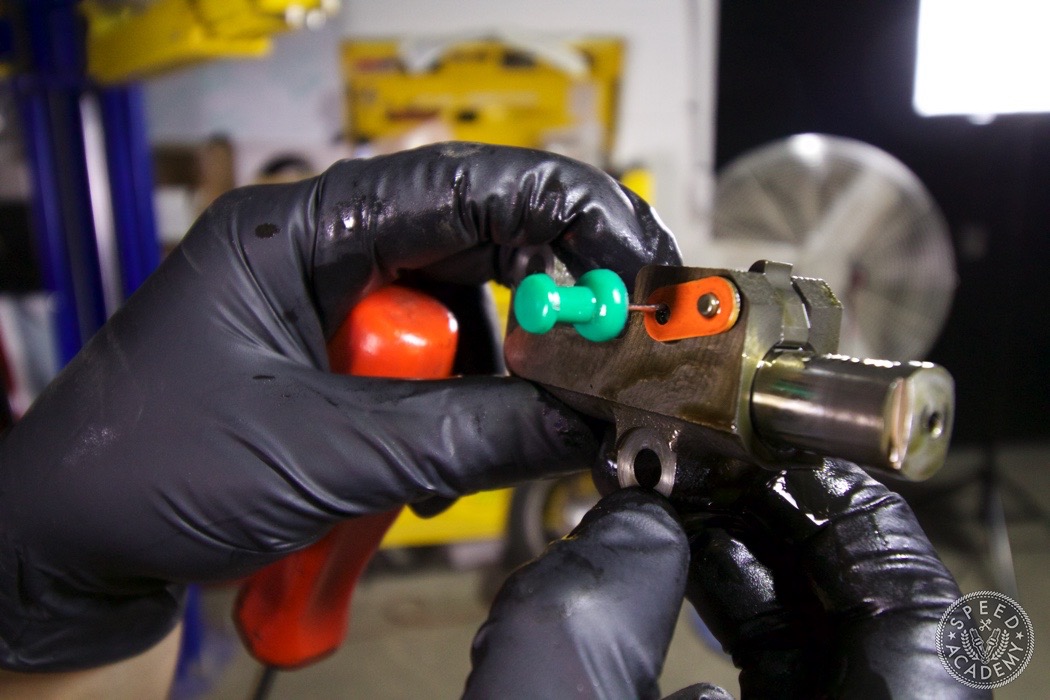
To secure the tensioner in the closed position for removal, Rui used a thumbtack in the locking hole as seen above. I’m sure there’s some fancy Honda specialty tool for this job, but Rui’s thumbtack method worked well.
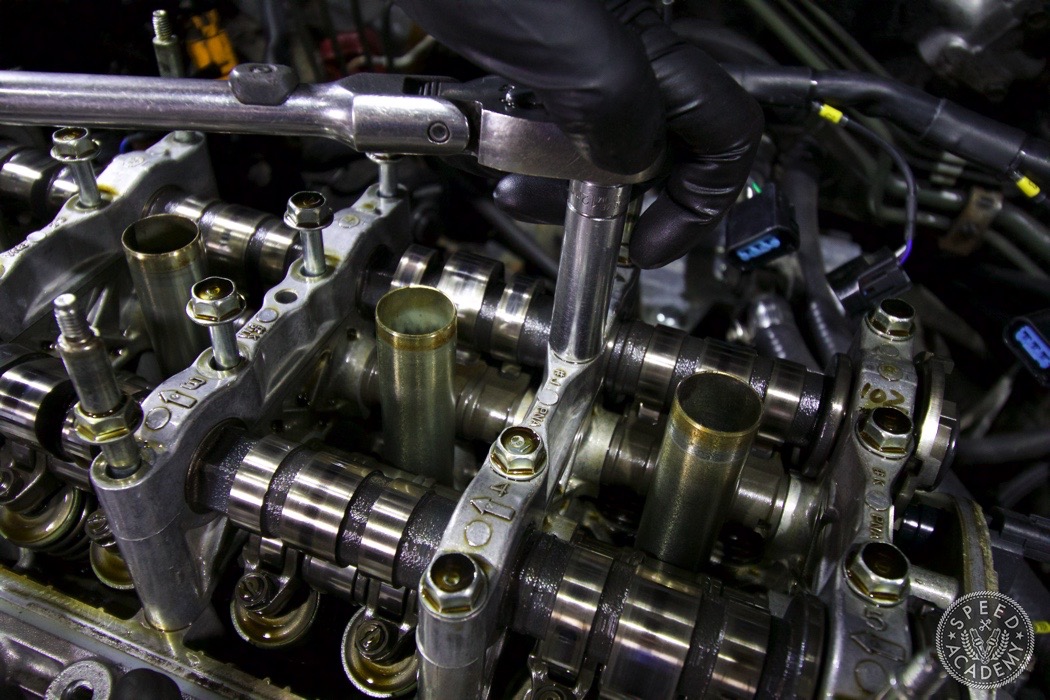

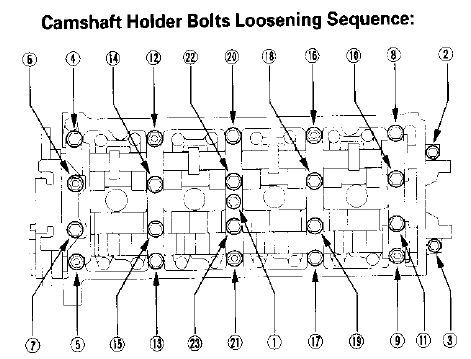
Now it was time for Rui to loosen all the bolts for the cam caps, starting at the ends and working his way to the middle caps to de-tension the cams in a gradual way (as per the Honda factory service manual’s instructions).
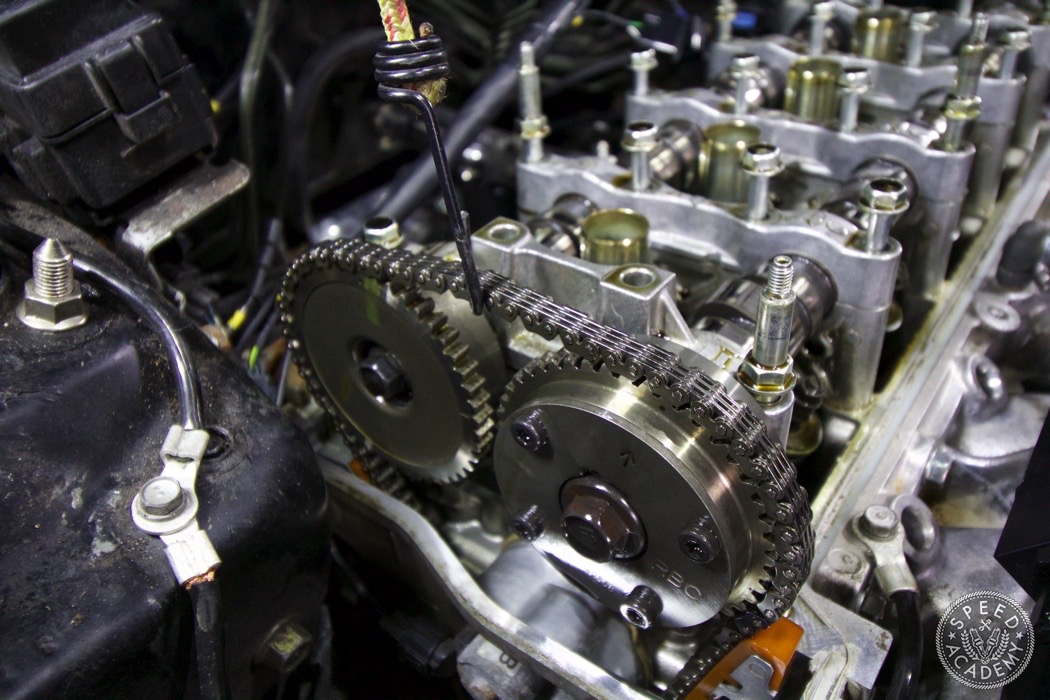
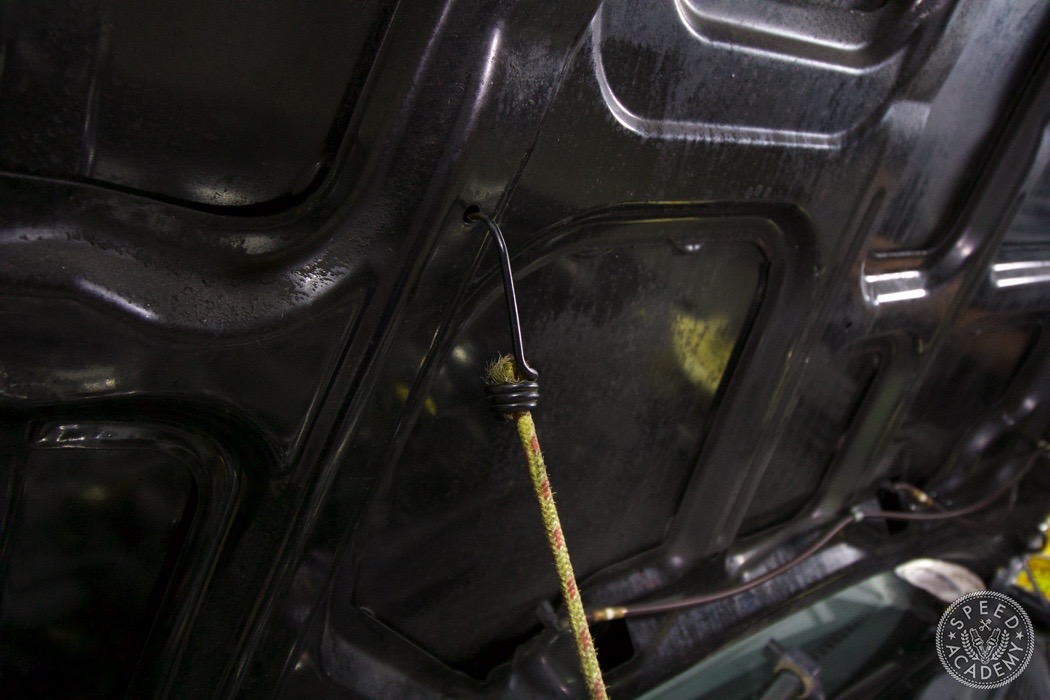
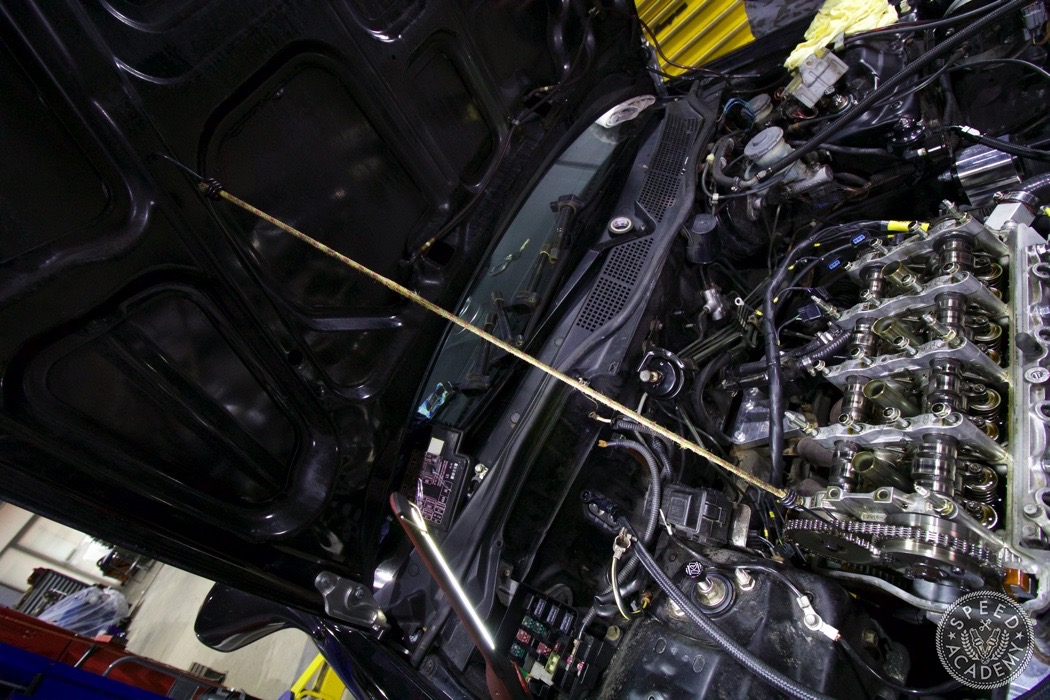
Before removing the cam caps, Rui used a bungee cord to keep the timing chain under enough tension that it wouldn’t slip off the cam gears and down into the timing chain cover or skip a tooth at the crankshaft end. Again, there’s a fancy Honda tool for this job, but Rui’s bungee trick works well.
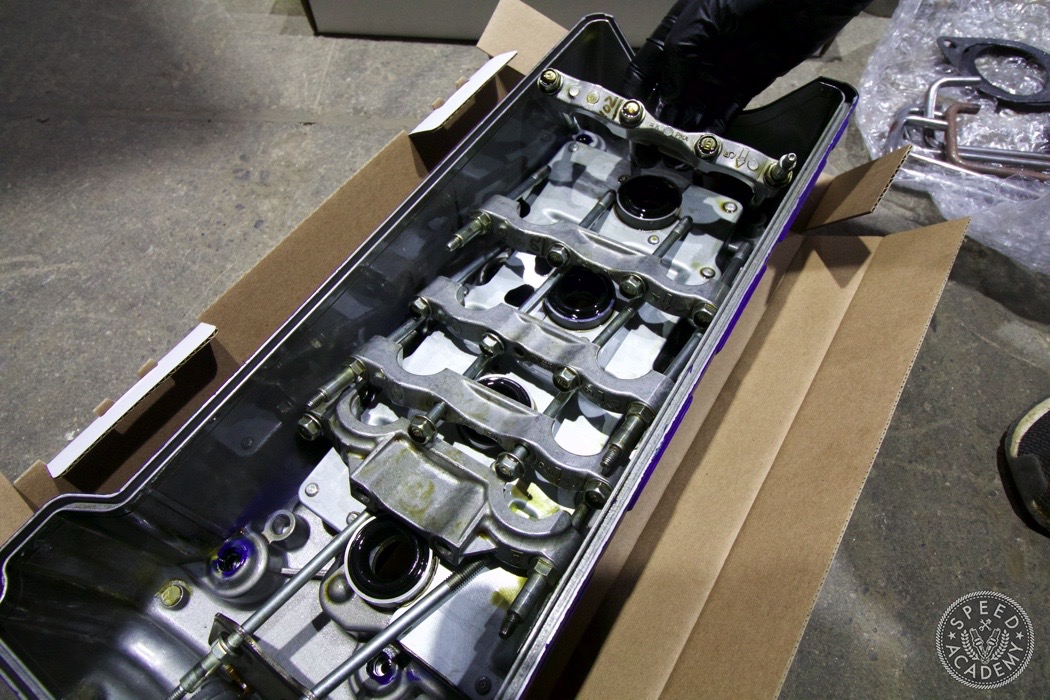
With the chain supported, Rui pulled off the cam caps and laid them down in sequence inside the valve cover for safe keeping (the caps are numbered and must be reinstalled in the correct position).
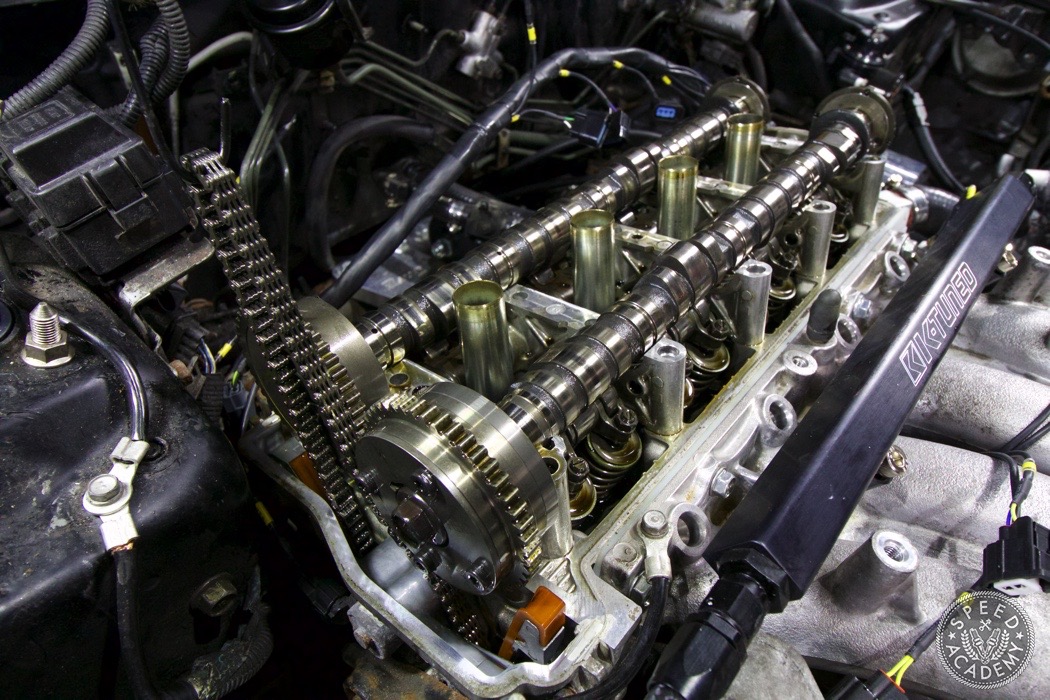
Rui then removed the timing chain from the cam gears and allowed the bungee cord to do it’s thing by providing enough upward tension to prevent the chain from falling off the crank sprocket.
Then it was simply a matter of popping the intake and exhaust cams out.