Time for a camshaft flute jam session, then back to work.
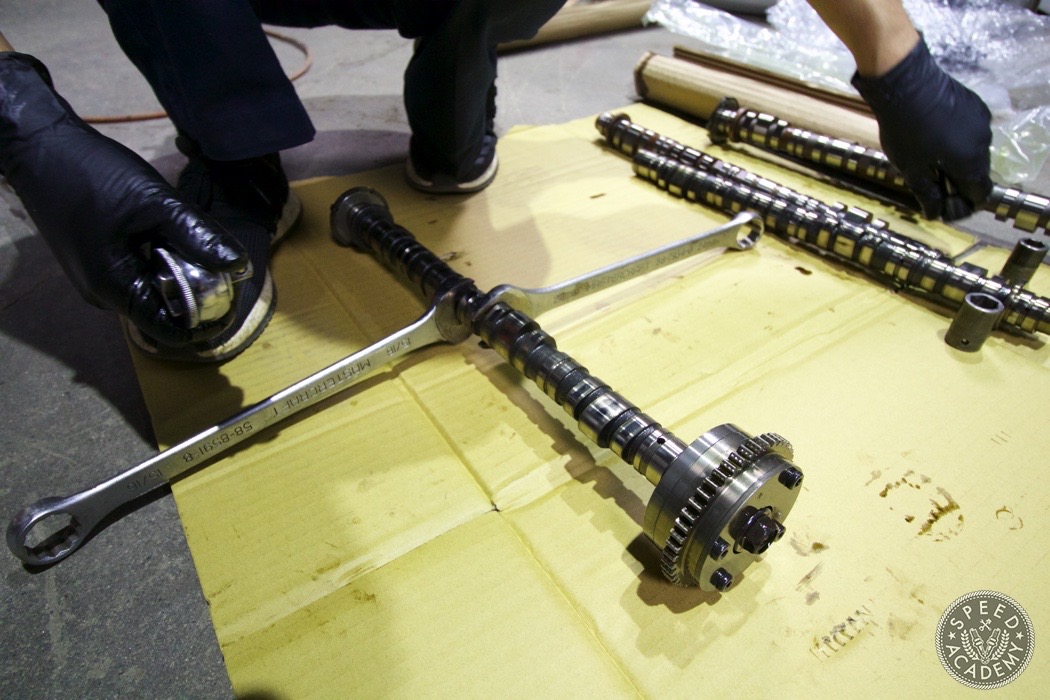
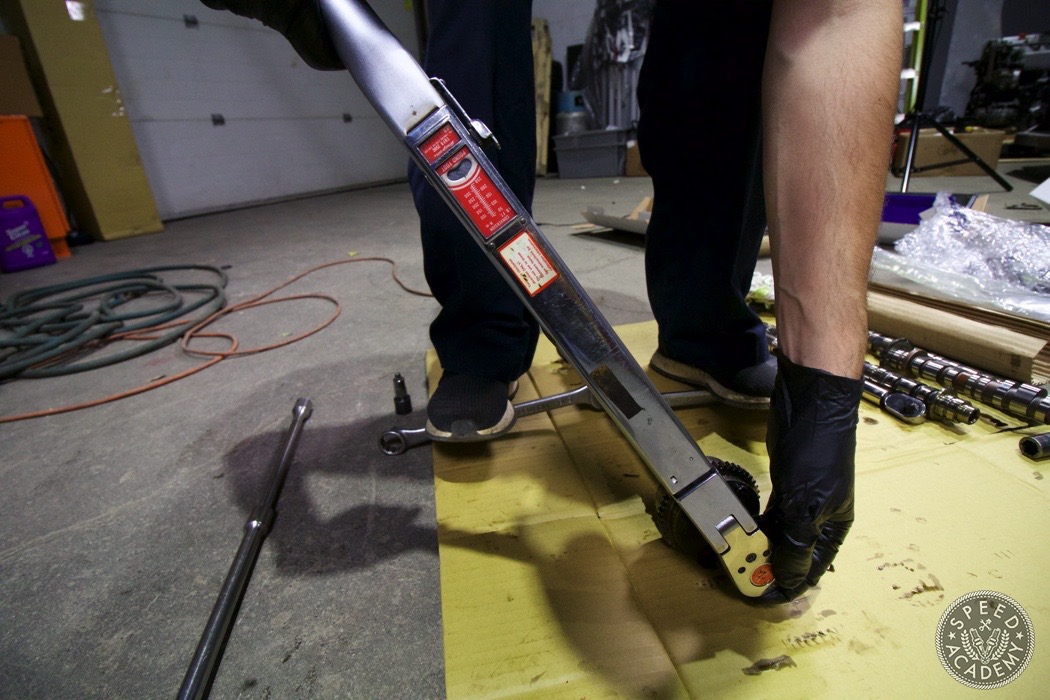
Removing the cam gear requires two big wrenches on the camshaft in the correct positions (where Honda’s engineers were kind enough to provide a hex for each wrench to fit on).
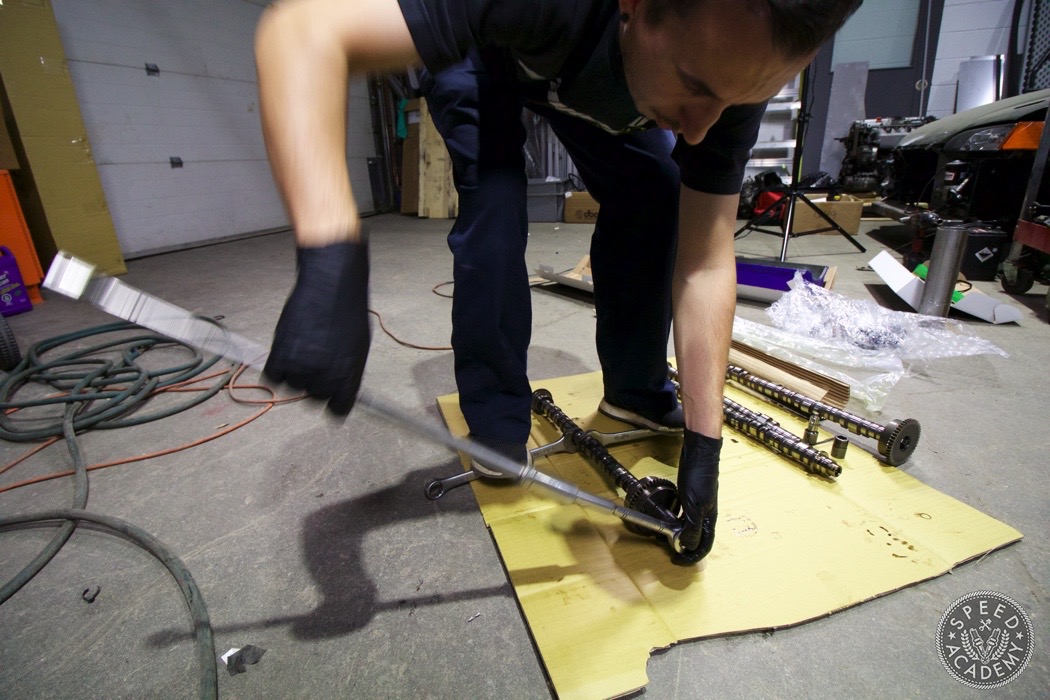
Rui then stood on each wrench to prevent the cam from rotating and used a long breaker bar to crack the cam gear bolt loose. This bolt is on tight, so some serious leverage is required.
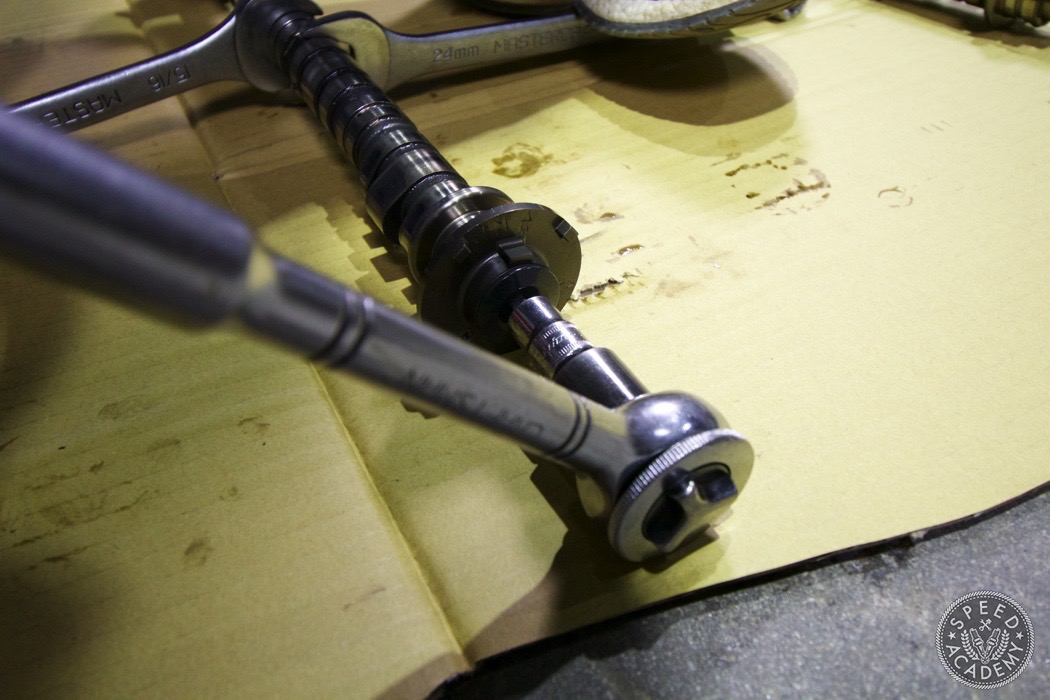

You also have to remove the cam position ring (or pulse plate) from the tail end of the camshaft, which is attached with an 8mm Allen head bolt. This bolt is torqued to a lower spec so doesn’t require the giant breaker bar but still needs the double wrench on the shaft technique.
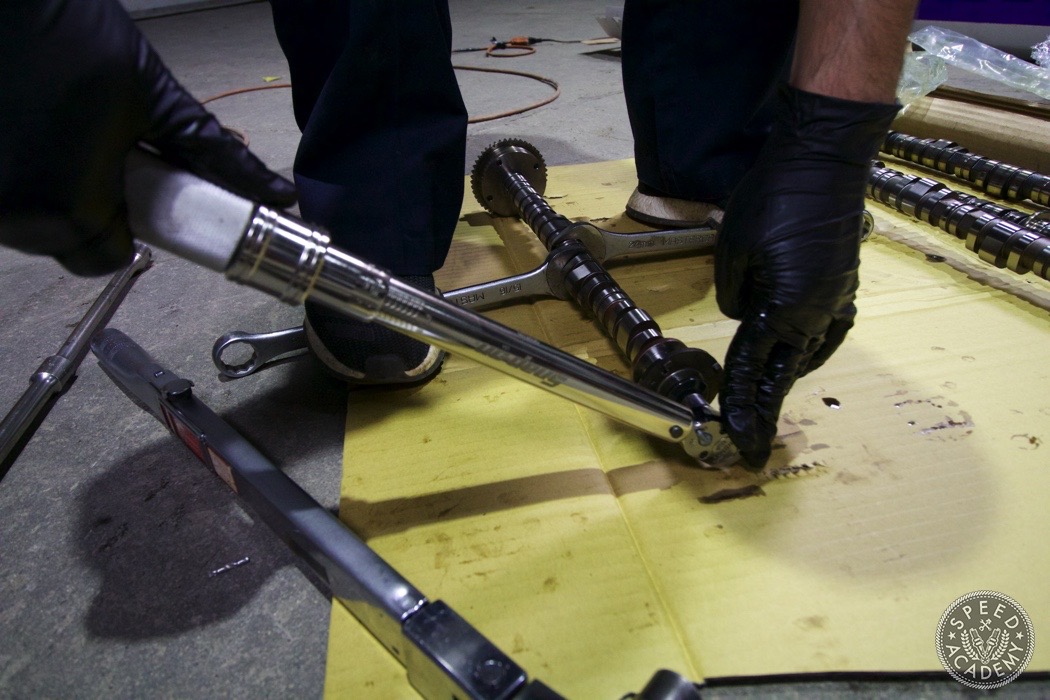
Rui then swapped the cam gears and pulse plates over to the Drag Cartel cams and torqued them down to the factory specs (83 ft/lb for the intake cam gear bolt, 51 ft/lb for the exhaust cam gear bolt, and 29 ft/lb for the 8mm pulse plate Allen head bolts).
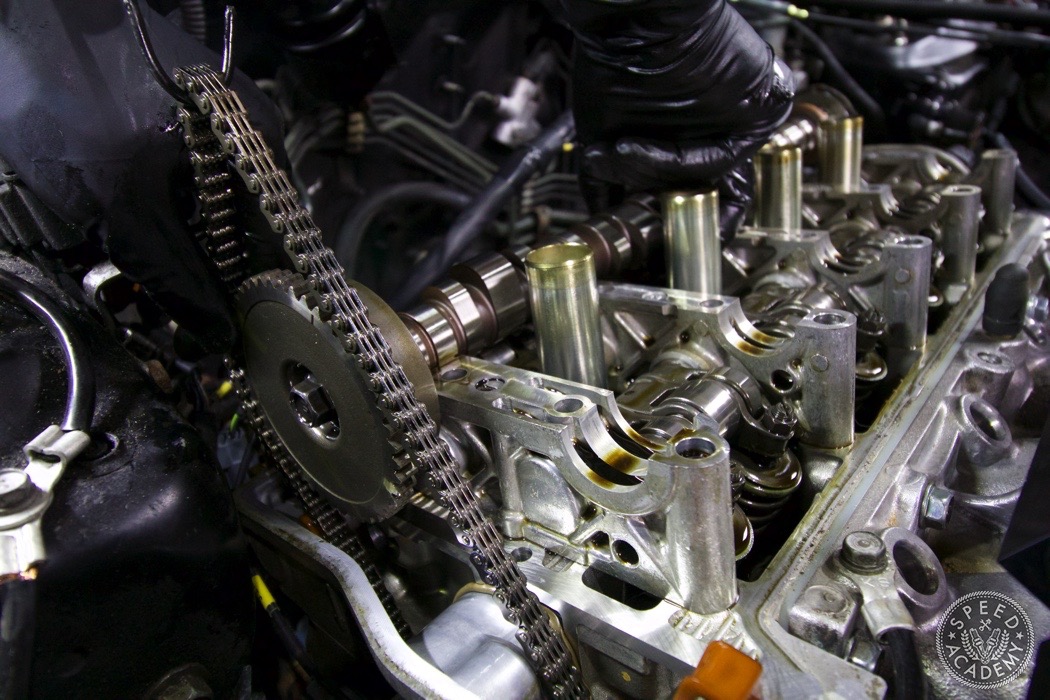
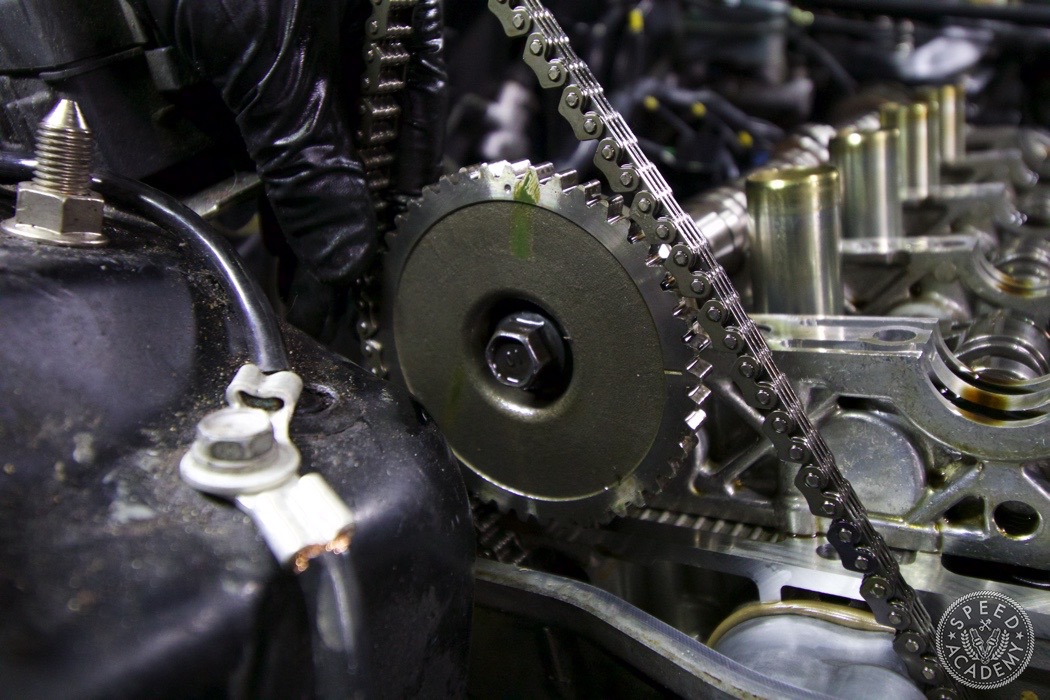
Rui installed the exhaust camshaft first, making sure to set the timing mark dot to 12-o’clock and aligning the paint mark he made on the pulley with the corresponding paint mark he made on the timing chain. The same procedure was repeated on the intake camshaft.


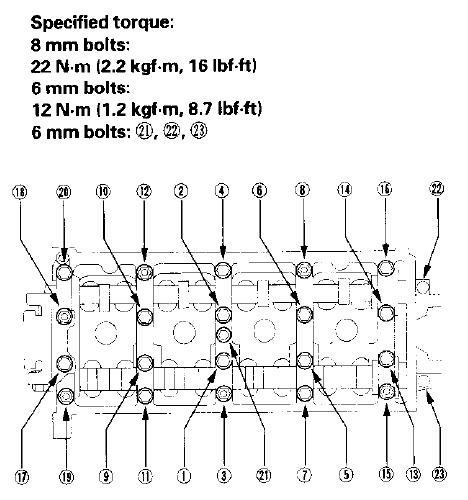
With the cams both set at TDC, it was time to reinstall the cam caps, working from the inside out, as per the torque sequence in the factory service manual.
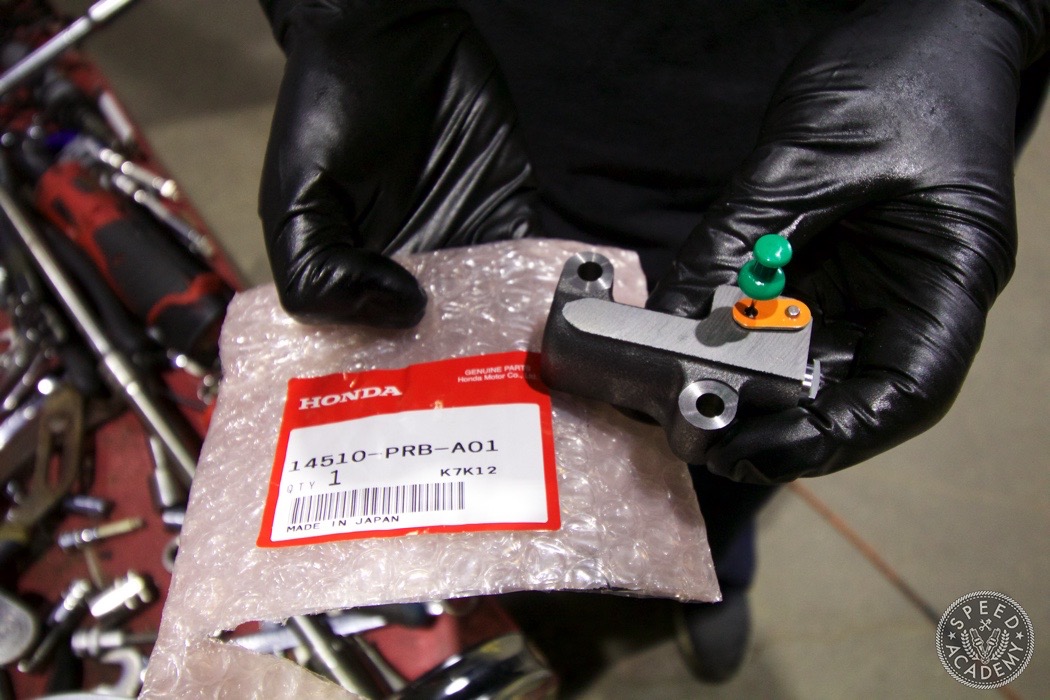
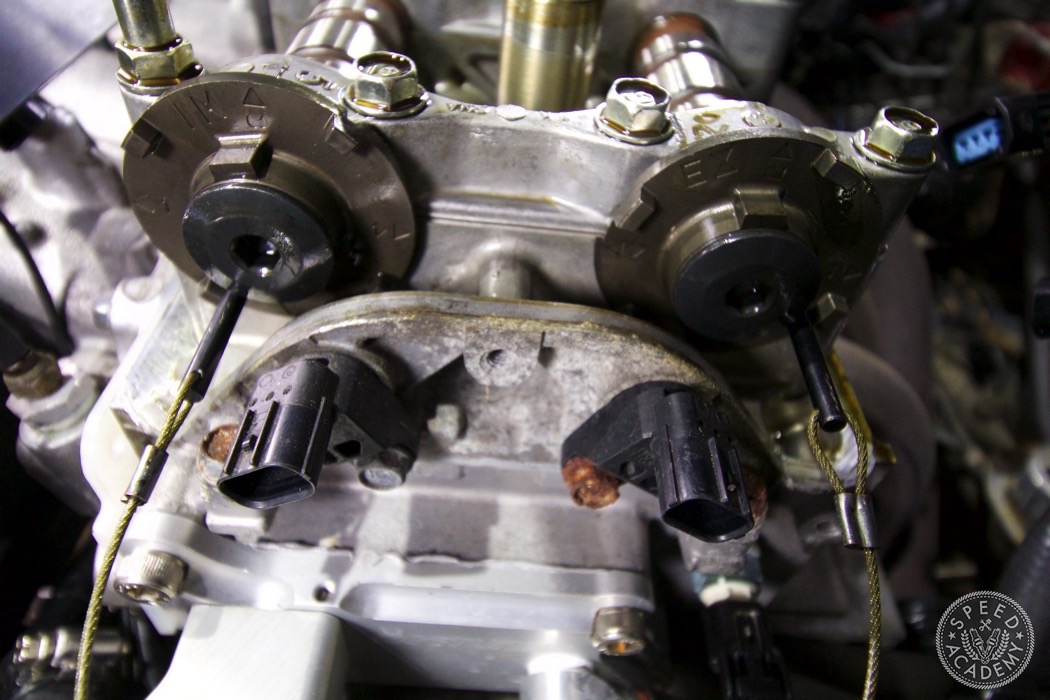
Now it was time to install a new timing chain tensioner. This part is prone to failure, so we chose to replace it since this engine is fairly high mileage (180,000 km) and we like to rip TEC hard which does put the tensioner under greater stress. As you can see, Rui used a Honda specialty tool to pin the tail of the camshafts in position so that the chain cannot skip a tooth while installing the tensioner. If you don’t have this specialty tool, the back side of the drill bit works just fine.
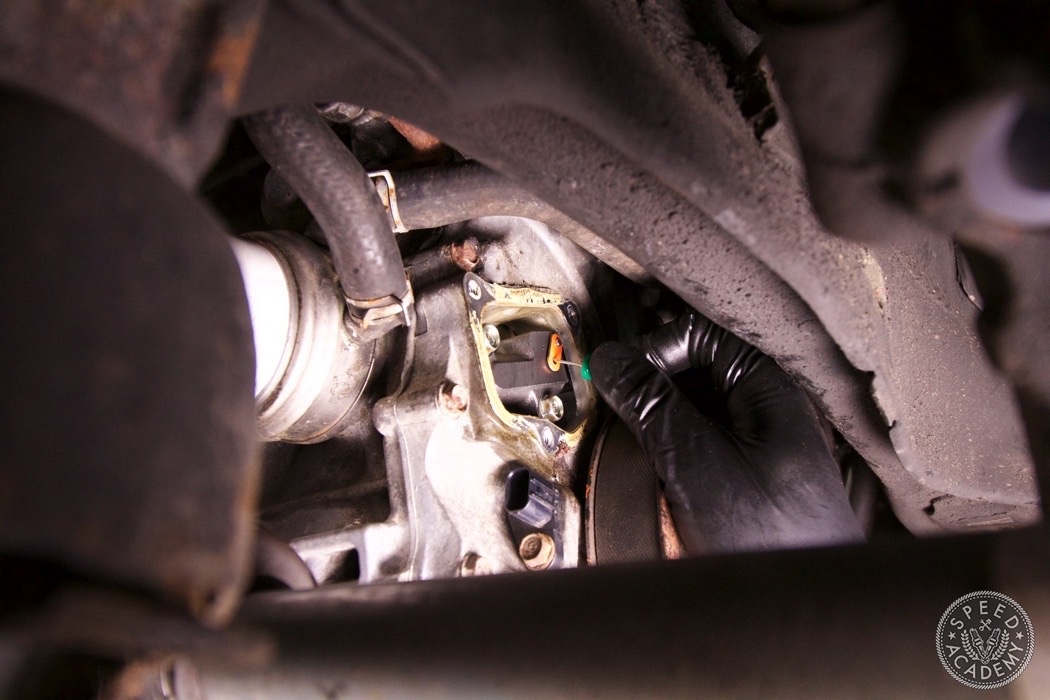
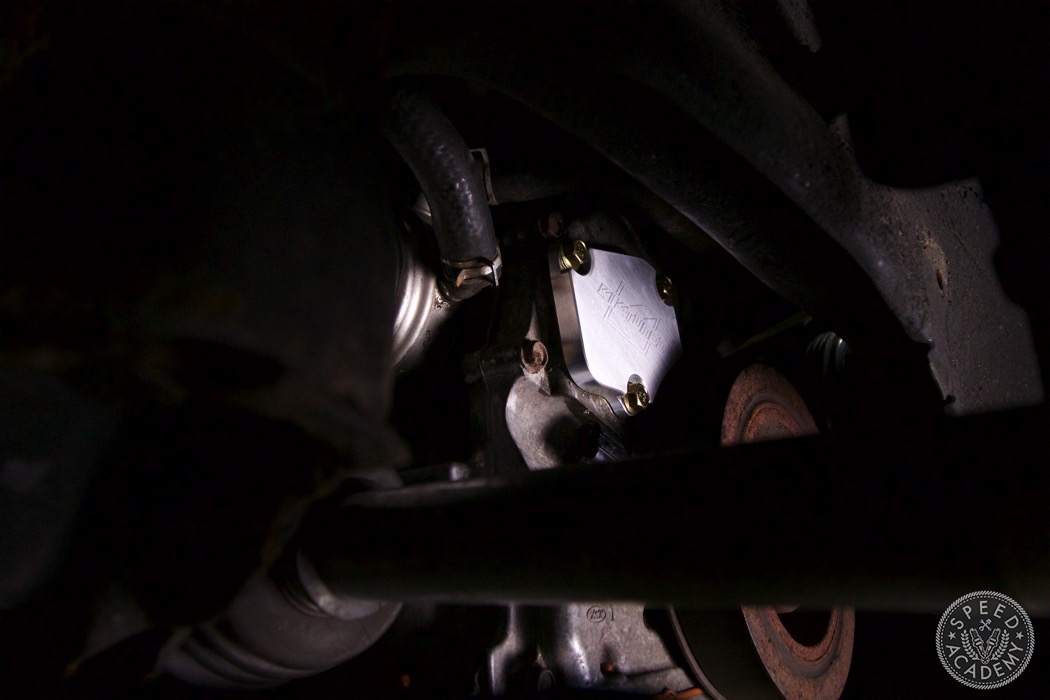
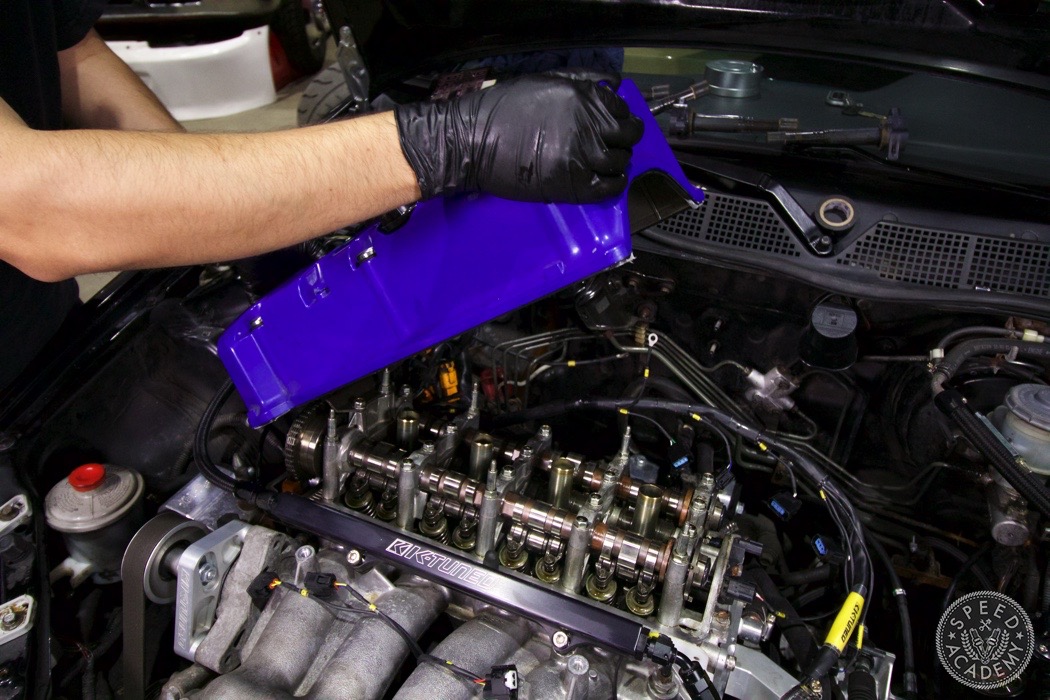
With the tensioner in place, Rui pulled out the thumbtack so the tensioner could now do its job and replaced the cover with a K-tuned cover which is both prettier than the rusty old stock one and has an o-ring seal that means you can pop the cover off to inspect the tensioner without having to use Hondabond sealant like the OE cover requires. Just make sure to scrape off all the Hondabond before installing your sexy K-tuned cover so that the o-ring can make a proper seal.
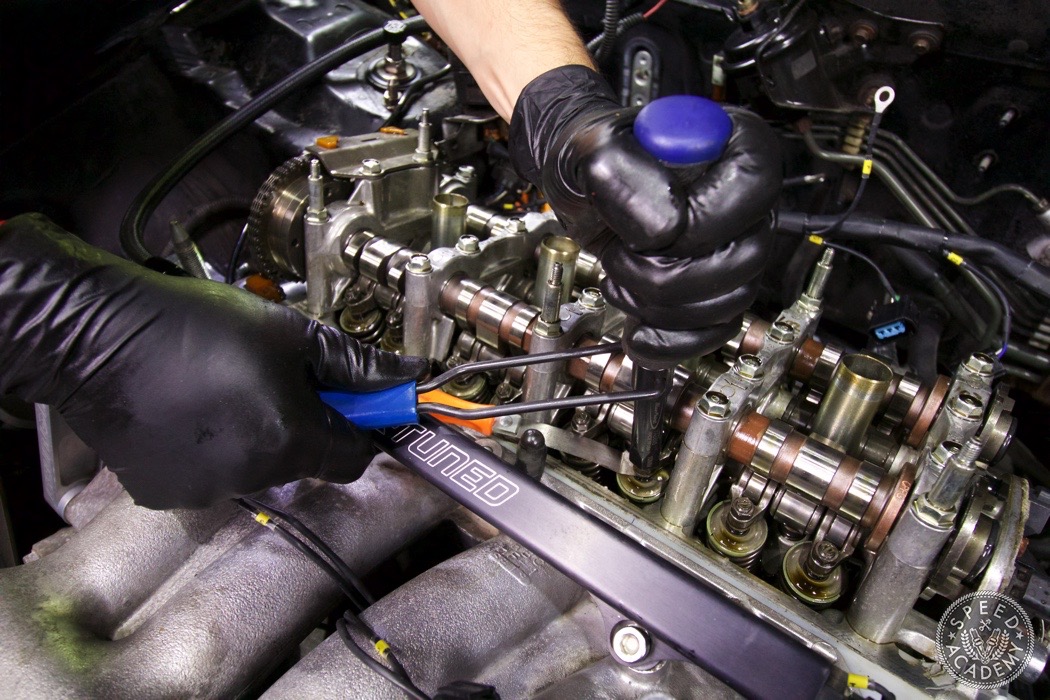
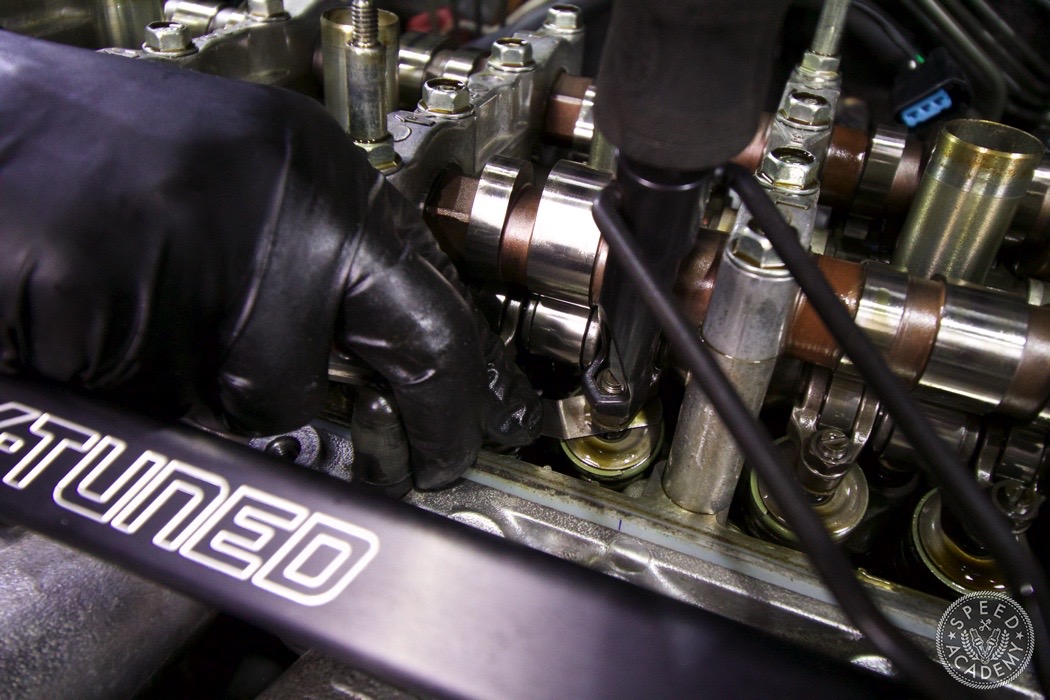
Before we could throw the valve cover back on, Rui needed to set the valve lash to Drag Cartel’s specs for the DICs (0.008″ intake and 0.009″ exhaust). Even if you’re doing a stock cam swap it never hurts to check valve lash and ensure it’s within spec. Now is as good a time as any to do it.
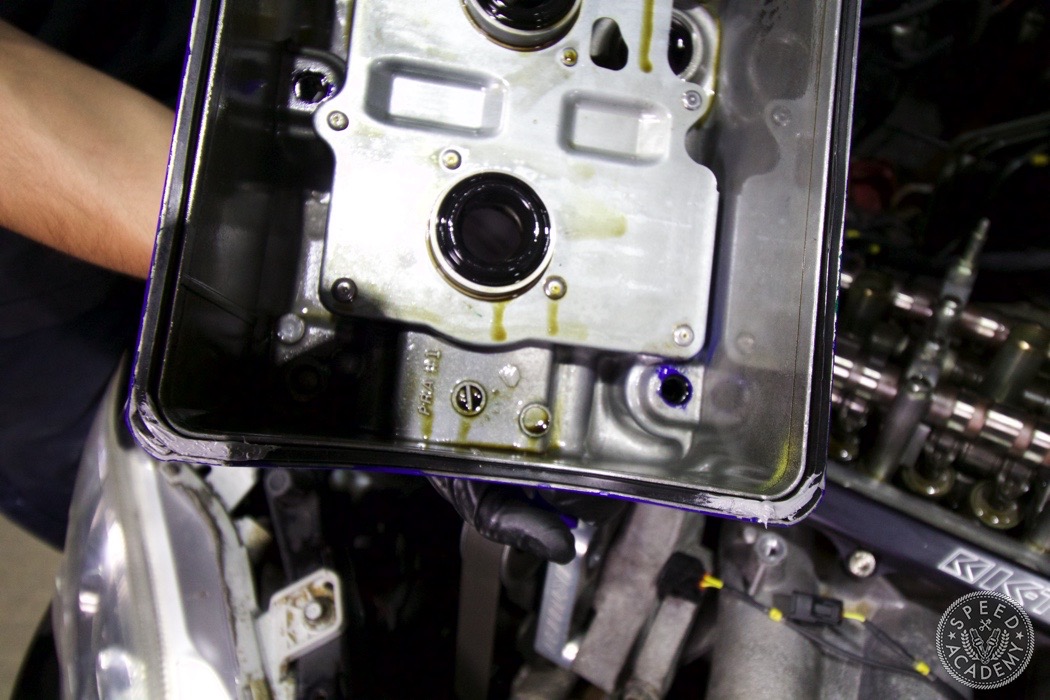
With the valve lash set, Rui put the valve cover back on, checking to make sure the spark plug tube seals and valve cover seal were properly in place.

With the cover in place, we fastened it down, reinstalled the coil packs, and plug the harness back in. After that we loaded a tune onto the Hondata KPro ECU we upgraded to so that we could replace the heavily modified OE harness we hacked into during the Ktuner install (resulting in some electrical gremlins we wanted to address) with a very tidy and military grade heat shrink covered K-tuned tucked harness that’s designed specifically for the the KPro. A twist of the key confirmed that the cam swap was a success.
We hope this quick guide to doing a K-series camshaft swap is helpful, and we look forward to ripping TEC with you at the track at our next lapping day event.