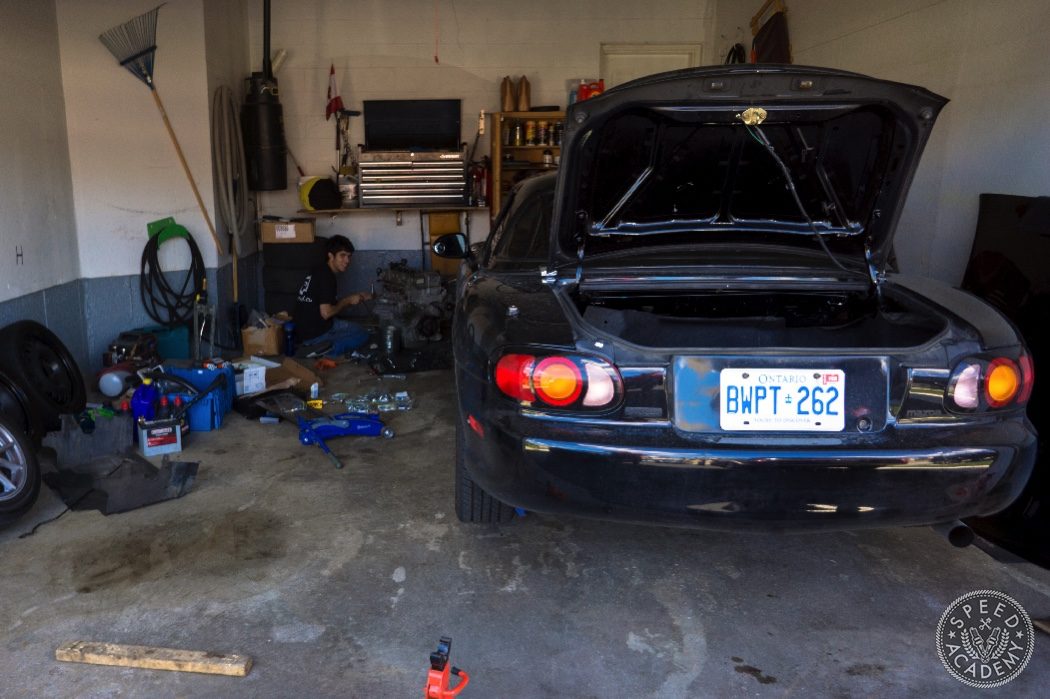
On Day One of my engine swap, I filled the Miata with its first tank of 91-octane for the 2.4-liter LE5 Ecotec engine to enjoy, pulled into my parent’s garage, and began what would very likely be the most difficult project of my life.
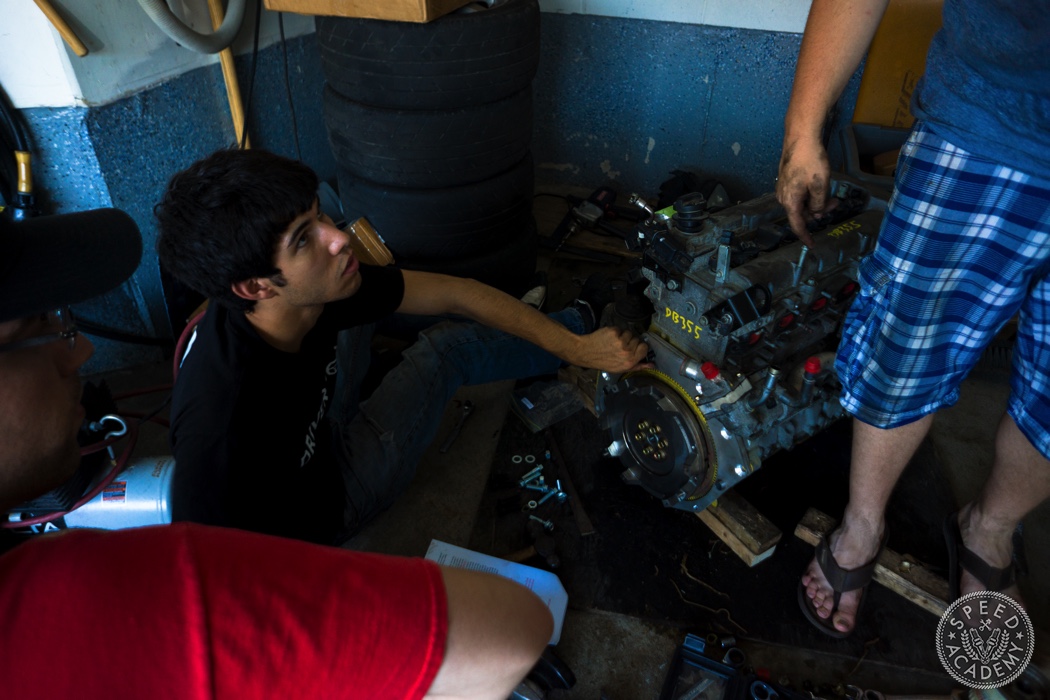
We rolled the car onto planks of wood to provide enough clearance for our pump jack, lifted the front and rear high enough to max out the height of our axle stands, pulled off the front tires, and got to work. By we, I’m referring to my photographer friend Andrew Zhang, and photographer and writer Milan Svitek who’s most notable automotive project to this point was an all-wheel-drive 2ZZ swapped Toyota Echo, making him the most experienced person on our team. While Milan eagerly began attacking the Miata’s engine bay, I began preparing the Ecotec engine.
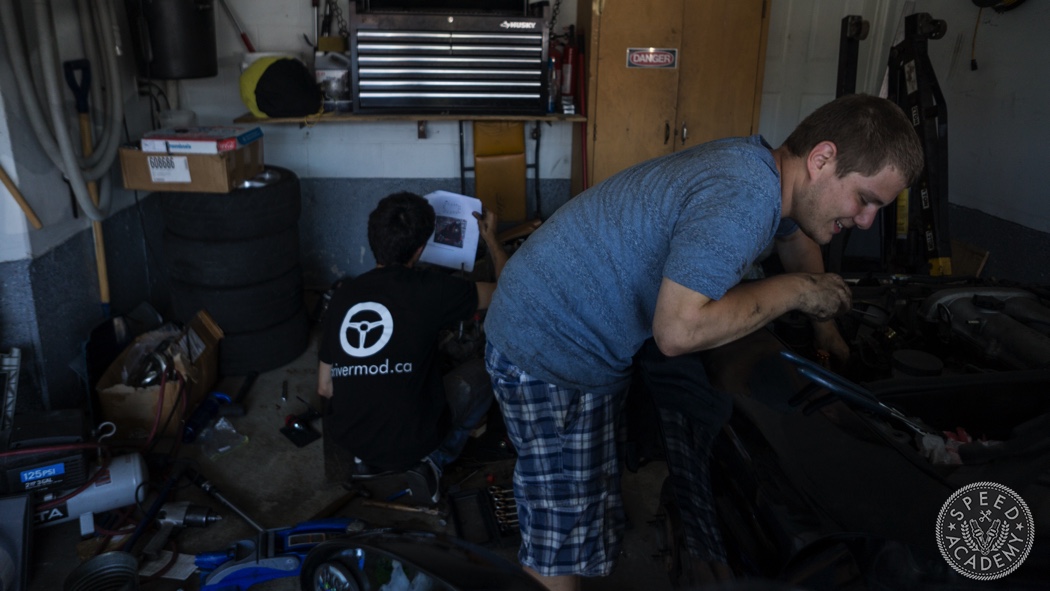
The guys at MT Motorsport provide a detailed written guide that ships out with every EcotecMiata swap kit. If you’re actually doing the swap at home, please sit down and read it thoroughly. We’re amateurs and we made mistakes; disclosure over.

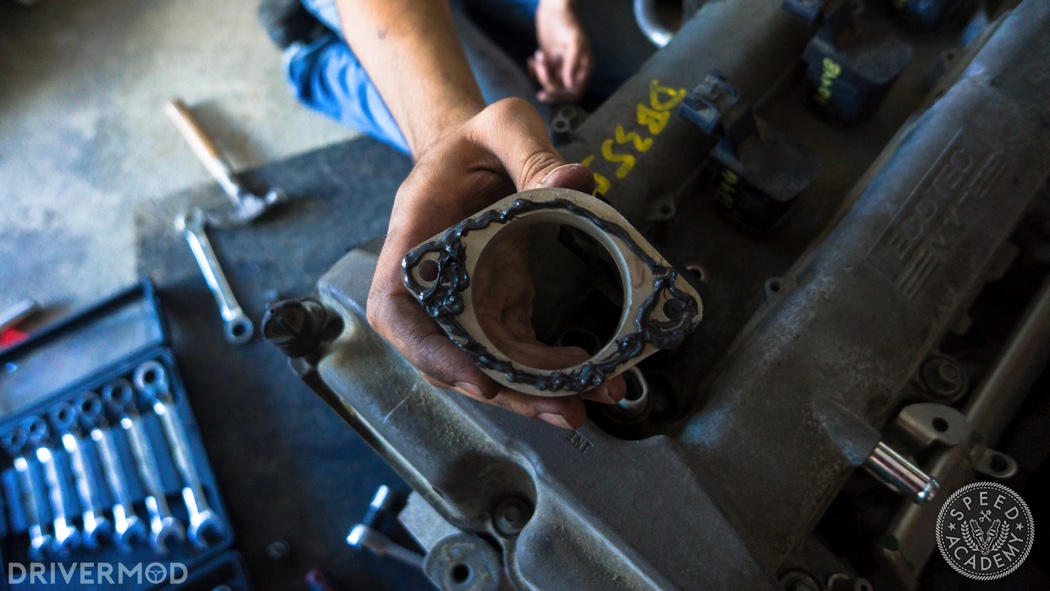
MT found that during the track testing of their ChumpCar Canada Ecotec Miata, (80+ hours worth) these engines in these cars tend to run excessive amounts of vacuum. For that reason, if you’re planning to drive your car at the track or engage in other forms of aggressive driving, there’s a vacuum port in the LE5’s intake manifold that needs to be sealed up with epoxy. Because epoxy takes time to dry, I decided that this would be the first thing we’d do.

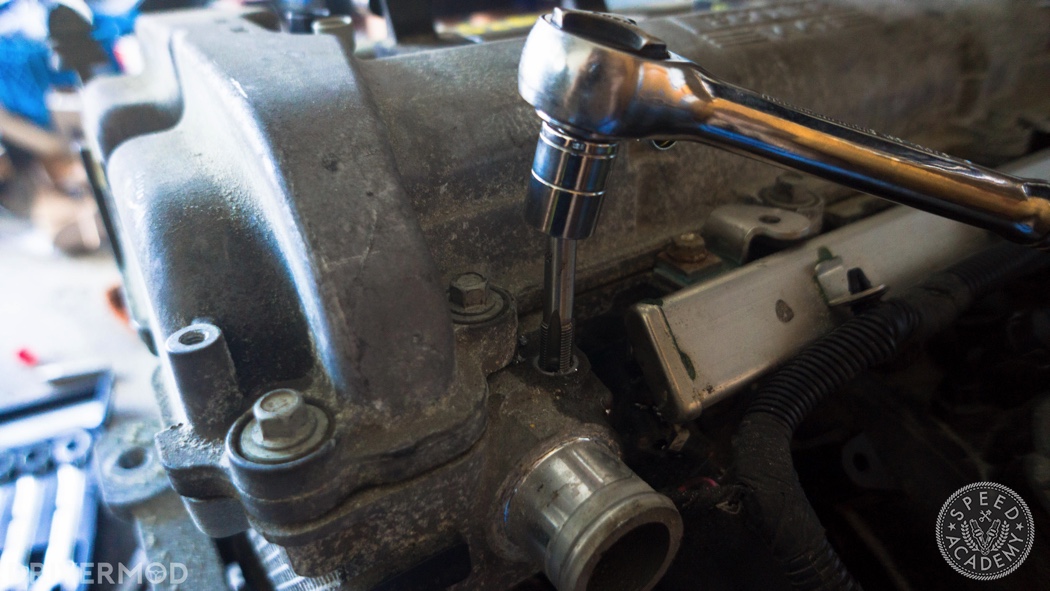
Simply remove the 10 mm bolts holding the intake manifold on the engine using a wrench with an extension, and it should come off without issue. The vacuum port that needs sealing sits directly between the intake runners of cylinders 2 and 3. We used a standard high strength epoxy; in retrospect, a thicker epoxy would have made the job easier. Once the epoxy dries, you can reinstall the intake manifold.

While the epoxy was drying, I moved on to installing the Miata coolant temperature sensor. The NB Miata kit comes with a new coolant temperature sensor, while the NA Miata kit requires you to use your factory coolant temperature sensor. You need to remove the coolant bleed port located on the front left corner of the engine, near the engine side coolant feed port.
Once removed, drill a hole with an 11/32-inch drill bit. You’re widening the existing hole in order to accommodate a 1/8-in BSP tap. Once you’ve drilled out the existing hole, insert your tap and carefully thread the hole. Once you’ve done this, you’re ready to insert your coolant temperature sensor.
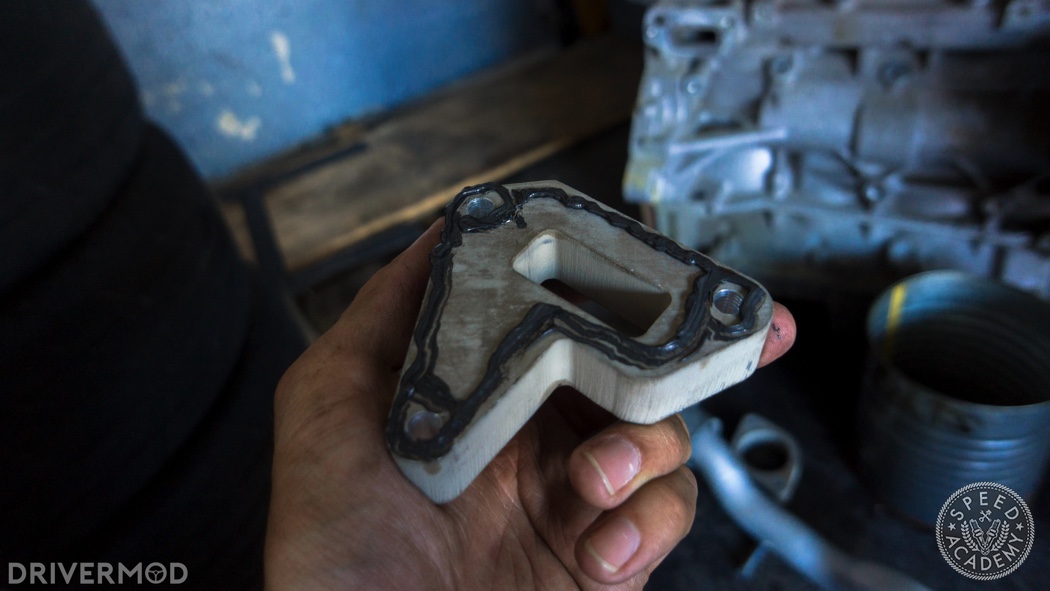
You then need to install a thermostat housing spacer between the thermostat housing and the engine block, and a thermostat outlet spacer between the thermostat housing and the thermostat outlet.

Essentially, you’re taking apart the engine’s thermostat, applying RTV sealant to the spacers, and reinstalling everything with the spacers installed using the supplied hardware and Loctite.