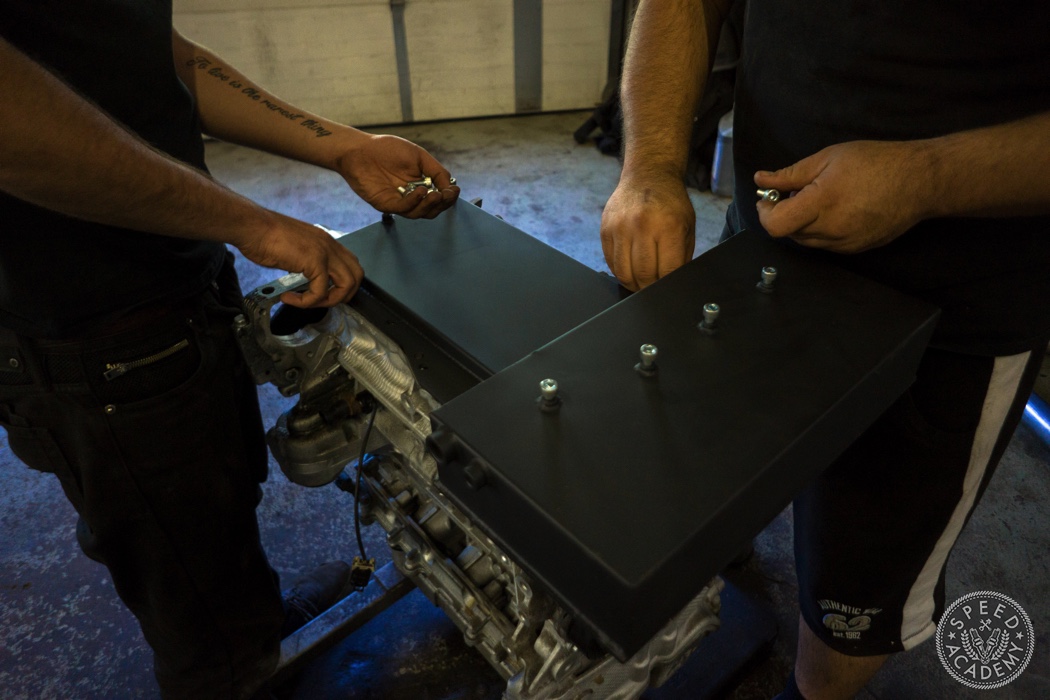
Next, we installed the Ecotec Miata oil pan. In an ideal world, you’ll have an engine stand. Naturally, we didn’t. Instead, we gently tipped the engine over onto the exhaust side supporting it using plywood. However you decide to support the engine, it’s not recommended that you replace the oil pan with the engine sitting upright on a hoist. (ie; the way you’d insert it into a car) You need to keep the area where the oil pan meets the engine clean of oil, and doing so with the engine in the air is next to impossible.
From here, we removed all bolts holding the factory oil pan on to the engine, removed the oil pan, and used a gasket scraper to remove the old sealant left on the engine. From there we applied RTV sealant to the edge of the Ecotec Miata oil pan, being sure to go around all bolt holes along with the oil pump suction cavity.
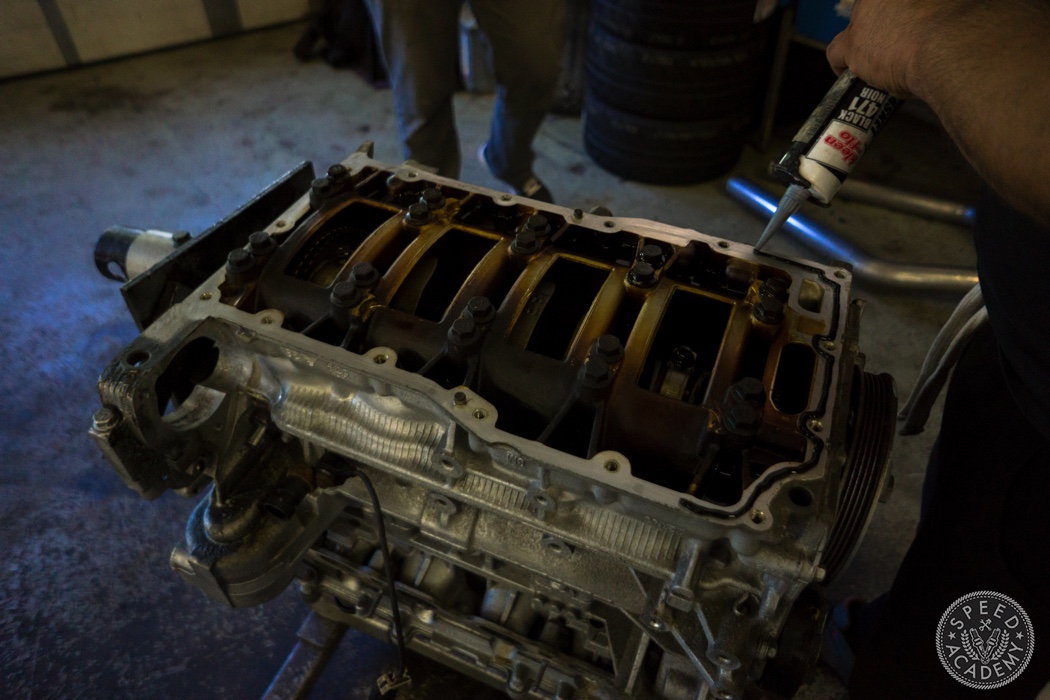
Applying oil to the oil pan and not to the engine lead to issues with the oil pickup not sealing properly. As a result, we had to reseal the oil pan with the engine in the car… which was a pain. So go buy or borrow an engine stand so you can turn the engine over and apply RTV sealant to the engine like the pictures above.
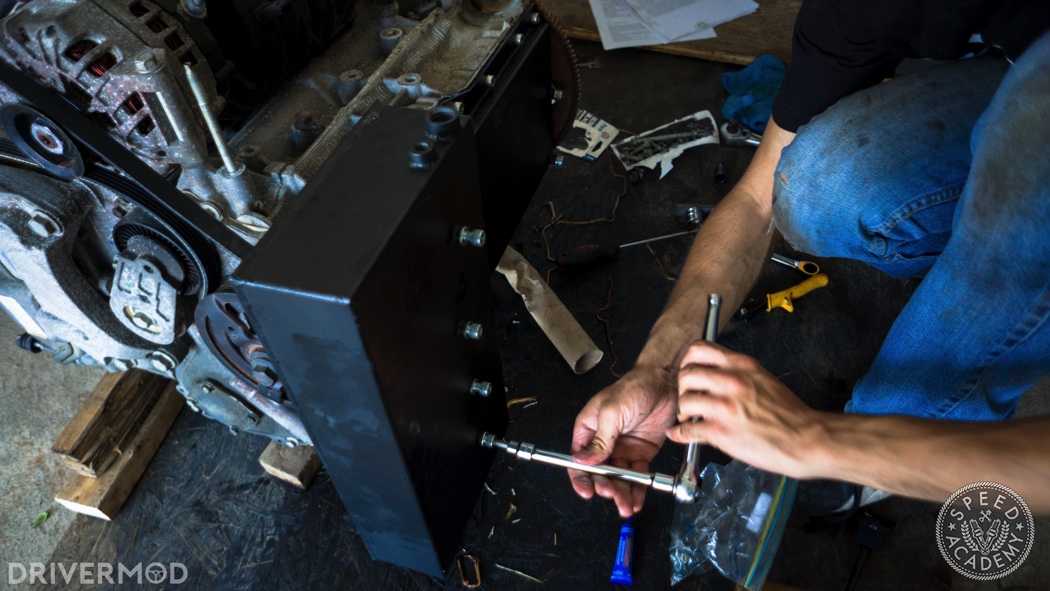
We cleaned the area on the engine that meets the oil pan completely of oil and installed the oil pan. You also need to install the engine’s serpentine belt, because you won’t be able to after you install the oil pan (without removing the crank pulley) The swap kit comes with hex bolts of three different lengths: the longest ones go in the forward most holes using flat washers and Loctite. The shortest fasteners go on the sides of the oil pan and they don’t require washers or Loctite.
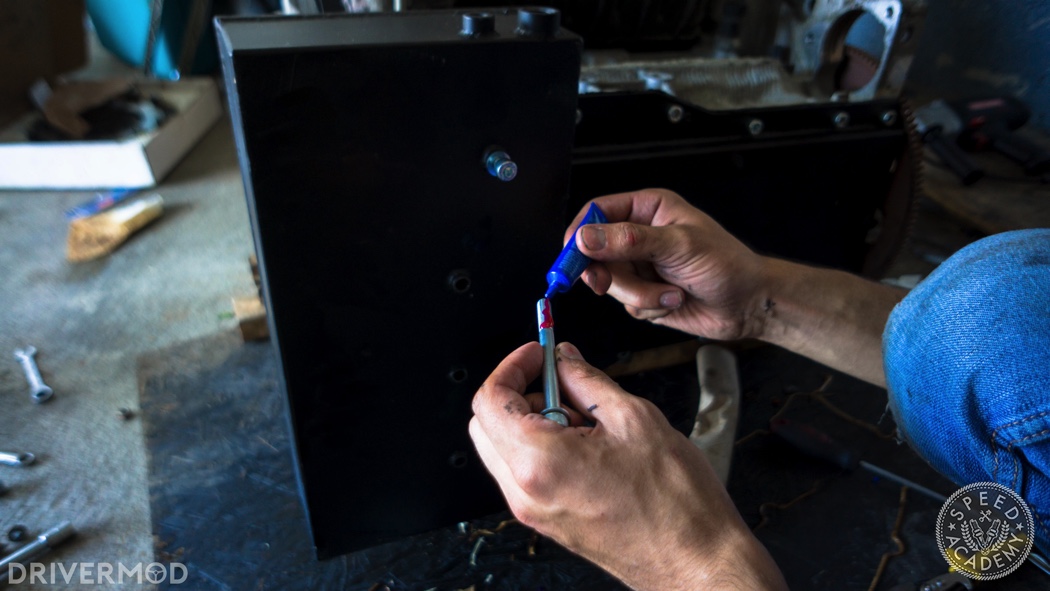
The rest of the fasteners go on the rear of the pan and use both washers and Loctite. Once they’re all installed, they’re torqued to 18 ft-lbs in the order specified in the Ecotec Miata swap guide.
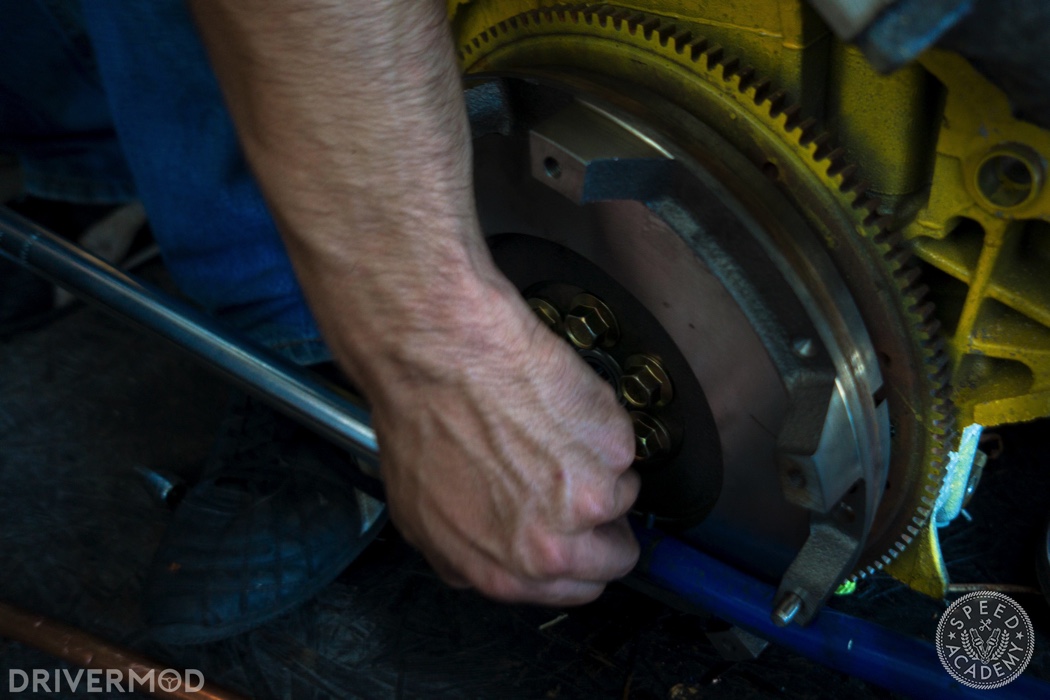
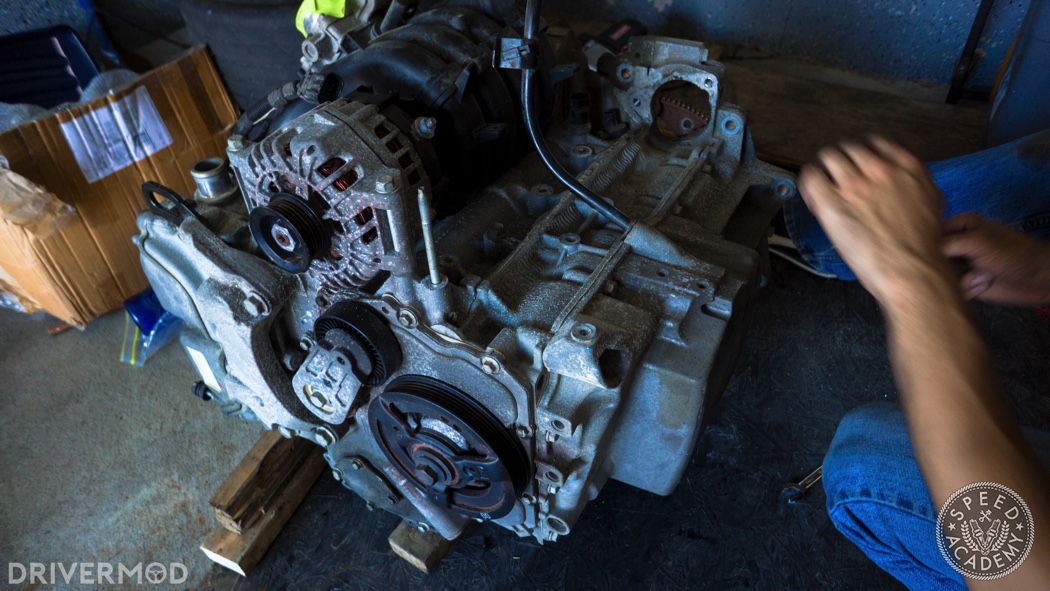
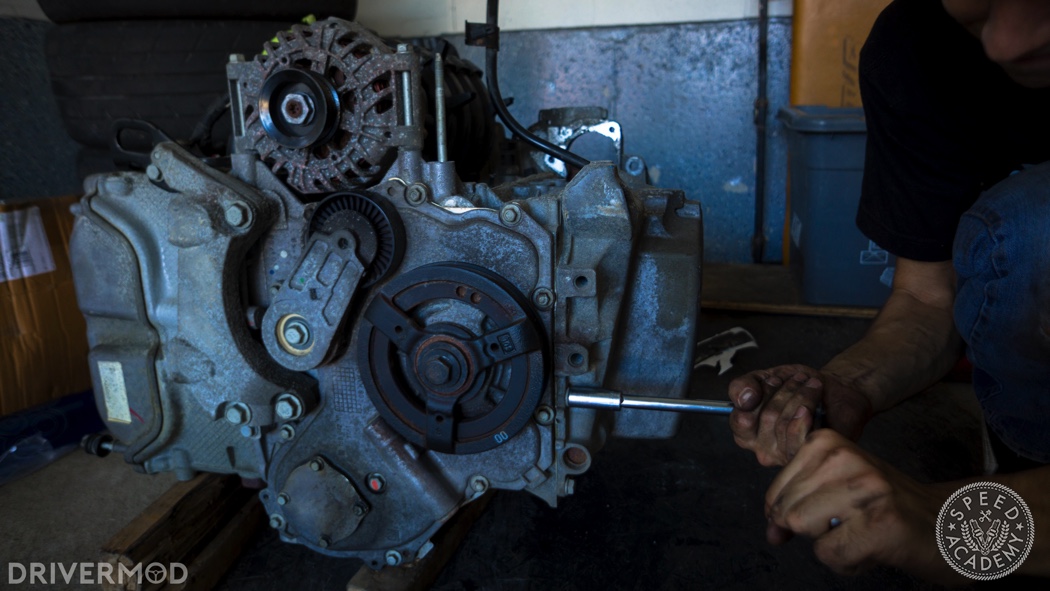
With the engine back right side up, we installed the flywheel adapter, bellhousing adapter, and later the flywheel, clutch and pressure plate. First, remove the factory Ecotec flexplace from the engine. Your engine may have a thin piece of metal attached to the flexplate that’s held on by three rivets. We removed each rivet using a hammer and a chisel.
You then place the flexplate back on the engine, place the flywheel adapter over top of the flexplate, and thread the supplied bolts through the flywheel adapter and the flexplate into the engine using Loctite. You can then bolt your flywheel onto the flywheel adapter using the supplied hardware and Loctite.

The OEM Ecotec starter drives the factory GM flexplate, which is why it’s left on the engine. In an ideal world, the Miata flywheel’s ring gear shouldn’t conflict with the Ecotec starter. However, at this point we were still waiting for the starter to arrive and didn’t want to take any chances, so we knocked the gear ring off the flywheel using a hammer. The bonus of doing this is that it shaves a bit of weight off the flywheel. It’s also a good idea to get your flywheel refinished prior and to replace its pivot bearing with the one supplied in whatever clutch kit you’re using.
MT doesn’t recommend using a lightweight flywheel with this swap, as the Miata flywheel is already much lighter than a factory Ecotec flywheel. When we drove MT’s Ecotec Miata with a factory Miata flywheel, we found that it revved plenty quickly.
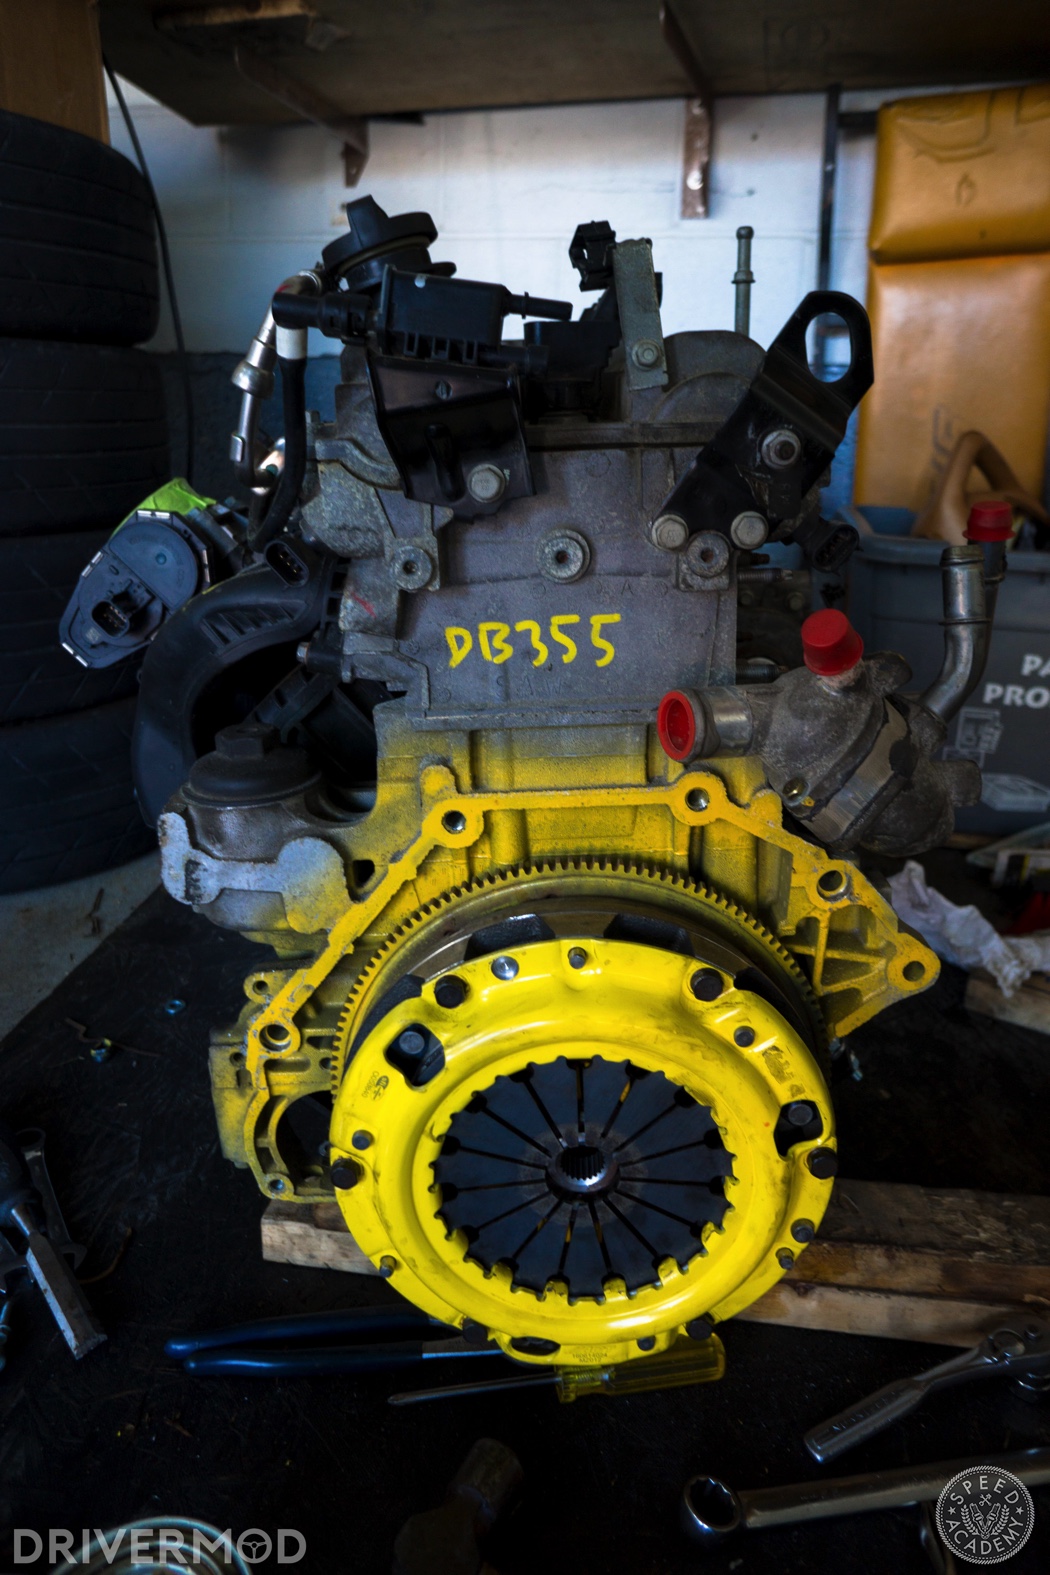
At this point, we cleaned the flywheel with some brake rotor cleaner, wiped it with a shop rag, and installed our clutch. For this swap, we’re using an ACT Stage 1 Organic clutch kit rated to 245 tq. I’ve driven other Miata’s with the same kit, and they’re known for holding their rated torque while still providing smooth, streetable engagement. Using the supplied clutch alignment tool, we installed the clutch, followed by the pressure plate and installed all pressure plate bolts hand-tight using Loctite. We then torqued all pressure plate bolts to 19-25 ft-lbs in a star pattern.
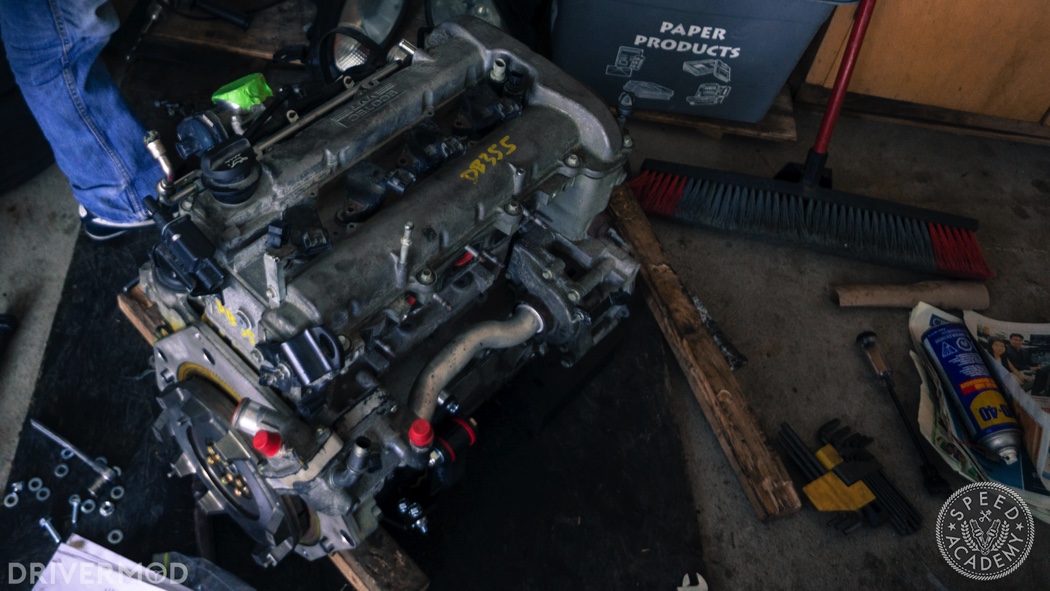
From here, we installed both engine mounts using the supplied hardware and Loctite. The mounts feature a polyurethane bushing that pivots around a bolt. The bolts attaching the mount to the engine should be tightened prior to install, but this pivot bolt can be left loose for now. As it turns out, installing the left side engine mount was a mistake, because we didn’t yet have a starter and the starter needs to be installed before the engine mount. Later, we then removed the mount, installed the starter, and reinstalled the mount.
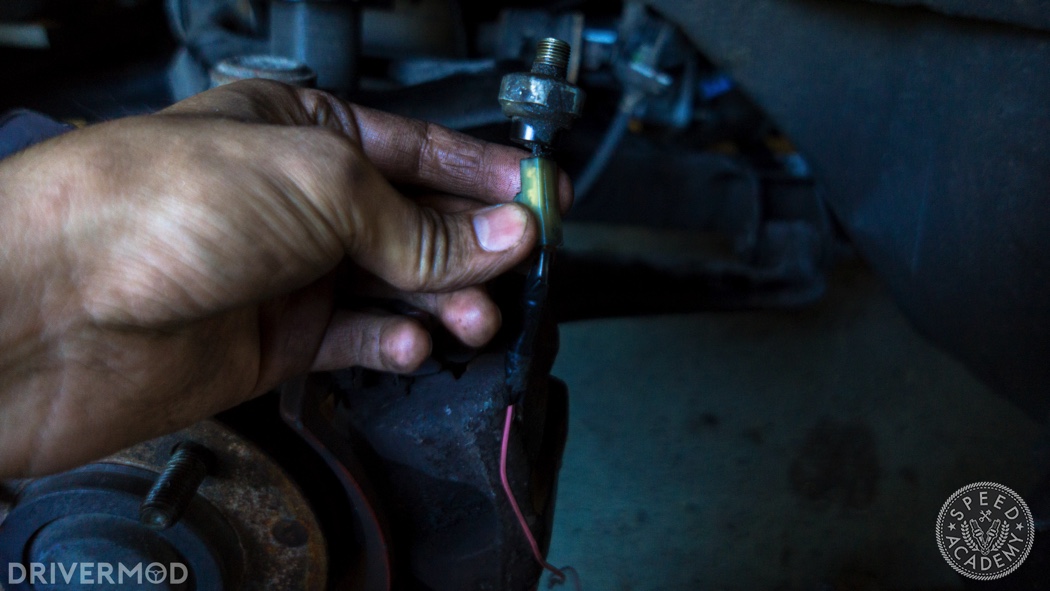
The only thing left to install is the oil pressure sender, which we’ll do later as this swap utilizes the Miata’s OEM pressure sender. Simply install the supplied adapter into the block where the old oil pressure sender once was, and install the Miata’s oil pressure sender. At this point, installing the engine shouldn’t be much more difficult than installing a Miata engine. Next time, we’ll go through the agonizing task of pulling the Miata’s tired engine.
Phillip Oliveira is a local track day junkie who spends his days running the Canadian car culture journal DriverMod, and his nights awake wondering if his Ecotec-swapped Miata will ever be finished. You can see more of his work at www.drivermod.ca.
Mazda Miata Ecotec Swap Part 1