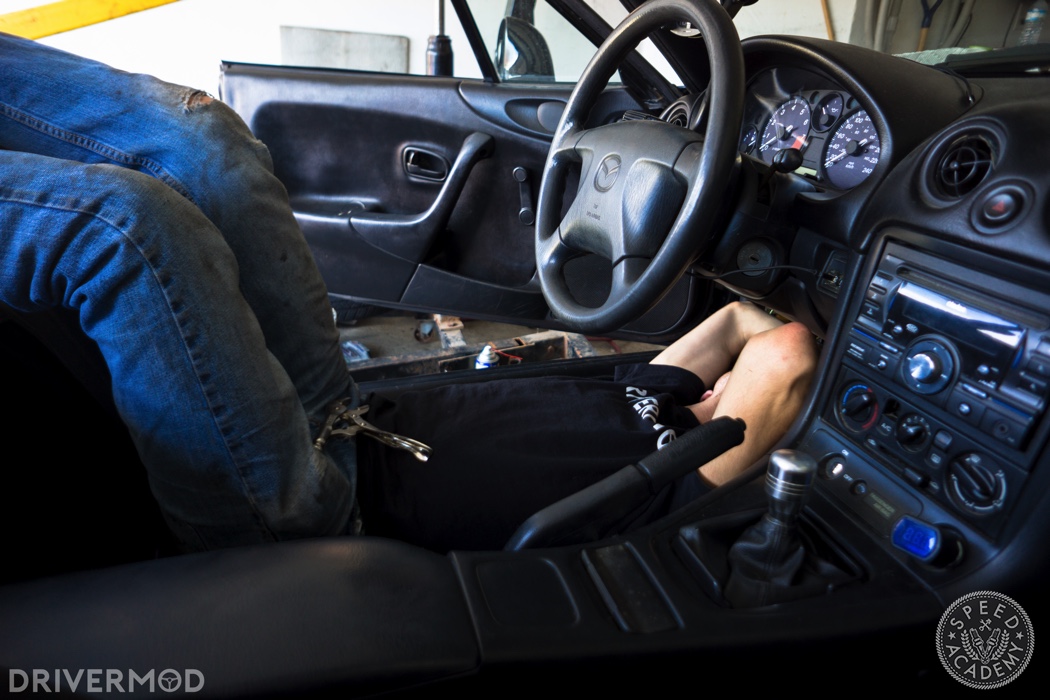
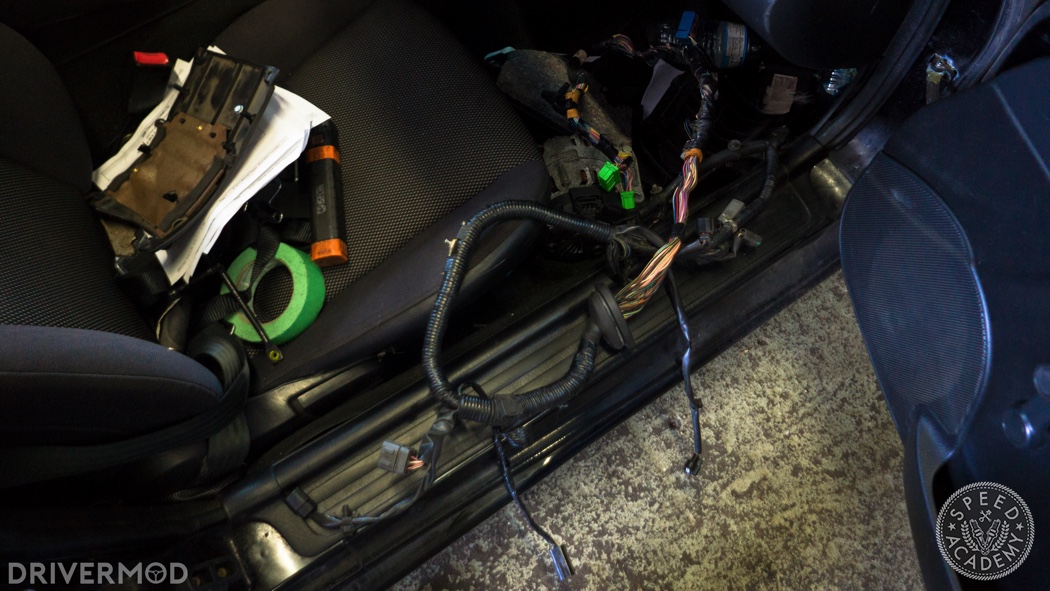
This part was next to impossible to photograph so bear with me. The Miata’s wiring harness connects to the car in two points: both are underneath the driver’s side dashboard. The first thing you should do is remove your driver’s seat completely, because you’ll find yourself doing a lot of this:
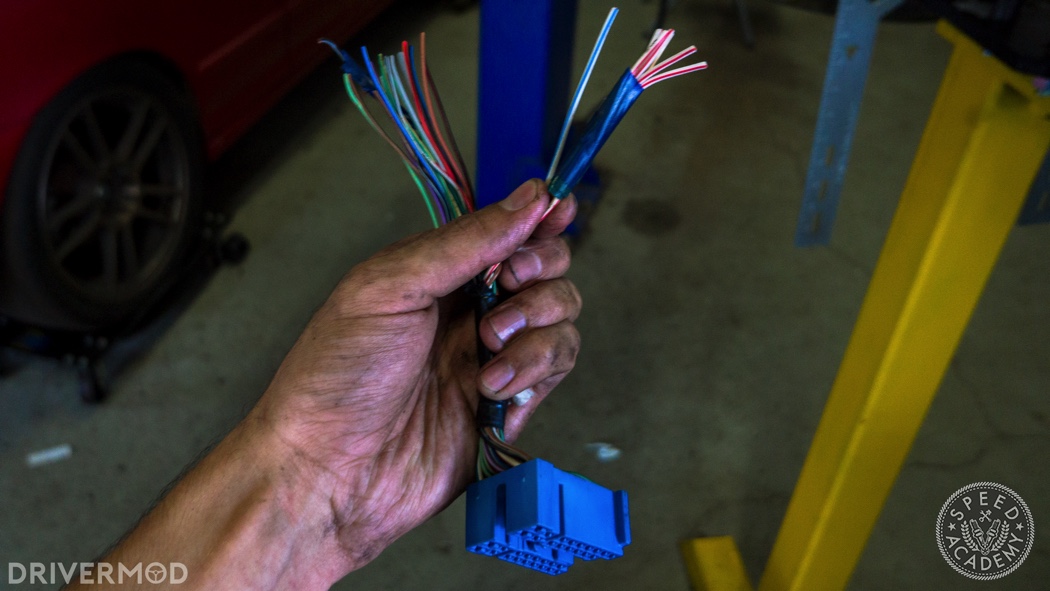
There are green clips that plug directly into the Miata’s ECU, and a large blue clip that plugs into the body harness. Remove the green clips from the ECU, and cut the harness after the large blue clip (see below). Next, you want to pop the rubber grommet that the harness runs through, out of the firewall. You’ll need it for later, so cut a slit in it using a razor blade to free it from the wiring harness.
Getting the harness out of the car is a bit of a two-man job. You need one person under the dashboard, ensuring that the harness is completely free (there will probably be several zip ties to cut) and to help guide it out towards the passenger side. The other person will be pulling at the engine harness through the firewall.
Before you think about doing any of the under-dash wiring, you should pull the Mazda ECU and pedal assembly. The Mazda ECU is mounted on a stud that points towards the back of the car, that’s welded to a bracket. It’s likely hidden in a rat’s nest of wiring making it difficult to find, but you can get a wrench and long socket on it. Remove the nut on that stud, along with a much more obvious bolt holding the ECU, and it should come free.
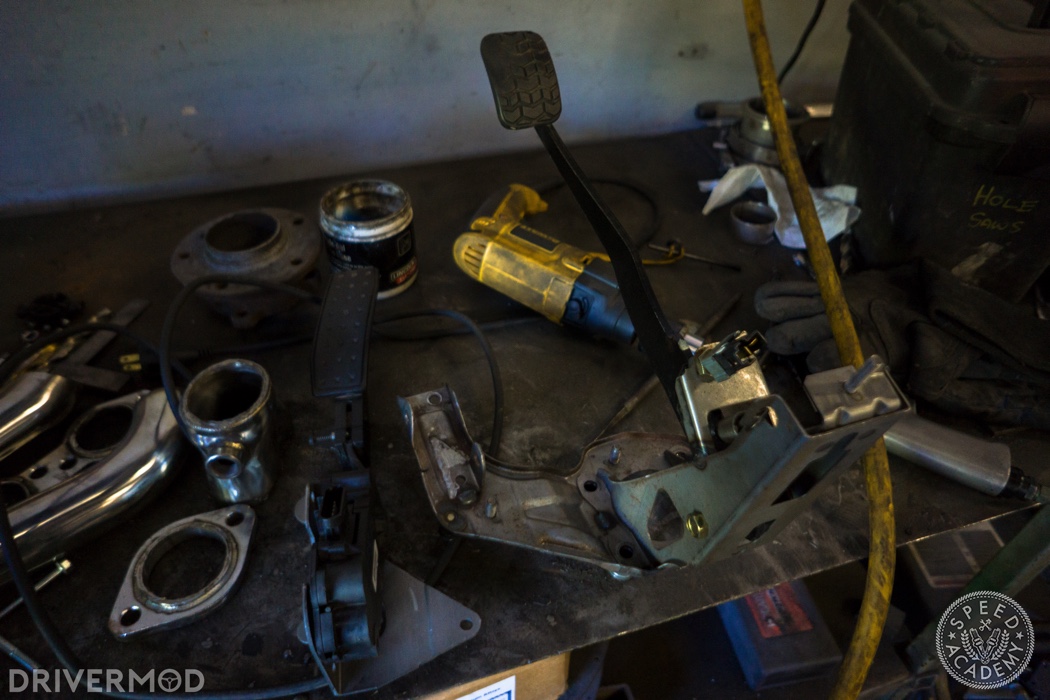
The throttle pedal needs to come out of the car to mount the GM electric throttle pedal in the Miata pedal’s place. We spent two days trying to mount the GM pedal without removing the Mazda pedal assembly; trust us, it needs to come out. The steering column bolts to the pedal assembly as well, so the steering column needs to come out enough to allow the pedal assembly to slip free.
First, remove the throttle pedal itself. There’s a spring that easily slips out from underneath the pedal. At that point, you can wiggle the pedal out of the assembly. Now, you can remove the 6 nuts that hold the pedal assembly to the firewall; they’re a mixture of 10mm and 12mm nuts. There’s also an electrical clip attached to the front of the brake pedal assembly, so be sure to unplug that.
The steering column has two “feet” that extend from its base, that are bolted to studs welded to the pedal assembly. Remove these two nuts.
Next, you can remove the bolt that runs directly through the steering column, holding it together. Finally, remove the two gold-coloured bolts that bolt the steering column to the top of the dash. If you haven’t already, you’ll need to remove the plastic kick panel that hides the steering column from the view of the driver. When those two bolts come out, the steering wheel will come down on your chest, so be ready.
With the column out, the pedal assembly will come out easily.
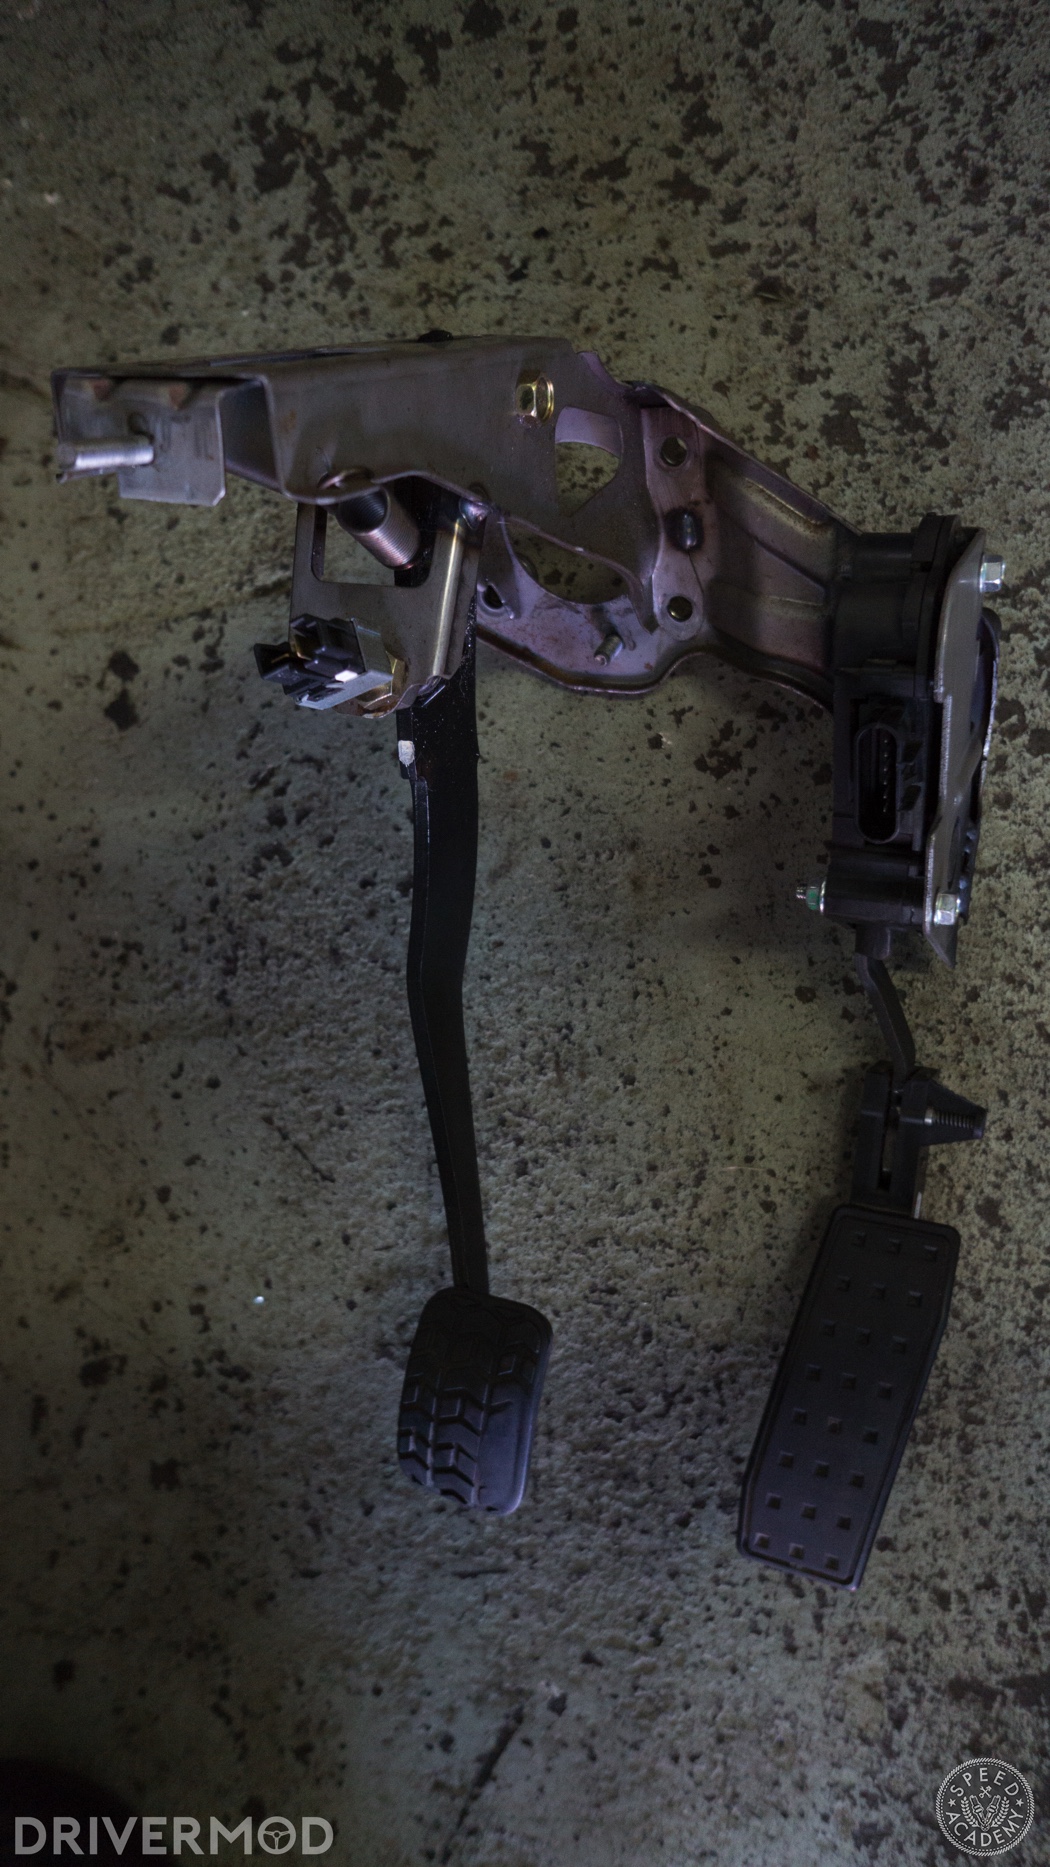
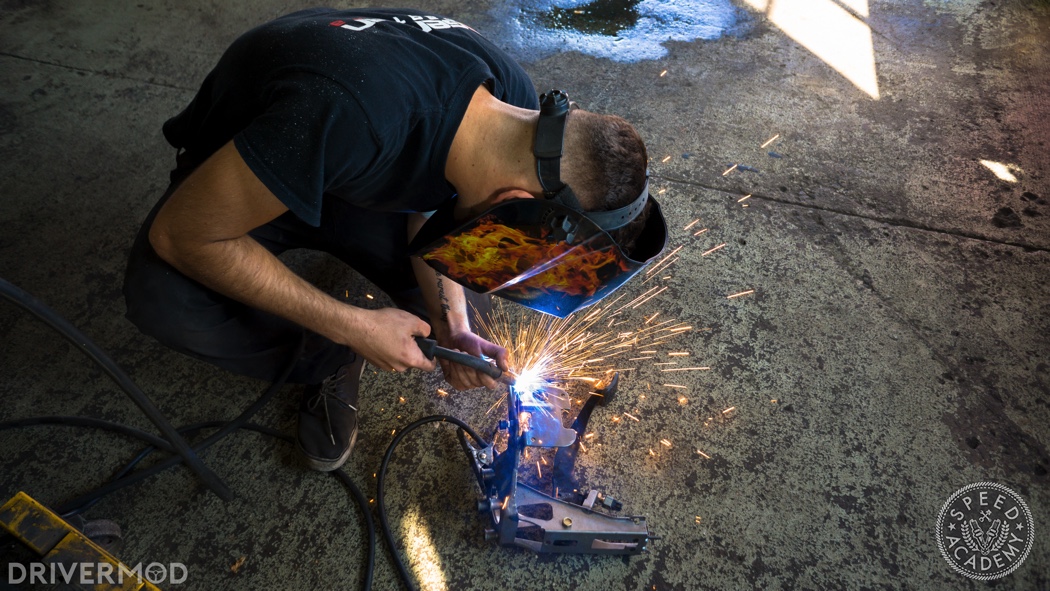 Your GM throttle pedal should come bolted to a metal bracket. This metal bracket needs to be welded to the Mazda pedal assembly as such. This will involve cutting out the excess metal that held the Mazda pedal in place, and cutting out excess metal from the GM pedal’s bracket.
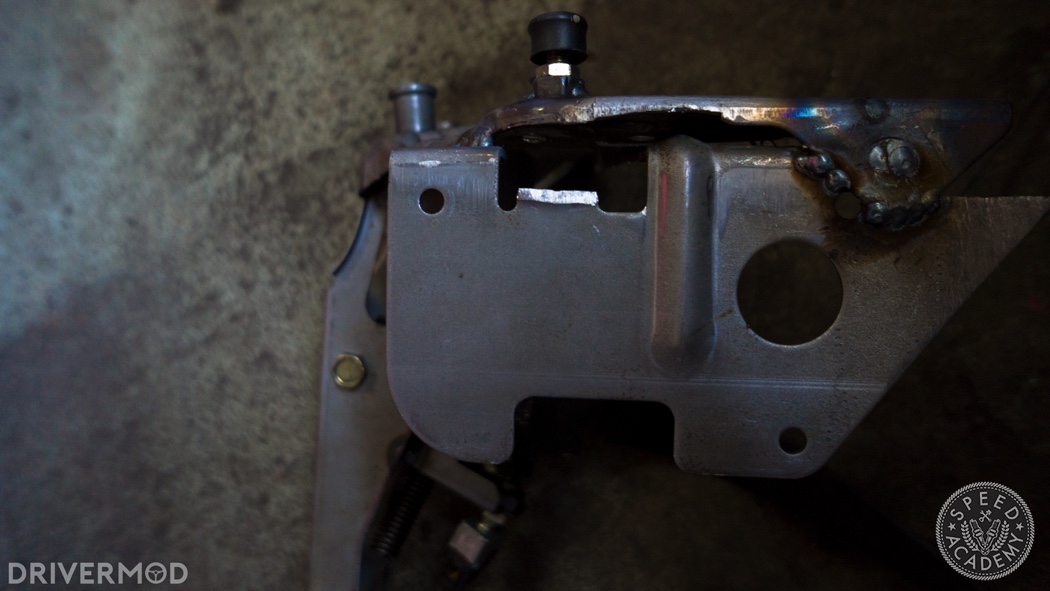 Note that the pedal bracket is welded to the sides and top of the bracket. We also welded a nut between the pedal’s bracket, and the pedal assembly. This will stop the pedal from bending when pressure is applied is applied. This does block one of the three holes used to bolt the pedal onto the pedal assembly.
 Once all the welding is done, be sure to give it a coat of paint to prevent rust.
At this point, you can reinstall the pedal in reverse order. Be sure to bolt the GM throttle pedal into the car after you install the pedal assembly, as doing so will make reinstalling the steering column will make bolting the “feet” of the steering column to the pedal assembly impossible. Now that all of that under-dash butchery is complete, you can take care of the under-dash wiring
As you’ll see in Part 6, there’s still lots more wiring to do!
Phillip Oliveira is a local track day junkie who spends his days running the Canadian car culture journal DriverMod, and his nights awake wondering if his Ecotec-swapped Miata will ever be finished. You can see more of his work at www.drivermod.ca.
Hey, could you tell me what year CTS the throttle pedal was and also if it matters if it is from a manual or automatic?