Before we could start wiring the LE5 2.4L Ecotec to my NB chassis Mazda MX-5, there were three things we needed. The first is the engine harness off an LE5 equipped car. We took ours off a 2006 Chevrolet Cobalt SS. Next, we needed a GM throttle pedal that accepts throttle by wire. MT Motorsport, the brains behind the EcotecMiata.ca swap kit we used, recommends one from a Cadillac CTS as it’s easy to wire in and mount in the Miata. Finally, you’ll need a GM ECU. Ours came with our engine, though we later found out that it came from a Pontiac G6. Keep in mind that it’s going to have to be reflashed to remove the factory immobilizer and if you hope to see any more than the 170-bhp these engines made from the factory.
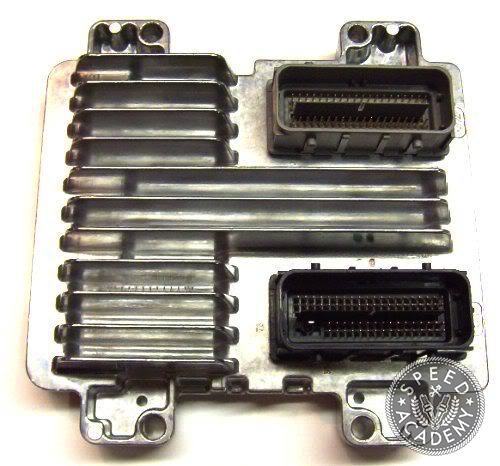
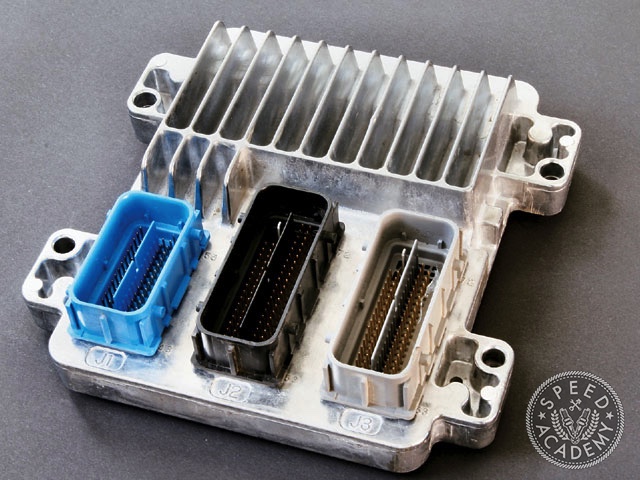
There are two types of ECUs you can get with these engines; one with a two-plug design and one with a three-plug design. Both are fine and both do the same thing, but I’d recommend you pick up a three-plug ECU because it makes wiring a lot simpler. Naturally, you need to make sure that whatever ECU you pick up matches the design of whatever wiring harness you pick up.
Pro Tip: Buy everything from the same car. Some Ecotec cars have a six pin connection on the throttle body while some have an eight-pin connector. The pin pattern on ’08+ ECUs is slightly different than the clip design on ’06-’07 harnesses. If you want to avoid swapping out throttle bodies and re-pinning ECU clips like we did, just get everything from the same make and model of car.

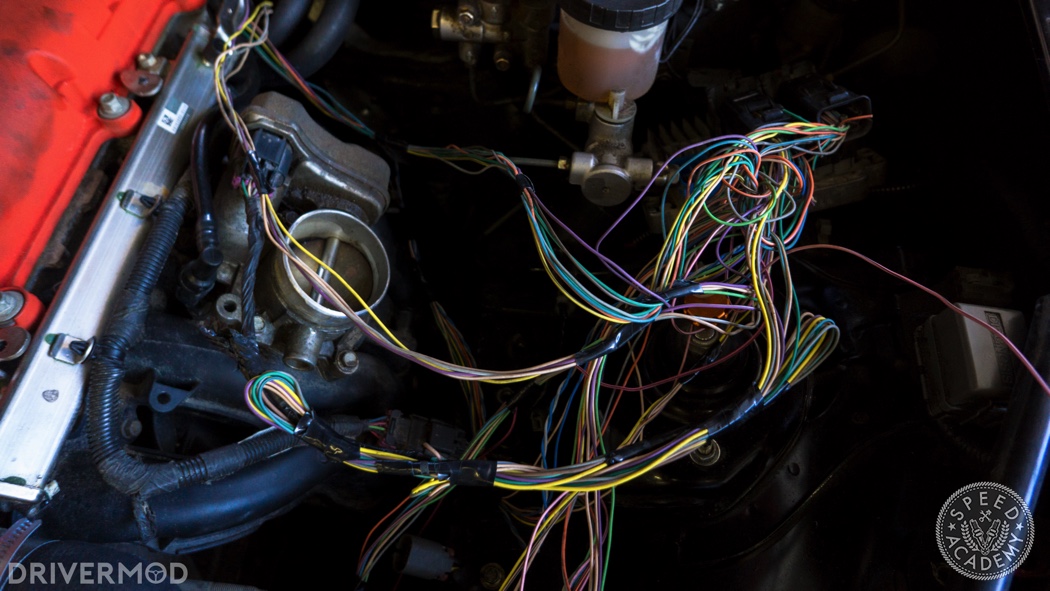
Time for the fun part. Start by marking off everything you don’t need on the Ecotec wiring harness. We did this using white tape. This includes:
- O2 Sensor 2 (post-cat)
- Vehicle speed sensor
- Engine oil pressure switch
- Fuel tank pressure sensor
- Evaporative emission canister vent solenoid valve
- A/C refrigerant pressure sensor
- Fuel pump and sender assembly

Then, remove all of the plastic wiring harness wrap from the harness. As you cut out each unnecessary plug, you want to trace the wires from that plug back to the ECU plugs and cut them at the ECU plugs. This means that you won’t have any unnecessary wiring running through the harness, making troubleshooting more difficult later. If you see any pink/black wires; leave them. These are the harness’ power wires, and you’ll need all of them.
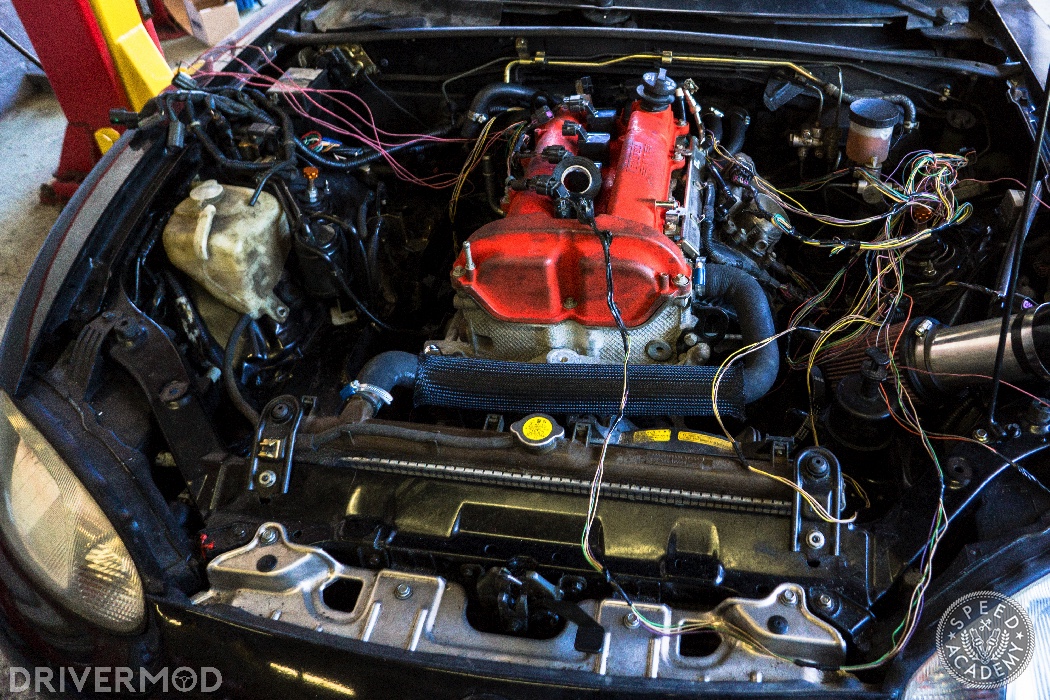
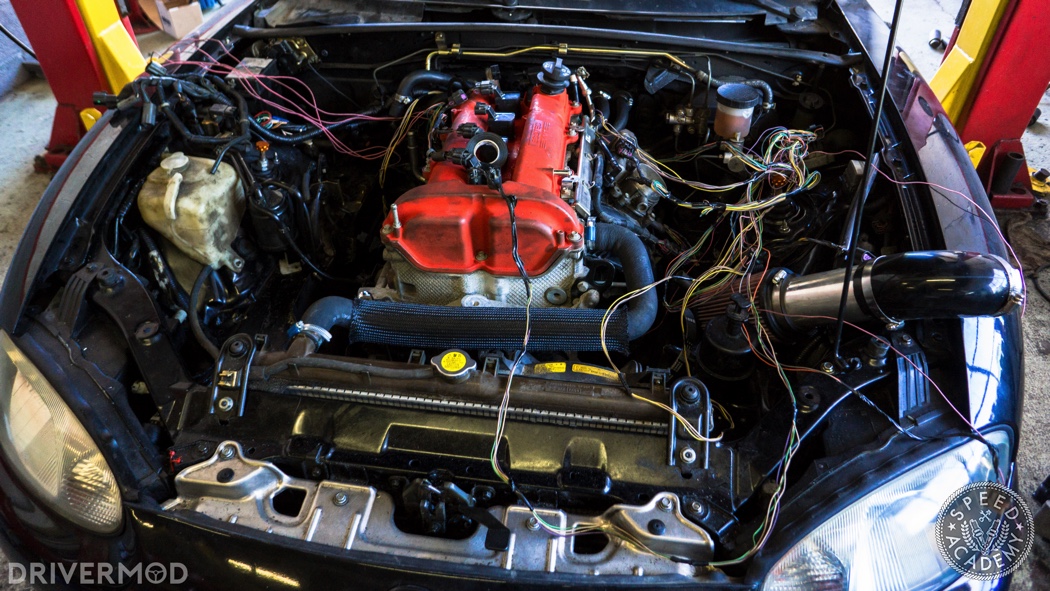
Now that you only have what you need on the harness, you want to lay out the harness over the engine, and plug everything in. Try and get the wiring as untangled as possible, as that will result in a neater harness. Now is also a good time to mount the ECU. Above the driver’s side strut mount is the easiest spot, as there’s already 6mm threaded holes you can use to bolt it down. This will give you an idea of where the ECU plugs should end up.
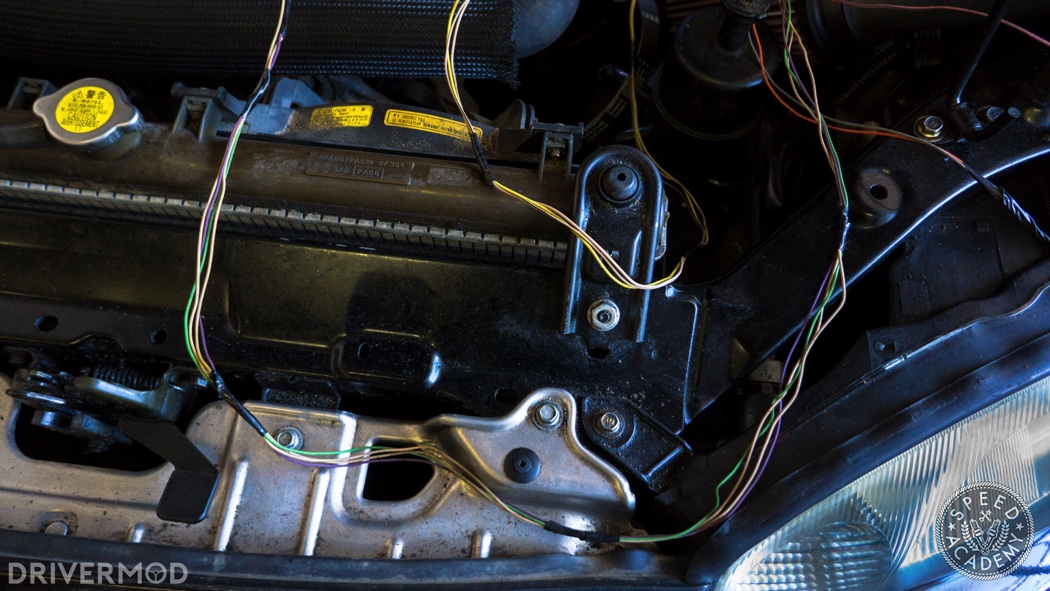
Start taping up the harness using electrical tape every six inches or so, forming it into what the engine’s wiring harness will eventually look like. If you end up with sections of wire that are way too long, layer them and tape them up.
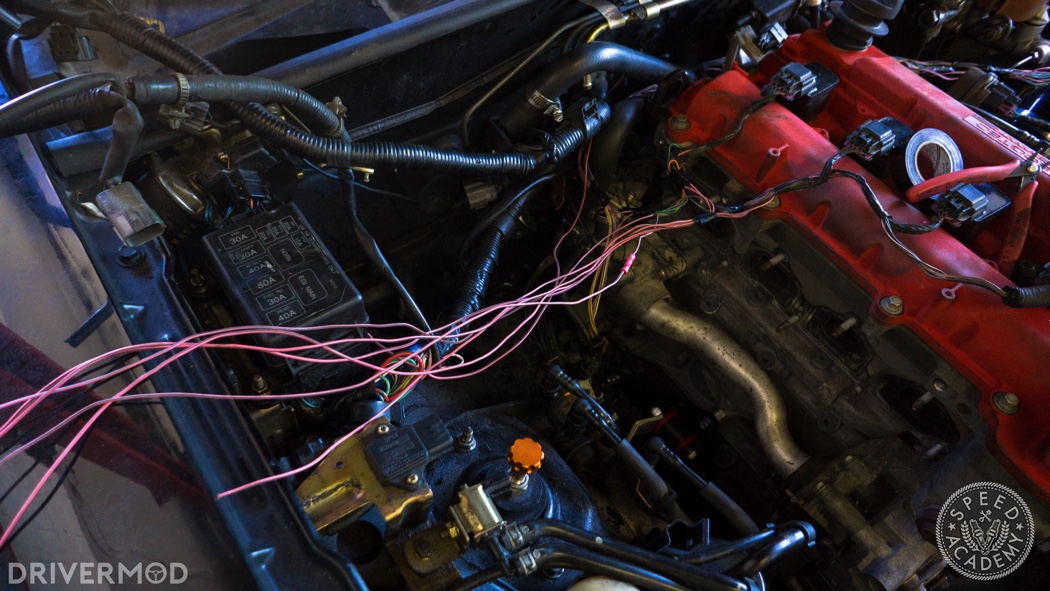 All the pink and black power wires are going to have to be separated and led to one spot. On the NB Miata, they connect underneath the driver’s side dashboard. On the NA Miata, they splice into the fuse box. For now, you can lead them all towards the fuse box regardless of what generation car you’re swapping.
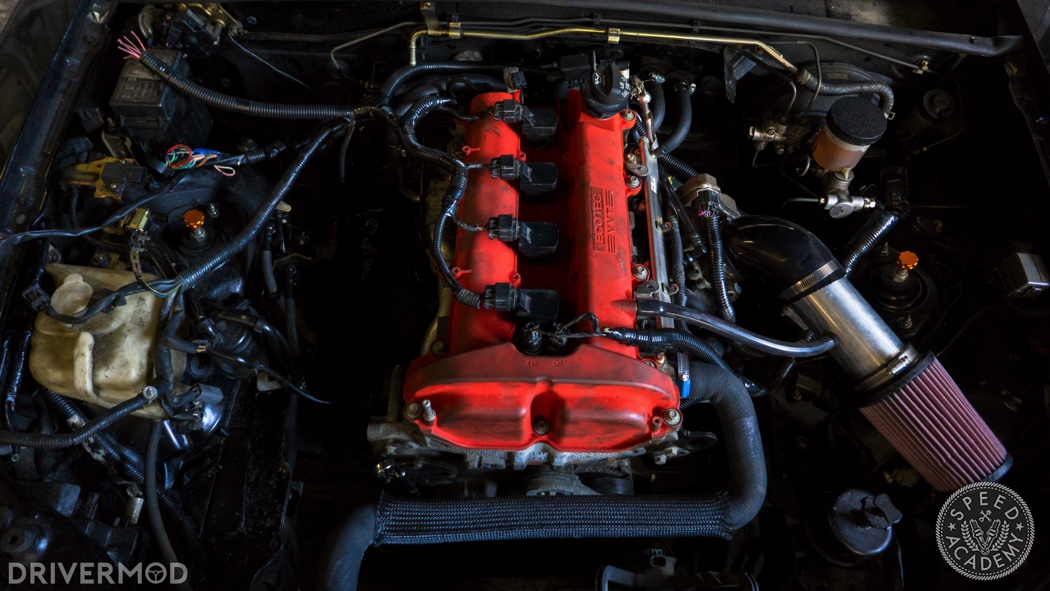
Now that you’ve taped up your rat’s nest of wiring to the point where it resembles a wiring harness, you can break out your plastic wire harness tubing, and start wrapping the harness. With your new wiring harness complete, now would be a good time to pull the Mazda factory harness out of the car.

Hey, could you tell me what year CTS the throttle pedal was and also if it matters if it is from a manual or automatic?