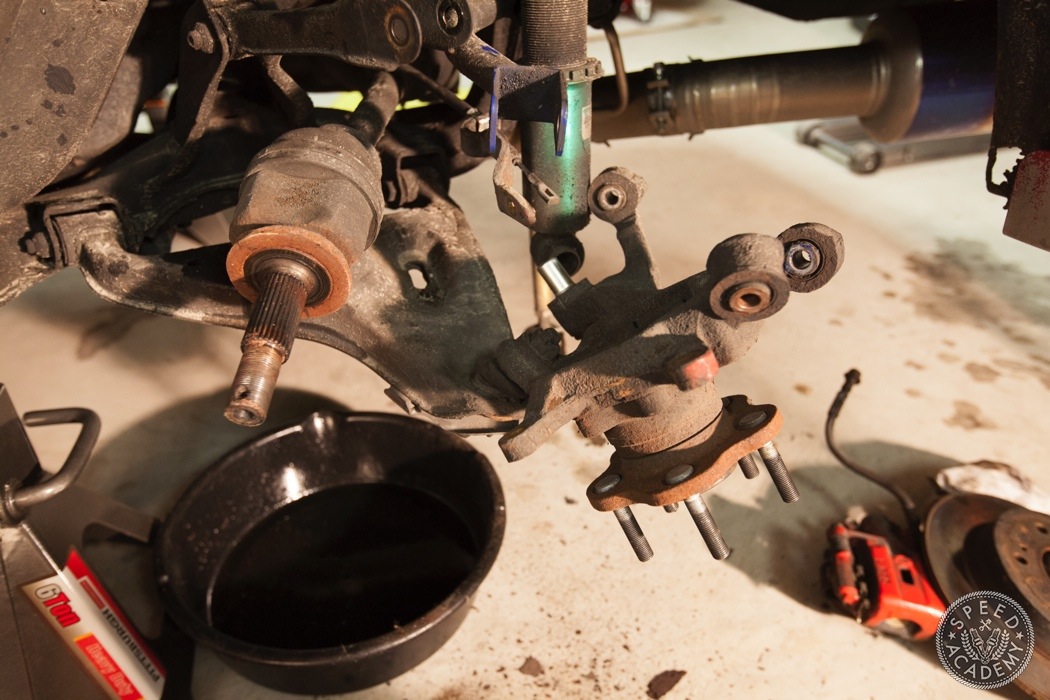
This is what we’re left with. If only we could slide the hub out right now then the 300ZX parts would bolt right in without taking anything else off. Sadly, the hub is held in by 4-bolts that are tucked behind the drive axle.
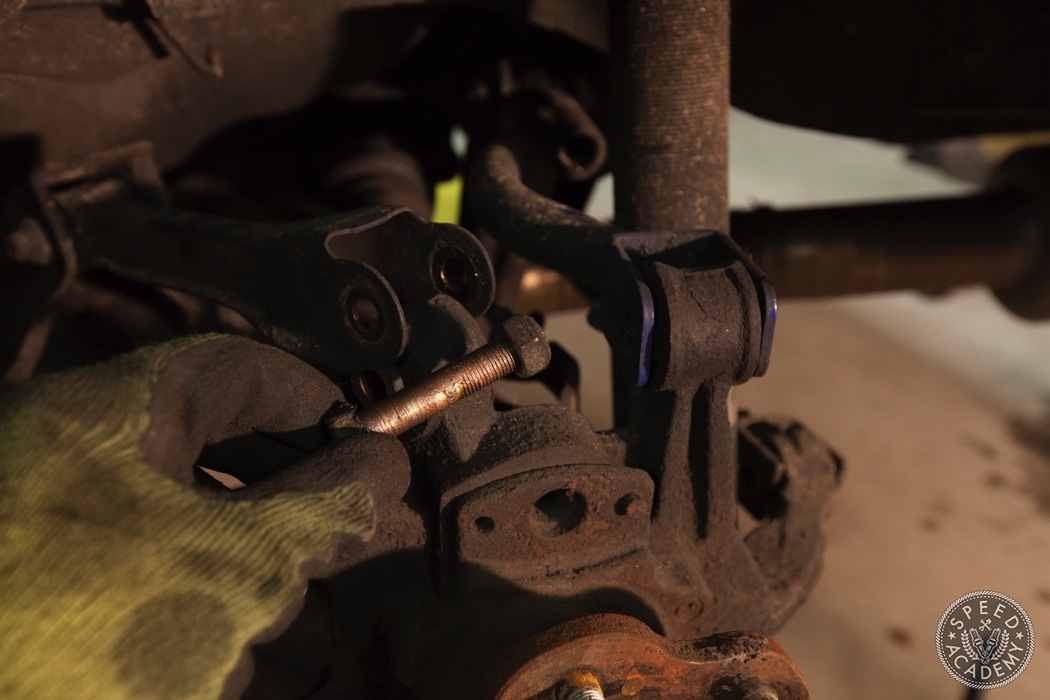
That means disconnecting all the arms and coilover that hold the hub assembly in place.
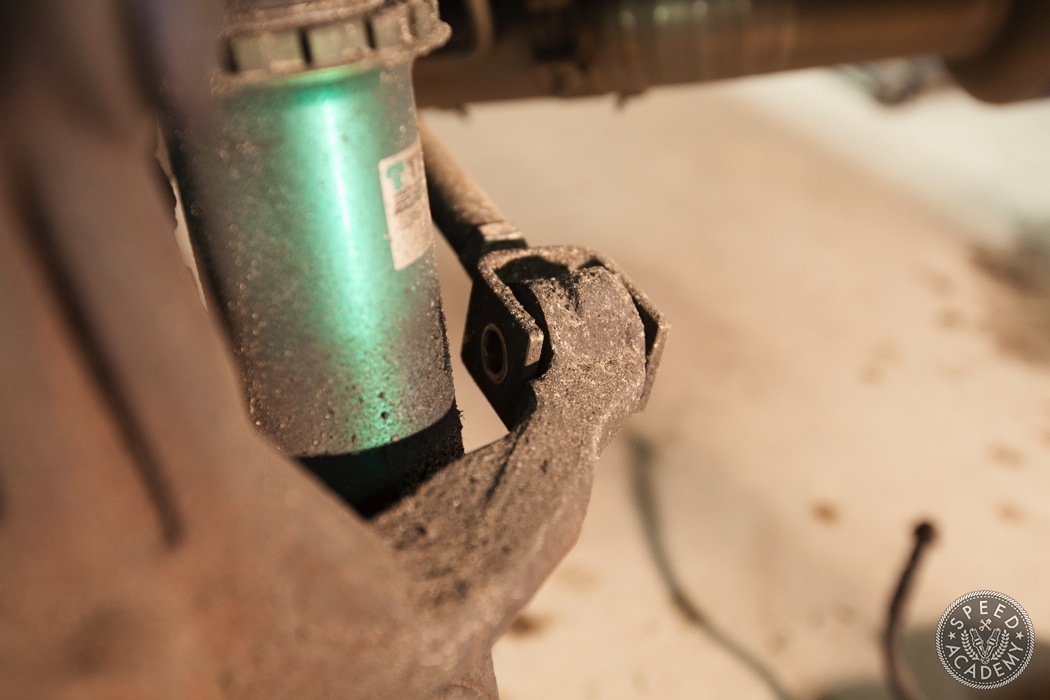
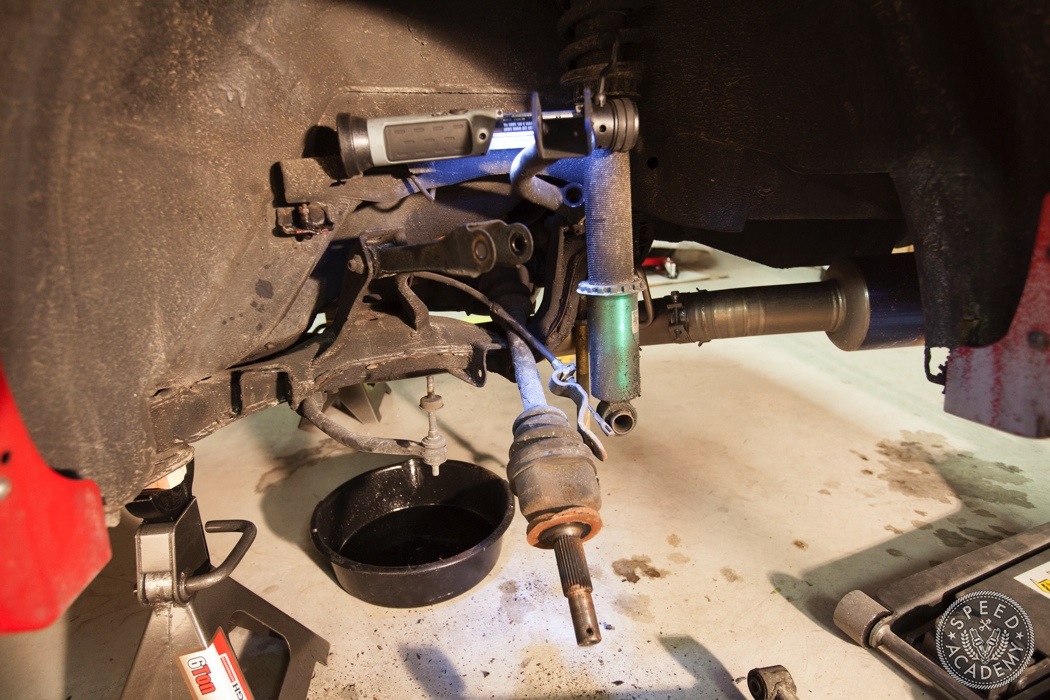
Once everything is disconnected the drive axle needs to be pushed out of the hub and the 4-bolts reveal themselves.
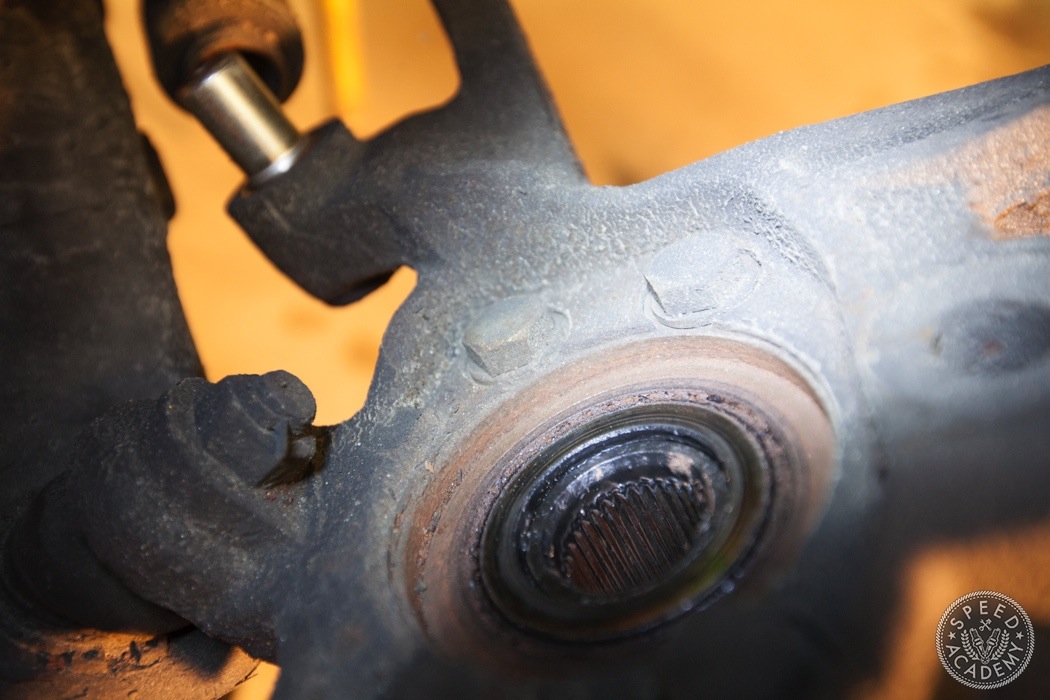
Here’s where having a hot climate only car can make your job easier than mine. If you remove the 4 bolts odds are the hub can be tapped out. This one, not so much.
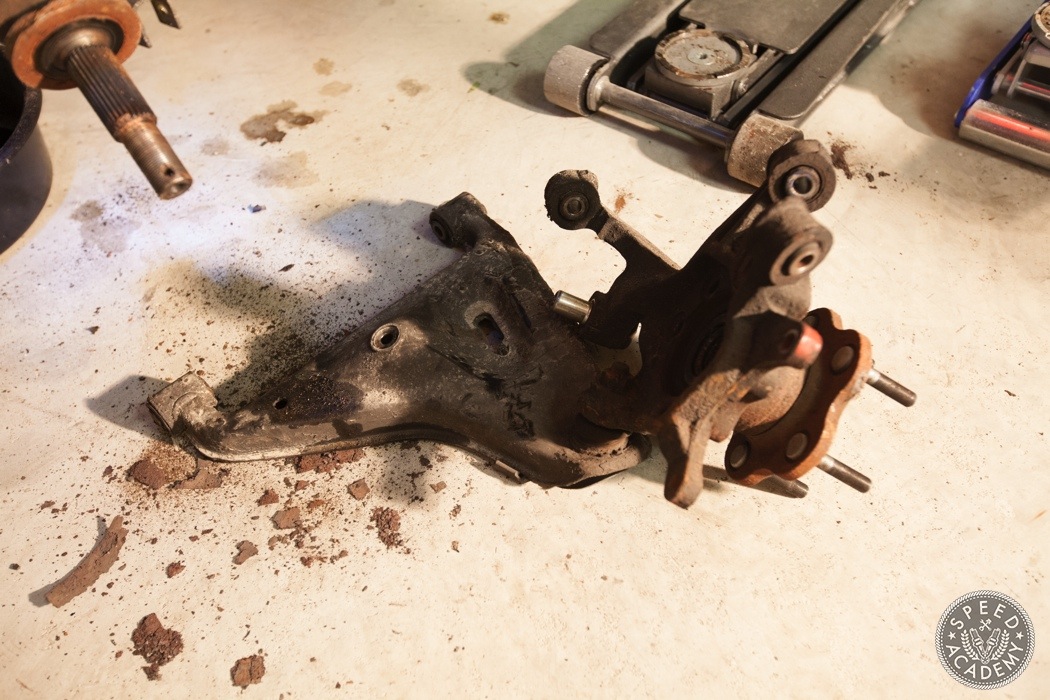
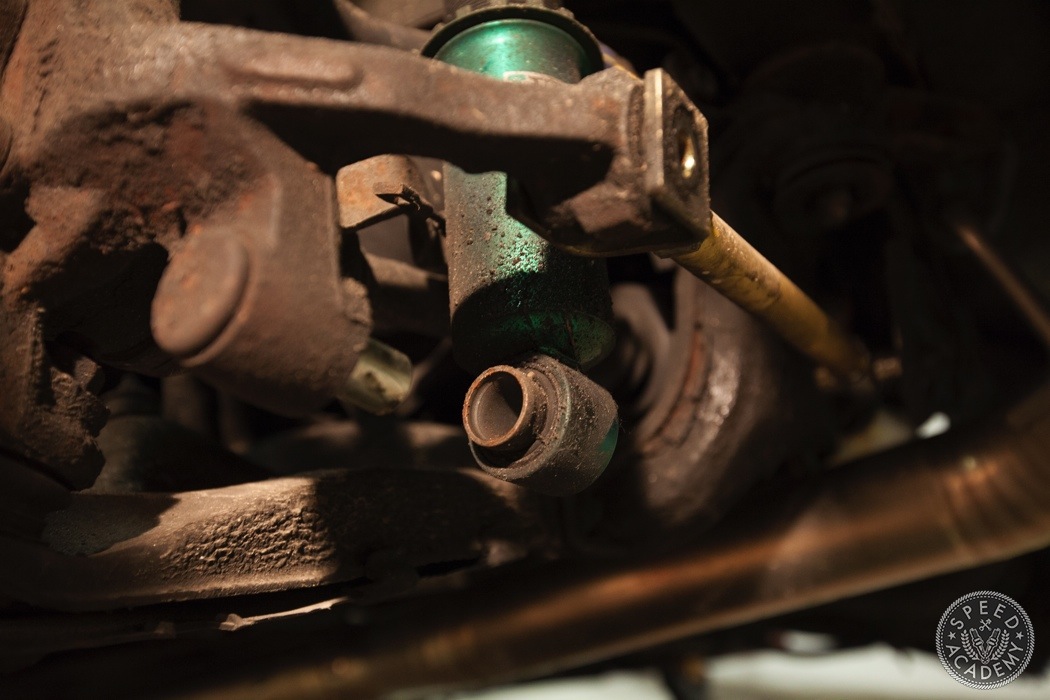
So for the rest of us that means removing the entire LCA and hub assembly. You can separate the ball joint from the hub assembly but it’s easier to remove two bolts than it is to risk damaging the dust boot on the ball joint during the removal process.
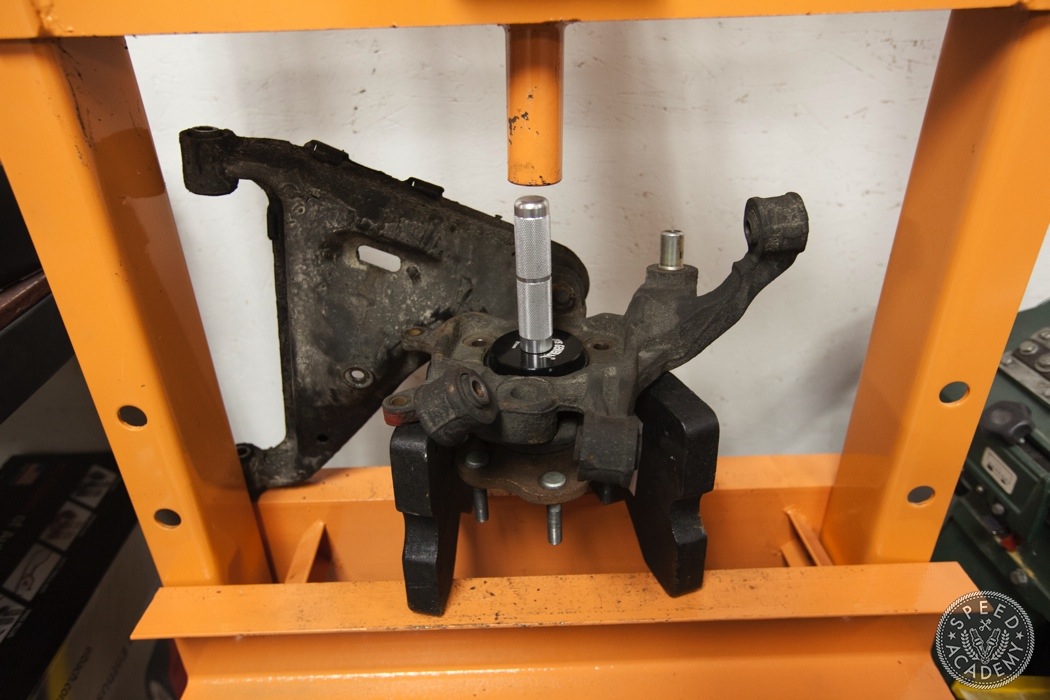
A press comes in handy at this point. This job can also be done with common hand tools like a hammer and a very large socket but there’s alway risk of damaging the hub when you’re hammering on it so my advice is to use a press or find someone who has one capable of this job.
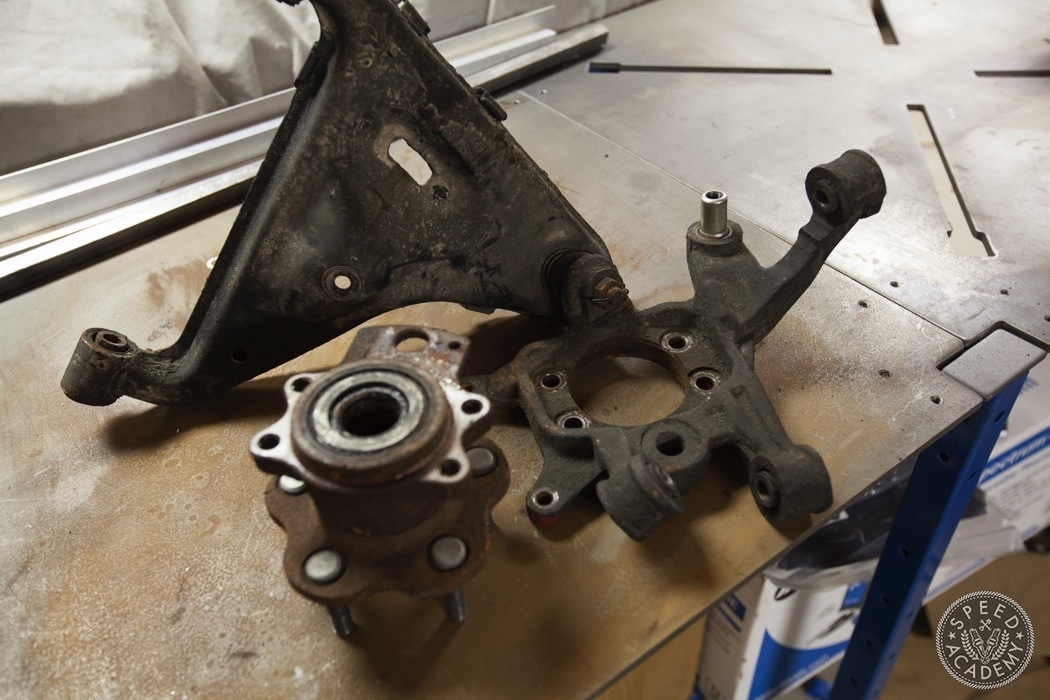
With the hub pressed from the assembly, we can start putting the 300ZX components on.
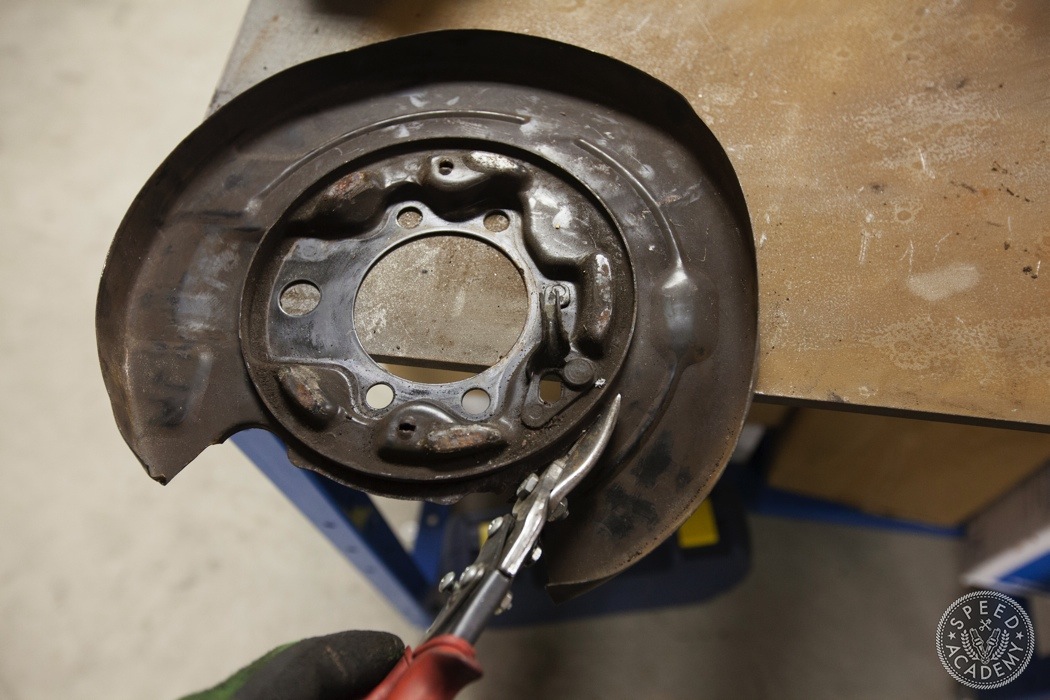
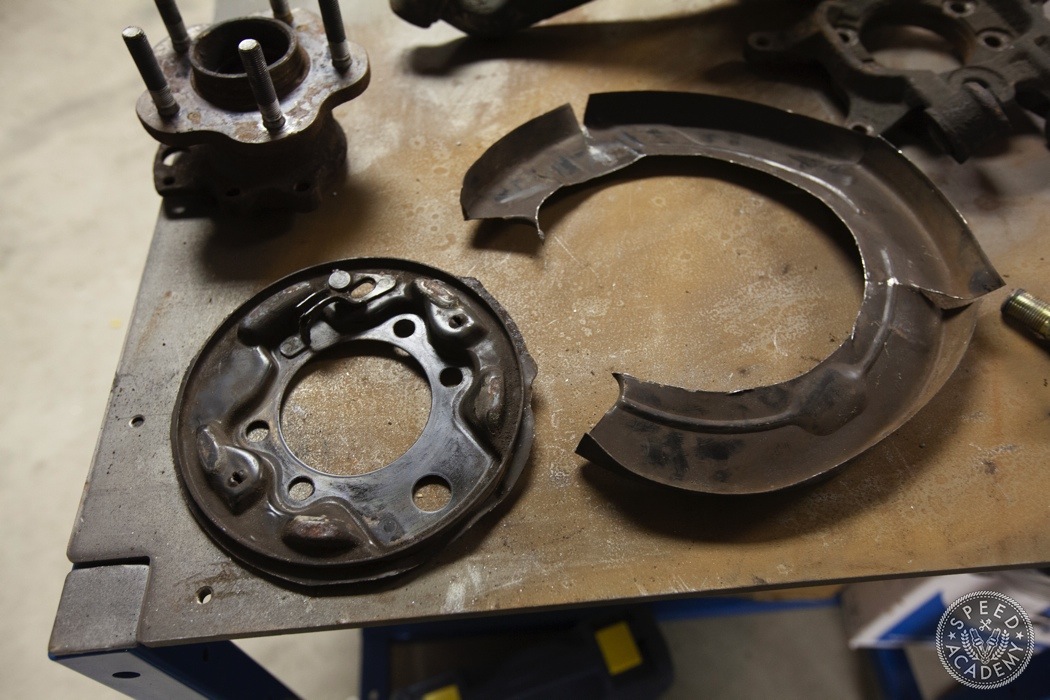
But first, ask yourself if you’ll be tracking your car frequently. If the answer is yes then cut the dust shield off as it traps heat and can reduce your brakes efficiency.