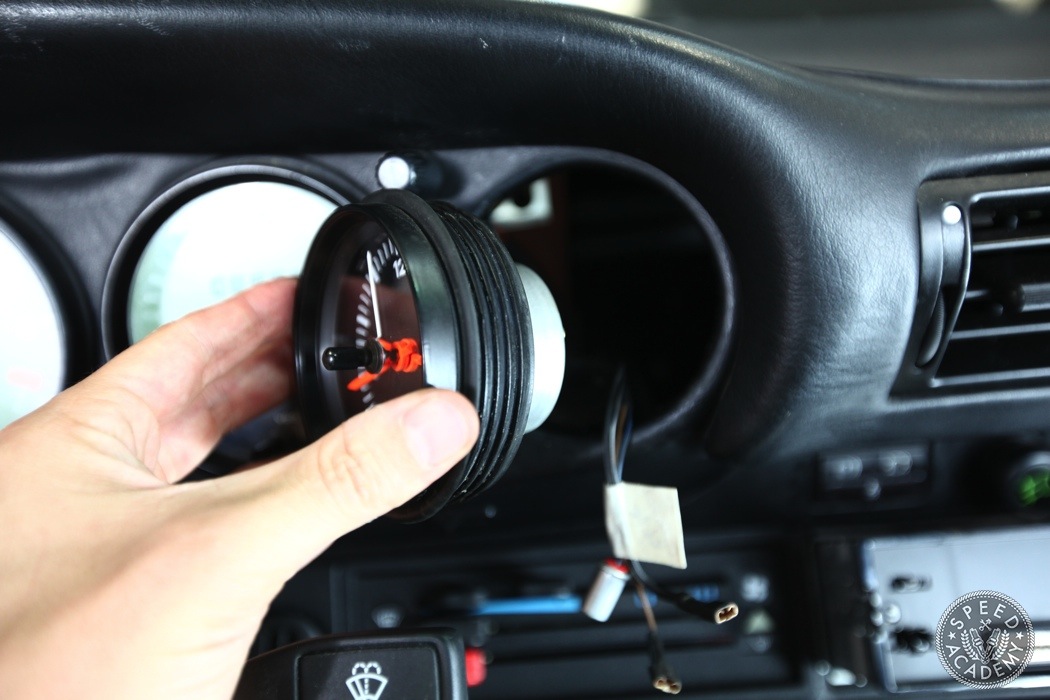
I can understand a clock in a car but a 2-inch one?! Ridiculous! What were those German engineers thinking? “While cruising ze Autobahn at 250km/h Claus will want to know the time” No Claus will be holding on for dear life because at that speed any sudden distraction from the road may end up in disaster. They don’t call these cars widow makers for nothing. So yeah, the clock was relegated to the parts bin.
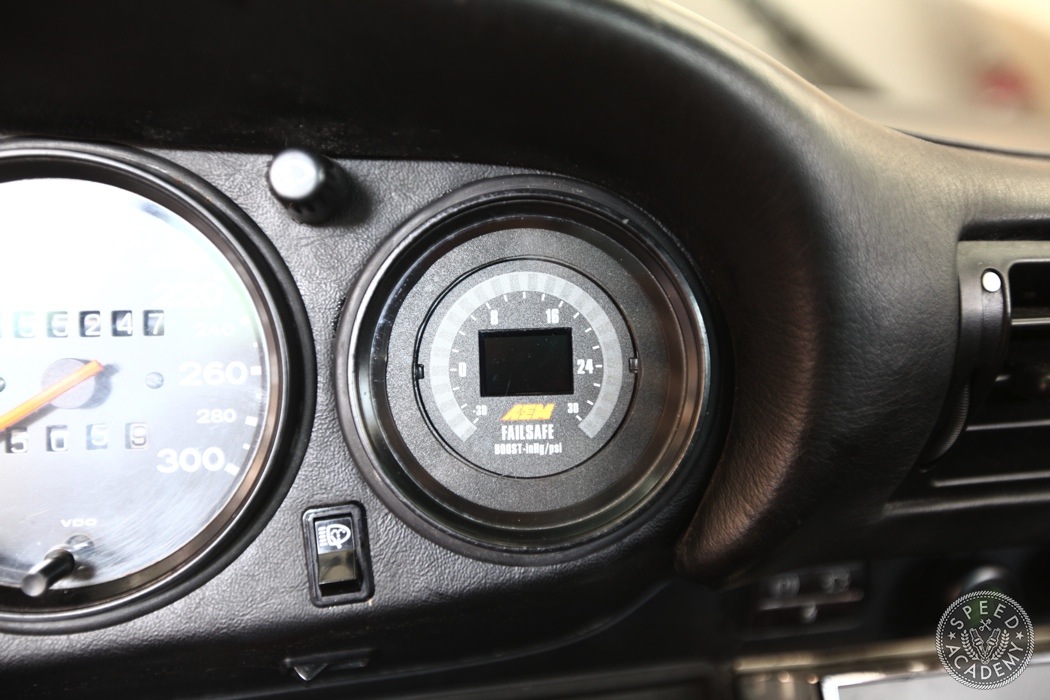
Now this looks much more proper doesn’t it? But we are only halfway there friends. There’s still lots of wiring and plumbing to do.
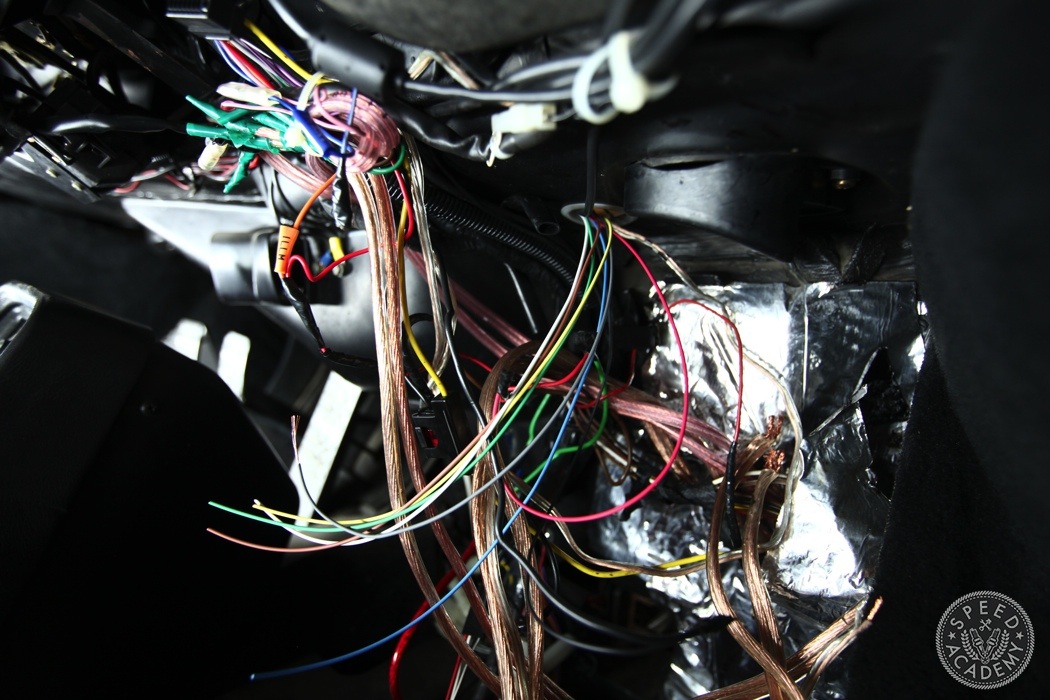
On the electrical side of things, you’ll need power, ground, lights, and a switched power source. Thankfully, the 930 has all of its wiring exposed under the dash. Mine has an excellent rats nest of 20 year old aftermarket stereo wire to complicate things but hopefully your car doesn’t and you’ll find all the required connections in no time.
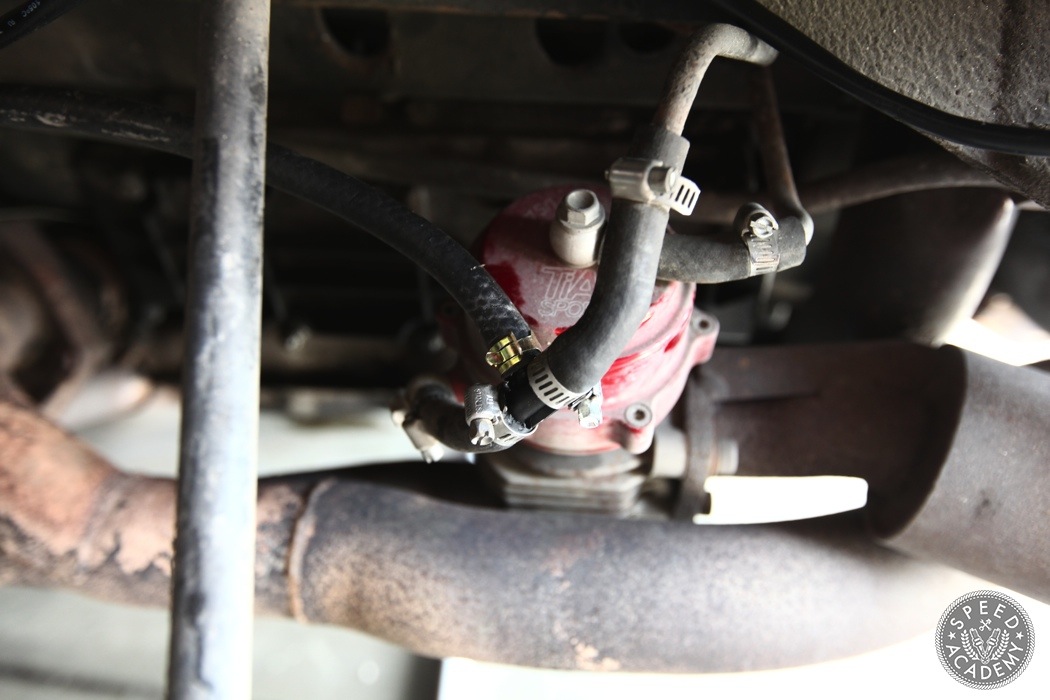
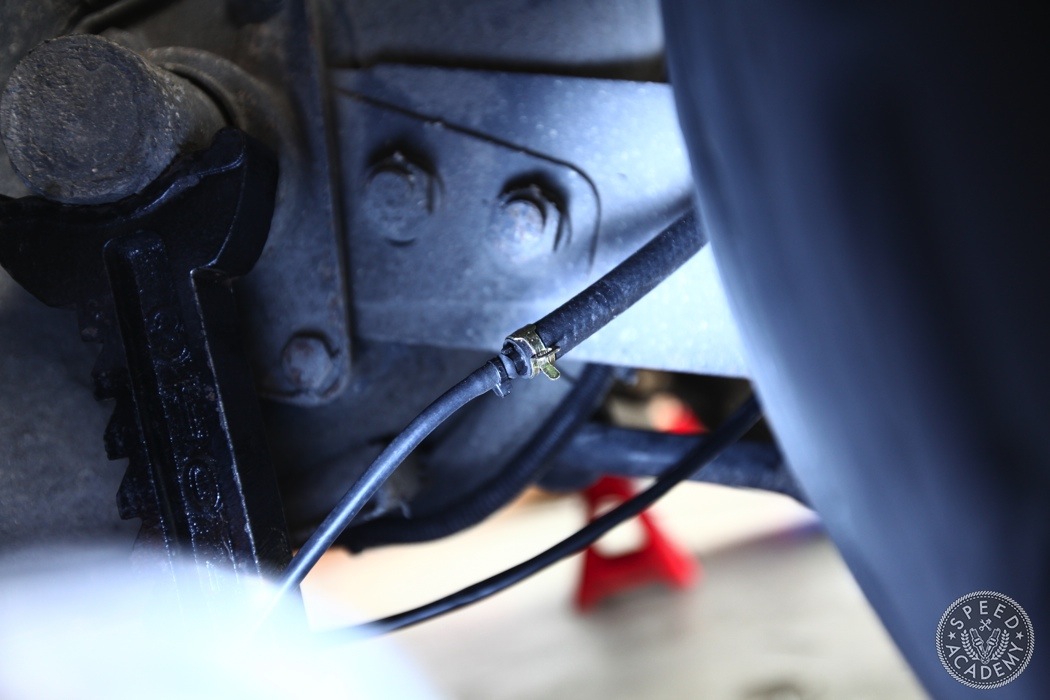
For the boost signal, I tee’d into the wastegate line since it was the most convenient spot available. For reasons unbeknownst to me, there is no vacuum signal from this hose so if you’d like to have a vacuum reading then you’ll have to run the line further into the engine.
I reduced the boost hose down to a small 1/4 inch hose so that it would be easier to tuck it against the underside of the chassis. Several posts on the internet claim that running a hose from the back of the car to front can induce some lag in the readings. Believing that to be folk lore I did some more research on the interwebs and found creditable sources stating that you’ll need to have over 100ft of hose before there’s a noticeable lag in reading boost and vacuum pressure.
If you take the car forums as the truth and only truth then there is a shorter route and it involves tapping a line into the brake booster hose which, is a whopping 3/4-inch in diameter. I’ve never seen a T-fitting that reduces from 3/4-inch to a 1/4-inch but if you know where to get one send me a link and I’ll post it here.
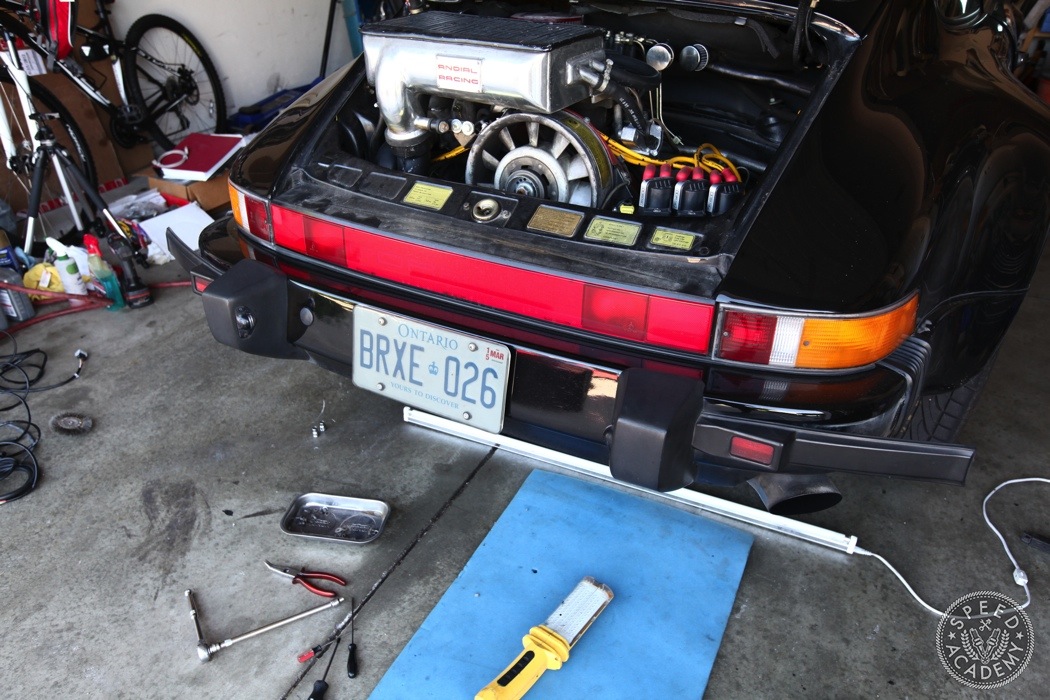
It’s time for some hard labor, to install the wideband sensor we must remove the rear bumper. It’s a fairly straightforward procedure but there are some snags you may run into that’ll leave you scratching your head. Thankfully, I’ve already done all the head scratching for you so read on.
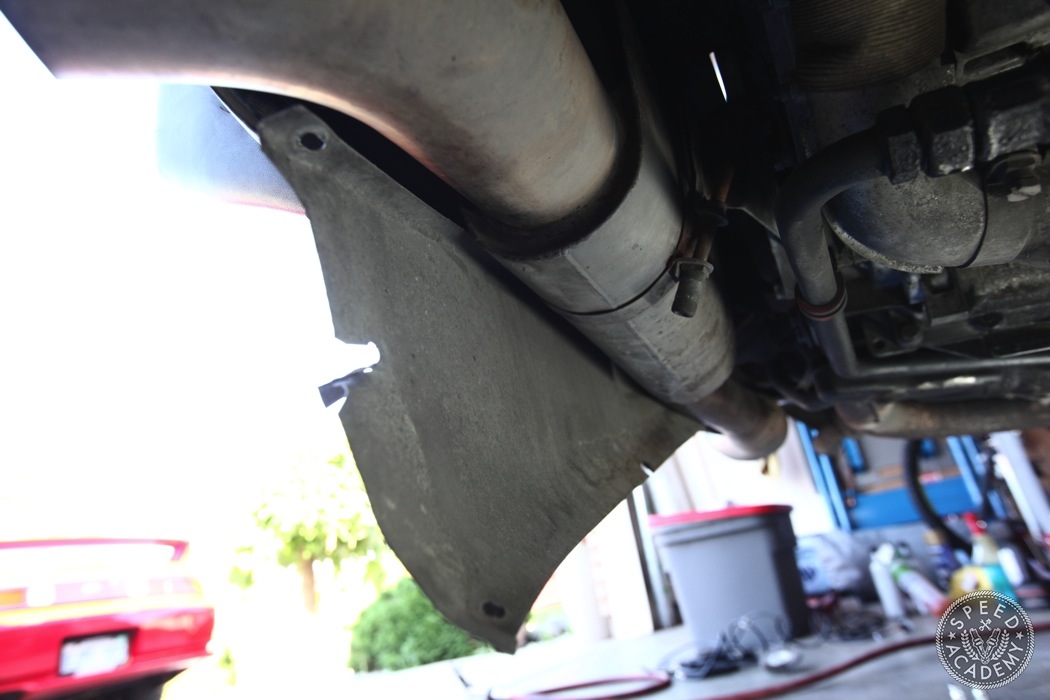
This pesky heat shield obstructs the nuts holding the rubber impact absorbers (or whatever you call those damn two black rubber thingies) so it has to be removed. It’s a real bitch to get at the bolts holding them in if you’ve got an aftermarket muffler. Some long extensions and swivel heads will make the job much easier.
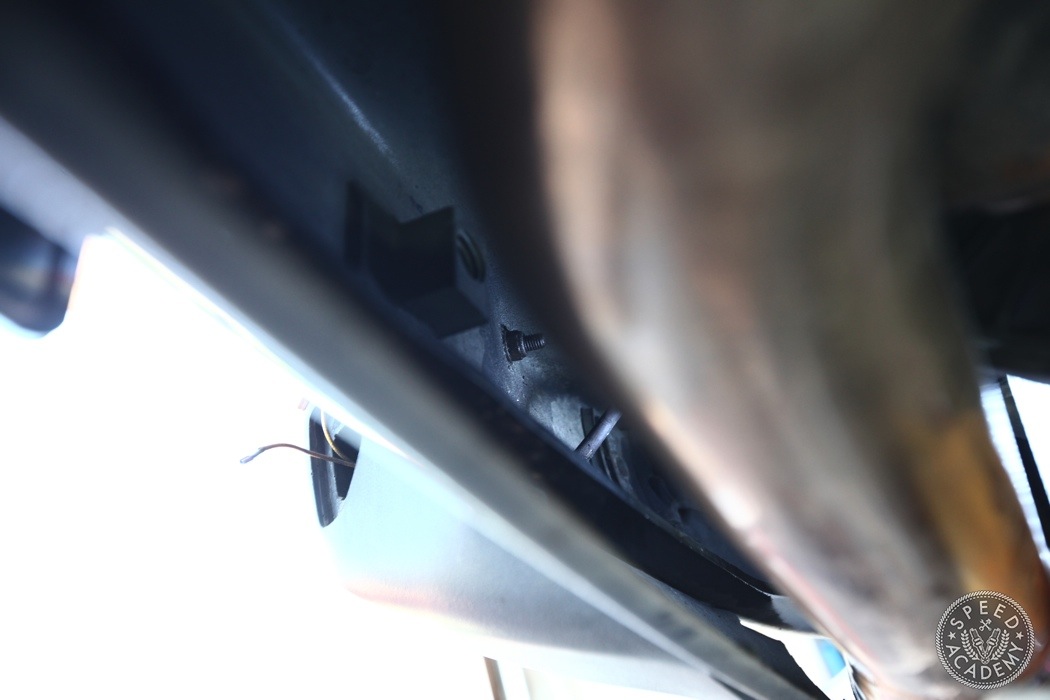
If you squint real hard you’ll see the two nuts that have to be removed. It’s cramped and tight so excessive swearing may be needed for this task. Repeat for the other side but reducing swearing by 50%.
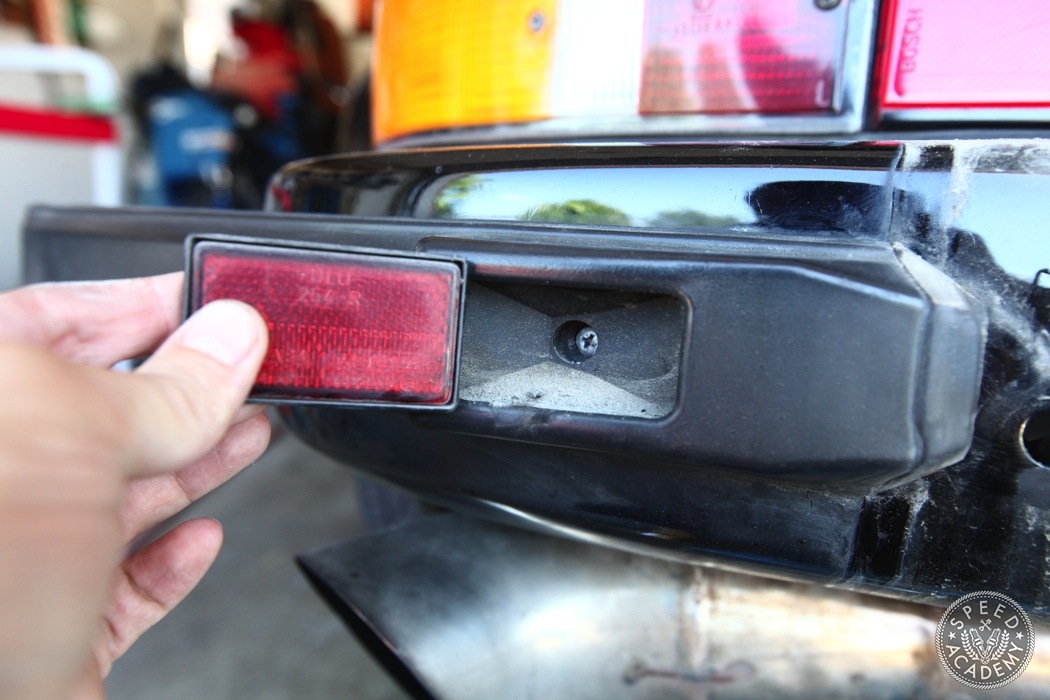
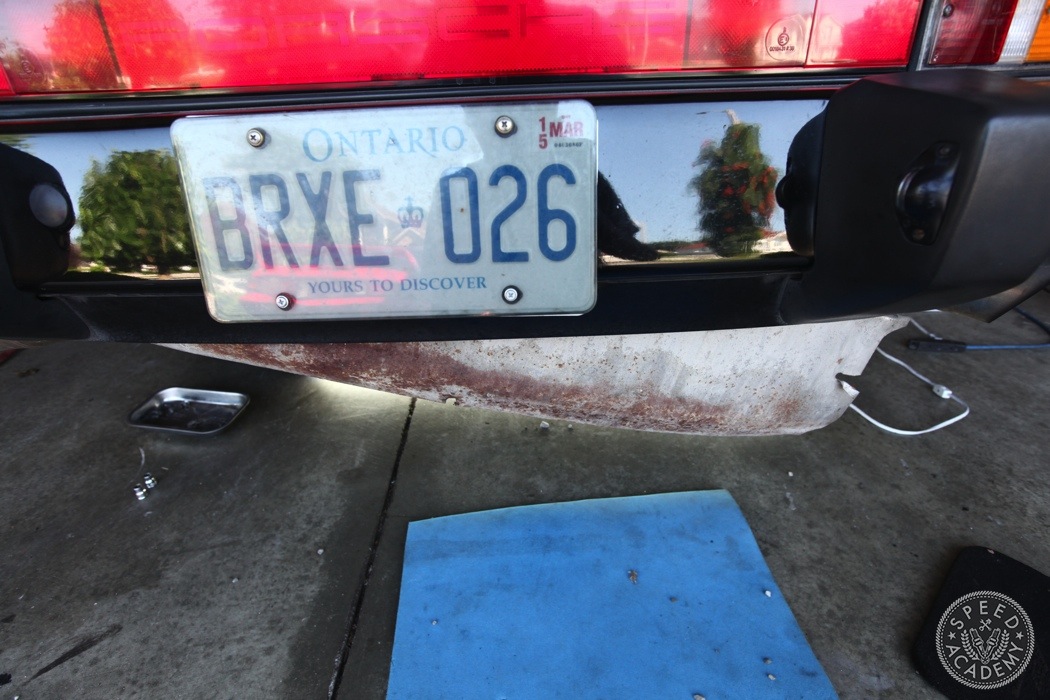
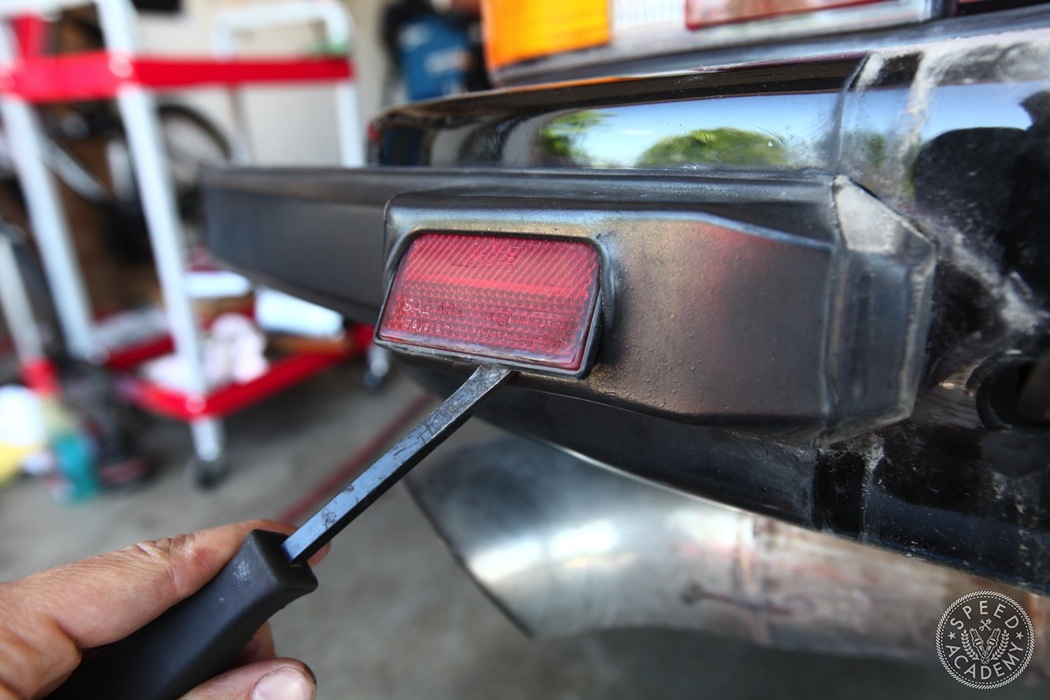
Those sneaky engineers are at it again hiding a screw behind the reflector. Only when I removed it did I find the cleverness in this design. Before that, I racked my brain for 10 minutes figuring out why this rubber guard wouldn’t come off.
