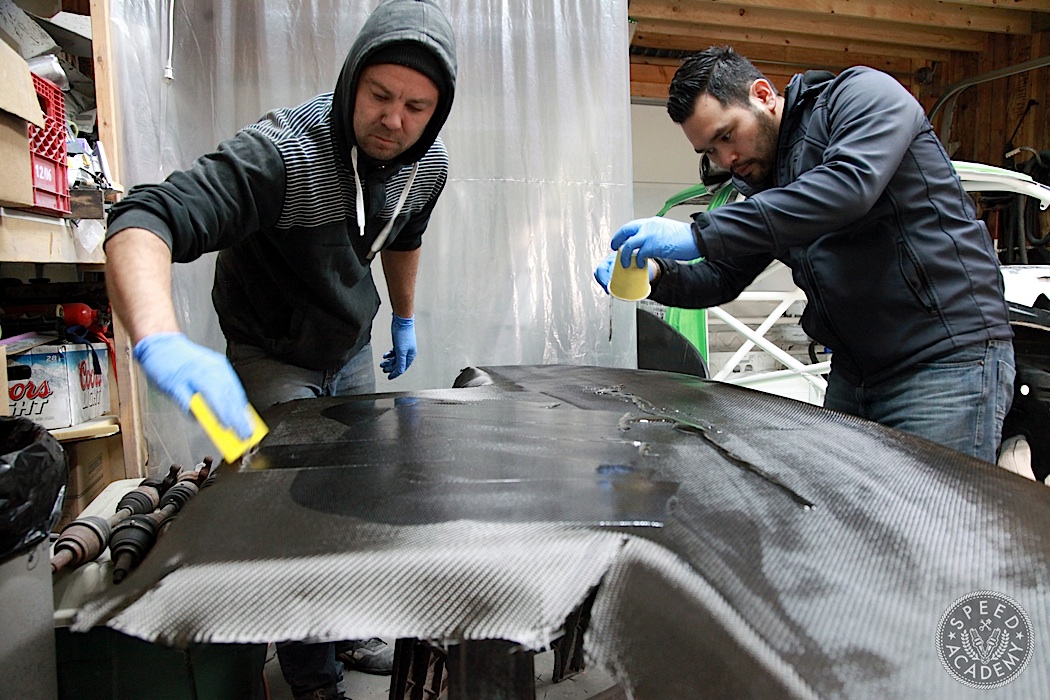
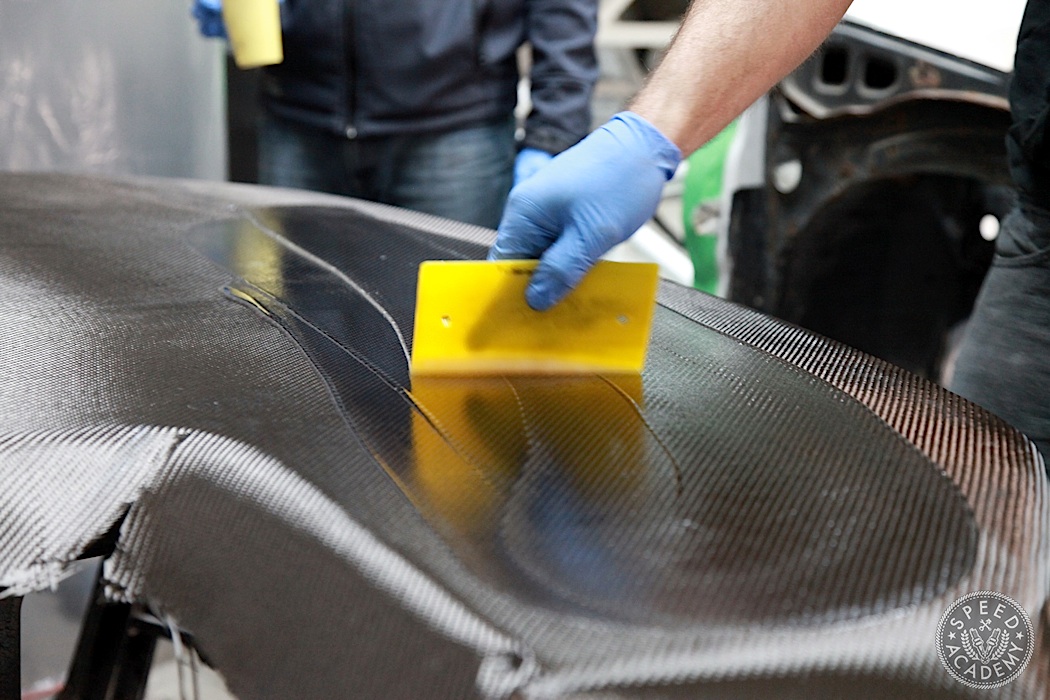
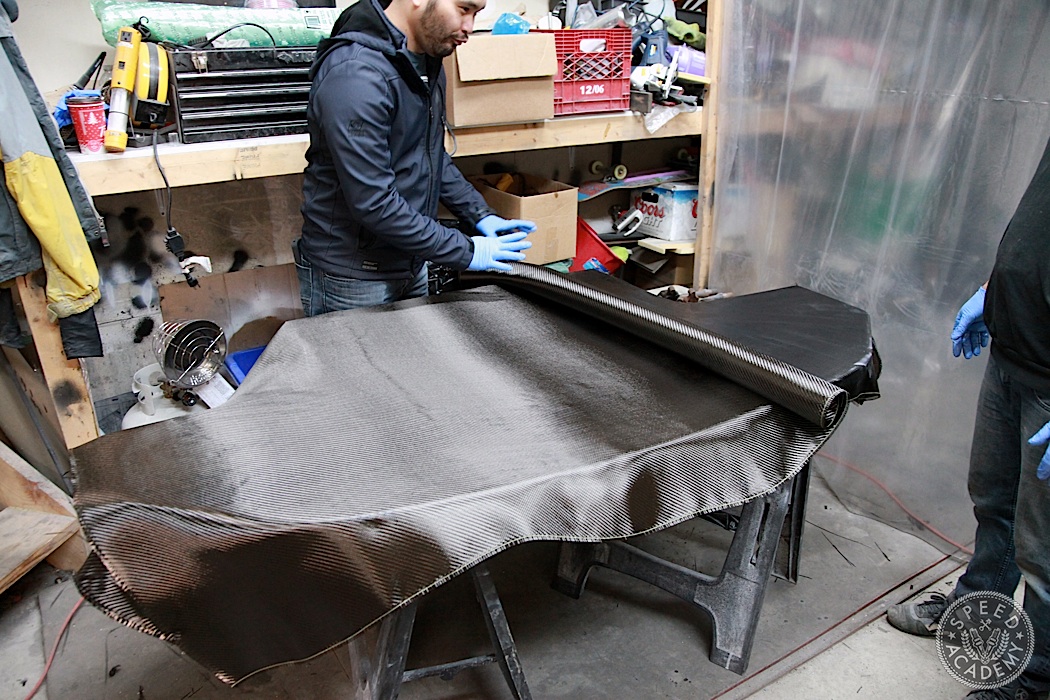
This process is repeated on the other half to bond the first layer of carbon to the foam core, and then a layer of resin is laid on top of the carbon fabric. This soaks into the fabric and acts as a hardener and also acts as a bond between the two layers of carbon fiber.
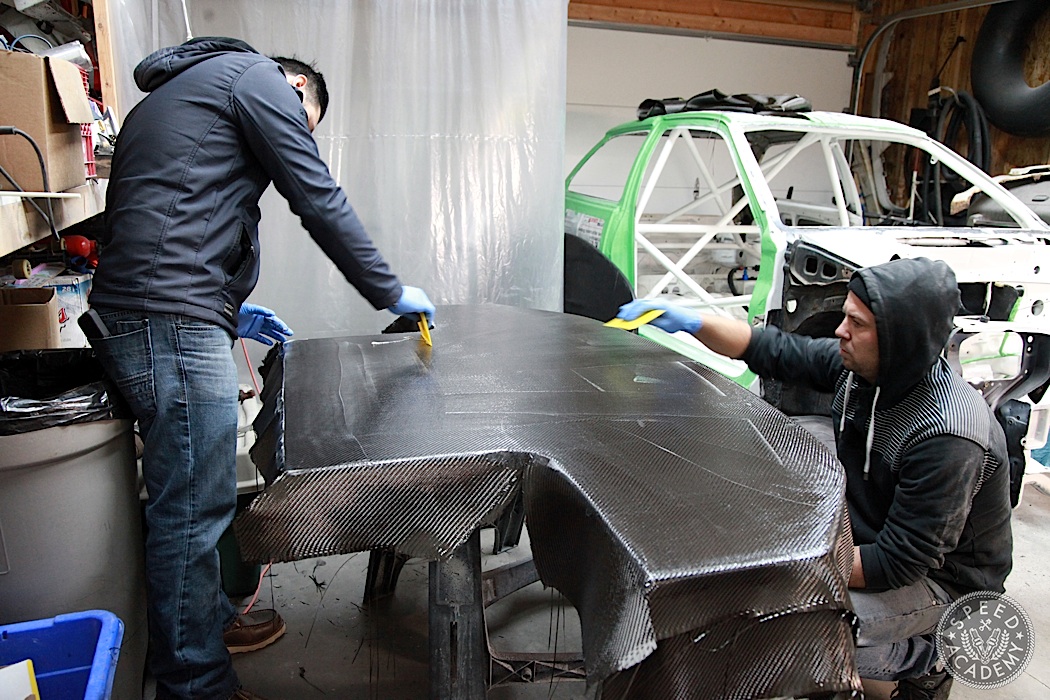
With the second layer laid in place, the resin impregnation process is repeated.
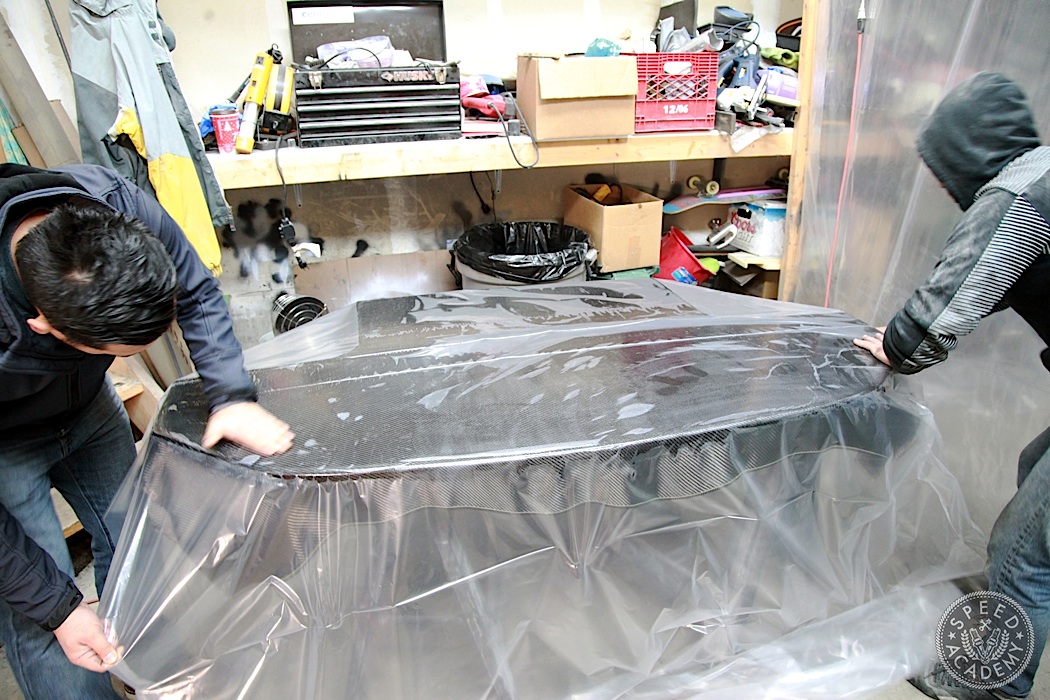
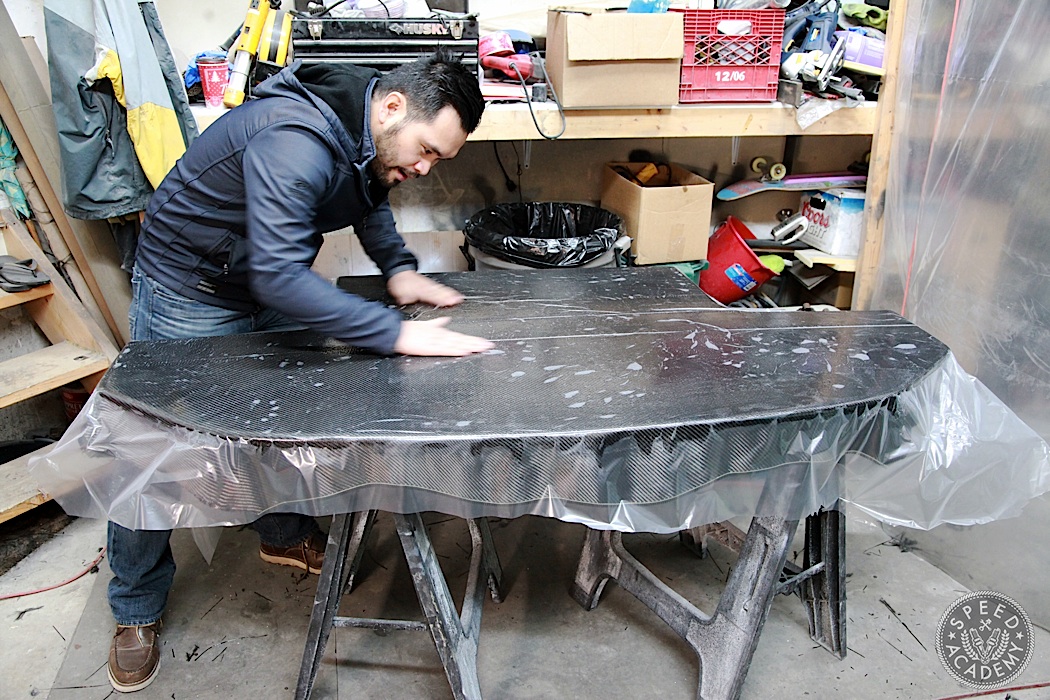
And then a layer of plastic is smoothed out on top of it and over the edges. We tried to work as many of the air bubbles out as possible, since this means a smoother finish with less sanding needed in the next step. Some guys would vacuum bag at this point, but Kevin prefers the simplicity of a wet layup and this plastic wrap technique.
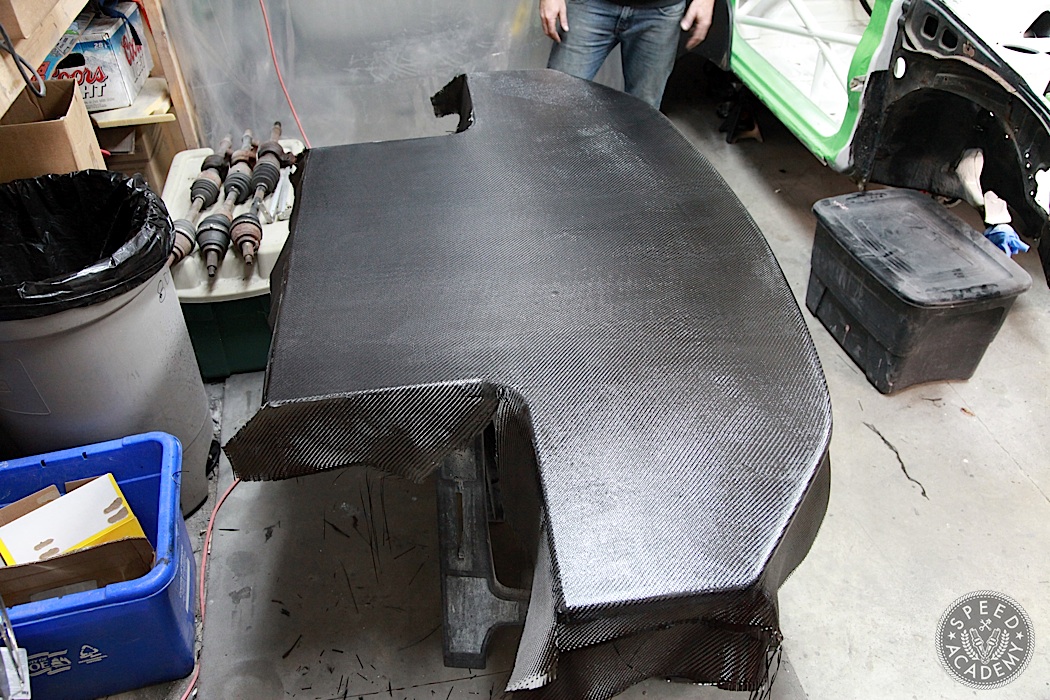
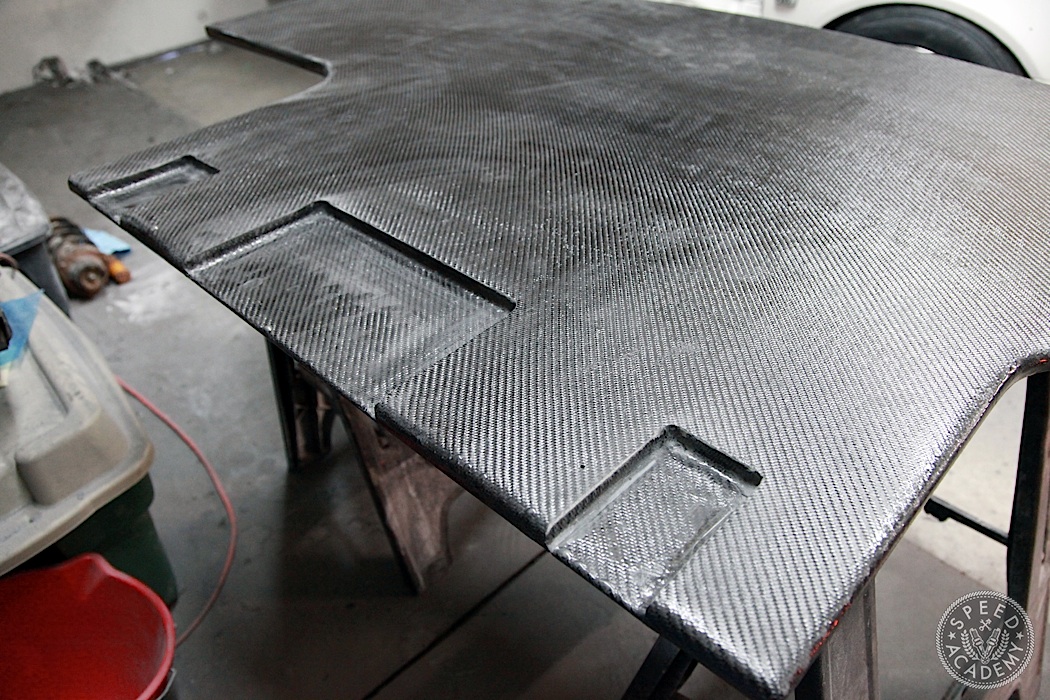
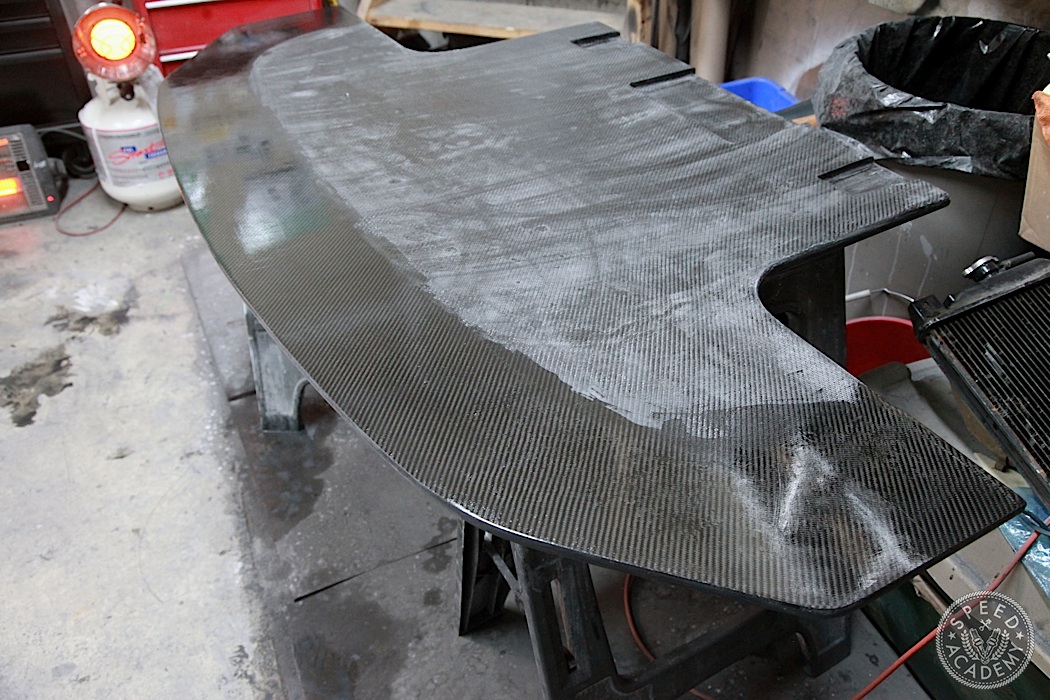
Allowed to cure over night, Kevin peeled the plastic off, trimmed the excess material draping over the edges, flipped the splitter over and repeated the above steps on the top side, starting with small fitted pieces in the three recessed areas along the back edge (there to clear the subframe and allow the splitter to be mounted parallel to the ground). Here’s how the top side looked once it had undergone that same steps we just showed you.
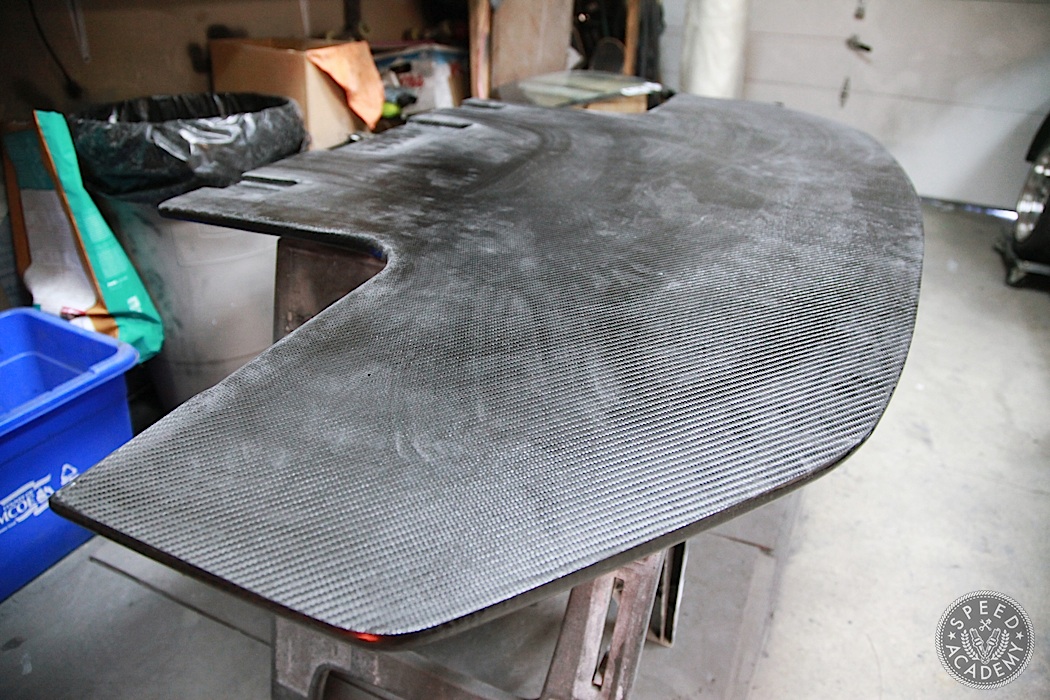
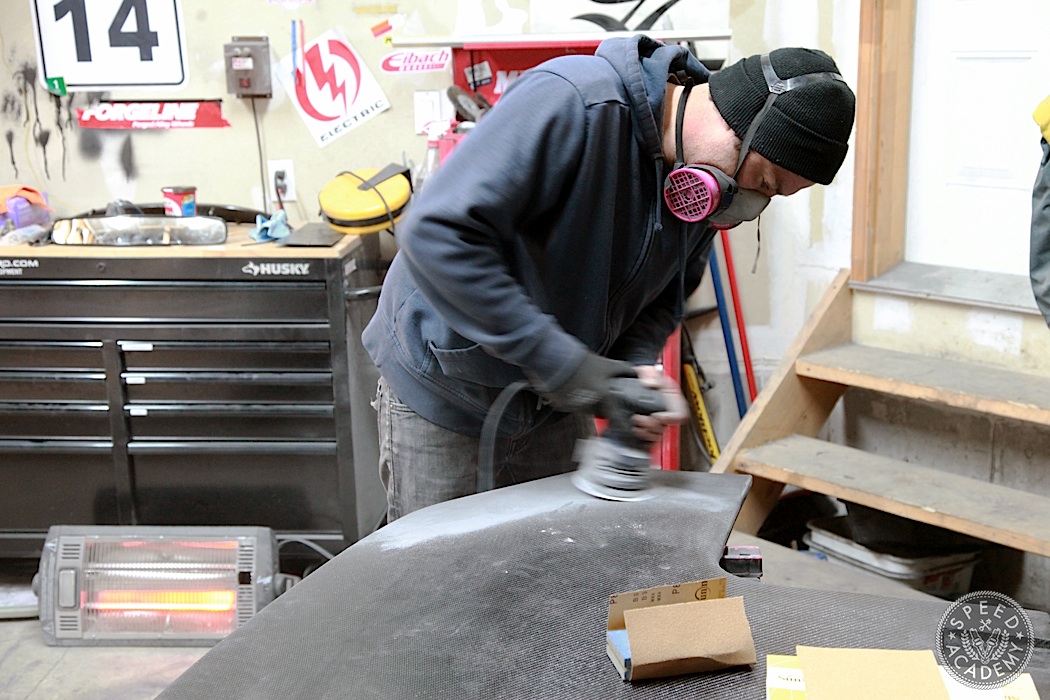
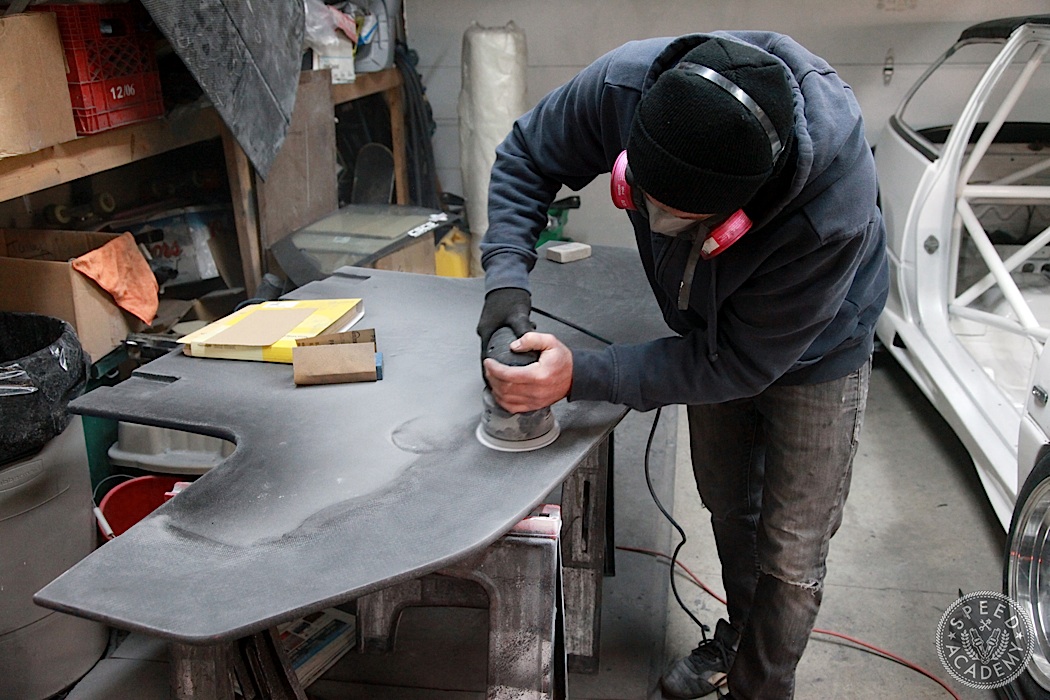
Looking pretty good, right? Well, not good enough for Kevin. Going back to his “prep work is the key to a good finish” comment, the sanding done here is designed to knock down the resin that was applied to the top layer and smooth it out completely. This starts with a fairly aggressive rub down with 80 grit on an orbital sander and some hand block work, too.
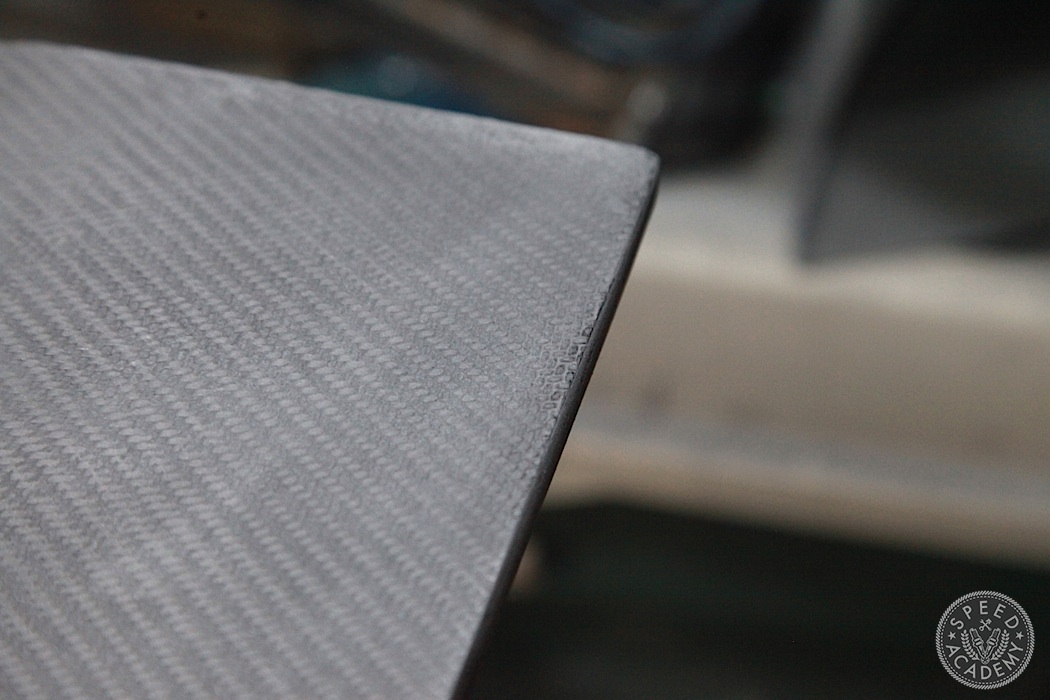
The goal is to sand it to a uniform flat finish, so that shiny spot near the edge needed some extra attention with the sanding block before Kevin was happy.
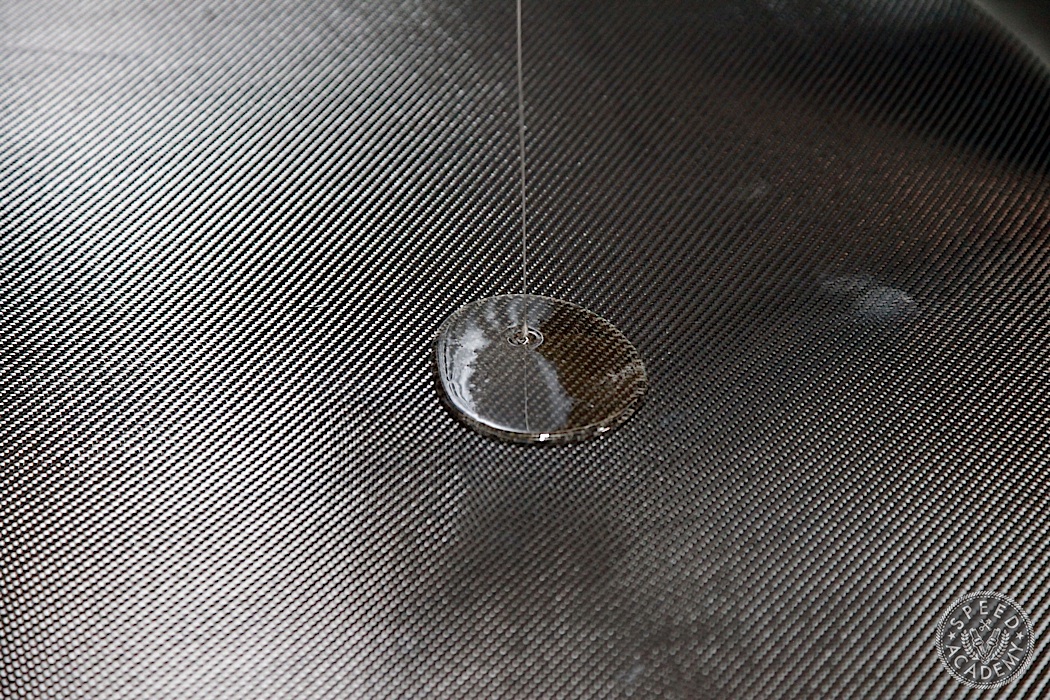
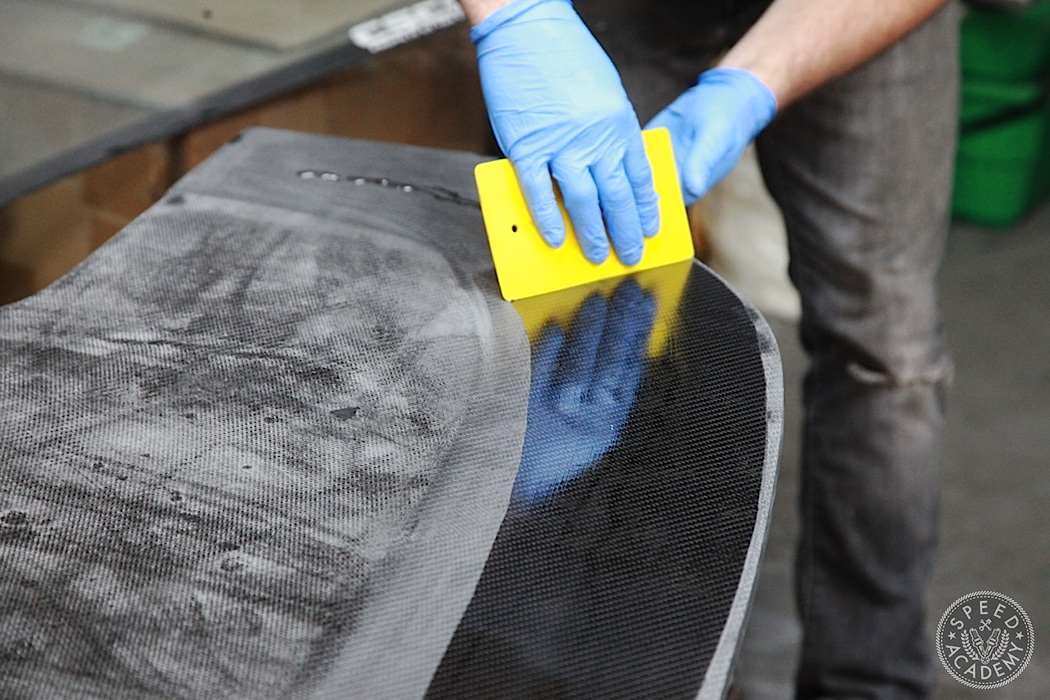
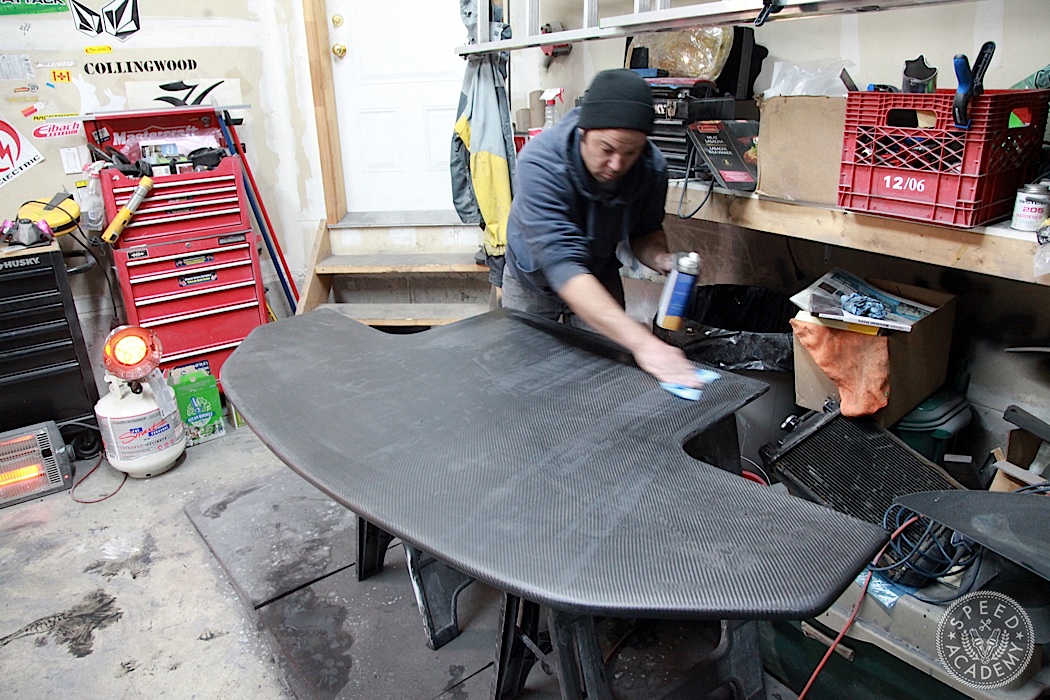
Next was a final coat of resin, spread evenly with Kevin’s trusty yellow squeegee. We decided to only coat the leading 6-8” on the top side, since the rest is under the engine where nobody can see it, so there’s no point in spending the time to make this part look all fancy and mirror-like. But the bottom side got the full treatment, since we wanted it to be as smooth as possible for airflow purposes.
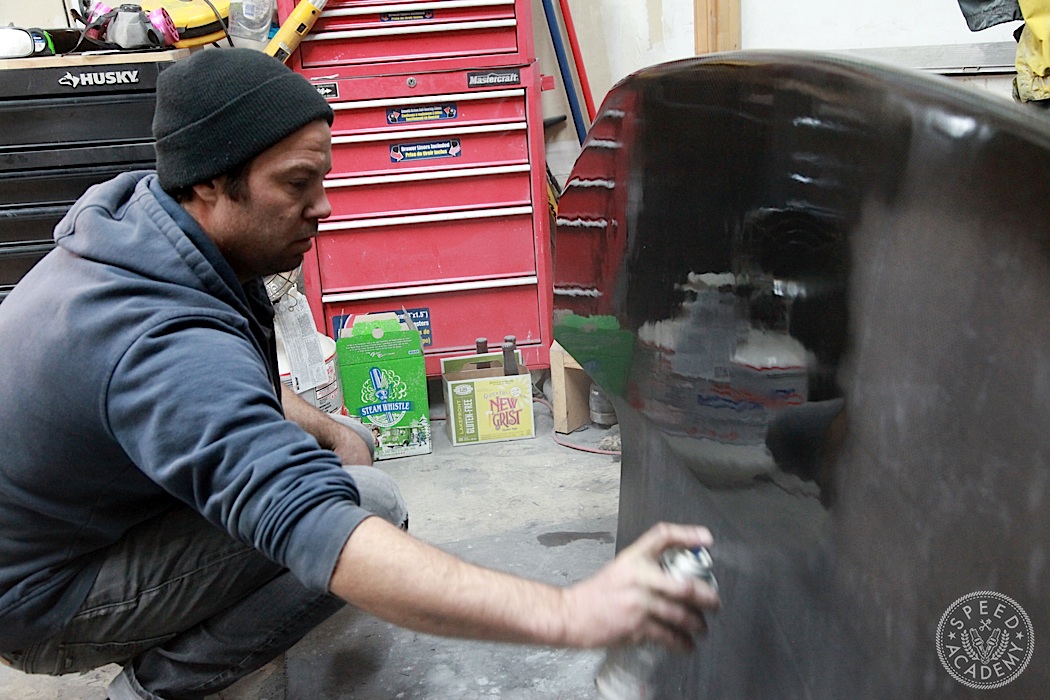
Once the resin hardened it was time to wet sand the entire splitter, this time using 400 grit and lots of elbow grease. I helped with this step, so didn’t take any pictures of the process. Just imagine two dudes rubbing a wet splitter for half an hour until it’s as smooth as a bowling alley. Then we wiped it clean with Acetone and clear coated it for that show quality shine, plus it acts as a UV coating so the carbon fiber won’t turn brown or green over time.
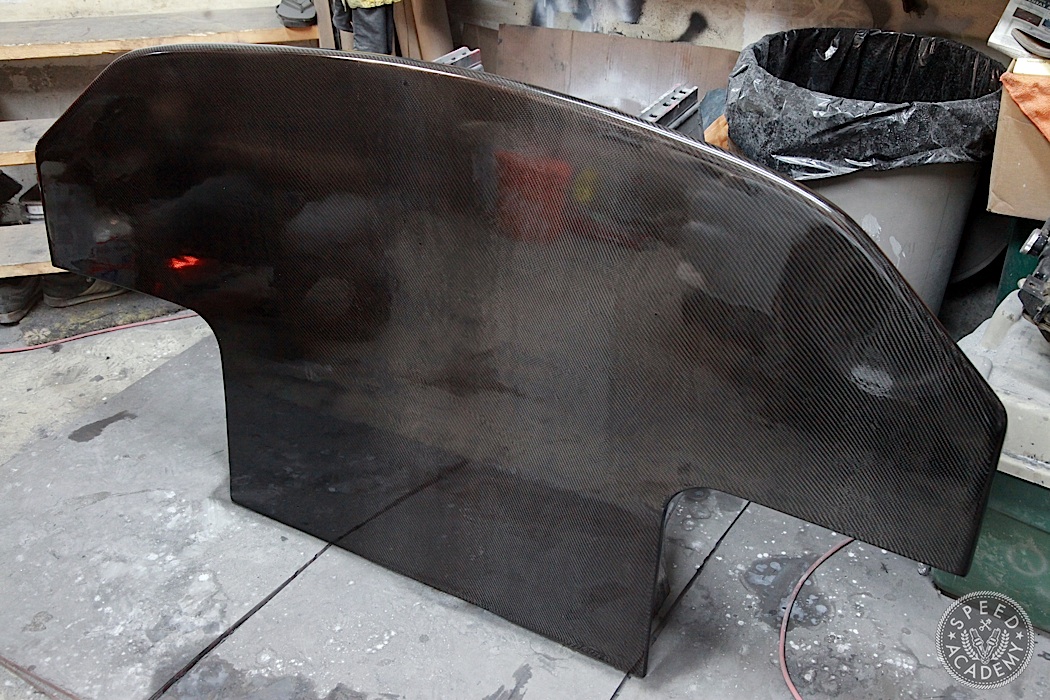
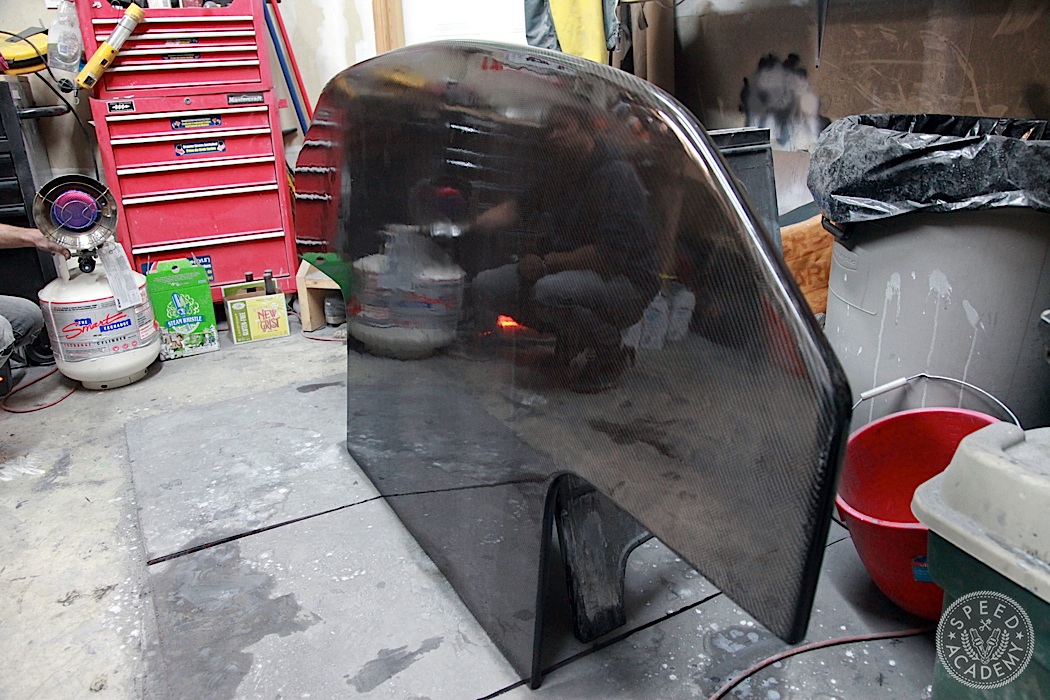
That wraps up Part 2 of our custom splitter build for the ASS2000. In the third and final part we’ll show you our final mounting solution as well as some add-ons to complete our front end aero package.
FOR PART 1 OF SPLITTER BUILD CLICK HERE
FOR PART 3 OF SPLITTER BUILD CLICK HERE
Did the plastic require any mold release?
What weight carbon fiber did you use?
Make me one