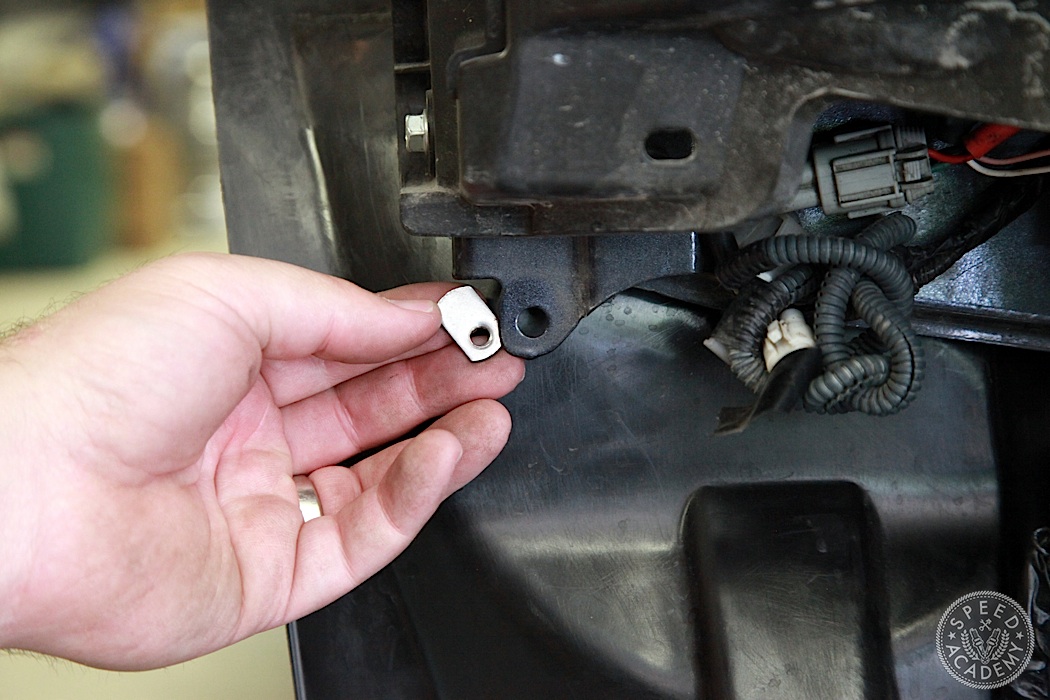
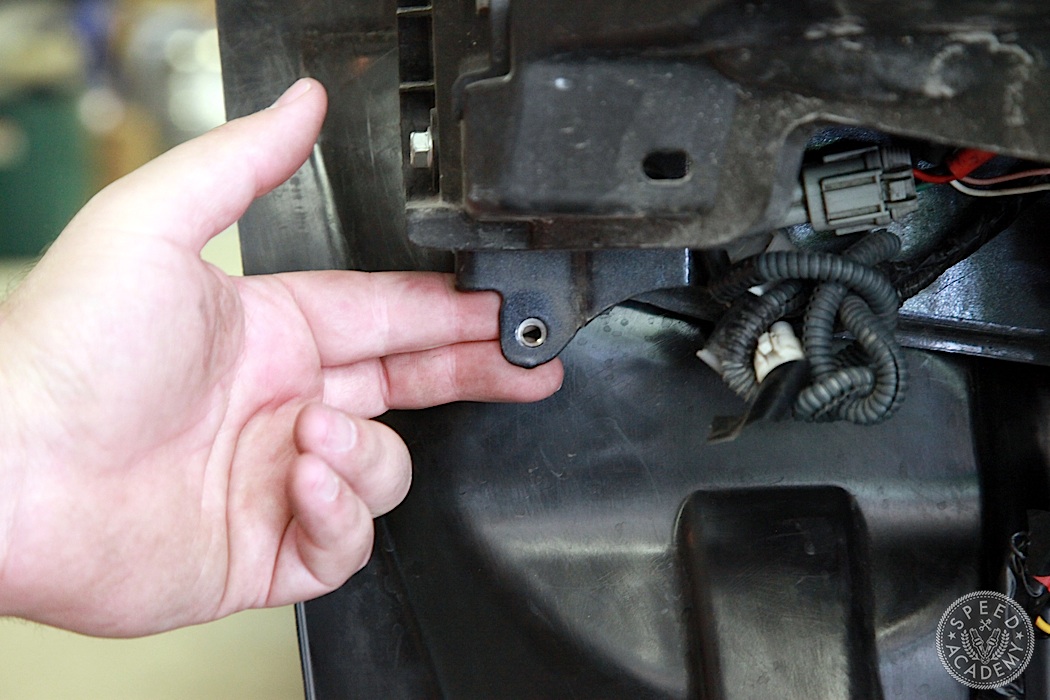
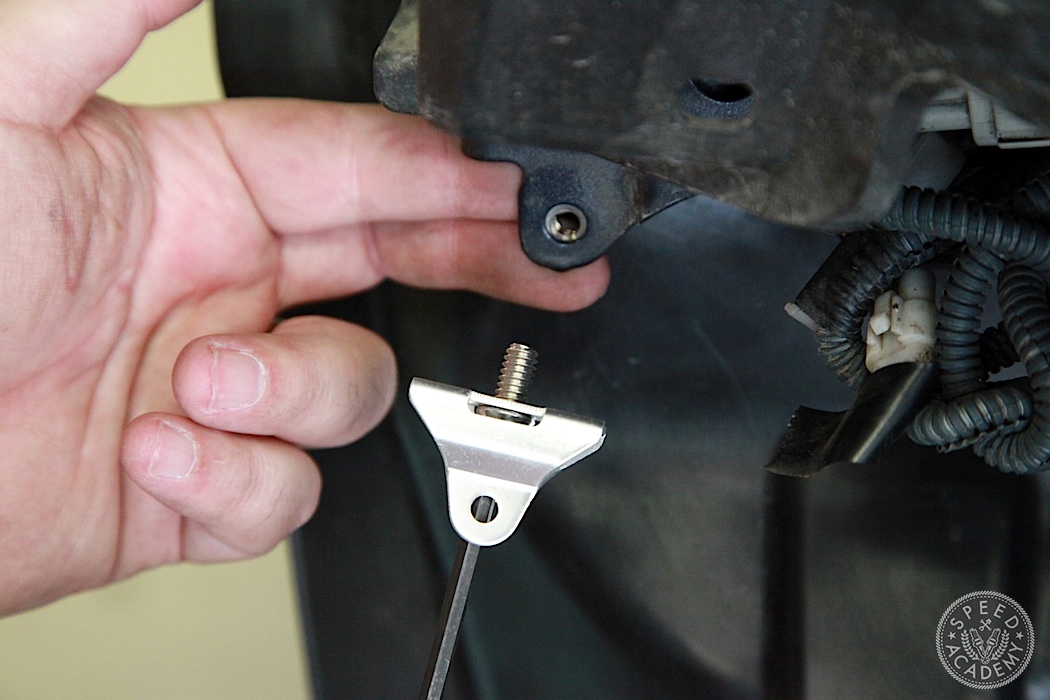
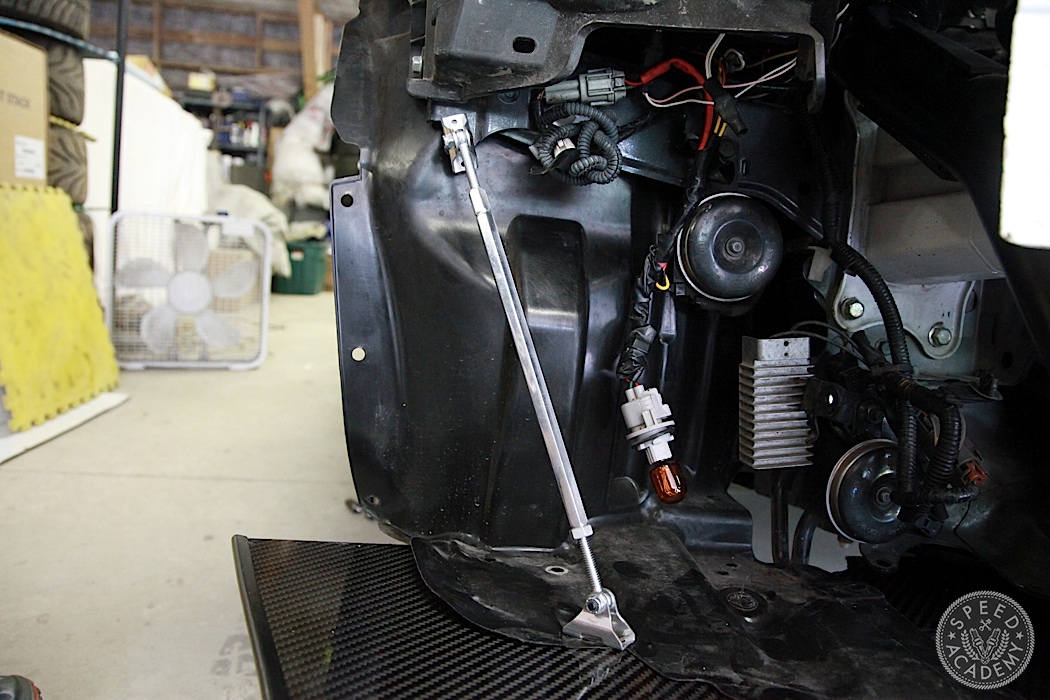
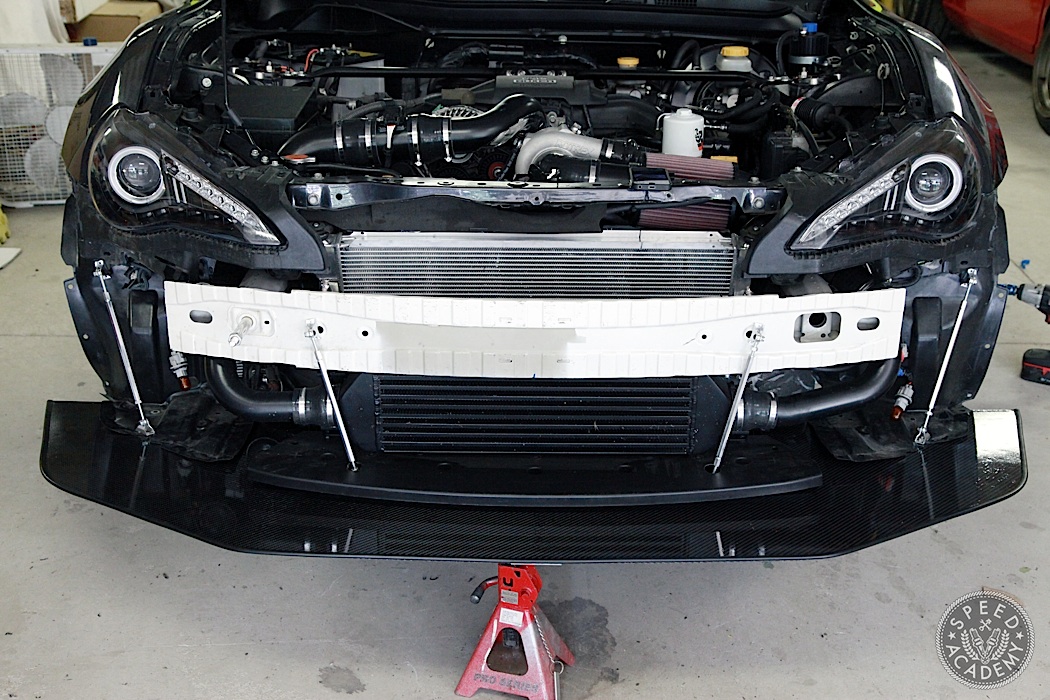
The two outer turnbuckles are just as easy to install, the top mounting position uses an existing metal tab on the chassis along with the supplied threaded backing plate.
Just thread the top buckle in, drop it to down to the bottom mounting hole on the splitter, thread the big bolt in from the underside and done.
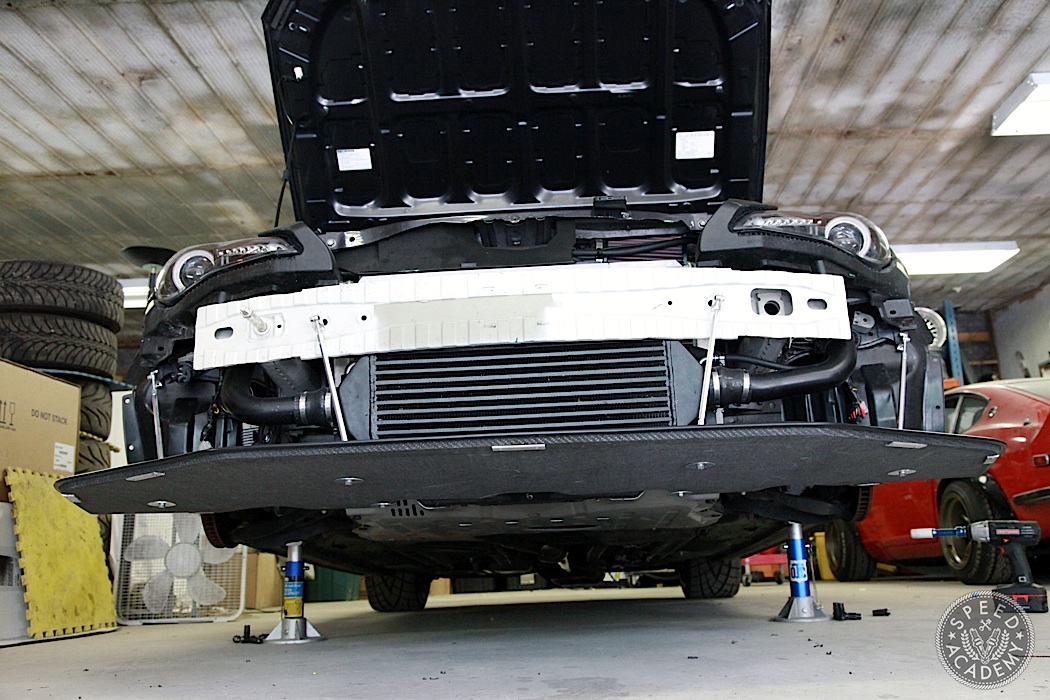
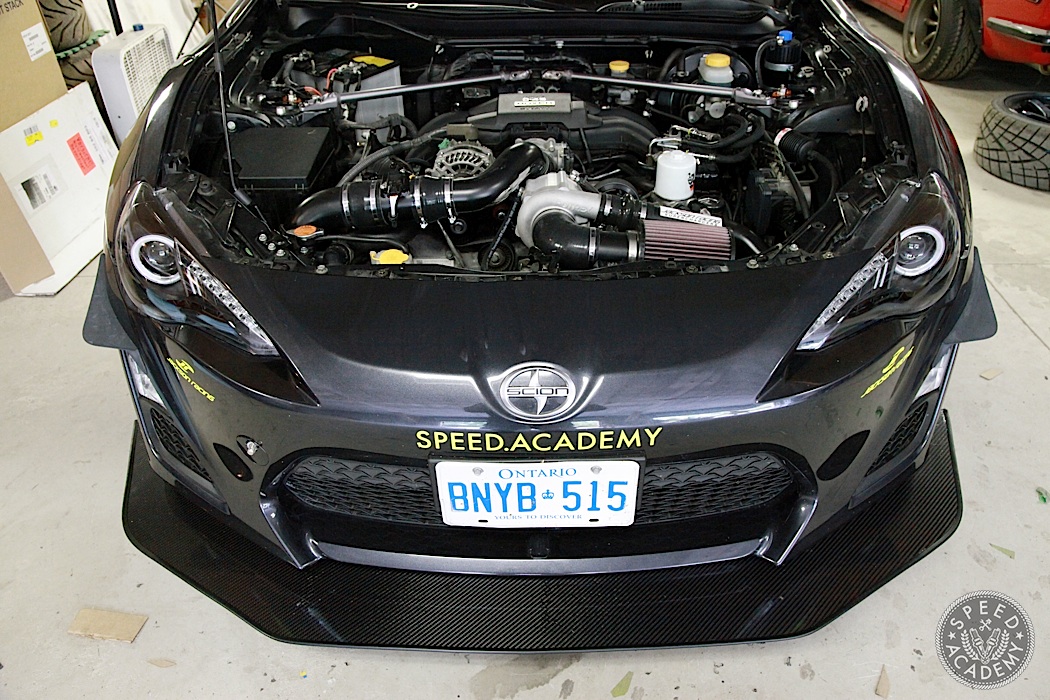
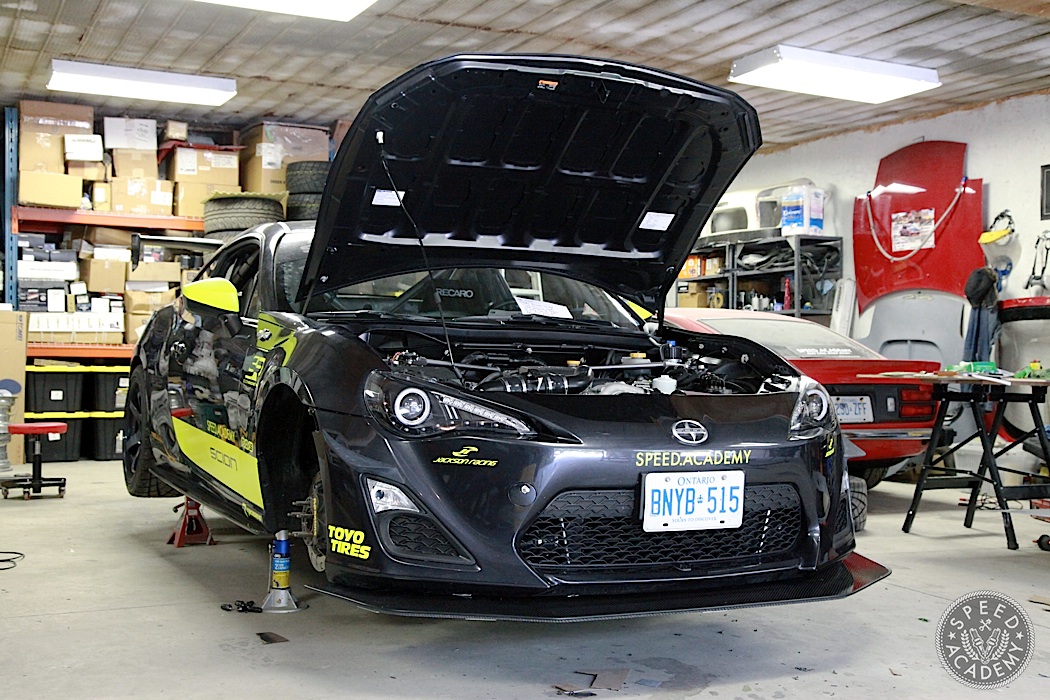
The end result is a very securely mounted splitter that required no cutting or drilling (other than our decision to drill through the plastic radiator undertray rather than removing it) and is truly elegant in its simplicity. The fact that Carl from Driveway Labs can offer this 1/2” thick carbon wrapped splitter (that weighs just 8-lbs) with the hardware for $599 USD is pretty mind-blowing. We would have spent that much in material costs building our own, and it wouldn’t have been nearly as easy to mount. And with 5” of protrusion from the front bumper cover, it’s exactly the size we wanted, too. Nothing but winning going on here!
The turnbuckle mounts also give the splitter some adjustability, which made it very easy to get it flush up against the underside of the bumper cover and level to the ground. We’re really impressed by how well it fits, and as you can see we also added some genuine TRD canards to the bumper for a little extra front end downforce.
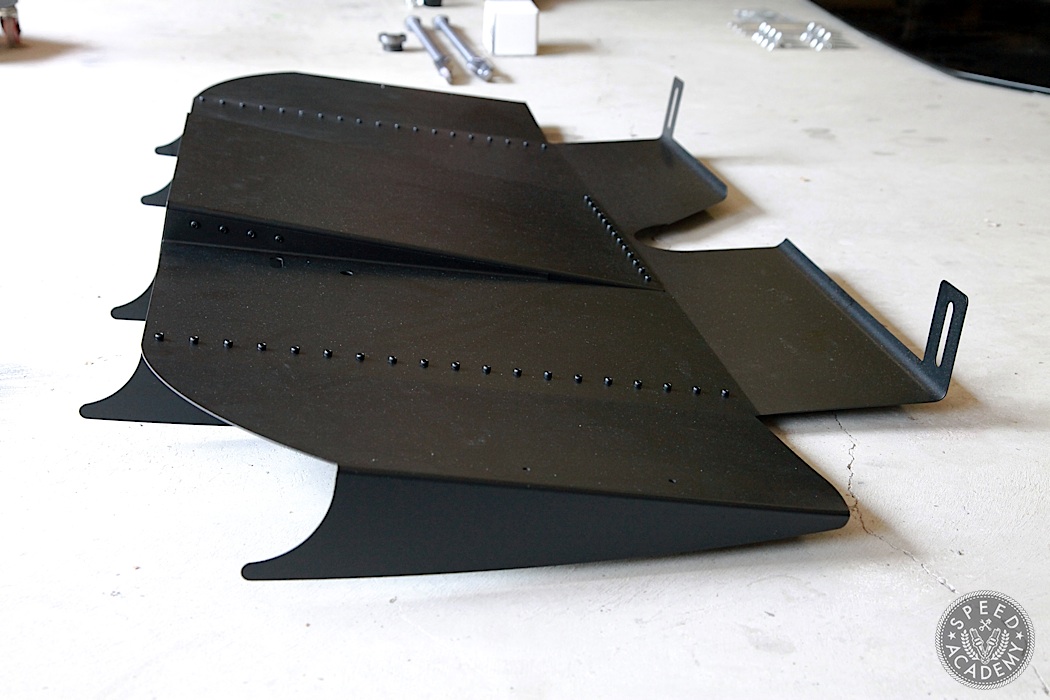
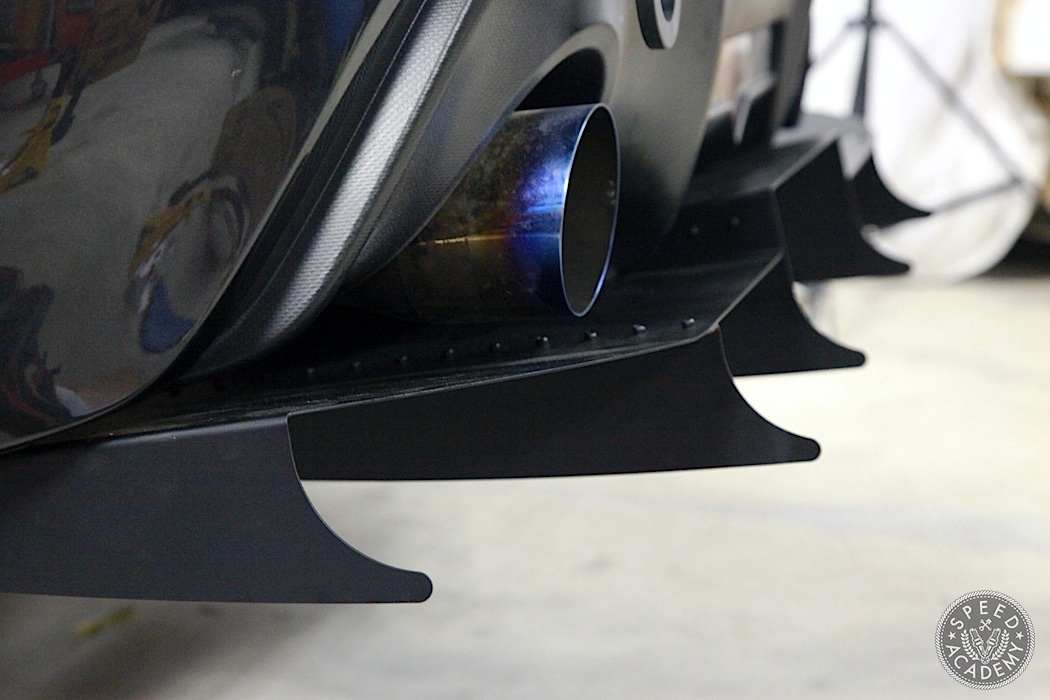
Much to our surprise, Driveway Labs also shipped us one of their new Type 3 rear diffusers as an added bonus. Thanks Carl, you the man! Turns out Carl is a fan of our FR-S and what we did with it for Targa NL last year, so he was keen to give us a little extra support.
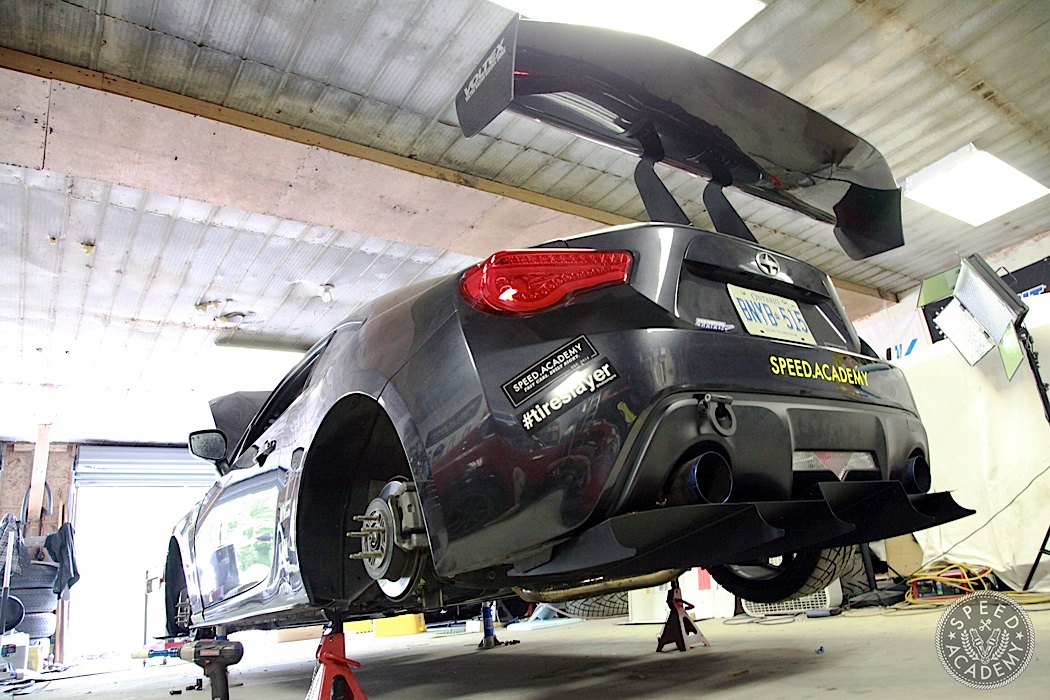
And we’re extremely grateful for it, since a functional rear diffuser like this helps smooth and speed airflow in front of it, so it will help the front splitter make more downforce and balance out the huge downforce the rear wing is making. Plus its upward slope towards the tail of the car creates a larger and better controlled exit path for air travelling under the car, allowing it to blend into the slower moving ambient air around the car in a way that reduces drag. So a diffuser is one of those rare win-win scenarios since it not only helps increase downforce in front of it, it also helps reduce drag behind it.
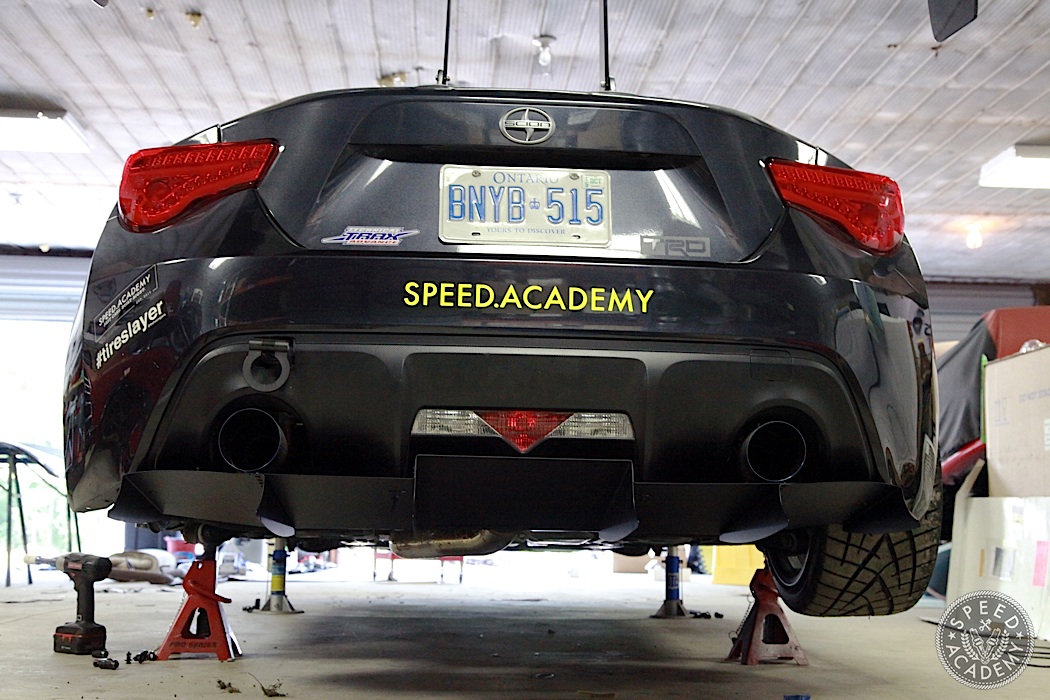
Installation is remarkably simple, since Driveway Labs includes the required fasteners and instructions. The two large front mounting tabs on the diffuser slide up between the rear subframe and the rear swaybar bushing mounts. So you simply remove the lower swaybar bushing bracket bolt on each side, loosen the top bolt on each side, slide these tabs up between the chassis and bushing, and reinstall the bolts. And as you can see, just like with the splitter, we supported the diffuser with jack stands during installation.
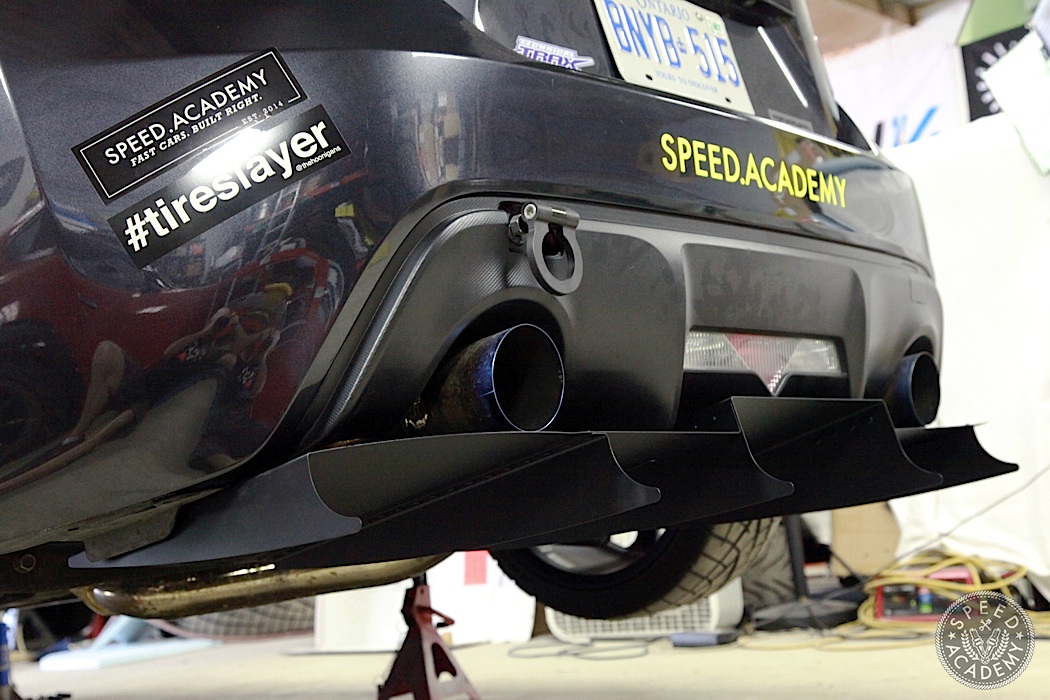
The two central mounting points (inline with the outer edge on each side of the reverse light) on the rear bumper that Carl designed the diffuser to fasten to using OEM style black plastic clips were striped out on our car. We can only assume the VCMC dudes who had this car before us used those mounting points for a diffuser of their own design, so instead of using the clips provided we simply ziptied it in this location. The outer mounting points use self-taping screws into the underside of the bumper cover, but we decided to go the extra mile by using bolts with a nut and washer on the inside of the bumper cover for a little extra security.
We love how aggressive the Type 3 diffuser looks with the profiled tips on the vertical fences on the underside of the diffuser, and we’re stoked to have the added downforce and reduced drag it will provide. It might create some challenges when it’s time to install a trailer hitch for the tire trailer we’ll be towing during Ontario1500, but more on that later.
If you’re more of a moving pictures kind of learner, here’s our video installing the Driveway Labs goodies, as well as a look at some of the aluminum sexiness Raceseng sent us. I’ll be covering all the Raceseng stuff in detail in the next story.
With our aero package complete, it’s time to head to the track again to see if the understeer issue is solved and so we can finally get some proper tire testing done. Plus we’ve got a few more parts to install before the event, so we’ll have another update for you soon. In the meantime, check out our first track test video. As you’ll see, things didn’t exactly go to plan.


Looks awesome. Can’t wait to see the track test!
Hey what sort of bolt nut and washer did you use for the rear diffuser?