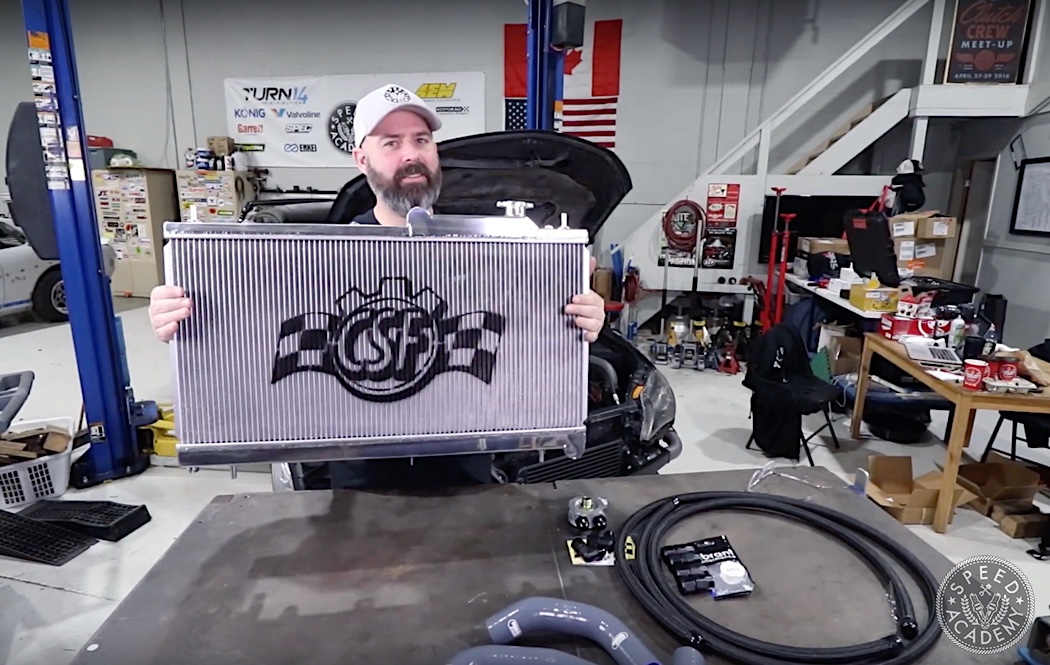
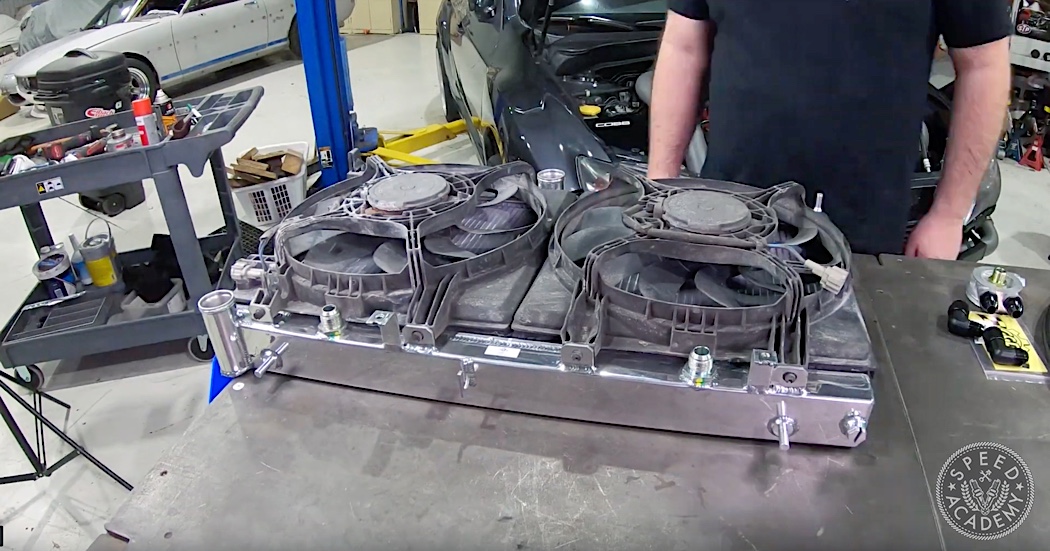
A key piece to the reliability puzzle with any Subaru build is keeping water and oil temperatures under control, and for that we turned to CSF and their unique O-Series all-aluminum racing radiator with integrated oil cooler. Developed in partnership with LIC Motorsports and Snail Performance, two Subaru specialists we know very well from having worked with them on previous projects including the Modified Mag Tuner Shootout (an event Pete and I used to run) where both shops were competitors, this direct-fit, drop-in radiator utilizes a 2-row, 42mm core that features CSF’s unique B-tube technology as well as an ultra-efficient 6.5mm multi-louvered fin design that maximizes surface area contact and heat dissipation. Plus it has a 4-plate liquid-to-oil plate-type cooler built into the bottom endtank that very efficiently cools the engine oil and is plumbed in using the supplied Mocal sandwich plate and AN fittings. This makes for a very robust all-in-one cooling system that greatly simplifies installation, since it uses all the factory mounting locations for the rad fans and we didn’t have to figure out how and where to mount a separate oil cooler. A whole lot of winning going on here!
As you’ll see in the episode where we install all of the above parts, we also installed a Turbosmart USA dual port blow-off valve, which is a really clever piece of design that allows you to run the BOV in one of three possible configurations, plus the mounting flange allows you to clock the BOV in any position you’d like.
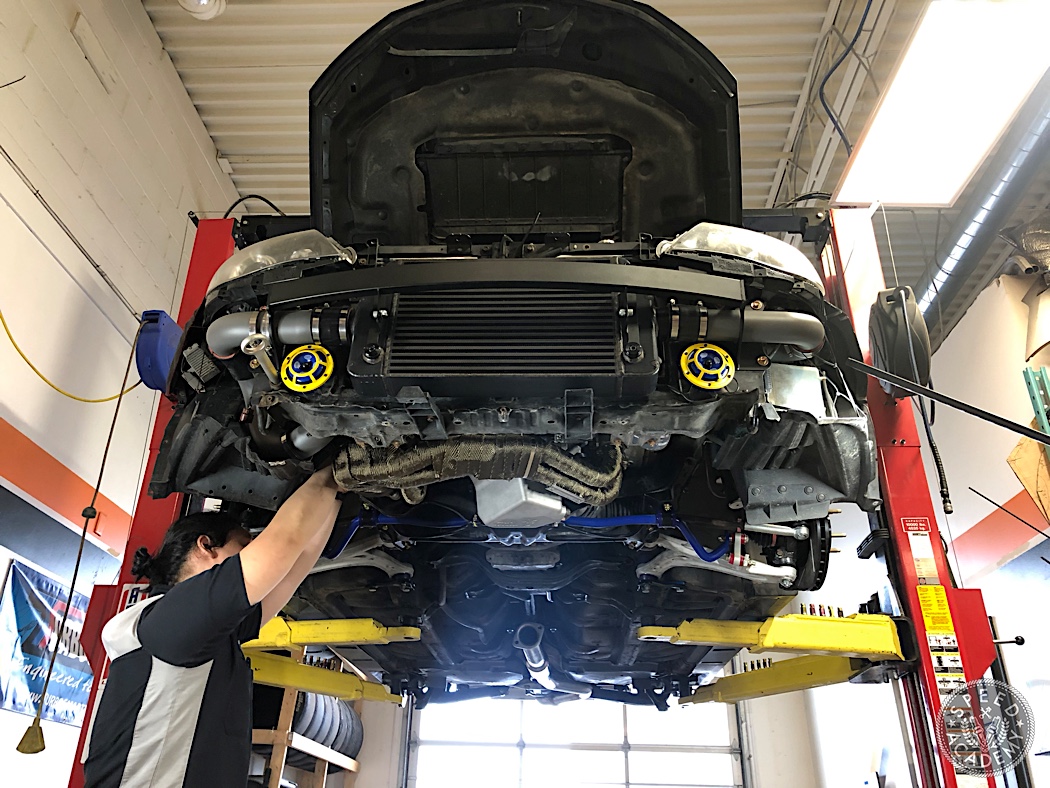
From there we headed to NV Auto so Vinh the fabricator could mate the Full-Race turbo kit up-pipe (which uses a 2 bolt flange) to the Tomei header (which uses a 3 bolt flange), as well as sort out some other small but important details before Pete and Nam do a final assembly on everything needed to fire up the engine for the first time, including installing a titanium turbo shield or blanket from Design Engineering Inc.
It was now finally time to fire up the stroked and ported EJ207 for the very first time, but not until Vinh and Nam pressurized the oil system with a special tool they made for the job, which you can see in the video above. Jump to the 15:30 mark of the video if you just want to hear this thing purr!
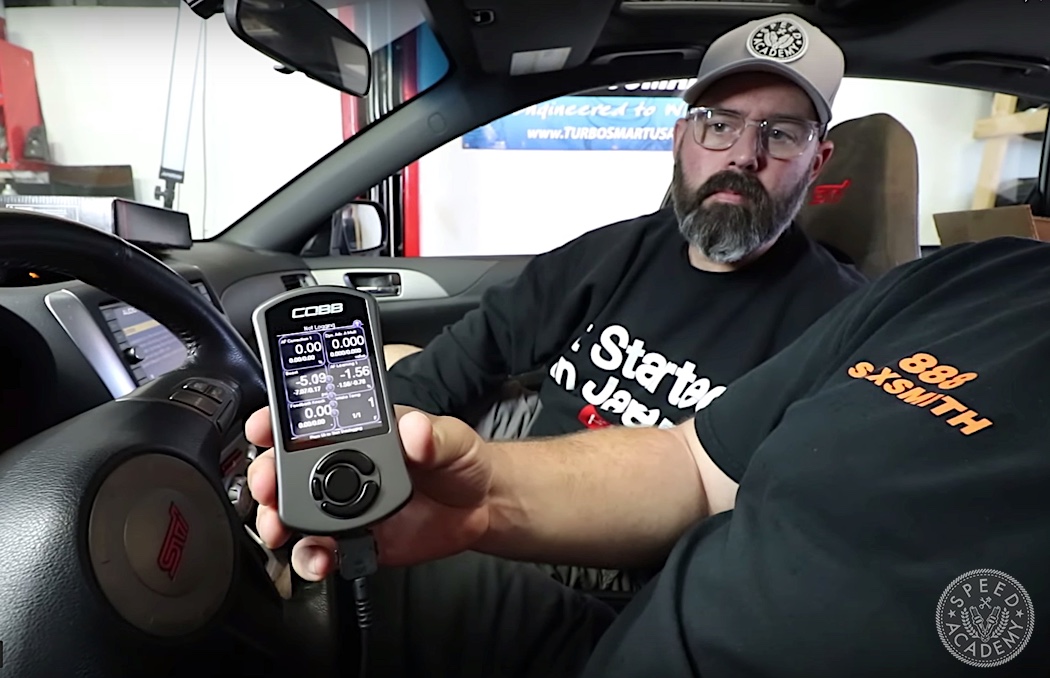
From there it was simply a matter of having Nam align the car before we started logging some break-in miles on the street so that we could send datalogs to Mike at COBB Tuning, who very generously offered to remotely tune the ECU for us using a COBB Accessport V3. I’ve got to say, it felt really good to finally drive this car, even if it was at light to moderate throttle positions and under 4,000 RPM at first so that we could break the engine in properly.
That’s it for this update, but in the third and finally update we’ll cover the dyno tuning process, the upgrades we made based on the first dyno session, and then the grand finale to see which of us (me or Pete) gets to use the STI as their daily driver. In the meantime, check out the video above for that first drive experience as well as a bonus paint correction and ceramic coating by Carson from SONAX Canada.
Hi, really a great restoration on the STI,
Does Dave have futures for this gray abandoned STI.
Is he willing to sell this car?
Hi Tony. We’re not currently looking to sell the STI. We have STI vs Evo6 battles plan for the springtime. After that we’ll likely sell one.
How much for the STI?