We’ve received a lot of e-mails and Facebook messages lately asking for detailed alignment, ride height and damper setting specs for a few of our project cars including the S2000, FR-S and S14. Rather than writing a bunch of replies, we’ve decided to post our alignment specs for each of our track cars, along with a little setup advice related to aligning your car for the track and dialling in its ride height and damper settings.
First, the advice part. It’s extremely important to understand that a “track” alignment is a generic concept and at best gives you a starting point to work from. Do not consider the specs below “complete” or “locked down”, since we’re always fiddling with alignment in an effort to maximize tire performance and mechanical grip. With changing track conditions, tire conditions, suspension settings, and driver preferences, we can’t emphasize enough that there is no single, magical “track” alignment that you can just set and forget. So make a habit of keeping track of vital data points that influence alignment setup, the most important of which is tire temperature. If you’re not sure how to collect tire temp data, here’s our ‘Just The Tip’ video on the subject.
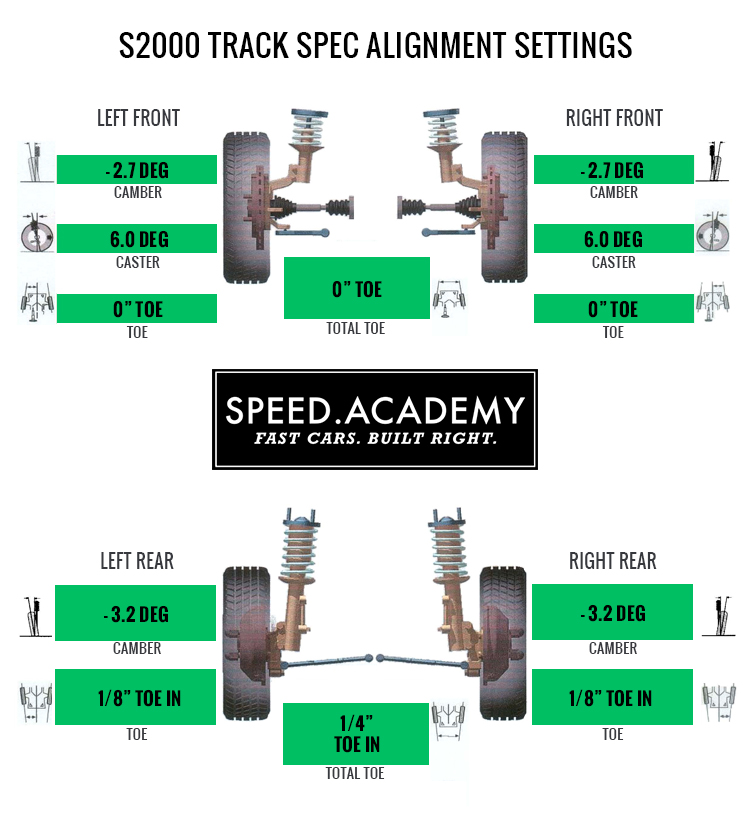
Ok, so the question we get the most often on this topic is “What alignment settings were you at when you did your best lap in the ASS2000?” Below are those settings, as dialled in on NV Auto‘s Hunter alignment system, which uses 3D laser alignment to measure camber, toe and caster with extreme precision. I’m sure we’ll make some changes to these settings while continuing to develop the car, but we think these specs are a fair starting point for anyone with an AP1 with similar modifications as ours. If you have an AP2 then you don’t need as much rear toe-in (factory setting is 1/8” rear toe-in for the AP2 and 1/4” rear toe-in for the AP1).
We also use Longacre toe plates to check total toe across the axles when at the track, plus we have a Longacre camber gauge for quick checks as well, though to use these tools with anything approaching the level of precision NV Auto offers with their Hunter rack, we’d need a scale platform that allows the car to be perfectly level. But park the car on the most level piece of ground you can find and these basic tools will still give you a pretty good idea of where your alignment sits.
Just remember, don’t be complacent with your track car’s alignment. It’s a powerful tool for not only dialling in grip and tire performance, but also chassis balance, turn-in response, and the overall feel of the car at the limit. So don’t be afraid to experiment with different alignment settings to see how it effects your car’s performance, and be sure to keep track of all your car’s setup changes using a pen & paper or better still our favourite iPad app Laptimizer.
Oh, and if you’re confused by our use of inches for toe settings, here’s a great link that lets you quickly and easily convert from inches to degrees. We’re just accustomed to thinking about toe in inches because we use our toe plates a lot, but degrees is normally the unit of measure on an alignment rack like NV’s.
https://robrobinette.com/ConvertToeInchesToDegrees.htm
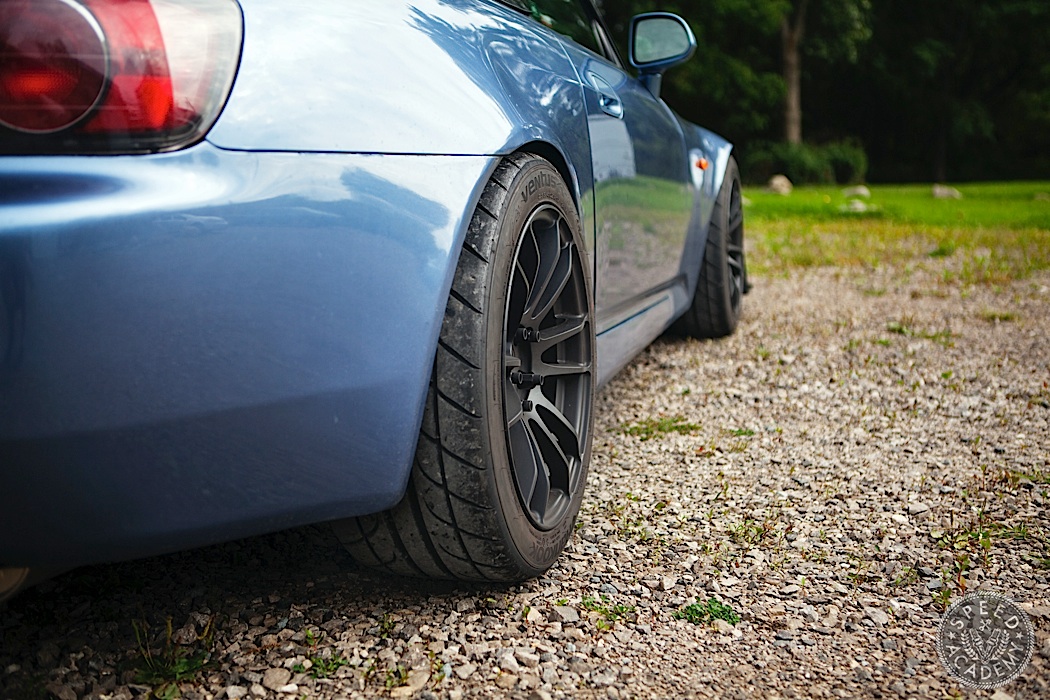
As for ride height, if you watched the Track Day Prep video above, you’ll recall we settled on a ride height of 25-1/4” up front (measured from the top of fender lip to the ground through the centerline of the wheel) and 25-1/8” out back. We opted to set the rear of the car slightly lower than the front as a way of reducing how active the rear end is in the corners. This seemed to work well for us, but again a lot depends on the track, driver preference, and the overall setup of the car.
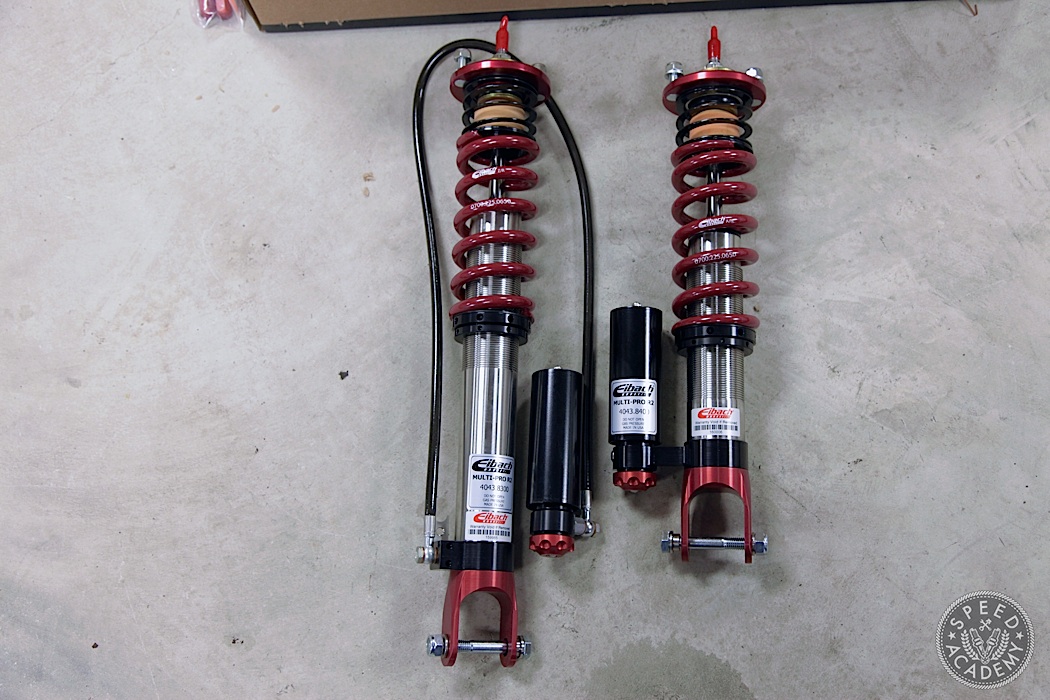
And our damper settings on the fastest lap in the ASS2000? We’re running Eibach Multi-Pro R2 coilovers, which have independent adjustability for compression (10 positions) and rebound (7 positions), and we ended up running rear compression at position 3 (from full soft) and rear rebound an position 2 along with position 5 on front compression and position 4 on front rebound. But honestly folks, the best advice we can give you is to start with your dampers set to the middle of their adjustment range and fine-tune from there. Our settings will be meaningless unless you’re running at the same track as us, on the same tires, with the same aero, and with a driver who likes the same handling balance we do.
But hey, you asked for our specific setup specs, so there you go. Just don’t expect miracles if you decide to replicate them.
Total noob at suspensions. Are the camber illustrations flipped?
What would you recommend for a street setup? I’ve read the AP1 has a tendency to toe out causing oversteer. true?
For a street setup we’d go to 2.5 degs negative in the rear and 2.0 – 2.2 up front. That way the car will feel more stable and won’t dart around as much as with the track setup.
Are the listed settings the same as where you ended up with the Aero? I have similar setup and I am looking for a baseline. Thanks
From Article:
Positions from full soft
FRONT:
compression – 5
rebound – 4
REAR:
compression – 3
rebound – 2
08 AP2…tirerack 17 X 9 with 255-40 RE71’s starting at -2 frt 0 toe & -2.5 rear 1/8″ total rear toe Glenn Texas