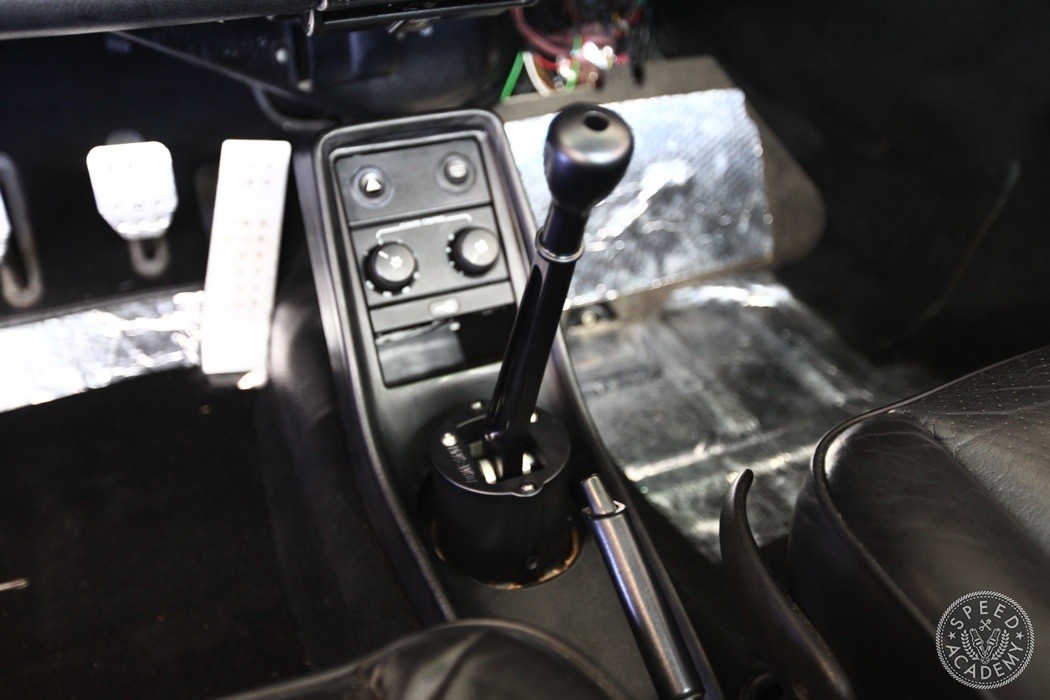
If there’s one gripe that I had after purchasing my Porsche 930 Turbo, it was the excessive play in the shifter. Sloppy, hard to get into gears, and antiquated are all good ways to describe the stock Porsche lever. I’m sure a lot of it has to do with age, but I’ve already gone ahead and replaced most of the old bushings in the rear shift coupler, which saw a slight improvement in shift quality but not enough to satisfy my needs.
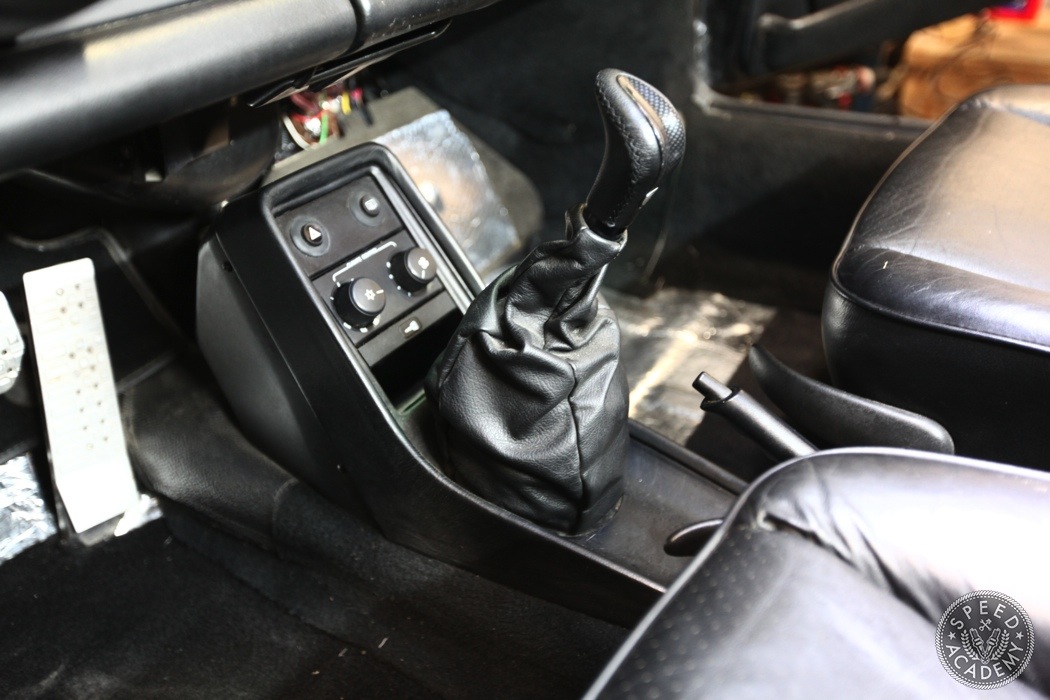
On top of my shifting woes, I was dealing with a shift knob that looked like it was pulled from a bargain bin at the local hot rod shop. It had to go, and in its place would be a more functional and appropriate looking unit.
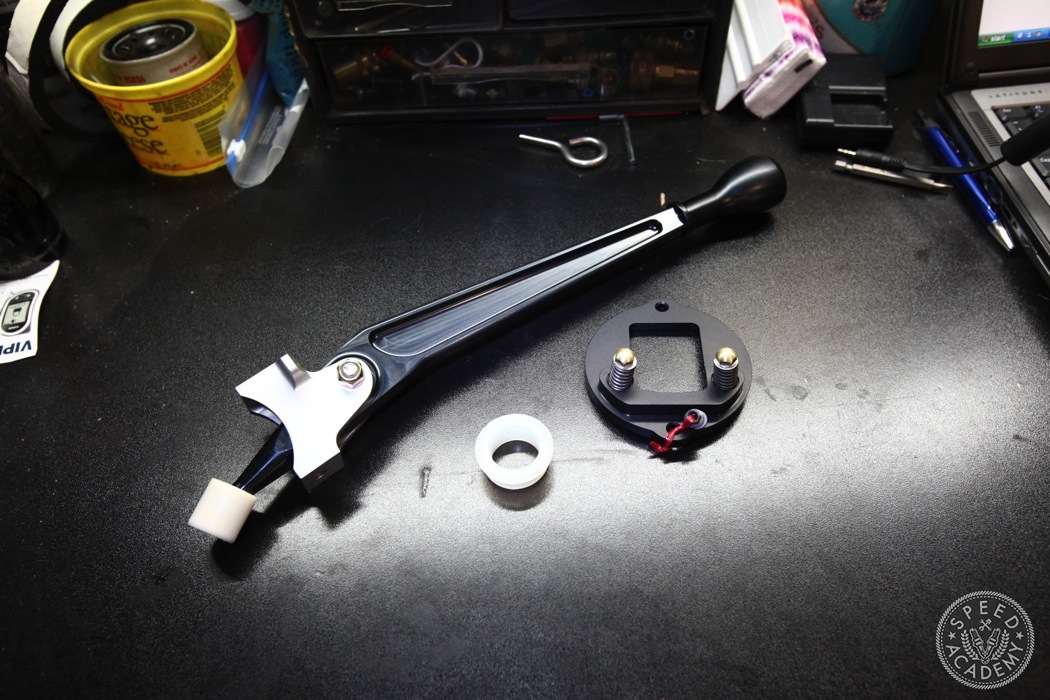
After a fair bit of research, I decided that the Wevo 930 shifter assembly was the go-to solution for sloppy shifting. This piece is extremely well crafted and delivers much better shifter gate feel as opposed to the slop commonly found in 911 and 930 shifters. It also reduces shifter throws by 30% which is a very welcome addition. It by no means is cheap, retailing at $611 (I ordered the tall shifter extension) but worth its weight in gold after you experience the improved shifting.
Another culprit that can cause play in the shifter is the shift coupler that wears out over time. Wevo also makes a replacement part which I plan to buy in the near future and test out.
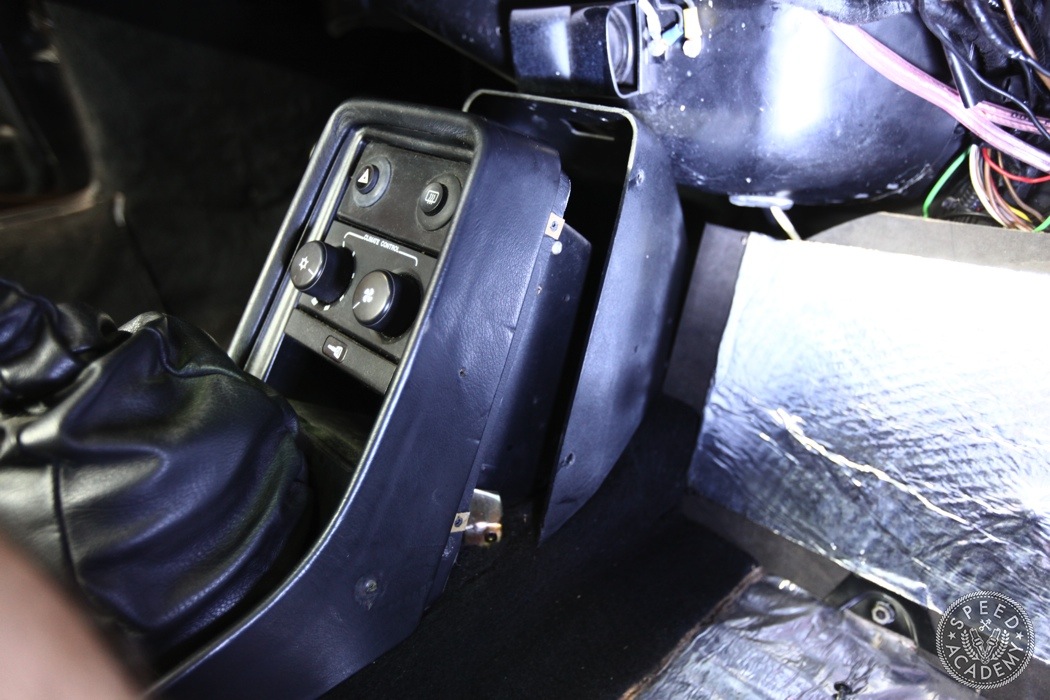
Replacing the shift mechanism might sound like a quick and easy job, but it turned out to be a much more complex and time-consuming task than I had originally anticipated. So be prepared to spend half a day removing and replacing the setup if you plan to do the same.
The Wevo shifter fits on 1976 to 1988 930’s, so you can imagine there will be some variance for disassembly between years. However, the procedure for the shifter install will be the same no matter the year. For reference, my 930 is a 1987 model and to get started you’ll want to remove the rear plastic cover that’s attached to the center console.
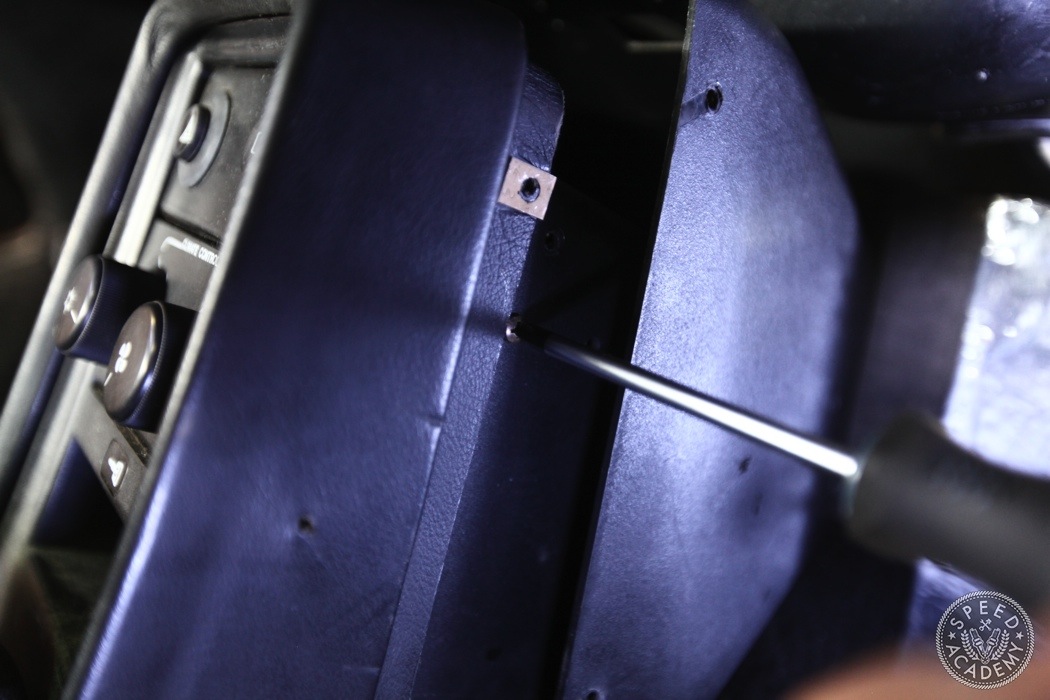
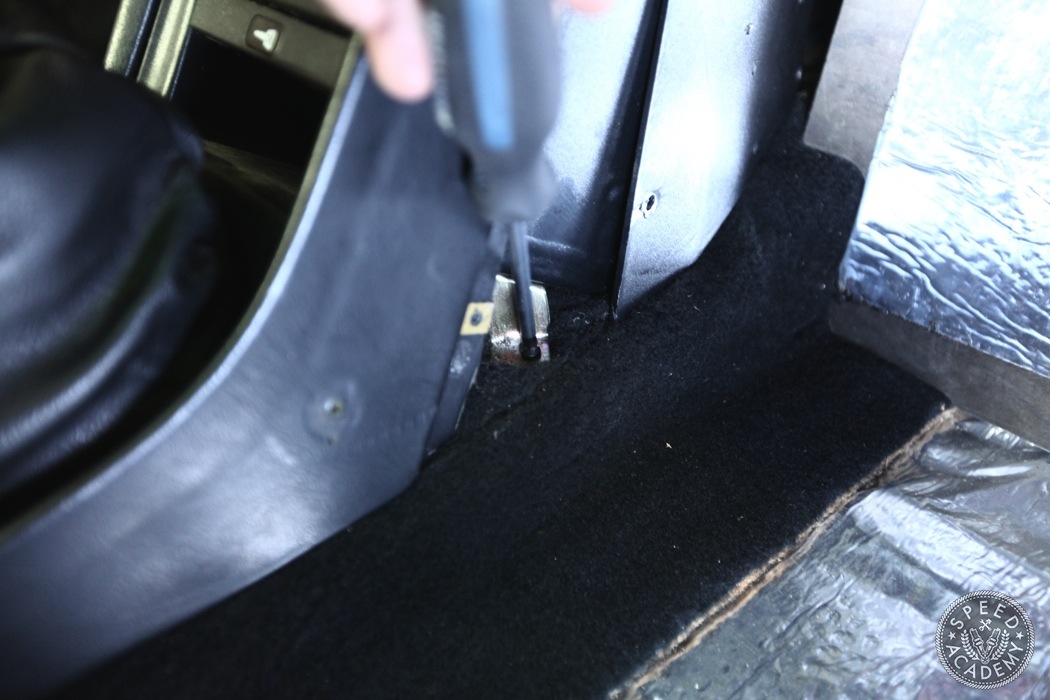
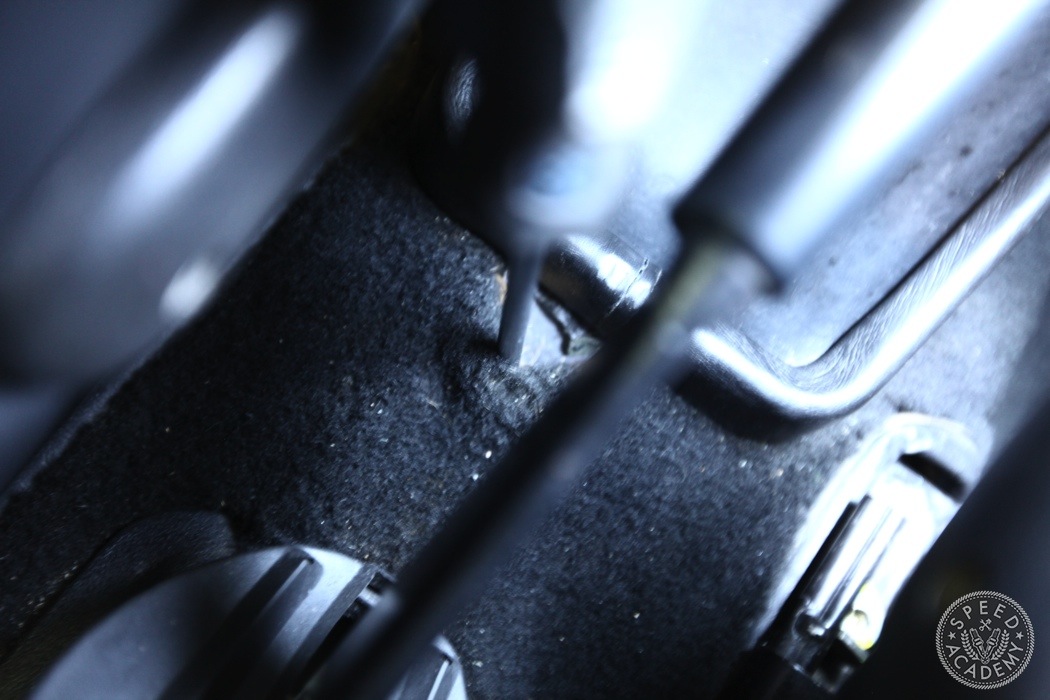
The next steps include removing the screws that hold the center console in place. There are two on the back side (per side) and one at the front that required pulling back the carpet to get at.
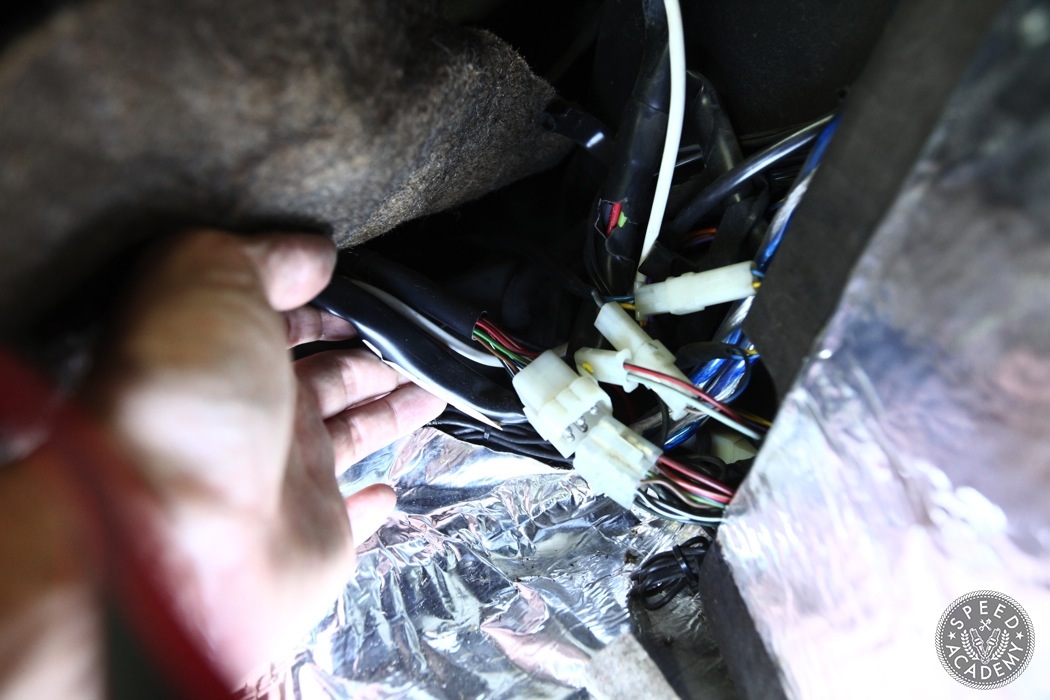
If you pull the carpet up near the passenger side foot well you’ll find a large plug that runs to the center console. Disconnect it. Then carefully pull the entire bundle of wires and tubes toward the center console. This will provide the slack needed to get the center panel out. Take note of the thick white plastic tube, since it’s a part of the thermostat system. Underneath the plastic is an aluminum tube that can crack if you bend it too much. If that happens you’ll have to replace the entire thermostat assembly, so handle with care!
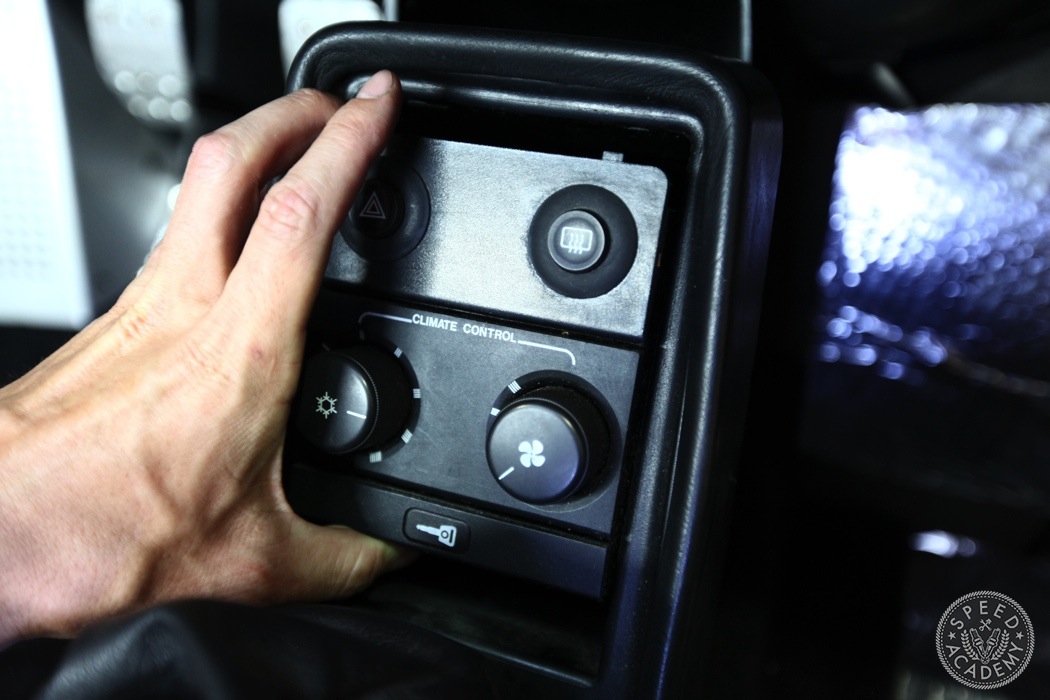
The climate control, defrost and hazard button combo panel has to come out in order for the console to be free from the chassis. You can pop it from its mounting tabs by pulling down on it but there’s a lot more to do before it’ll slide out. This is actually where you’ll spend most of your time cursing and swearing as it’s such an overly complicated setup that was never designed to be removed.
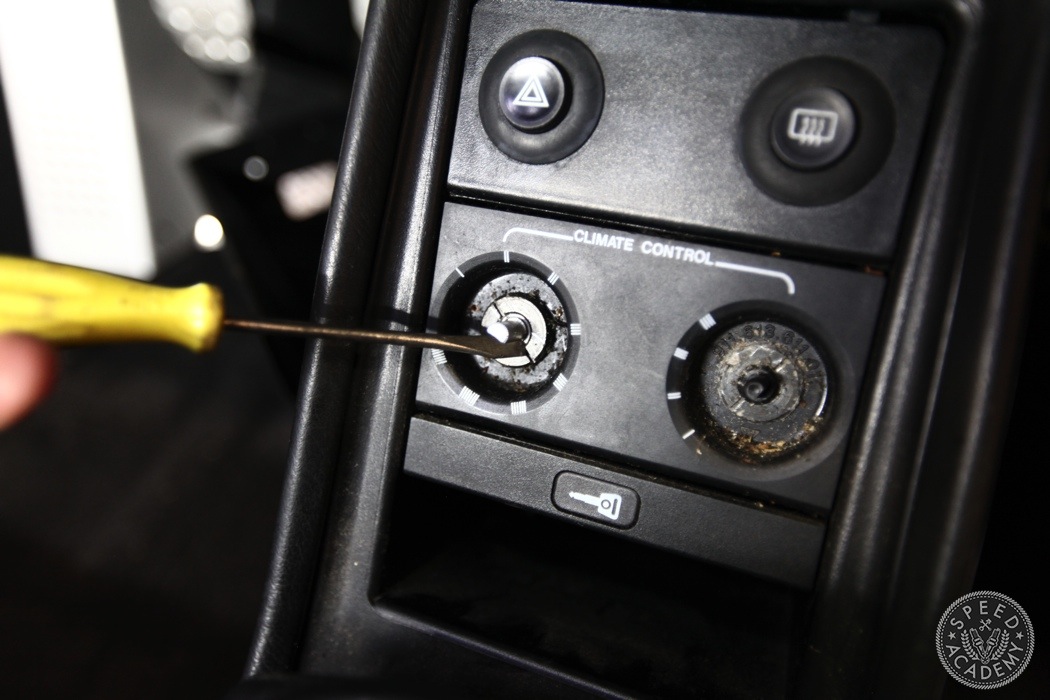
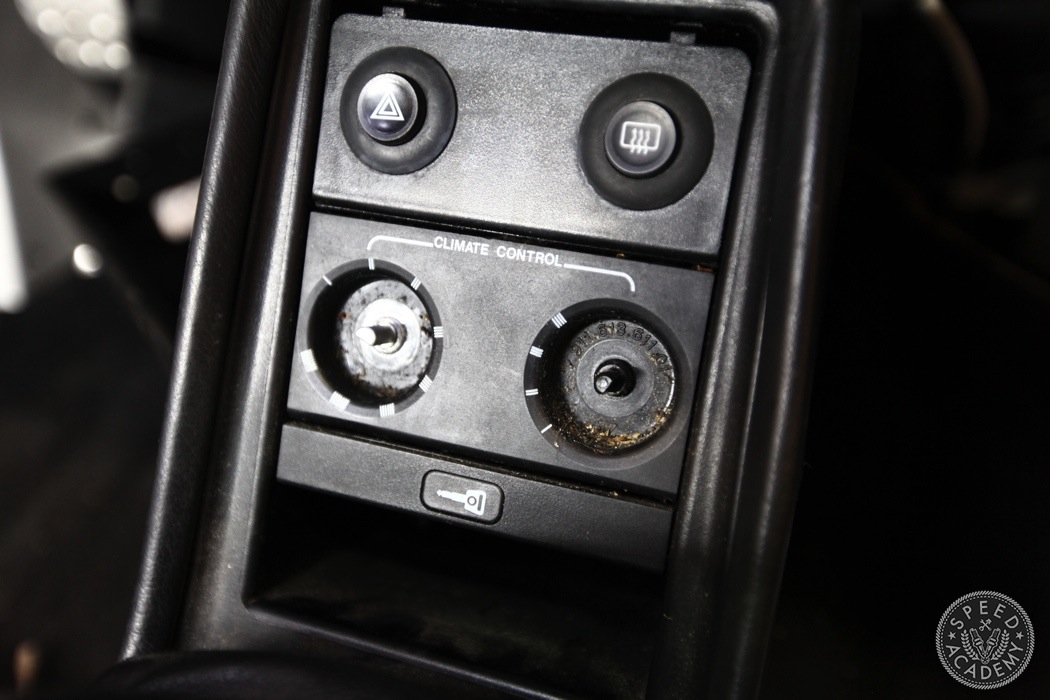
First, the plastic climate control knobs need to be popped off, which will expose metal screw rings that hold the adjustment mechanisms in place. I used a flat head screw driver and was able to loosen and remove them with ease.
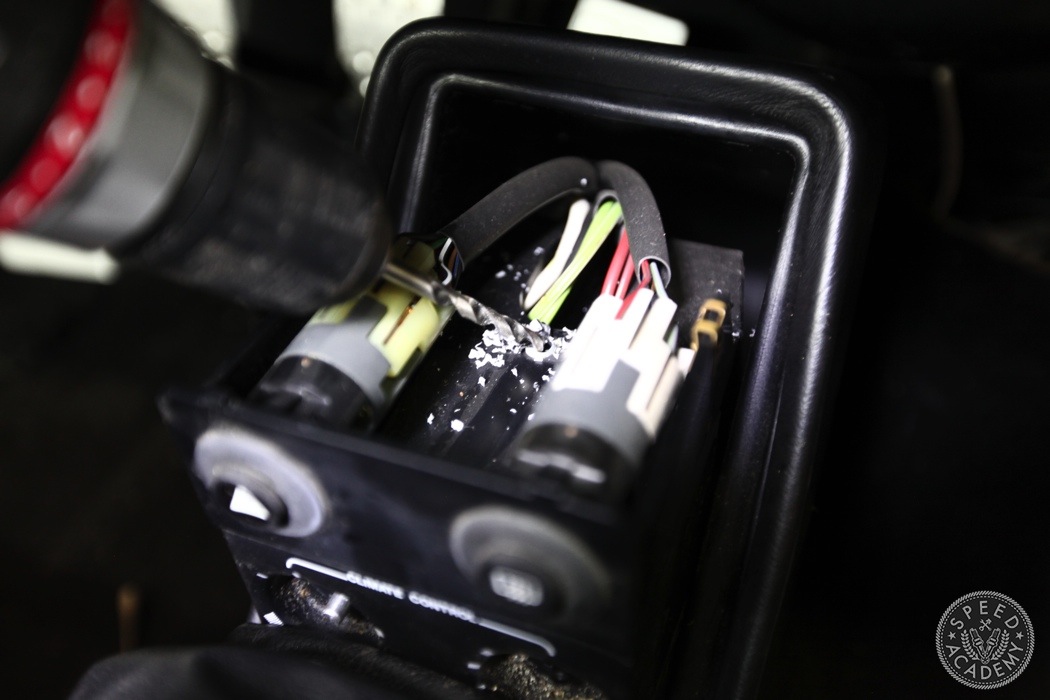
I’m not sure how Porsche assembled this whole unit but they used a plastic rivet that holds the button panel to the climate control so it needs to be drilled out.
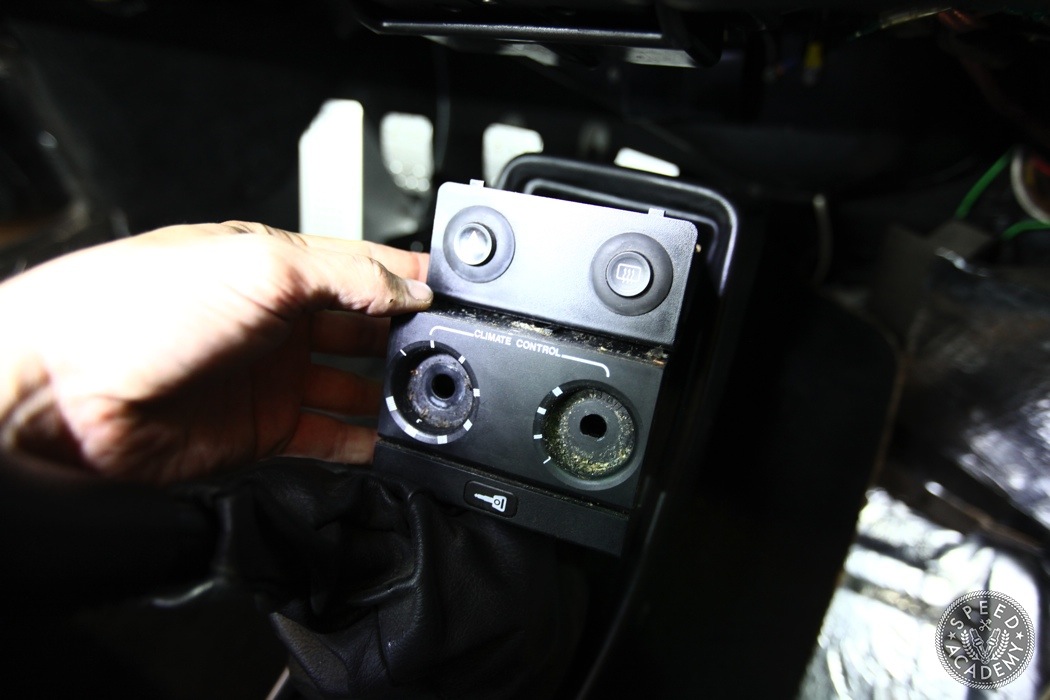
Once that’s done you can slide the two panels apart and while pulling the climate control out, push on the metal knobs and they’ll pop away from the plastic casing. There will still be some resistance from the wiring so don’t pull it out too far.
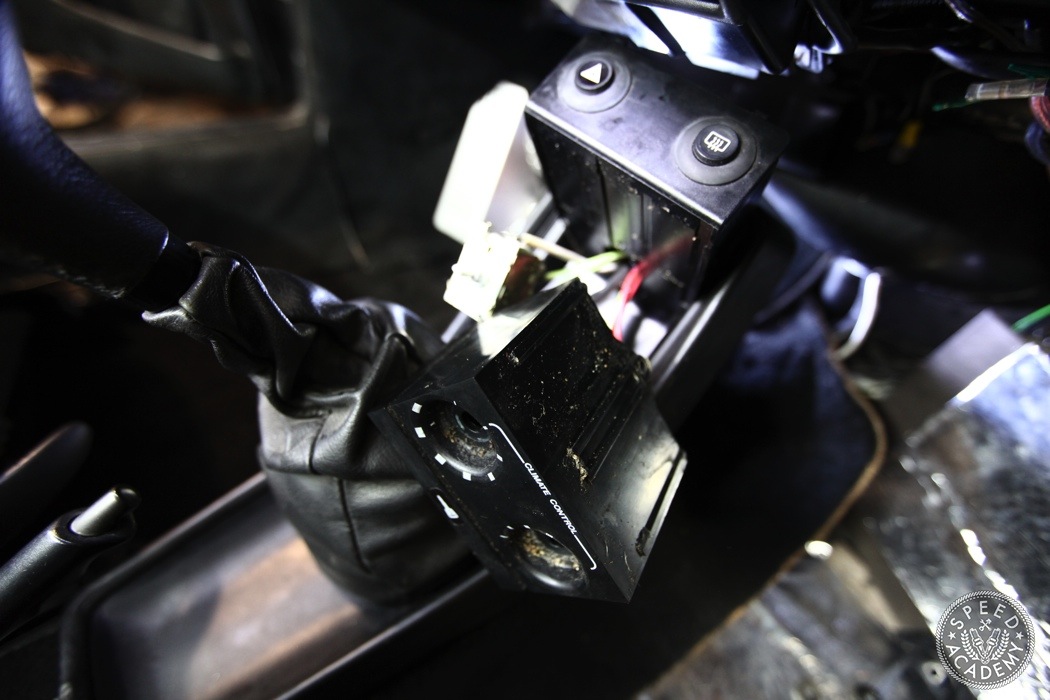
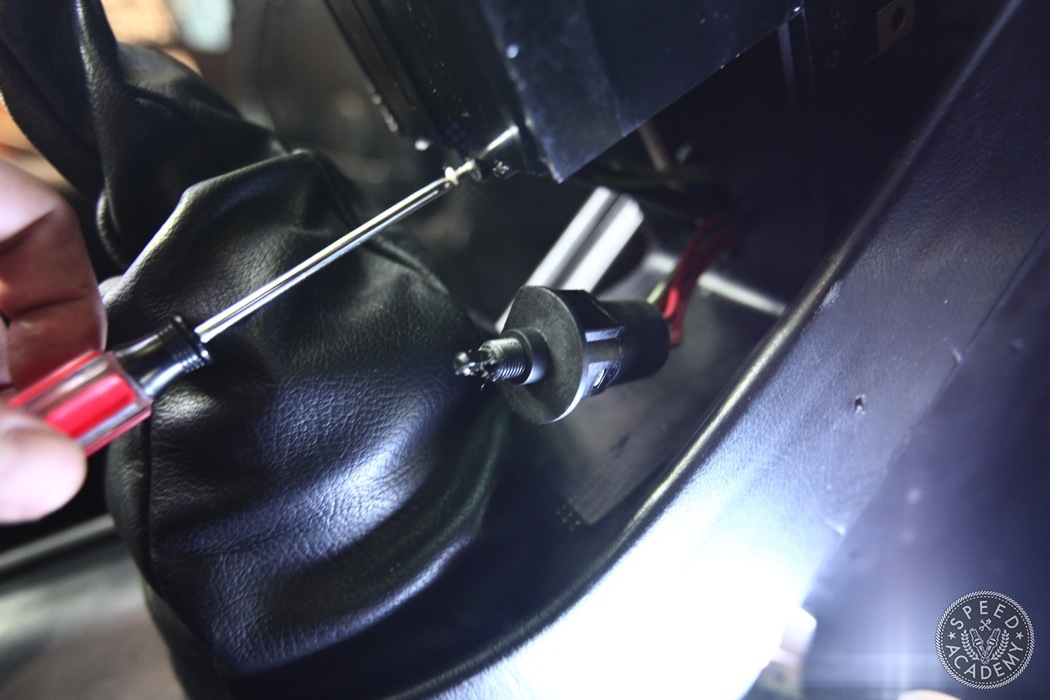
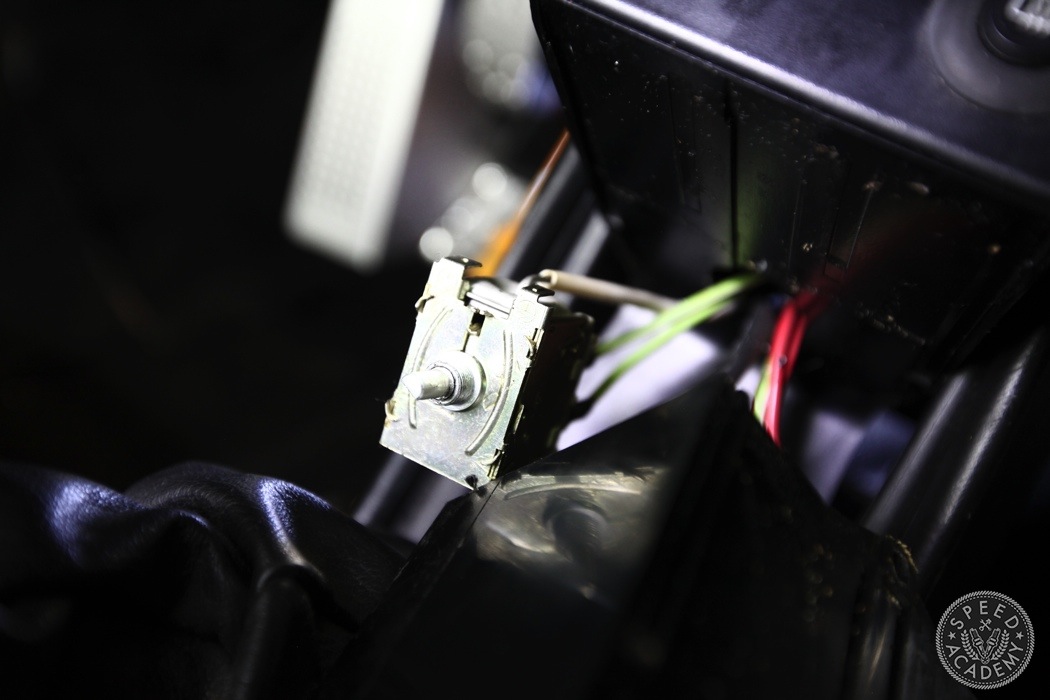
The next step is to pull both climate control switches out of the plastic panel. Remember, be careful handling the white tube (see above).
