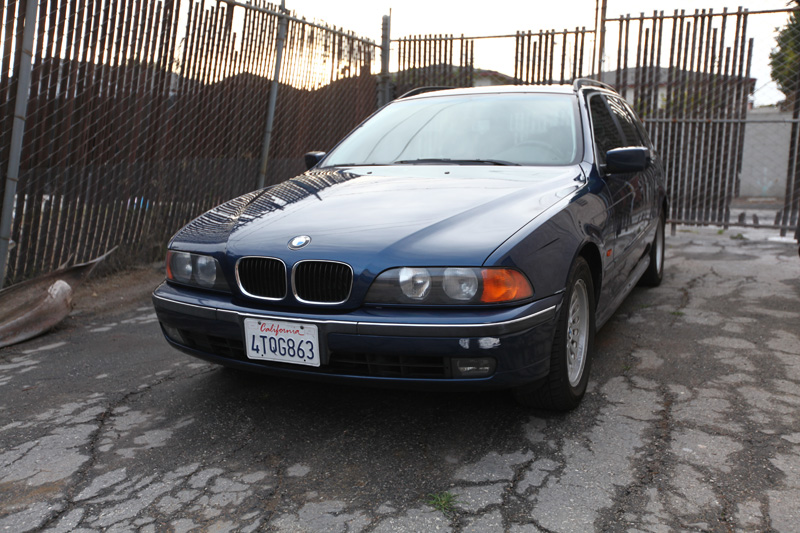
Let’s face it when buying a used car, both exterior and interior color preferences fall out of the ‘must haves’ and into the ‘would be nice’ categories. In my perfect world I’d have an E39 Touring in dark gunmetal with an all black interior. In reality, I ended up with a dark blue (which I don’t mind actually) wagon on light grey interior, which is pretty much the defacto color from that era of E39s and one that I’m particularly not fond.
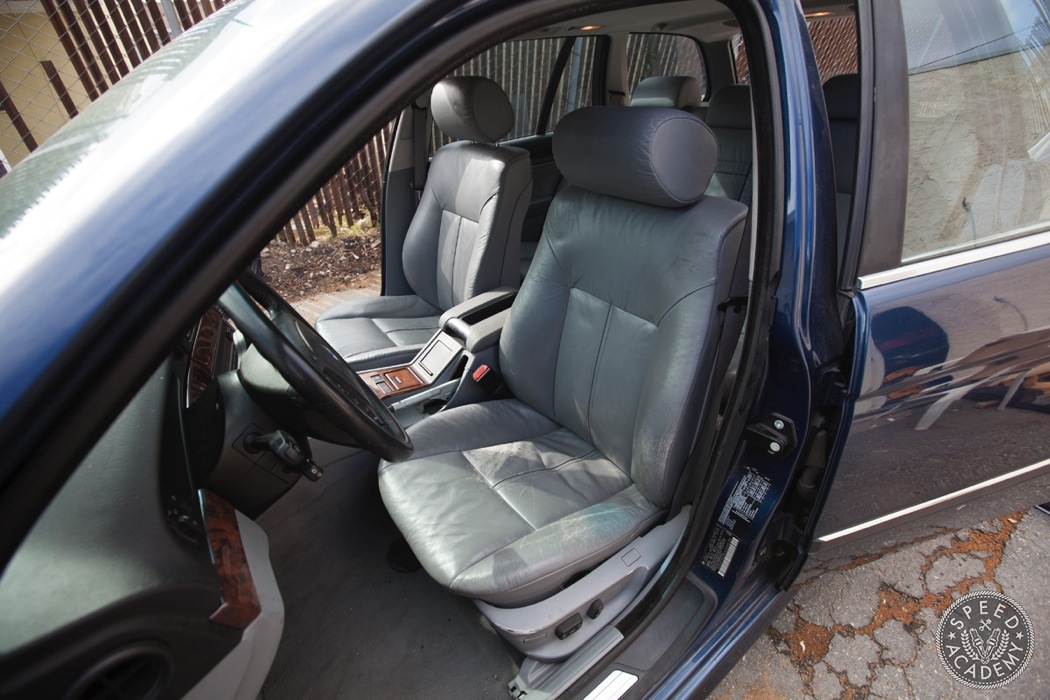
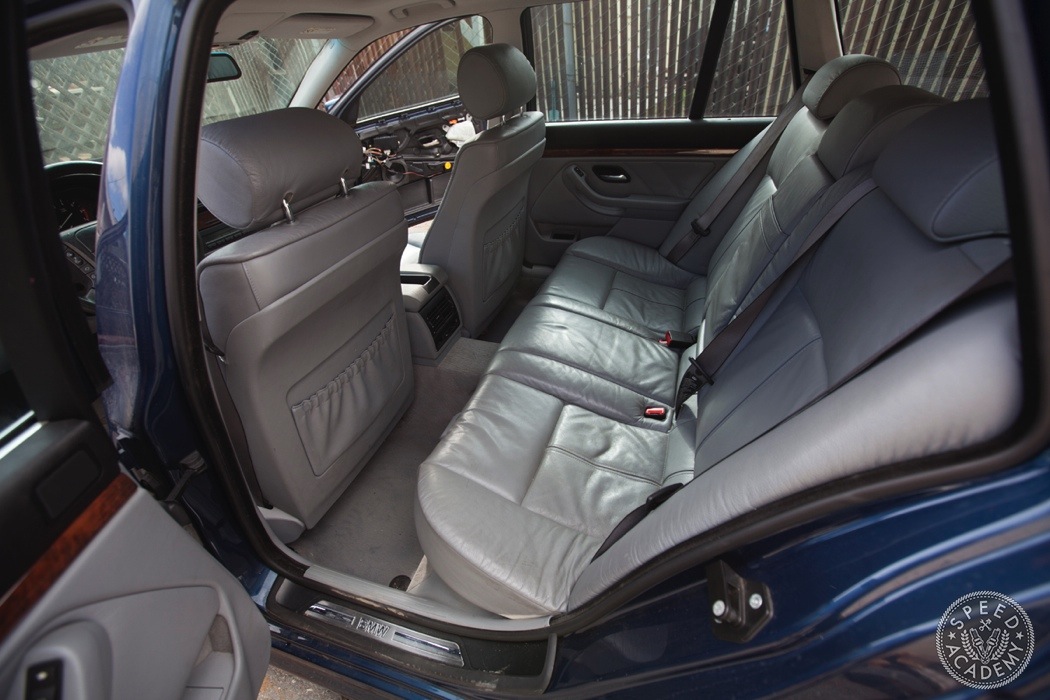
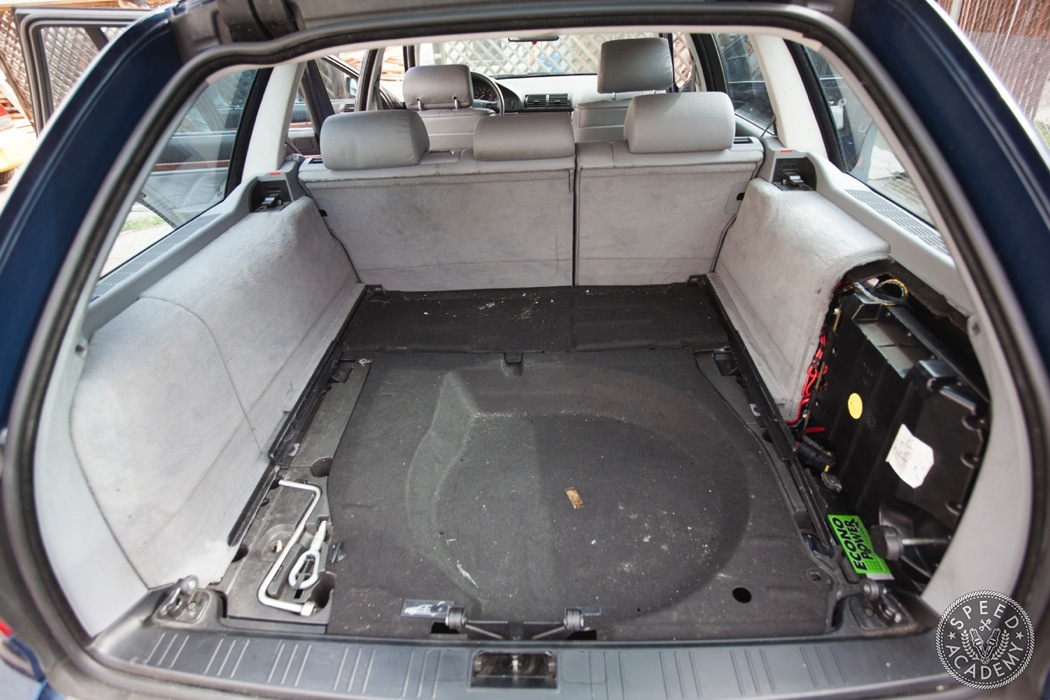
So I set out on a mission to find a black interior and swap it over. At first there was plenty of promise, lots and lots of listings on Craigslist for black interiors out of E39 sedans. After some research, it turns out that not everything will swap over into the touring, especially the rear fold down seats and door panels. That meant to do this swap properly and completely it would have to come from another touring and those aren’t exactly easy to find let alone ones that are being parted out and have black interior.
After a month or so of searching, I had all but given up and decided I would live with the grey interior. Often, it’s those moment when you become content that a stroke of good fortune or plain ol’ coincidence comes your way.
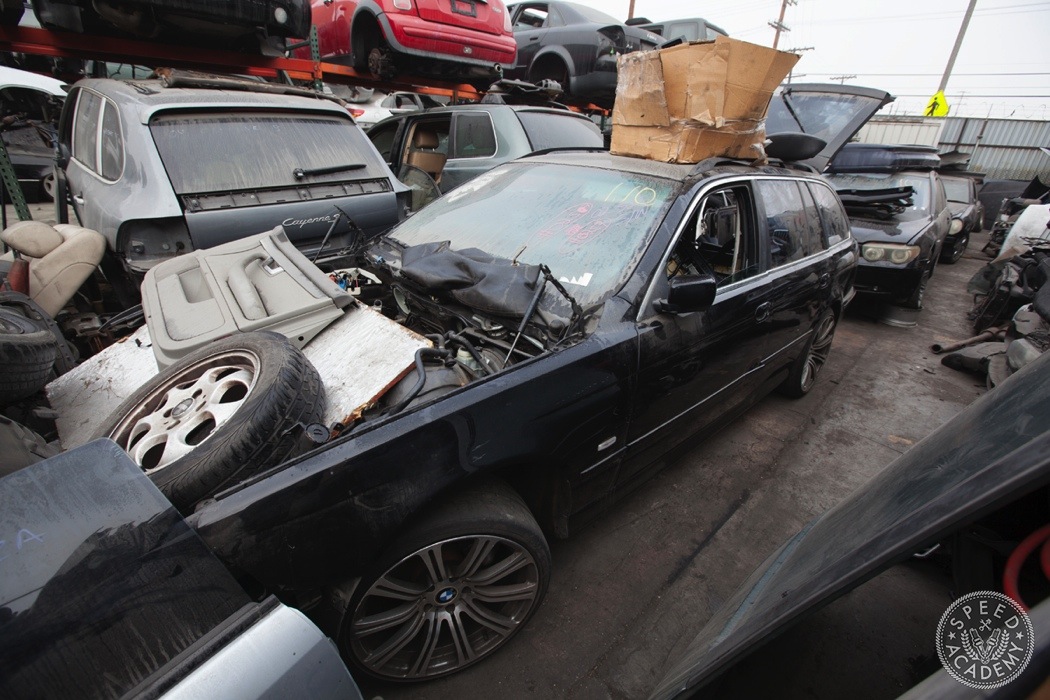
I was at an Auto Wrecker picking up an E46 M3 steering wheel when I couldn’t believe what I stumbled upon in their yard. There was the exact Touring Sport wagon that I was searching for, with complete interior and all!
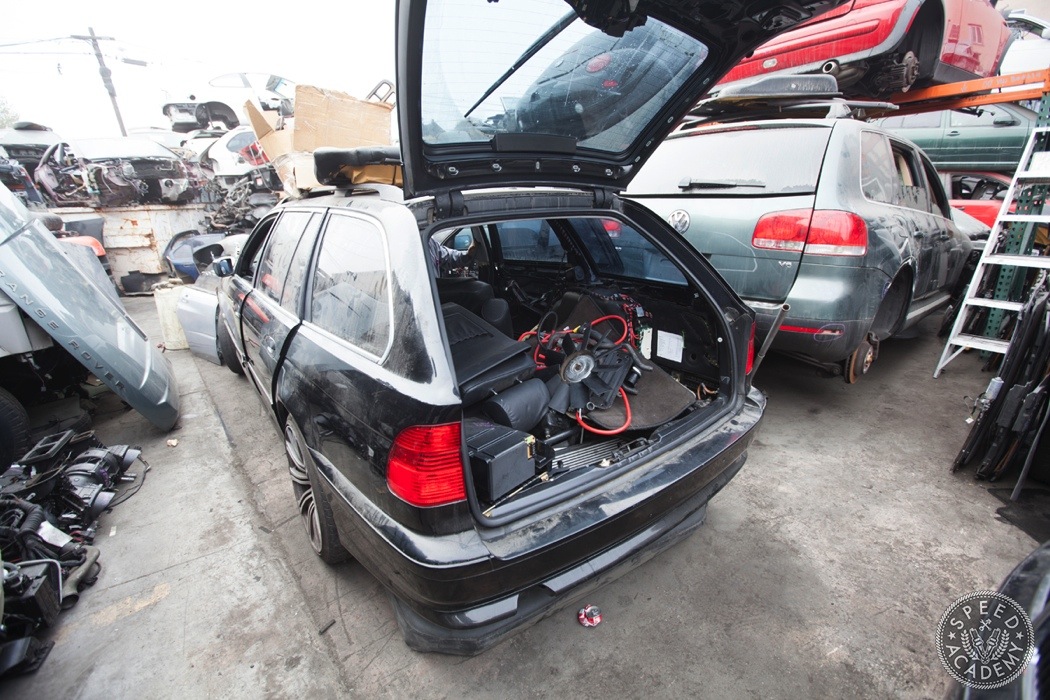
After some wheelin’ and dealin’, I had convinced the yard to sell me the entire interior (minus the headliner since it’s grey) for just under $1000 bucks. Not cheap by any means but considering how hard it is to find I had no issues paying top dollar.
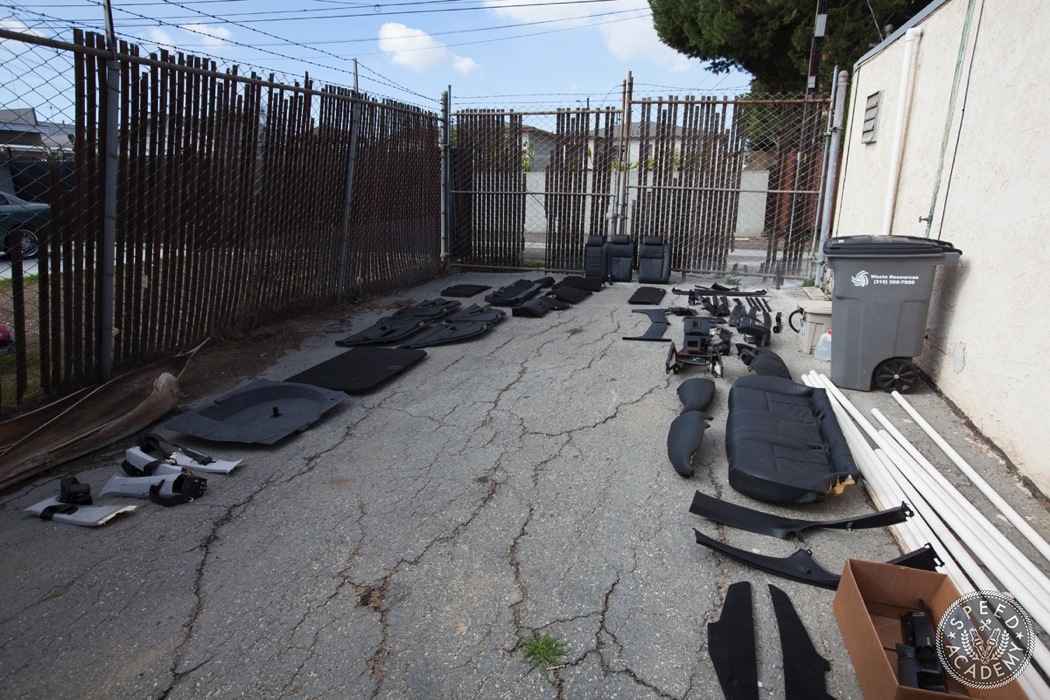
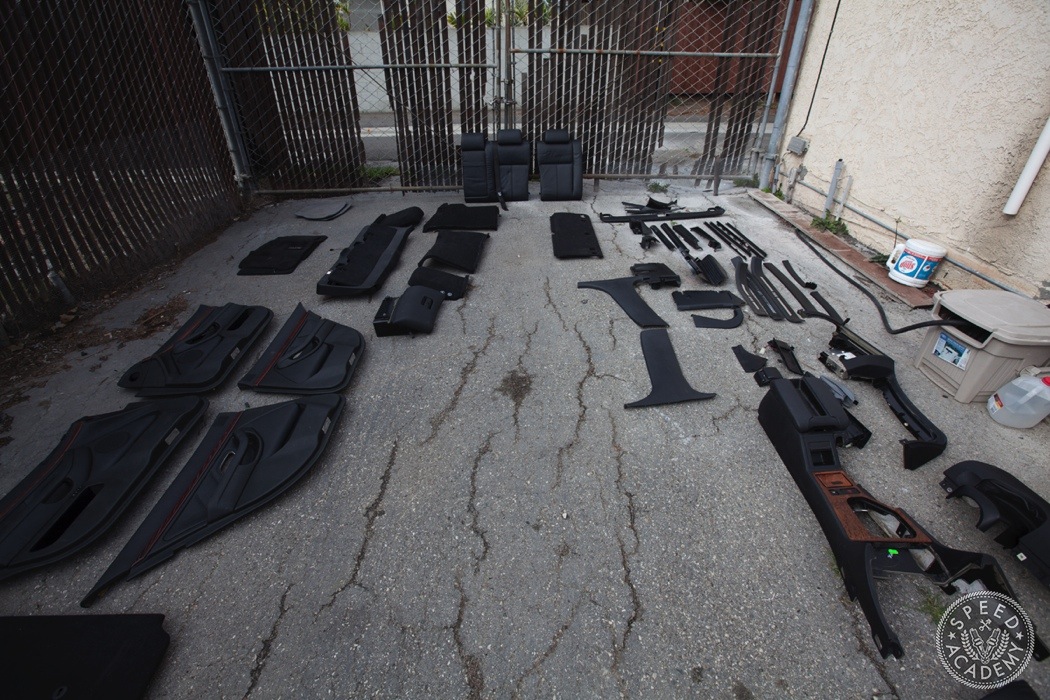
This is what a complete interior looks like laid out. The black carpet isn’t actually pictured in this photo but I did grab it as well. Otherwise, I took every plastic piece, side trim, nut, clip, and bolt to ensure the setup would end up looking proper. It’s easy to swap black front and rear seats into the car but once you get into doing the entire interior then you’d be be sure you’ve got every last piece needed because the last thing you want is to end up having one grey trim piece or side molding that’ll stick out like a sore thumb.
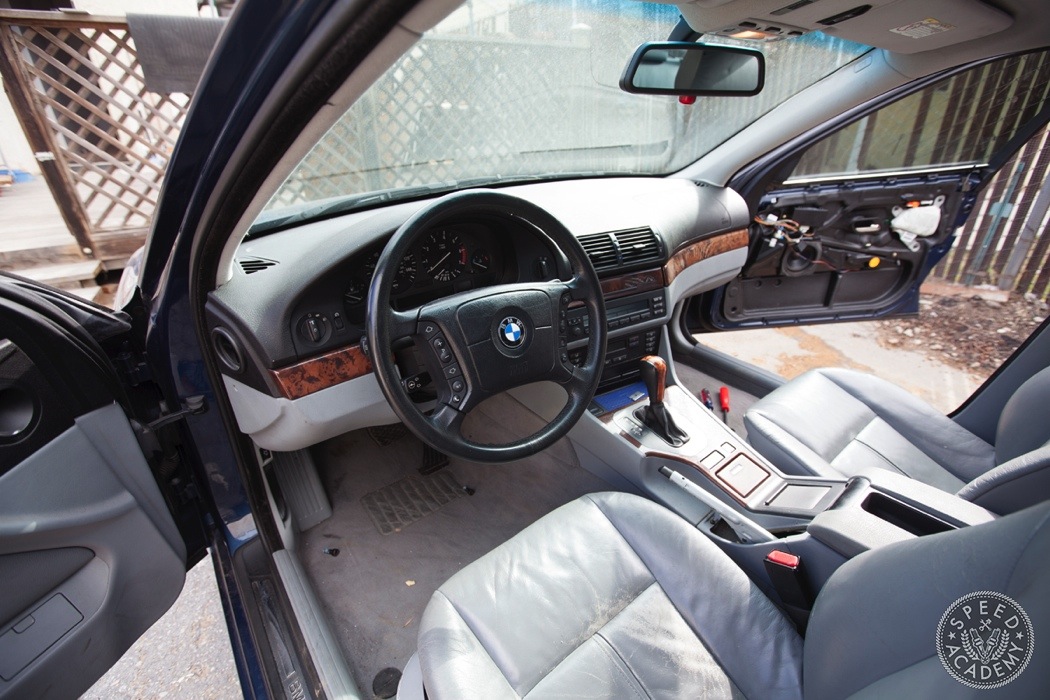
An interior swap job like this is going to take you roughly two days working alone but isn’t overly difficult so don’t be too intimidated. Having a regular box of tools and a trim tool kit is always a handy thing and highly recommended.
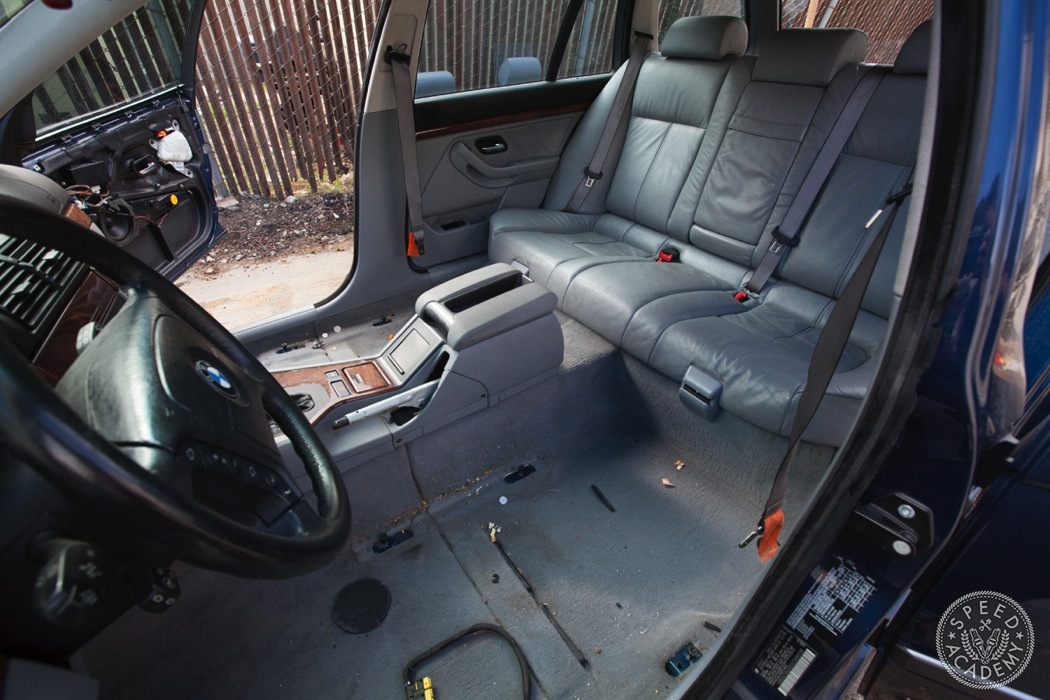
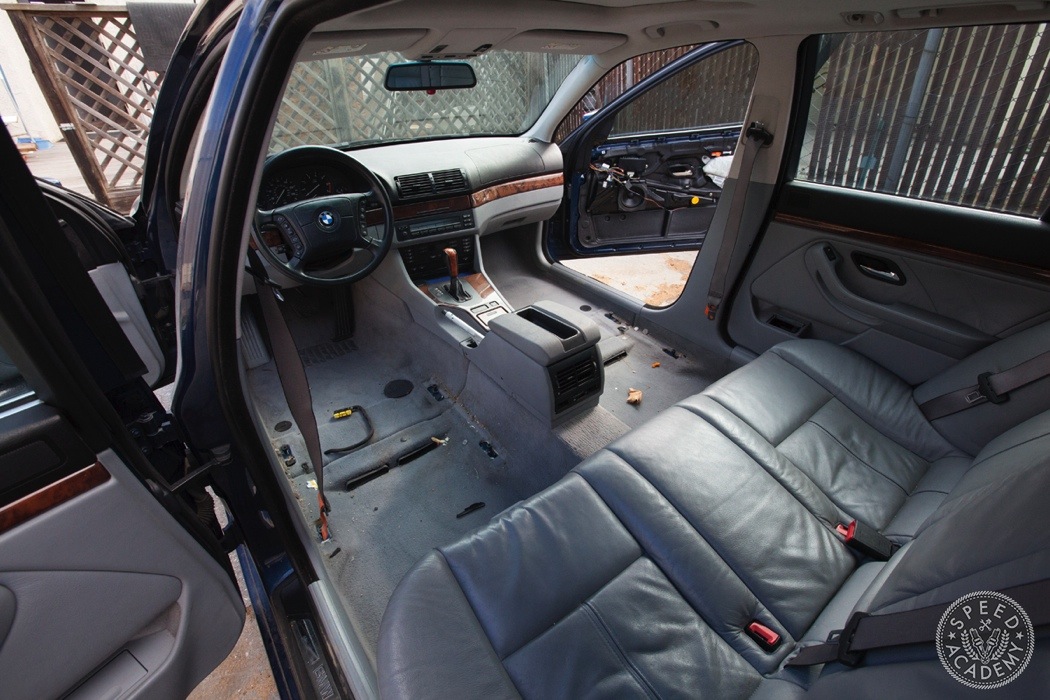
Start by removing the front seats, they’re fairly simple to unbolt at four corners but don’t forget to disconnect the electrical harness before yanking them out.
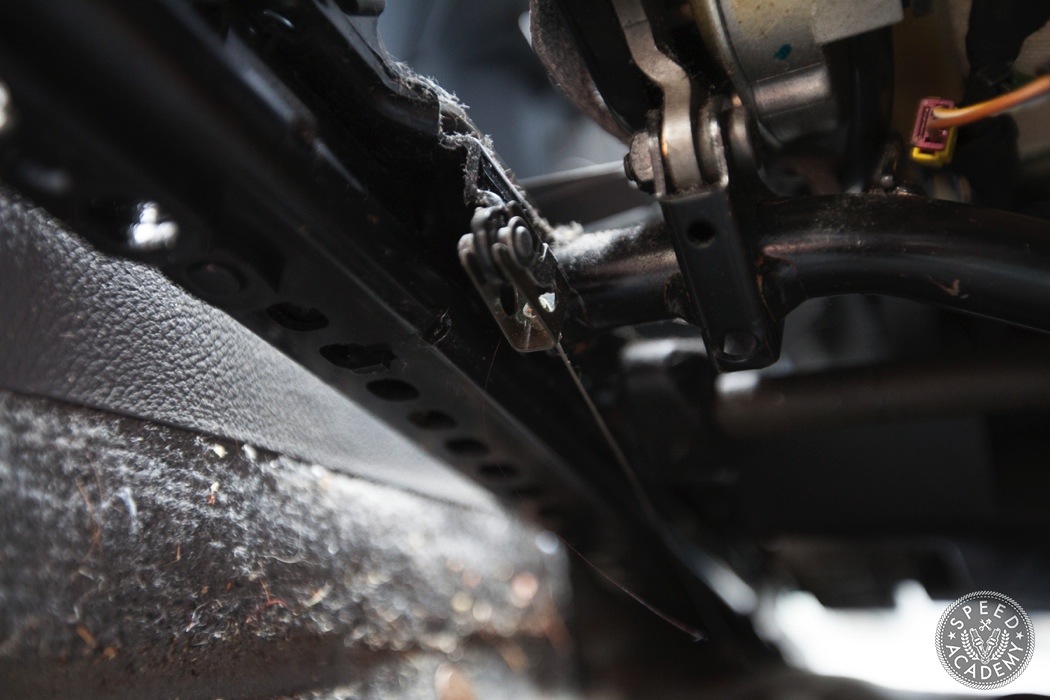
Here’s a quick pro-tip. The passenger side seat has a cable connected to it that’s hard to see but it has to be disconnected before the seat will be free. Using a flat head screwdriver, pry the metal tab that holds it in place up and then you’ll be able slide it up and un-attach the cable. Don’t pull up on the seat too hard when trying to access this because there’s a limited amount of give and you don’t want to snap the cable.
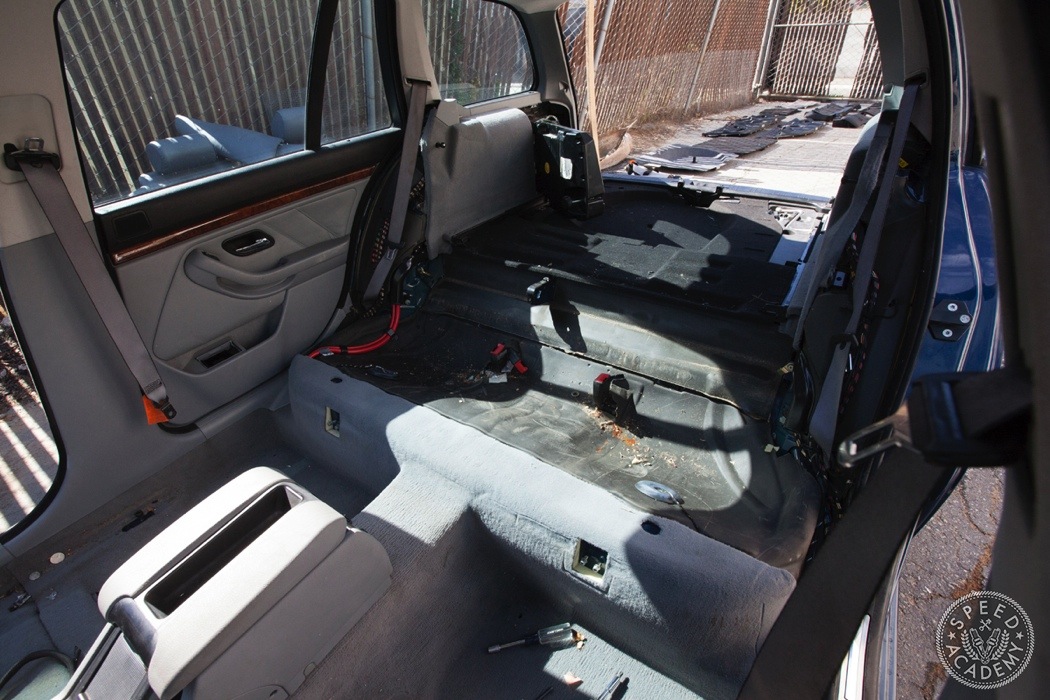
In the rear, the lower rear seat cushion pops right out with a swift tug while the folding back rest requires a few bolts to be removed from the mounting brackets and then it’s free of the chassis. There are also side bolster cushions that pop out without much fuss and you might as well remove the safety tethers that are attached to the carpet and lower seat cushion at this point.
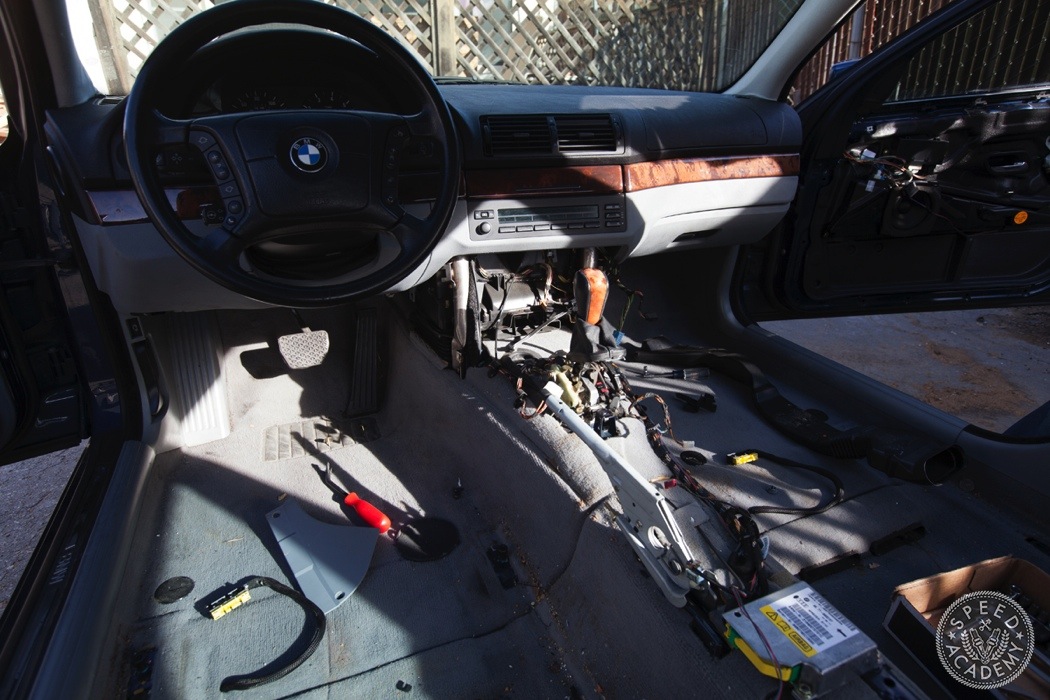
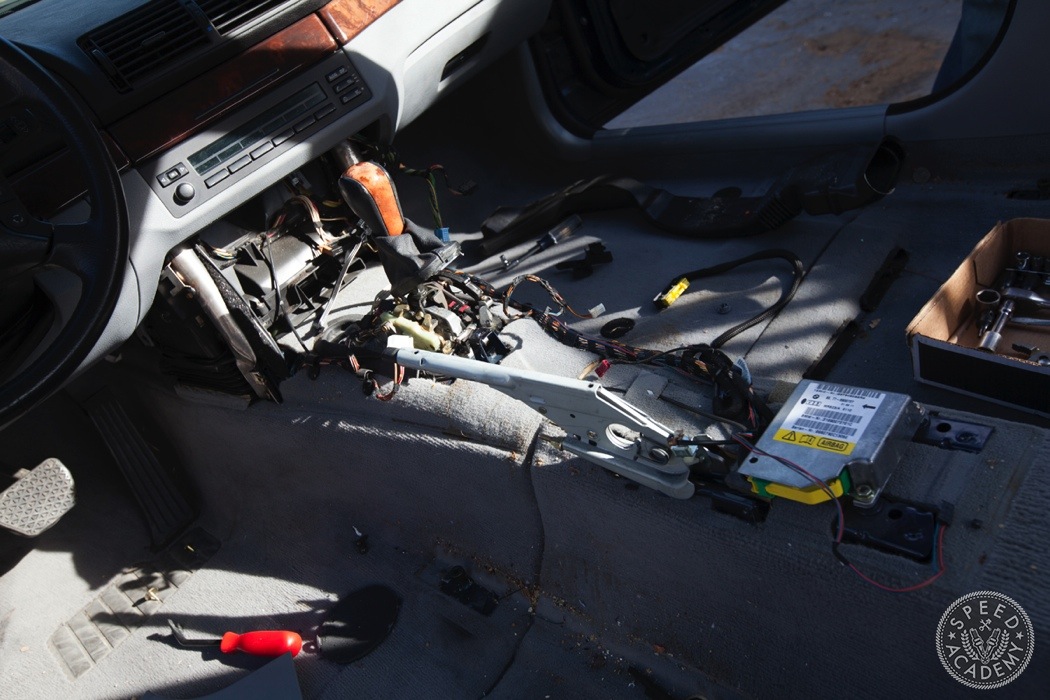
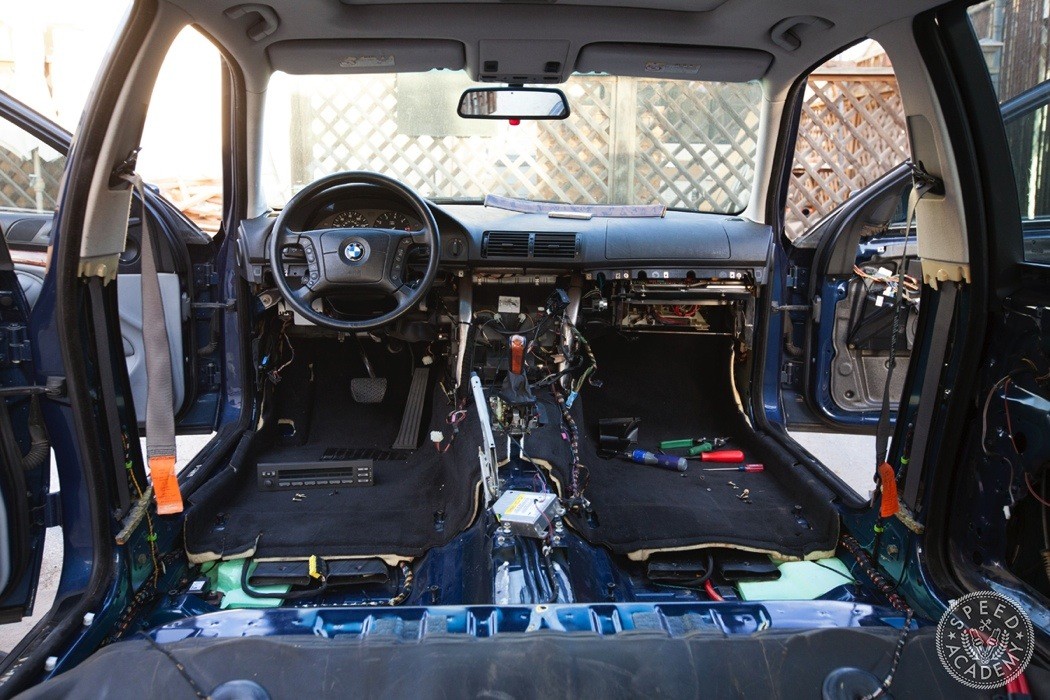
I moved onto the center console which included removing the climate control panel and disconnecting a plethora of other plugged in wires. There’s also the parking brake handle cover that needs to be removed and a bunch of side panels with screws before the entire center console will come out. The shifter and boot slip through the console so once the console is loose just push on the back side and it will pop right out.
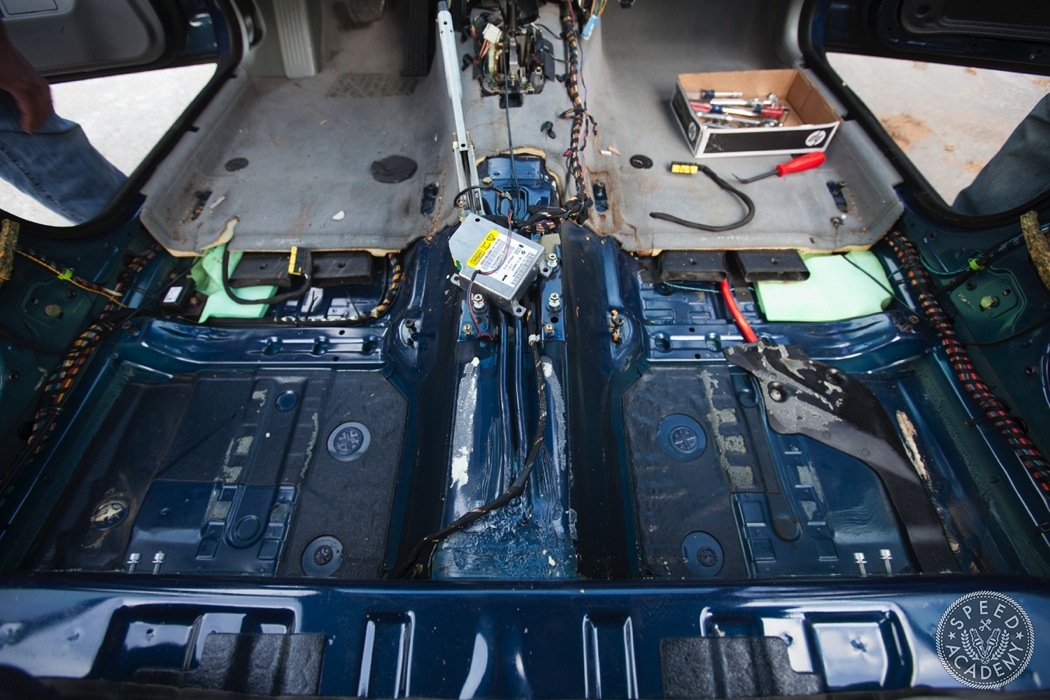
Taking out the rear carpet turned out to be fairly easy. However, it will require a bit of force because it’s glued to the chassis. Notice that I unbolted one of the airbag modules and the parking brake to get the carpet to come out as one piece.

Looks much better with the black interior. Diggin’ the detailed write up!
Thanks Santiago!
It made such a huge difference in the look and feel. I’m already much happier with the wagon and haven’t even touched anything else on it yet.
Santiago Gomez Thanks! It’s a million times better. Now to get around to putting the 2JZ into it.
How did you attach the carpet?
Hey Pete! I’ve been watching you guys on youtube for awhile now and I love the content, I personally own an E39 530iA that I swapped to a 5 speed manual. So I guess you could say I’m a bit of a fan of the E39, so when I saw your video of your E39 touring I was hoping to see more, I hope to see more videos on your potential 2JZ swap on it, that sounds legit! Also I love your detailed write ups on the E39 DIY’s the one you posted on the twisted seat fix helped me… Read more »
Thanks so much! My E39 has been sitting under a car cover for way too long now but we’ve got one too many projects at the moment to start on so I’m sincerely hoping that come this winter I’ll be able to start working on the swap! I really want to get that 2J in there!
Wish I’d had my wagon back then, I’d have bought ALL the light grey stuff!
(I have tan interior and want to swap it out). Great writeup, definitely saving this one!
Prefer the grey myself
So much lighter and uplifting
Black is gloomy and kinda depressing and 99% of new cars have black interiors.
Each to their own though