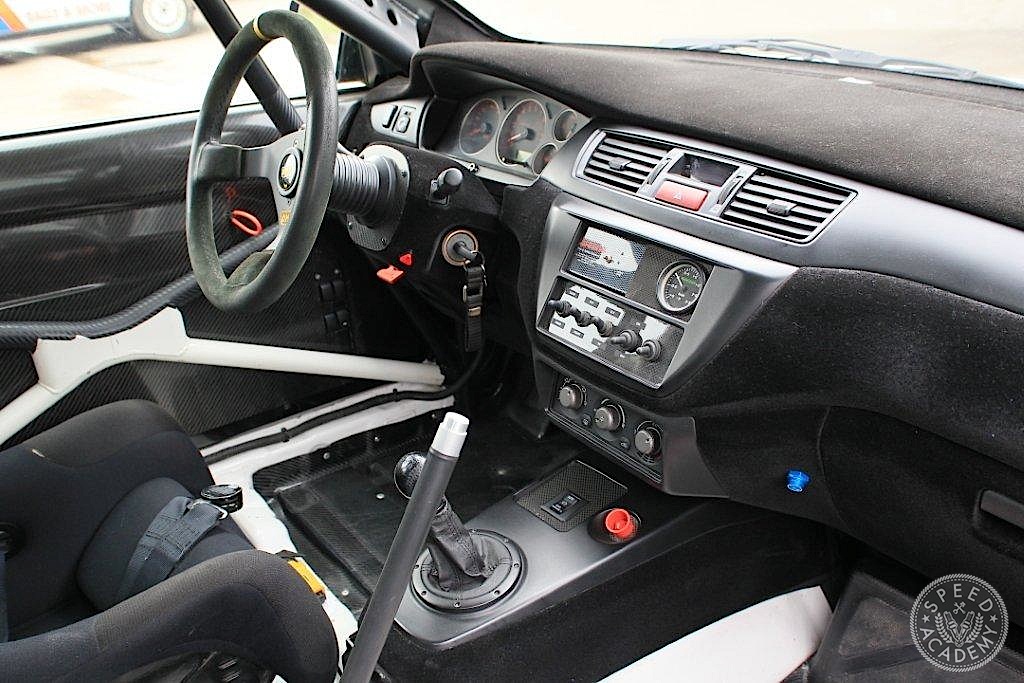
One of the most distracting things you can experience during a race is the glare bouncing off your dash onto your windshield. Not only can it be annoying, it can be a safety concern as it can interfere, decrease, and blind your visibility.
However, there’s an elegant yet simple solution and if you’ve seen that velvety looking dashboard in race cars then you know what we’re talking about. First of all, it’s not just a fashion statement, flocking as it’s called has quite a functional purpose as it eliminates reflection since it’s a black matte color and suede-like texture. Combine these traits together and sunlight is absorbed rather the reflected.
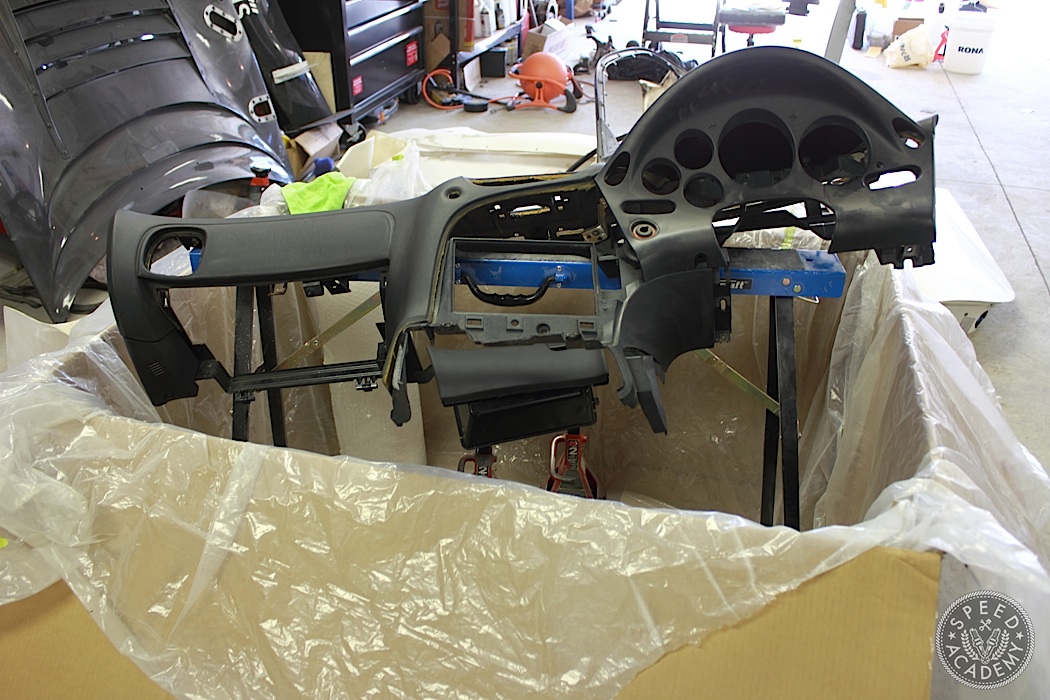
Since I was rewiring the RX7 and had the interior ripped out (again) I figured it would be a good time to flock my dash because of the glare that I’ve dealt with in the past. Full disclosure, I’ve never attempted this before so I didn’t know what I was getting myself into.
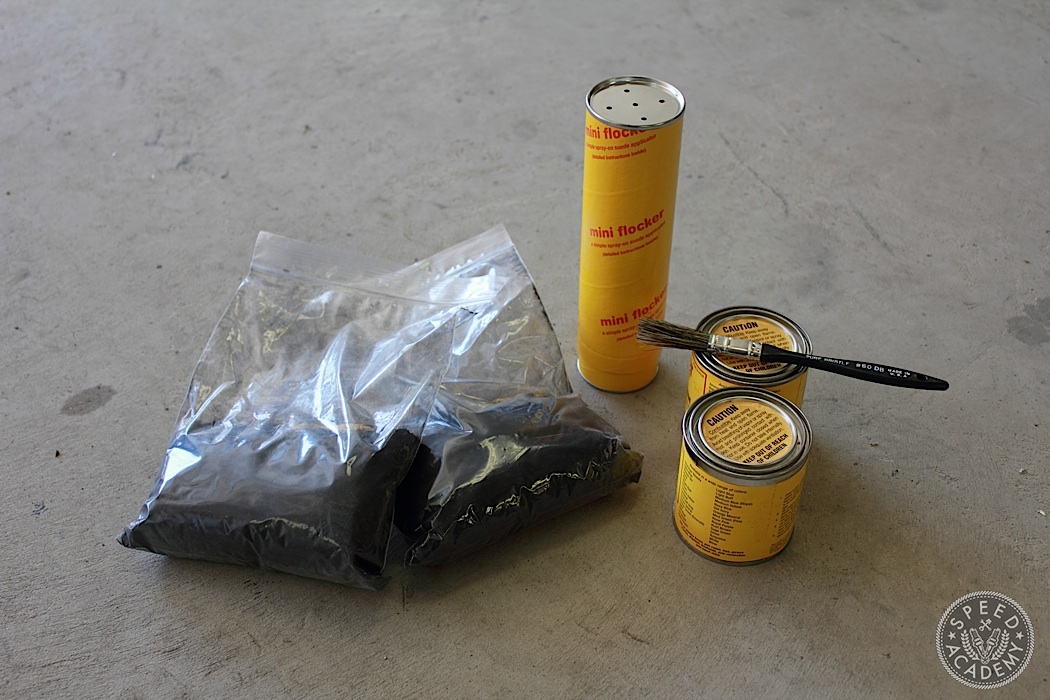
The flocking kit I chose was from Don Jer Flocking company. The kit included 2 bags of black flocking, adhesive and flock finer applicator as well as detailed instructions.
This is a messy process so having a “flocking station” was a good idea and by flocking station I found a box large enough to contain my dash and I lined it with plastic. This would contain and collect the flock fibers so it can be reused.
The dash was cleaned with acetone to remove any oil/wax before the adhesive can be applied. But before that can happen, you have to fill the flock applicator. You have a limited amount of time before the glue starts to set so it is best to have this done before adhesive is applied.
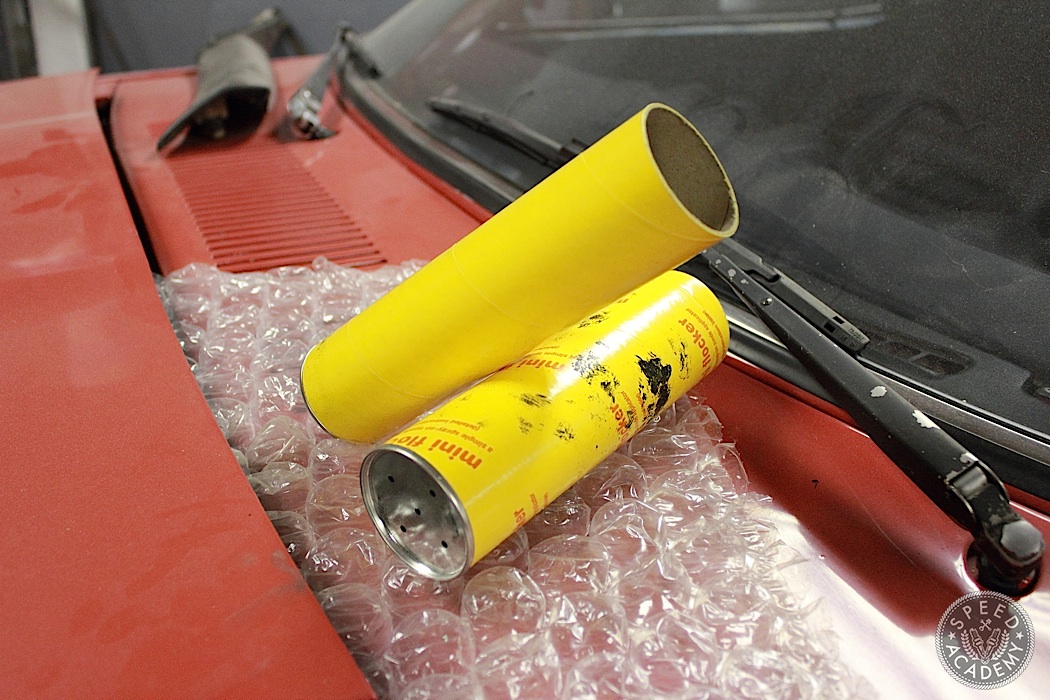
The applicator is a simple tube with holes that you twist in and out of itself to create air that pushes the fibers out.There is also an optional applicator that can be connected to an air compressor.
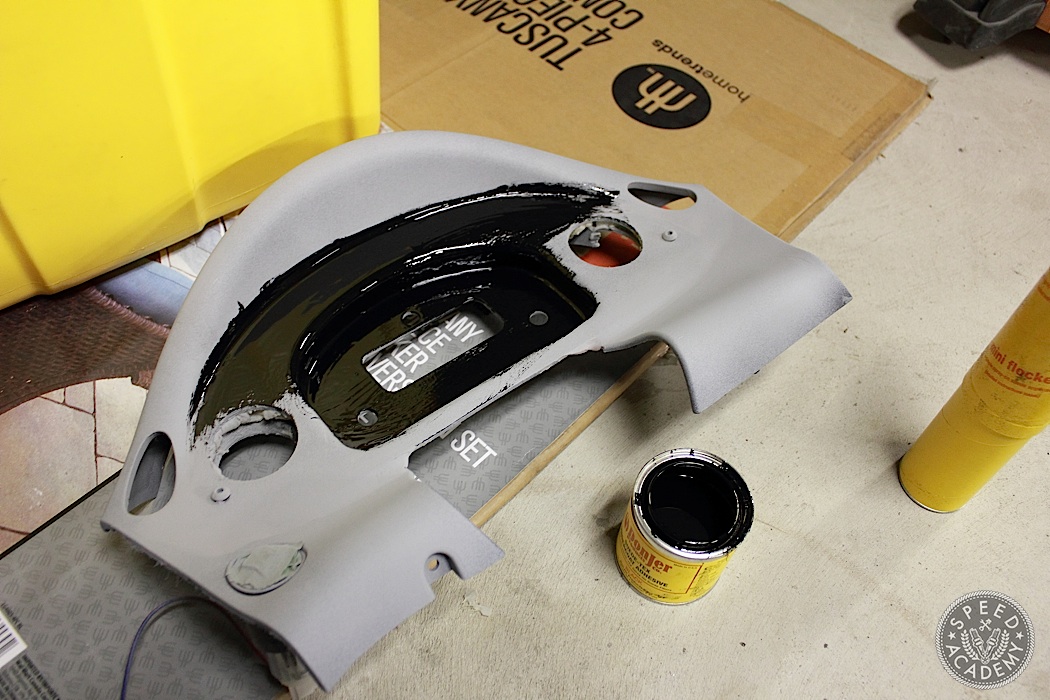
Once the applicator is ready, the adhesive can be applied to the dash. This stuff is thick and damn sticky so try not to get it on yourself. You have 15-minutes of working time before the glue sets be prepared to boogie.
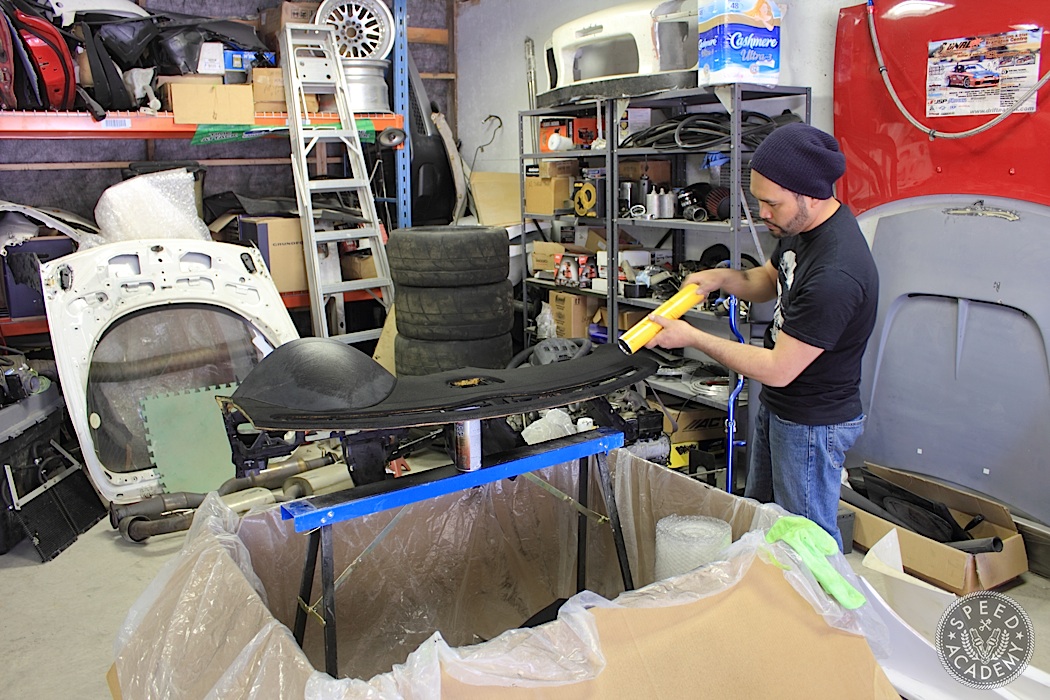
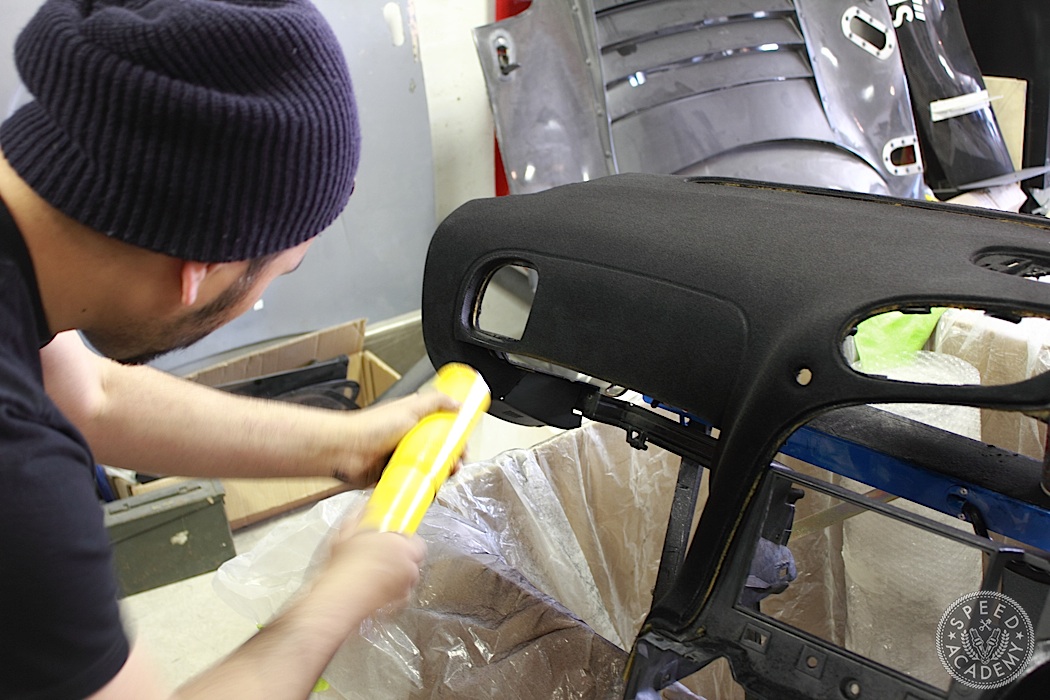
Once you have the entire dash covered with adhesive, the fibers can be applied. Be very generous when applying the fibers as the glue can soak through them. Once you have completely flocked the dash, let it set undisturbed for 12-hours or more depending on the temperature in your work area.
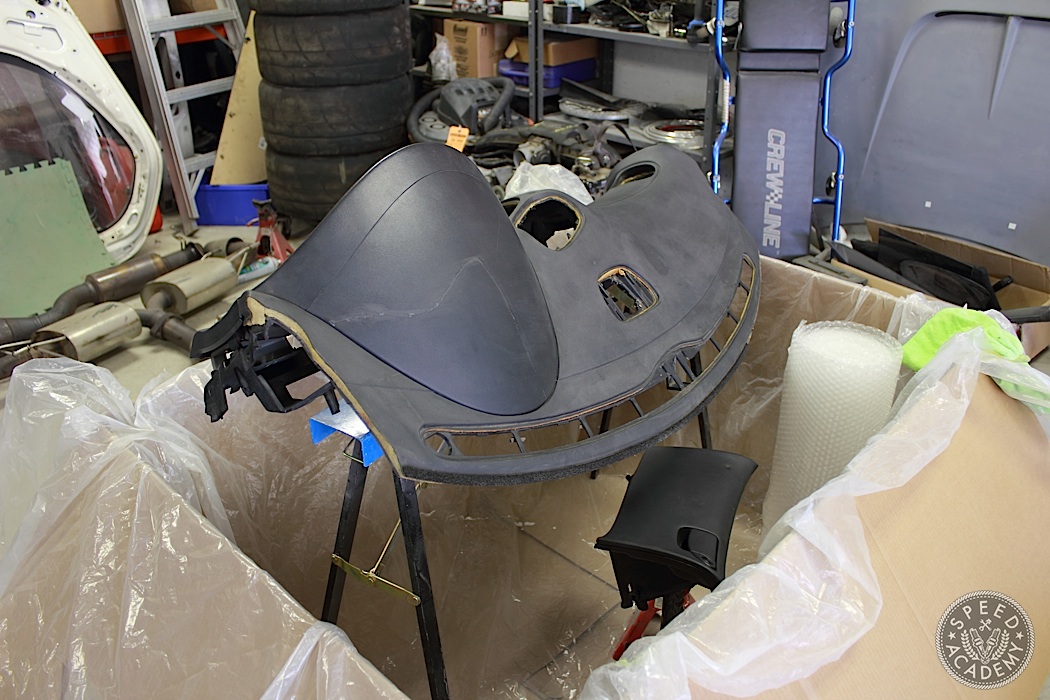
After the dash has set, all that’s left is to shake off the flocking that did not adhere to the dash revealing your newly flocked dash.
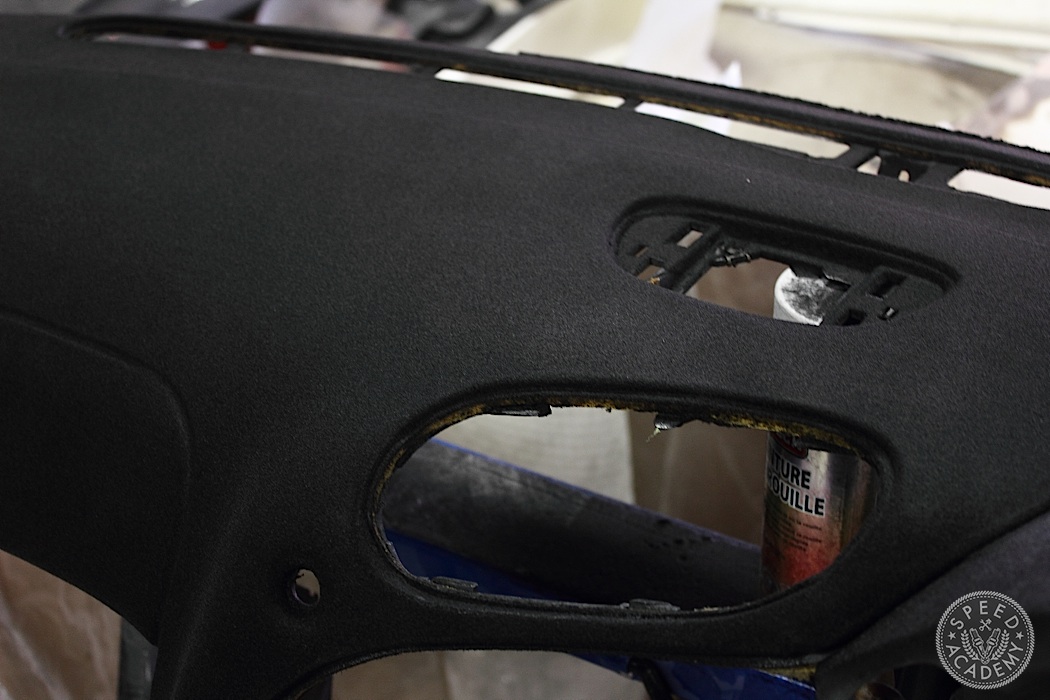
For a first attempt the dash turned out relatively well. In hindsight I should have thinned the glue and sprayed it on with a cheap spray gun. Using the brush and trying to cover a large item like a dash in under 15-mins was challenging.
There were areas (under the dash thankfully) where the glue had set and did not take flocking fibers. Even though the glue is self leveling, I think for perfect results, thinning and spraying the adhesive would provide consistently even coverage of glue and flock adhesion.

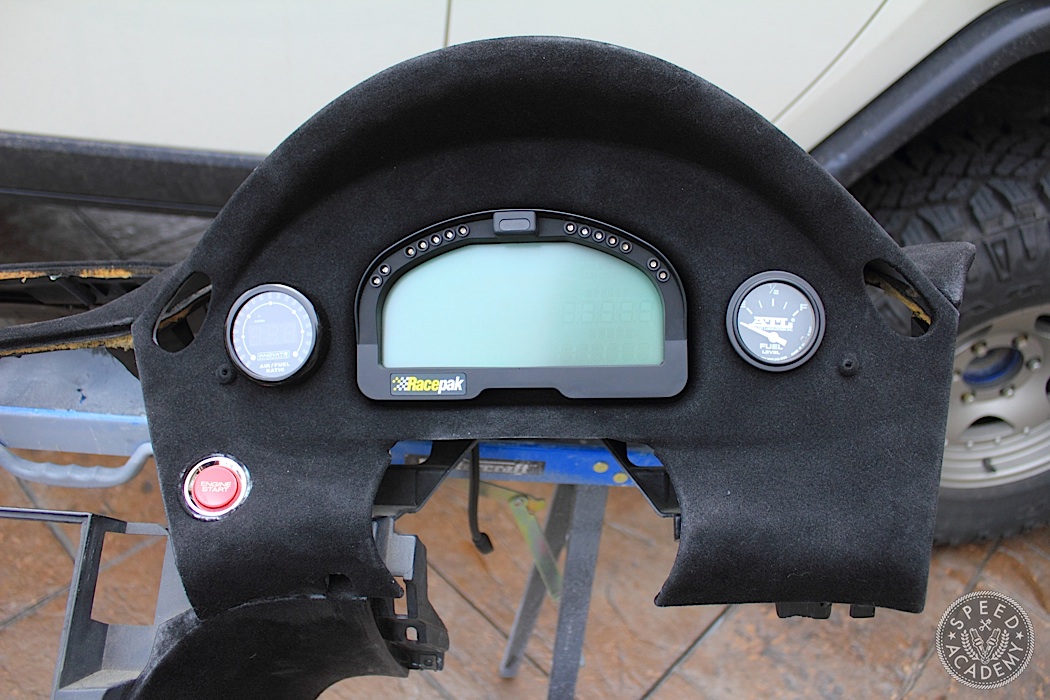
Here’s what the finished product looks like, I’m anxious to see how well it works at the track. Oh and check out the slick RacePak digital dash that I’ll be doing a full story on in the near future!
Flocking video https://youtu.be/ghWba5kCN_k
How did this hold up over time? Looking to fix my cracked dash on the cheap and digging the looks of this. But if it flakes off on people or gets nasty quick imma have to pass. Hows it hold up to humidity and heat?