First of all, if you haven’t read Part 1 of this series, go do that now and then jump back here when you’re done. Trust me, it won’t hurt a bit.
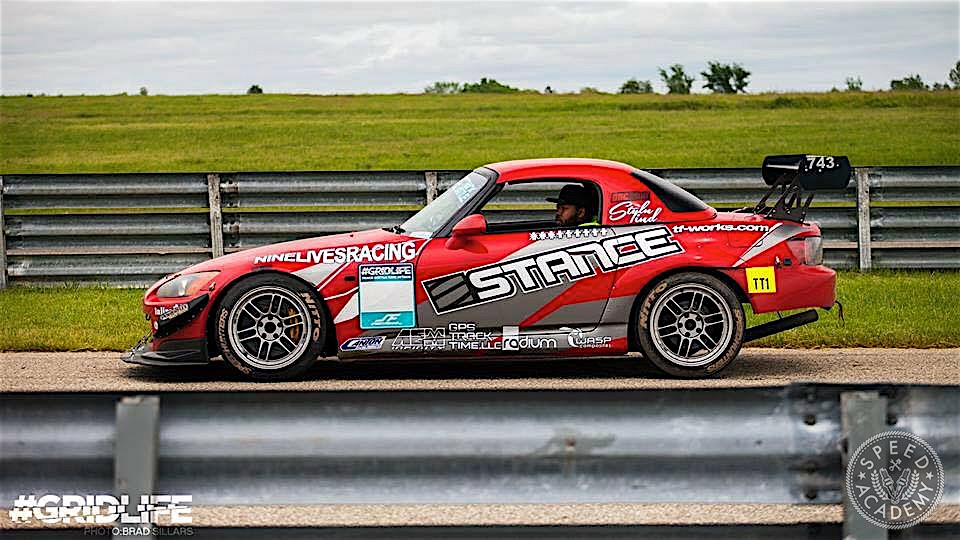
It’s been a few months since I wrote Part 1. A few freezing months at that. With the weather finally warming up here in Chicago, I thought I’d give you all an update on my S2000 and the methods I’m using to keep a turbo track car cool.
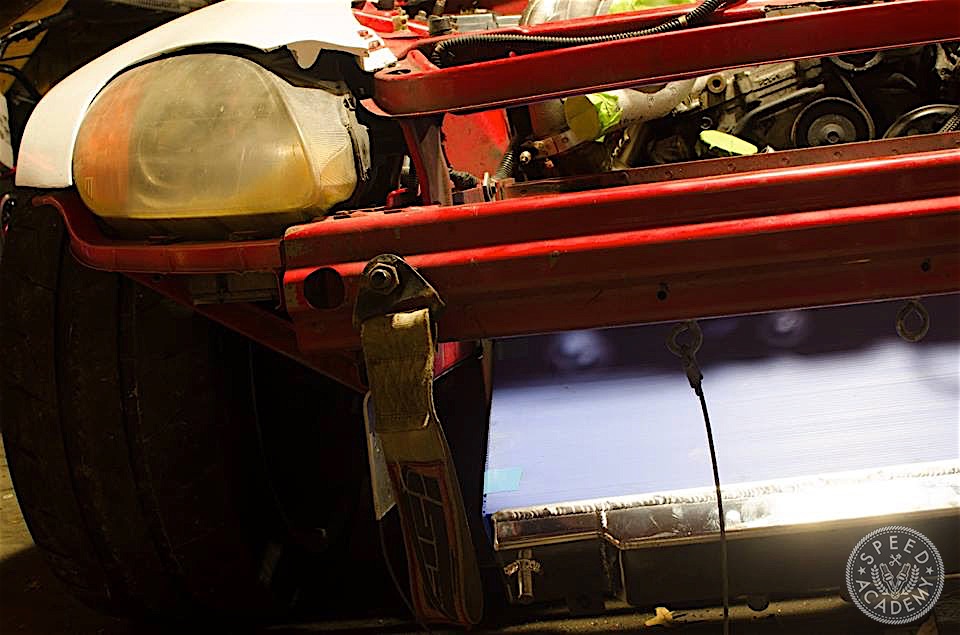
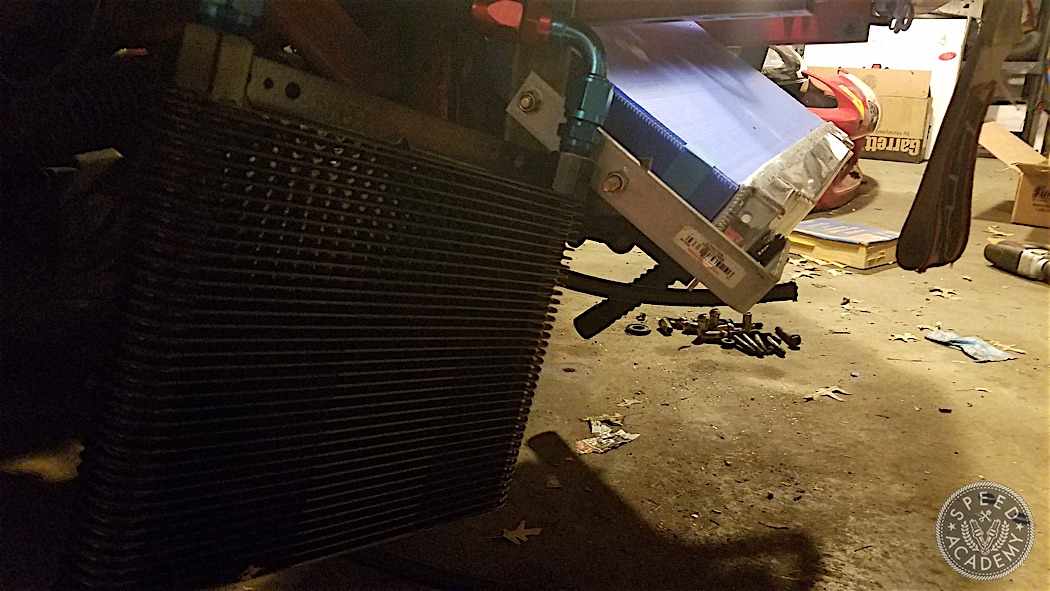
For starters, I wanted to make sure that I directed as much cool air to the radiator as I possibly could. That meant doing a V-mount or mid-mount intercooler and radiator setup like a good deal of drift guys do in their 240s. I went the V-mount route because it simply seemed to be the best choice for cooling a boosted S2000. But first I needed to determine how much room I had to play with and how much clearance I had for this type of setup. Turns out the s2000’s engine bay is very favorable when it comes to this type of setup.
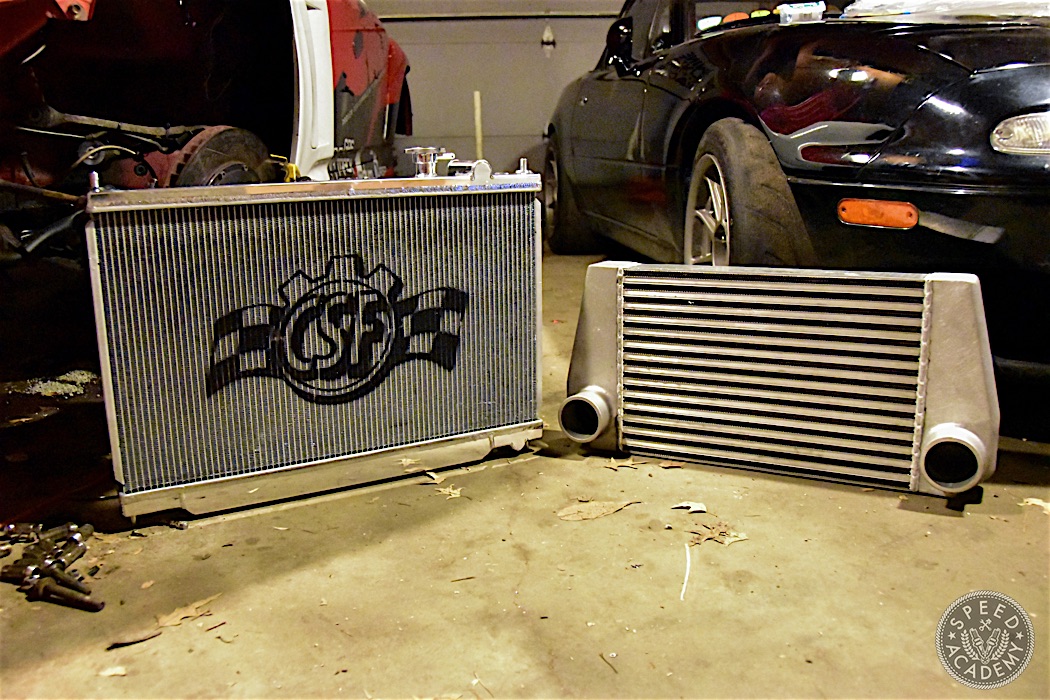
For engine cooling I opted for a CSF radiator, a highly reputable company that makes a direct drop-in solution for the S2000 using their very efficient B-Tube technology. The B part comes from an internal rib inside the D-shaped tubes, a design that apparently improves heat exchange by 15% and strengthens the tubes as an added bonus. At 32mm in thickness it’s also more than twice as thick as the stock radiator (15mm), so it should be able to handle the doubling of horsepower I’m aiming for.
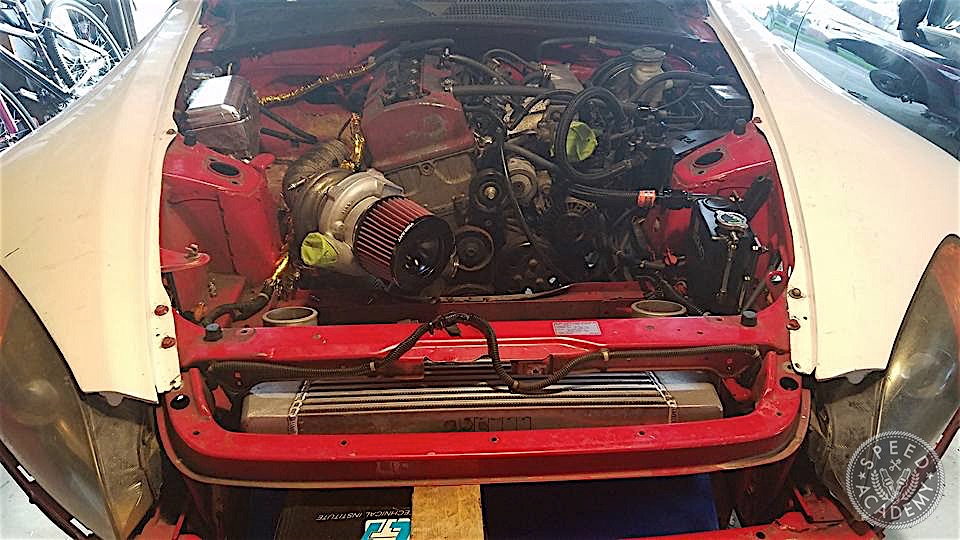
As far as an intercooler goes, I’m using a Turbo By Garrett core with custom endtanks. I’m not alone in choosing a Garrett core, either. The Speed Academy source for all things Garrett is Turn14 Distribution, and we’re not alone in our thinking since big time speed specialists like Roush, Saleen, AMG, Ford SVT and McLaren have all used Garrett intercooler cores on their forced induction vehicles because of the high strength brazen aluminum alloy construction and advanced tube and fin designs that ensure greater heat transfer effectiveness and durability. And because Garrett has a wide range of air-to-air intercooler core sizes available, it was easy for me to pick a size that fit my needs in terms of cooling capacity and packaging. I went with the 18” long, 10.5” high and 3.5” thick core that’s rated to 575-hp, which should cover my needs while fitting into the available space in the nose of the S2000 nicely.
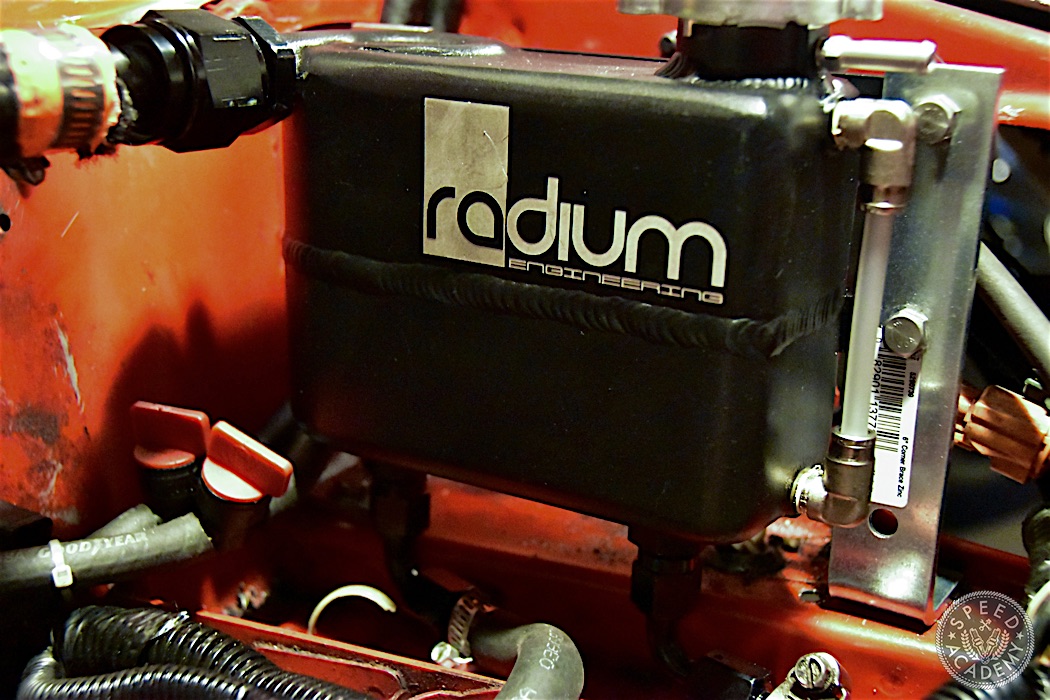
One of the technical challenges of a V-mount setup is that air will form at the water neck and a few other spots when you lean the radiator back, so an expansion tank is a must. To address this I added a Radium Engineering expansion tank. I’ve used Radium’s products a lot in my build, so you’ll see more of their top quality design and engineering work under the hood of my S2000 in future stories (and at the track).
Since the Radium expansion tank has a rad cap on it, this meant I no longer needed a rad cap on the CSF radiator. In its place I installed a block-off plate, which allows coolant flow through the overflow nipple to the expansion tank.
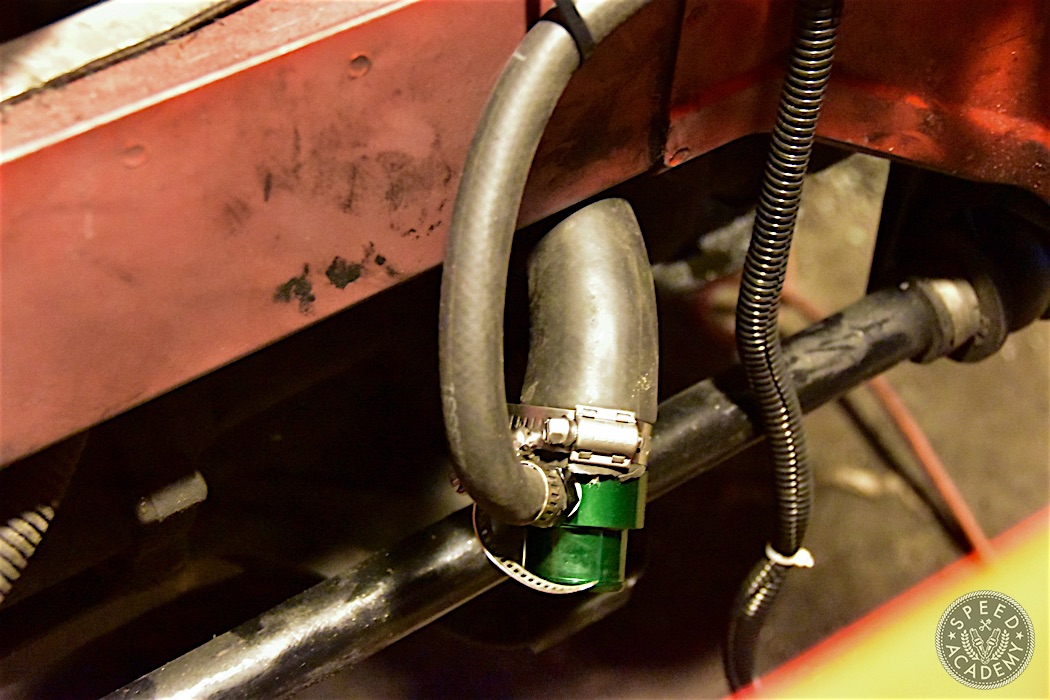
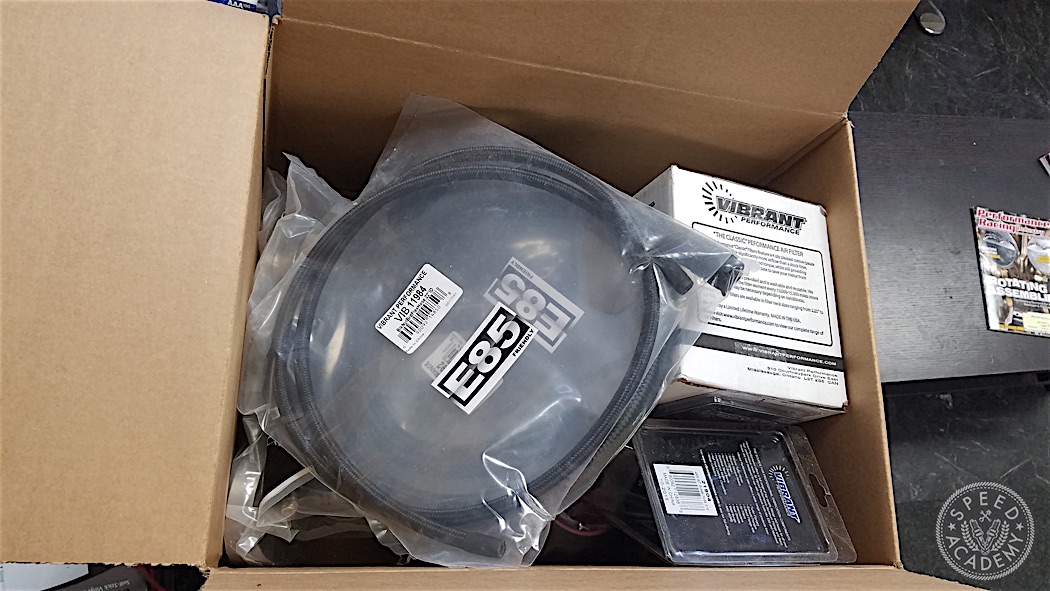
I chose to plumb everything with Vibrant Performance fittings and line that I ordered from Race Consulting Agency. A fitting or hose failure at the track can lead to disaster, so I keep everything high quality with these types of things. I also used some Dayco hoses in place of most of the OE hoses, the inner base tube being reinforced with knitted rayon for maximum strength and burst resistance.
For now my oil cooling setup is pretty basic, using a Tru-Cool cooler that’s plumbed with Vibrant parts. I’m actually switching my oil cooler to a more efficient CSF unit soon, which you’ll see in an upcoming story, so stayed tuned for that.
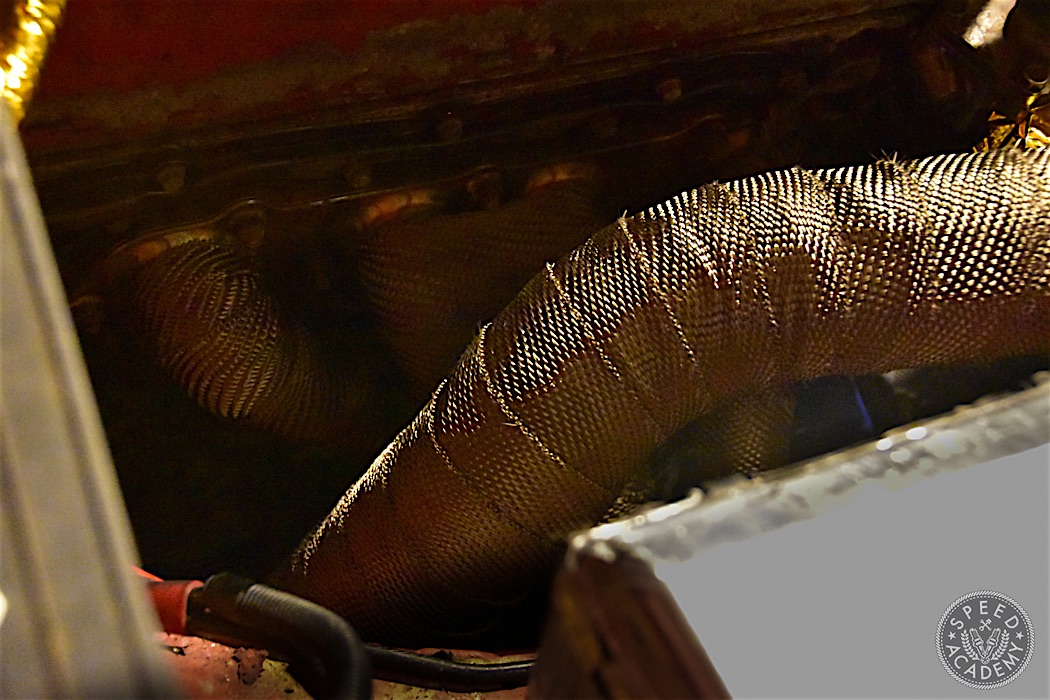
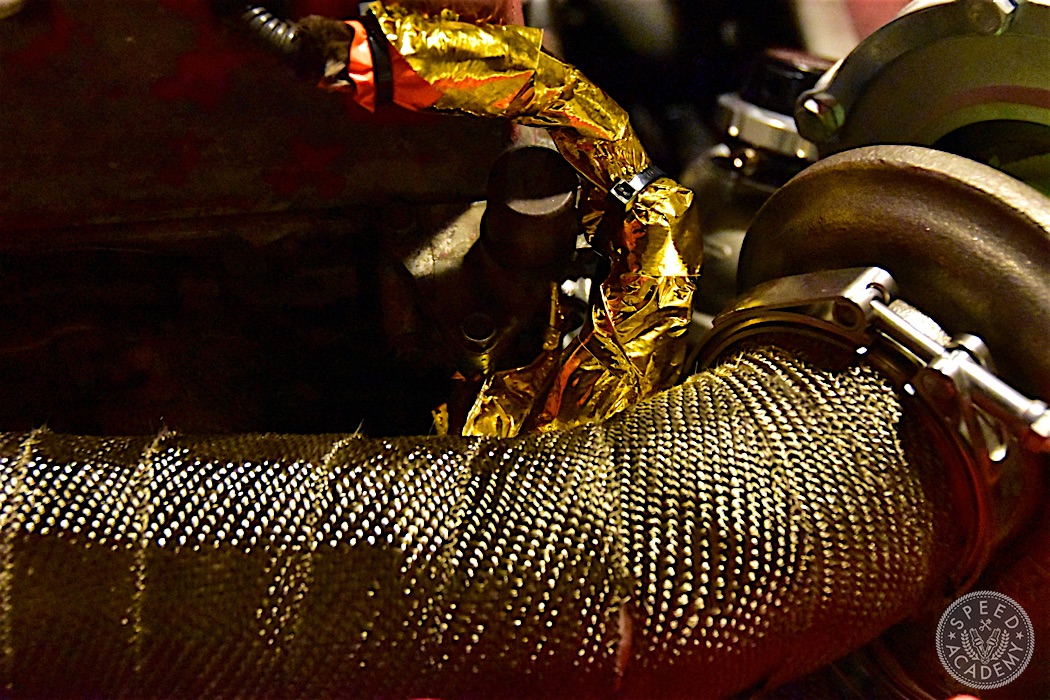
Another thing I really wanted to do is make sure I don’t melt anything this season, so I went into a heat wrapping frenzy with DEI heat wrapping products. I started by wrapping my turbo manifold, downpipe, and wire looms.
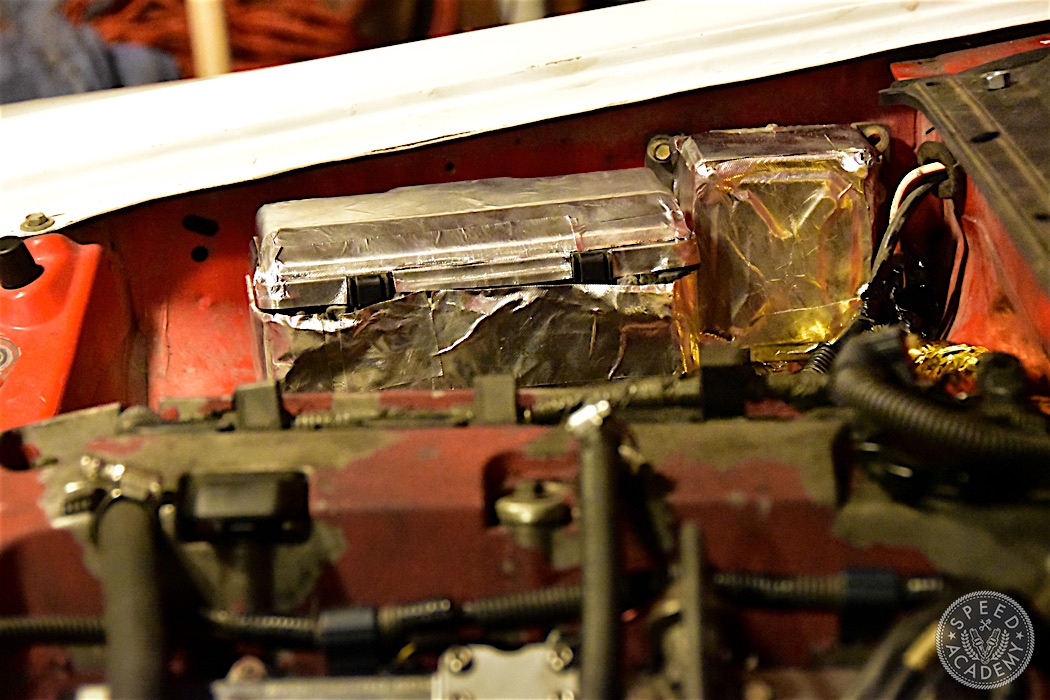
Additionally, I used DEI’s Reflect-A-GOLD heat reflecting tape on my wire loom and VTEC solenoid. This stuff isn’t really tape at all, though, it’s actually a metalized laminated glass cloth with a high temp pressure sensitive adhesive on the backside that can withstand huge swings in temperature and still stay securely in place. It’s also lightweight and easy to apply and remove if I ever need to service the wrapped parts, and it can handle continuous temps of up to 850°F. If these parts are getting hotter than that, then I haven’t done a very good job with my other cooling upgrades!
I also covered my power steering box and fuse box with reflective tape. Even though there will be a heat shield in place between it and the hot parts (manifold, turbo, and downpipe) you can never be too careful with these things, especially when you’re talking about a turbocharged race car that’s going to be pushed to the limit.
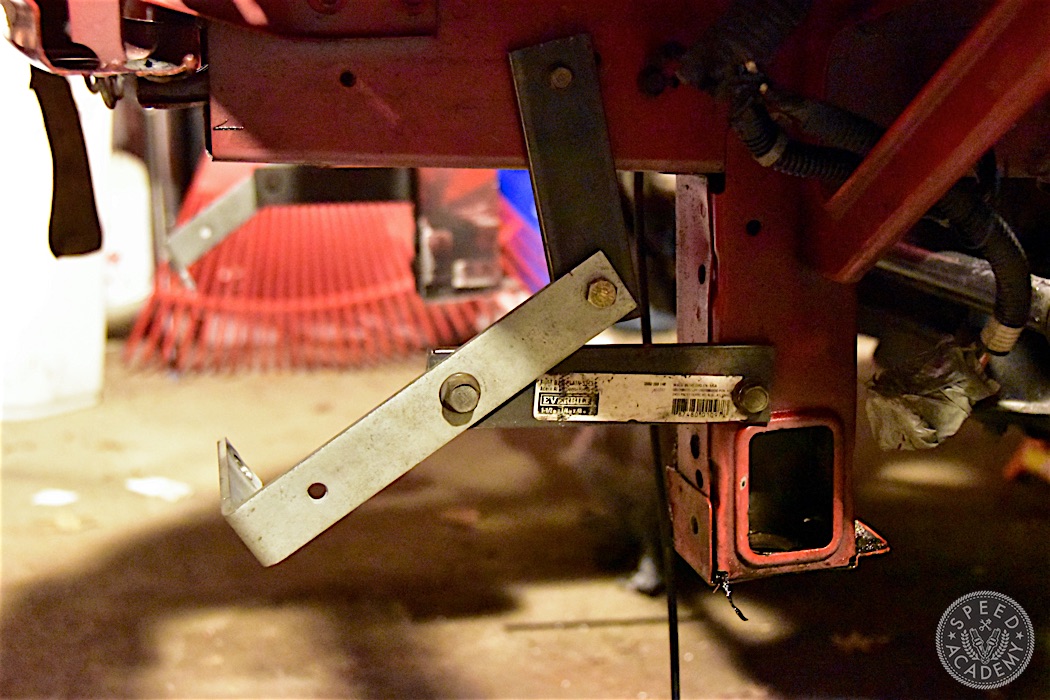
Making sturdy, durable mounts for the radiator wasn’t as hard as one might think. The parts you see above are all galvanized steel that you can find at your local hardware store. What are not picture is the last piece of steel that comes from the third hole in the bracket to the frame. The core support had to be cut out in my setup to reach the angle that I wanted for the radiator. I’m also using the OEM fan to keep the car cool in the pits and during the small amount of street driving it will see.
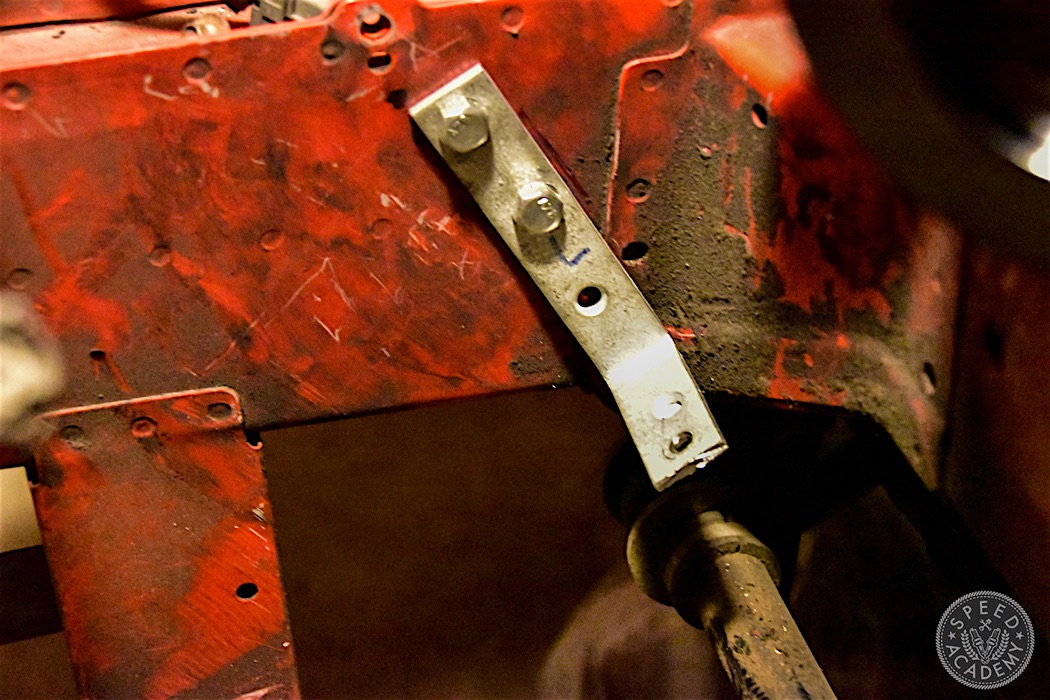
Top mounts are very basic, too. More galvanized steel! I should be sponsor by Menards at this point (it’s like Home Depot, but better). The only problem with this stuff is it takes forever to cut. I stood on my radiator mounts and it didn’t budge, so I’m confident it’ll stand up to the punishment at the track just fine.
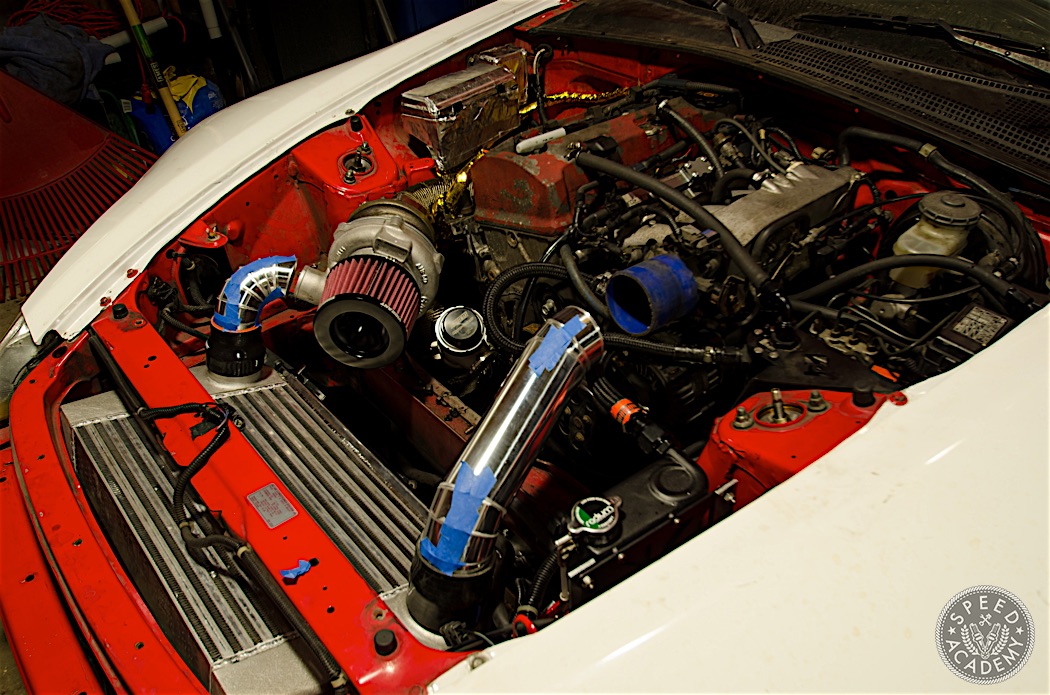
One thing people often overlook when doing their cooling system is airflow management. Where does the hot air and radiant heat go once it passes through your heat exchangers? It should be exiting the engine bay just as fast as it flowed in, right? I’ll attempt to shed some light on this in the next episode of Dragonball Z! Oh wait, wrong program…I mean the next story in the Bad To Rad series!

