There’s one catch to adding the new rubber package onto the JK Rubicon and that is it requires a set of spacers because without them you’ll encounter rubbing and contact in the fender well.
That being said, if you are strictly driving the Jeep on-road then you could skip buying these and just bolt the wheels and tires on as is.
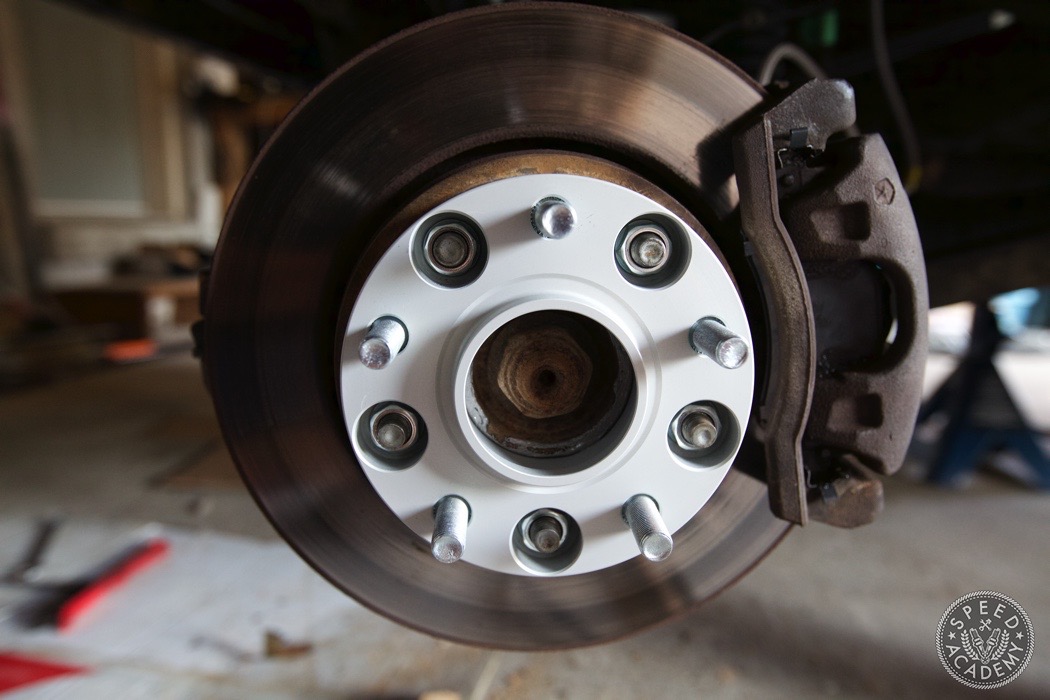
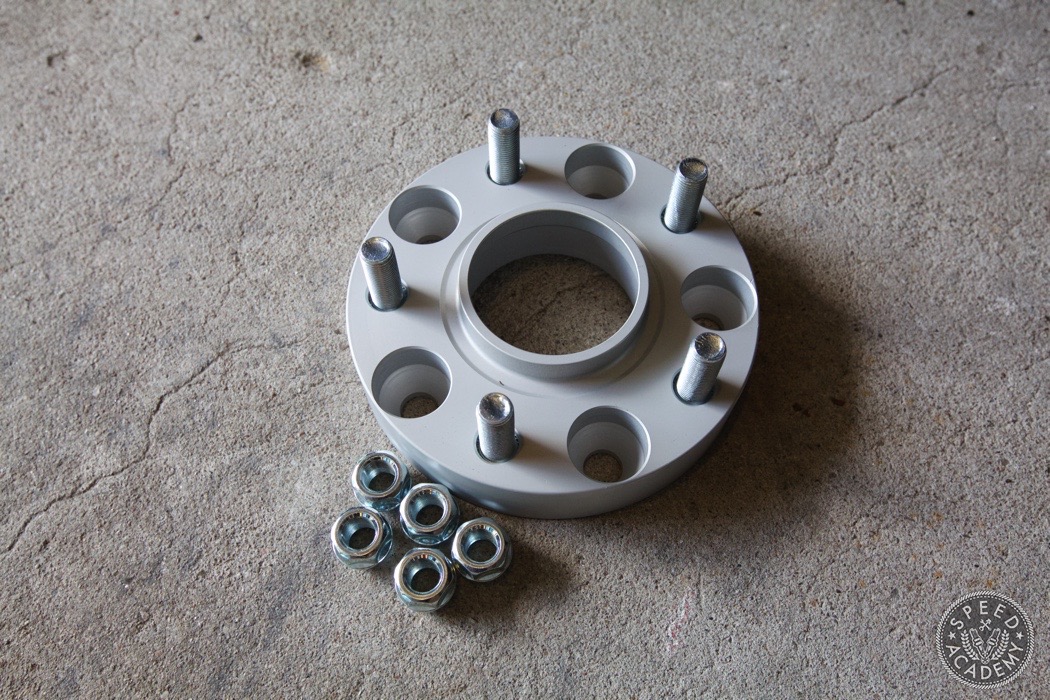
Eibach’s aluminum Wheel Spacers are extremely well built using high tensile strength aluminum and as you can probably tell from the photos, they are finished in a corrosion resistant material and are designed to be hub centric so the load of the wheel is placed onto the hub rather than the studs.
We went with the 30mm spacers but if you are installing aftermarket rims be sure to check your offsets as they may be more or less aggressive and require a different thickness of spacer.
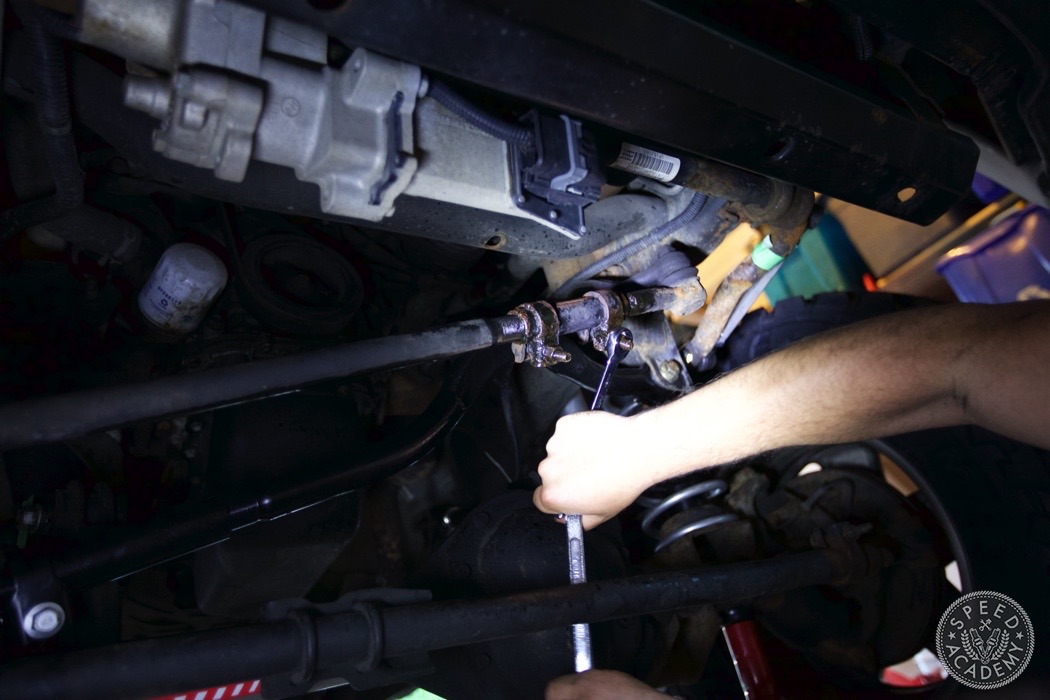
The last item we tweaked before moving on to the back axle was adjusting the steering bar. Adding the lift throws the center alignment of the steering wheel out of wack. Thankfully, it’s easily adjustable through the steering bar. Or it is when the bar isn’t rusted like ours was. Luckily after soaking it with some penetrating oil, we were able to get it moving and wheel centered.
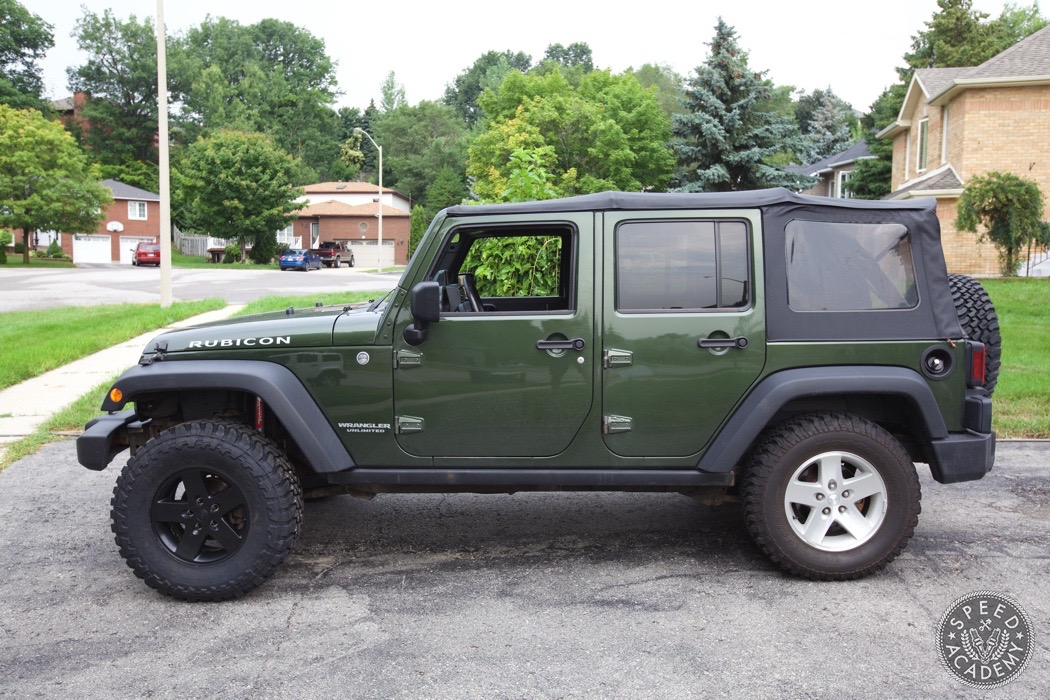
Here’s how the front end looks with the Eibach 3.5-inch lift kit and Toyo Open Country M/T Tires versus the stock setup out back. The difference is night and day!
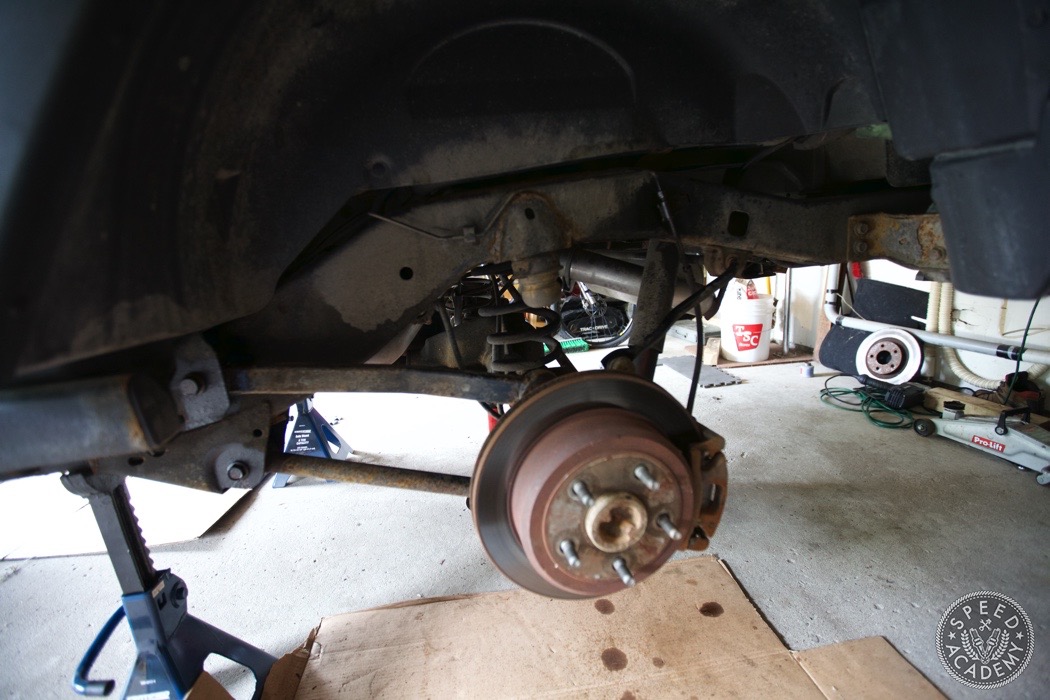
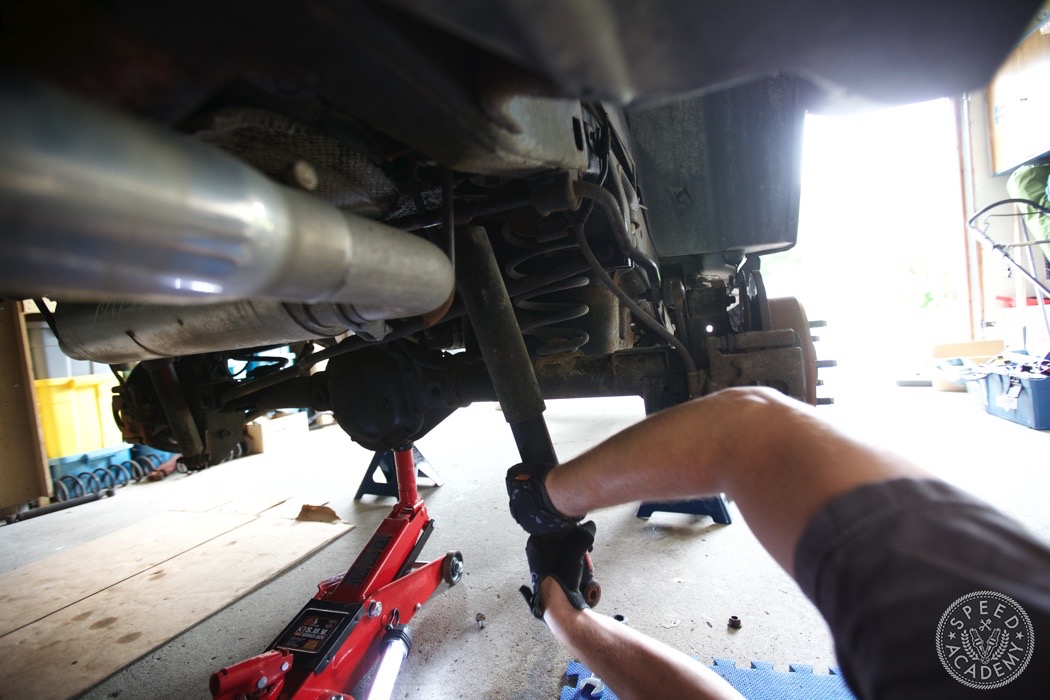
And now onto the rear suspension. Much like the front, we jacked up the rear and secured it with two large jack stands.
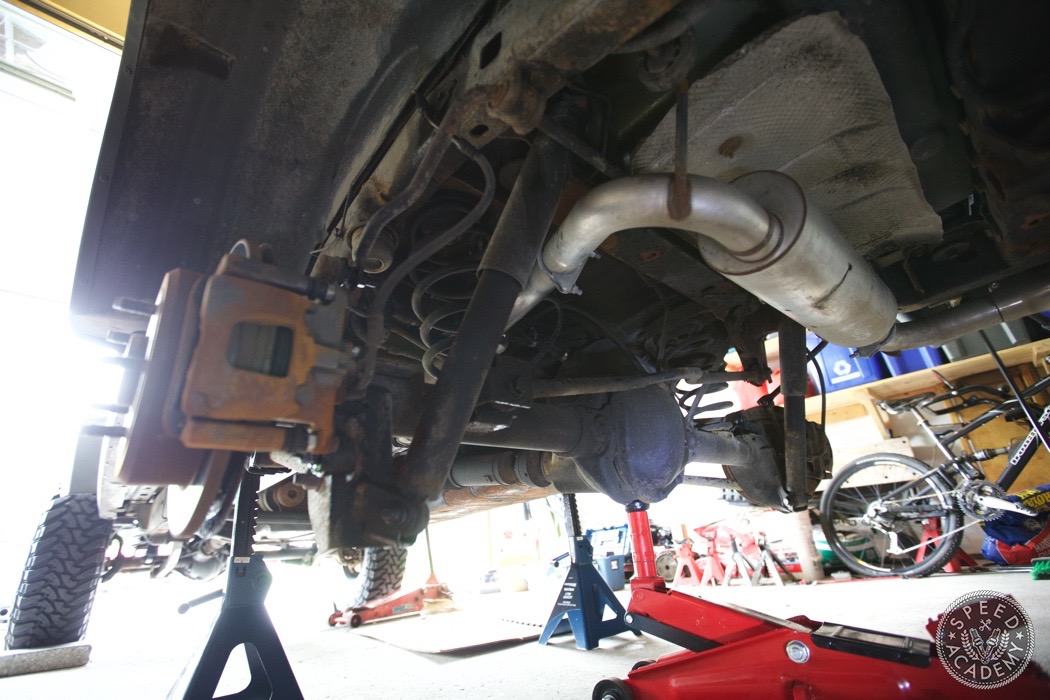
Since there’s no steering to deal with the rear should be a slightly easier job. We grabbed the jack and propped the axle up just enough to release some pressure off the shocks.
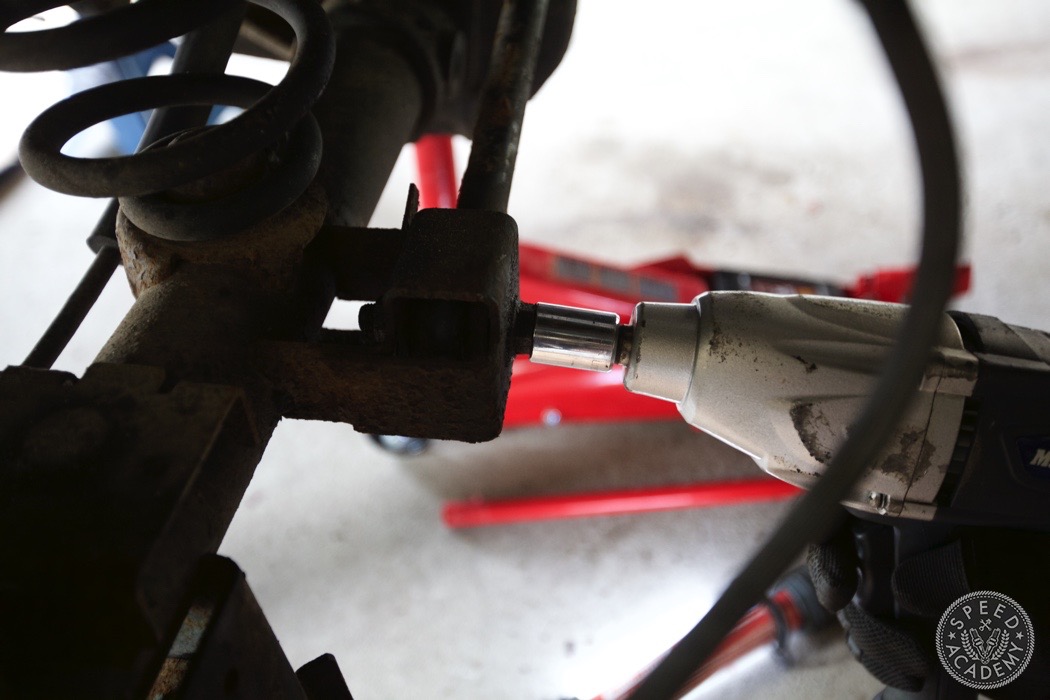
Access to the two bolts that hold the top of the shock in place is ample so we fit the impact gun in there and zapped them off.
And the same task was performed on the lone lower nut and bolt holding it in place.
With a slight tap to pop the shock out of the lower mounting point we were able to get it out with little fuss.
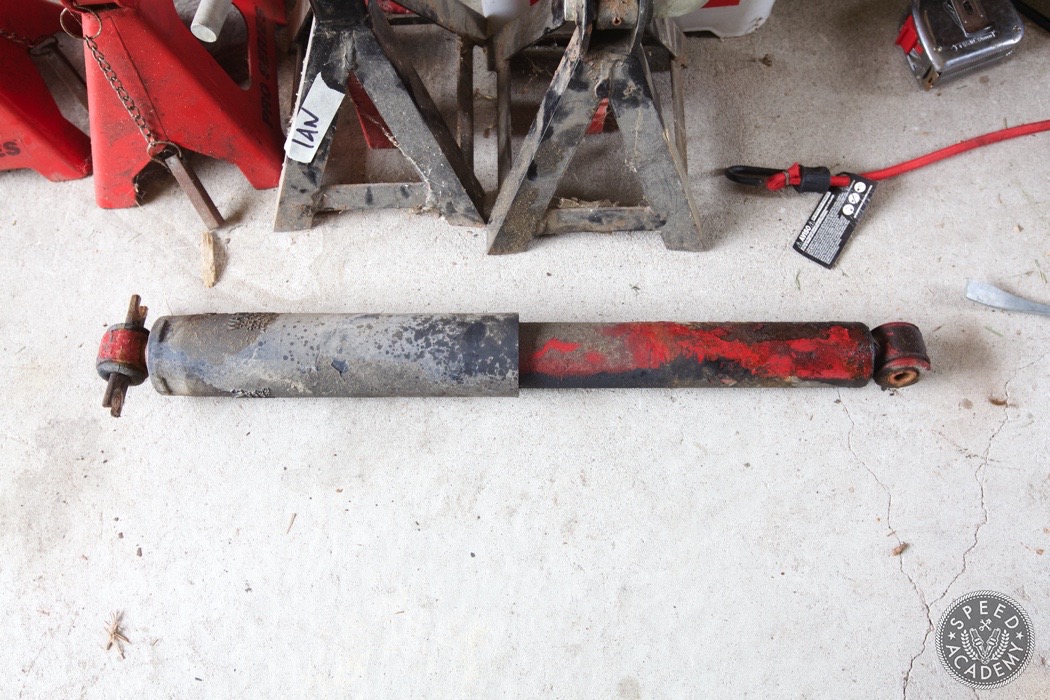
Judging by the way it looked this shock has seen better days and there’s no better time for a replacement than now.
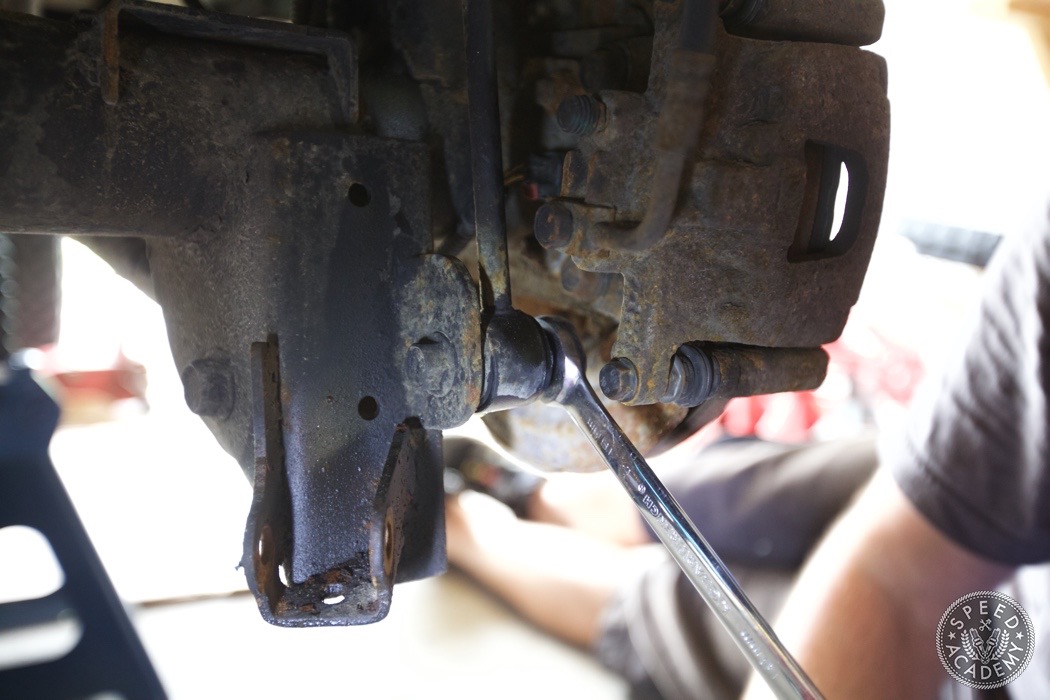
The rear track bar needs to be removed now or one of its bolts so that the axle can be lowered down evenly without any binding.
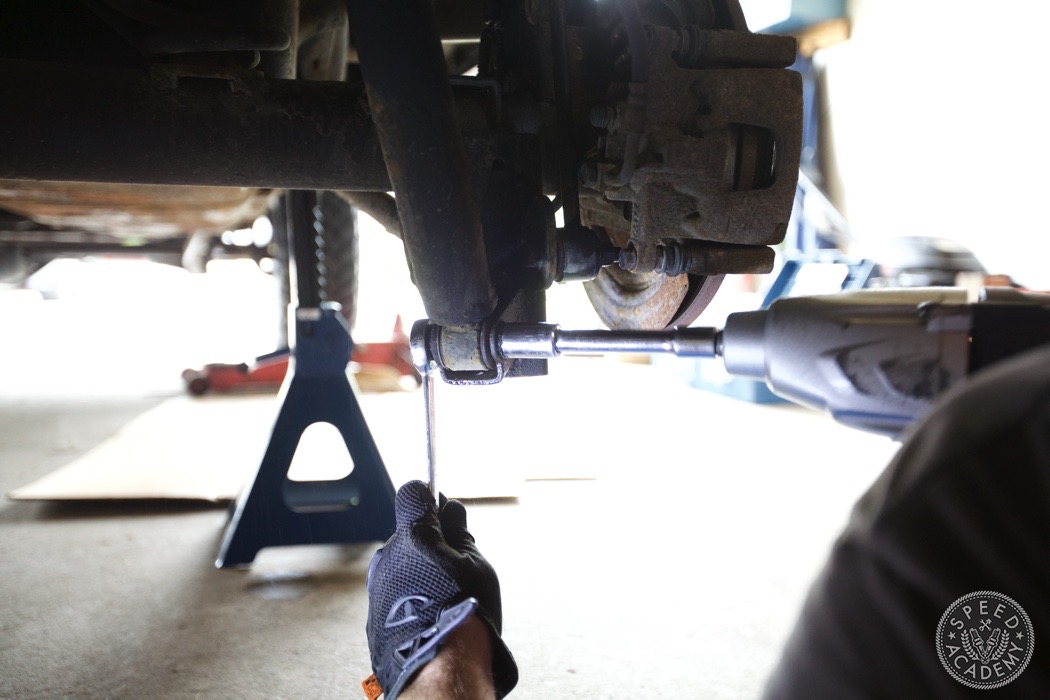
Next up were the sway bar endlinks. Much like the front, remove both attachment points; one on the chassis, the other on the sway bar.
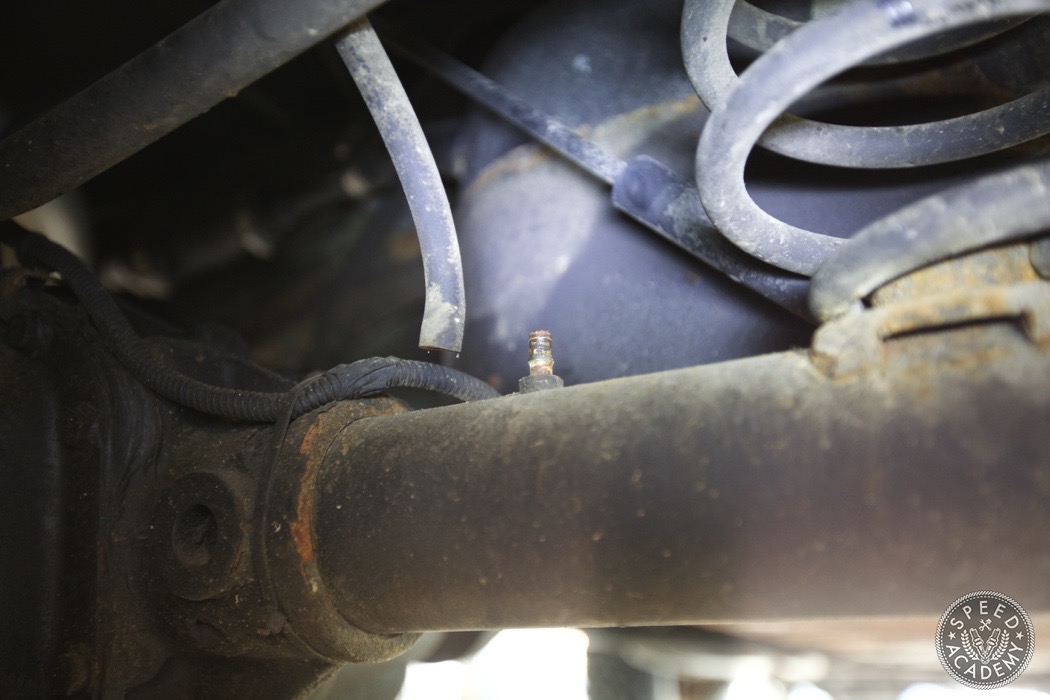
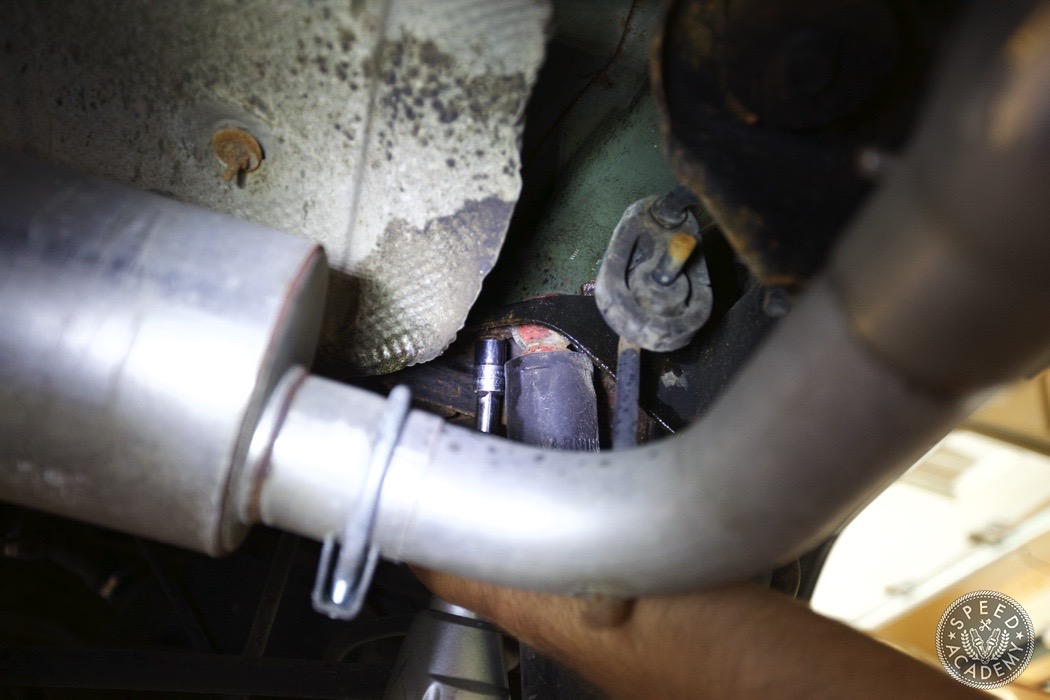
With both shocks off, we now need to do a bit of prep before we can drop the rear axle and remove the springs. First up, slide the axle breather tube off its fitting.
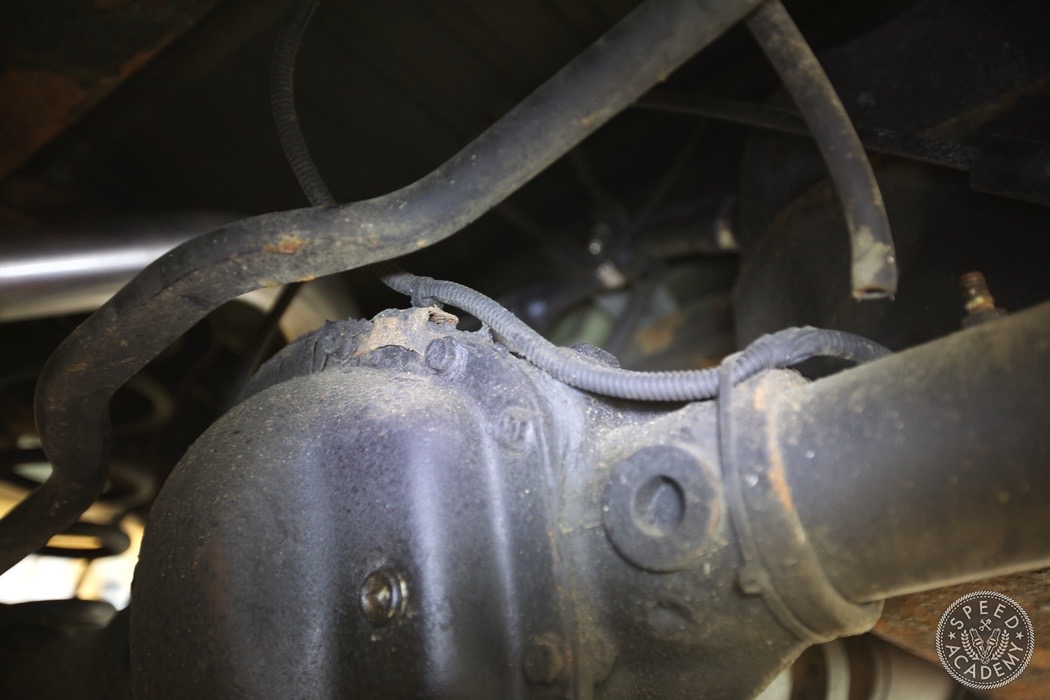
You’ll also want to pop the tab out that holds the wiring on the diff, the zip tie can stay though.
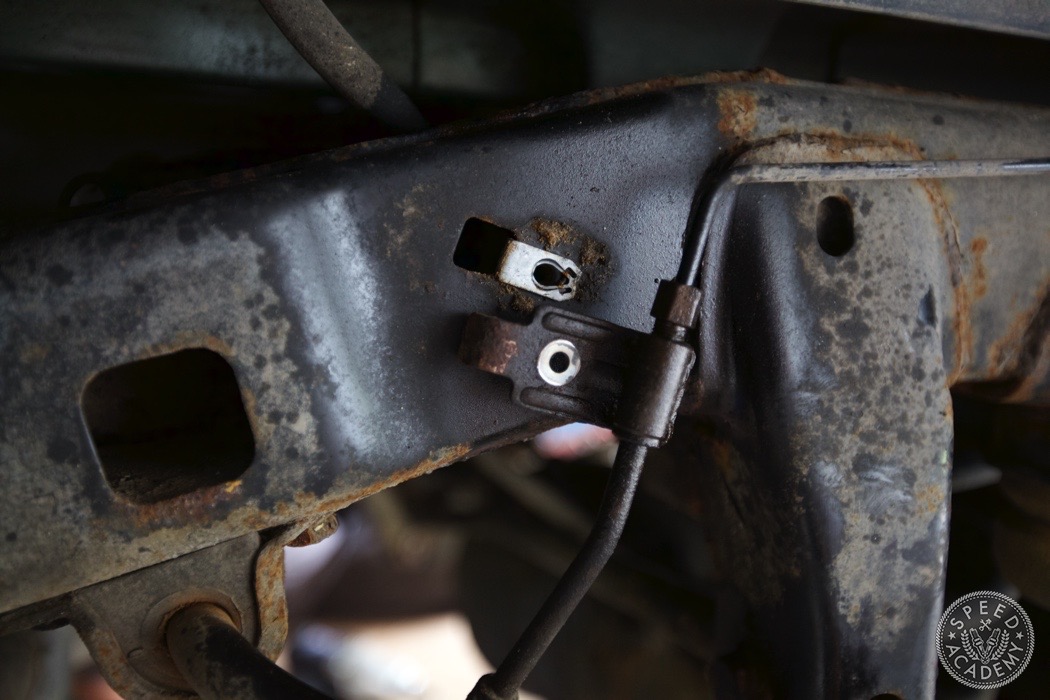
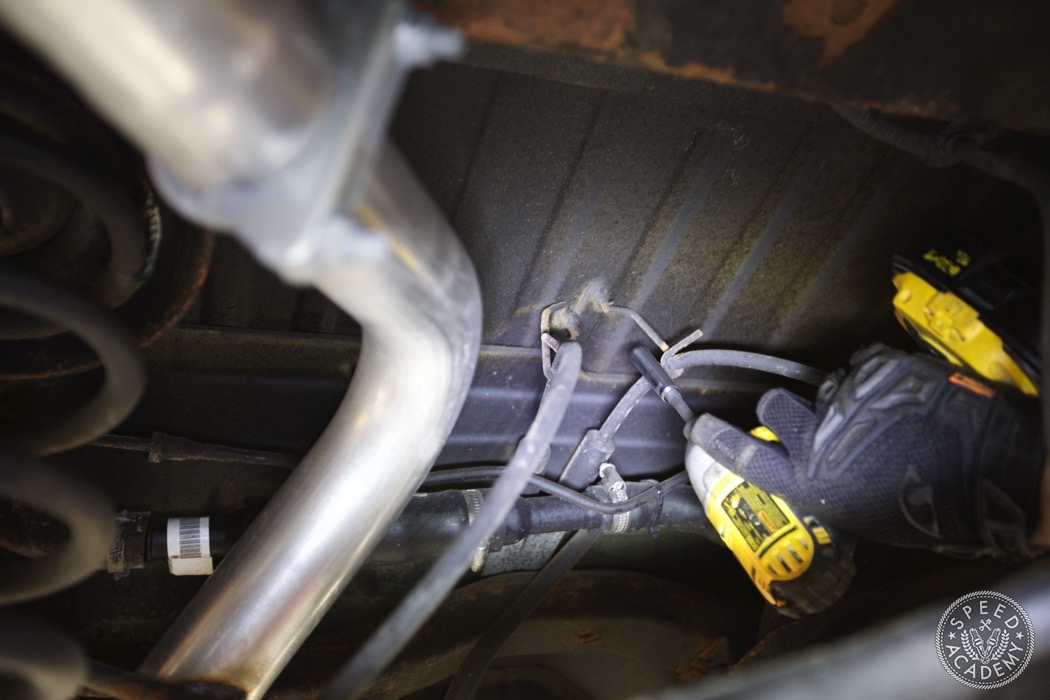
The brake line mounting brackets need to removed from the chassis to add some more play in them.
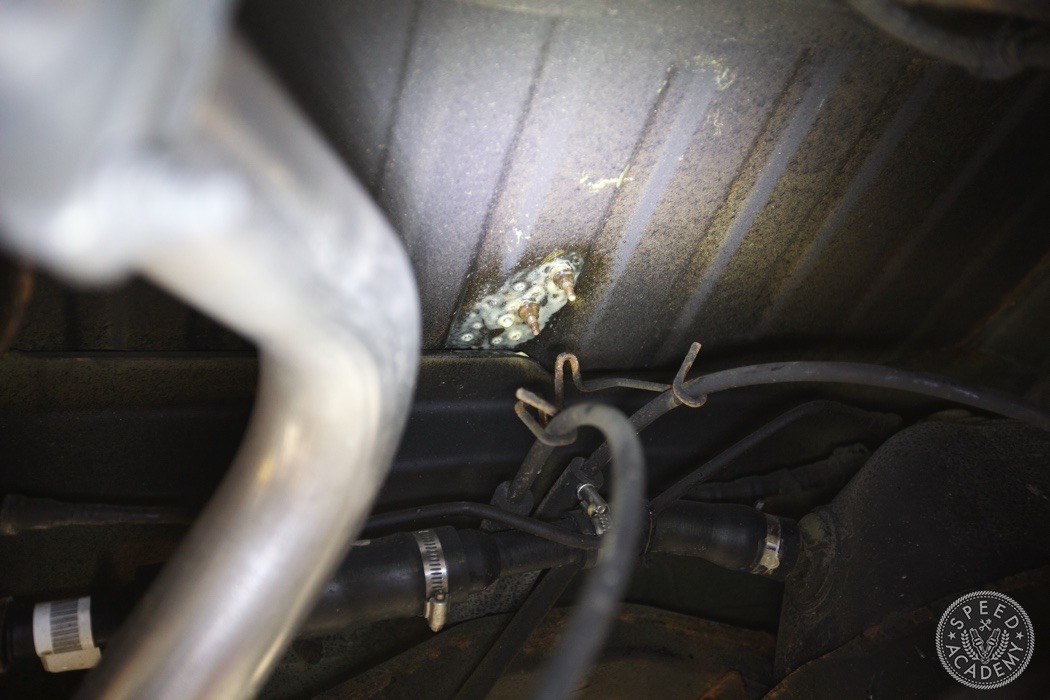
Finally, the parking brake lines are held up by a metal bracket, remove it. You’ll actually be leaving the lines and mount dangling since that is the cheap and easy solution to add the extra length that they need with the lift kit. We put the nuts back onto the studs just in case we ever go back to stock and need to re-attach them.
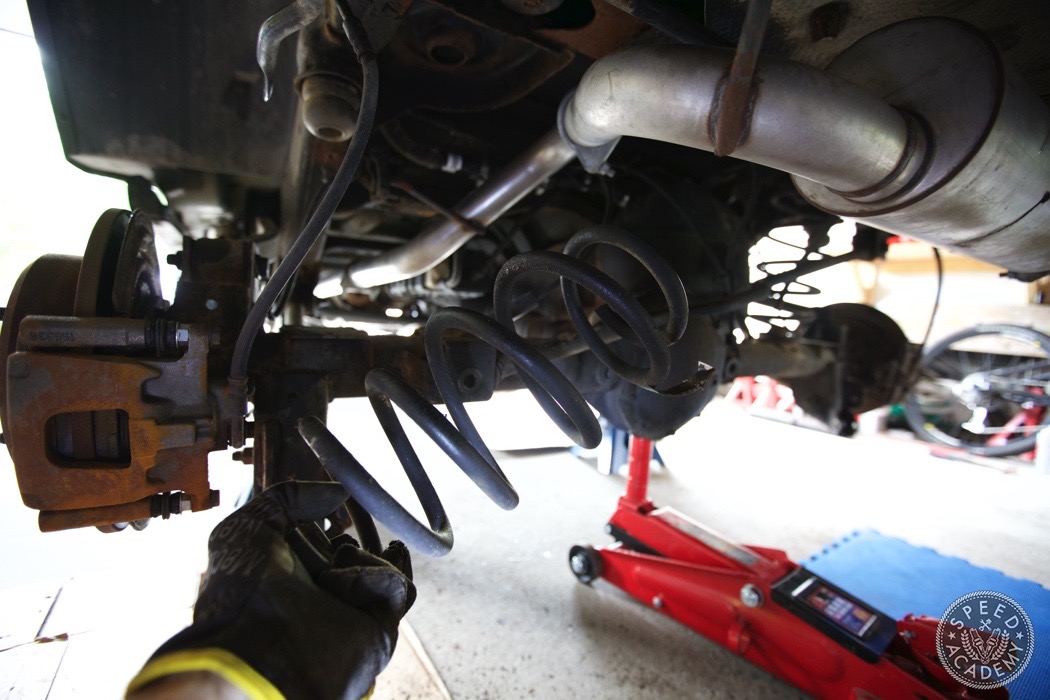
And now we lowered the axle down just enough to be able to push on one side while we pried the stock spring out and repeated the same for the other side.
Good reviews with lots of picture. I really like it.