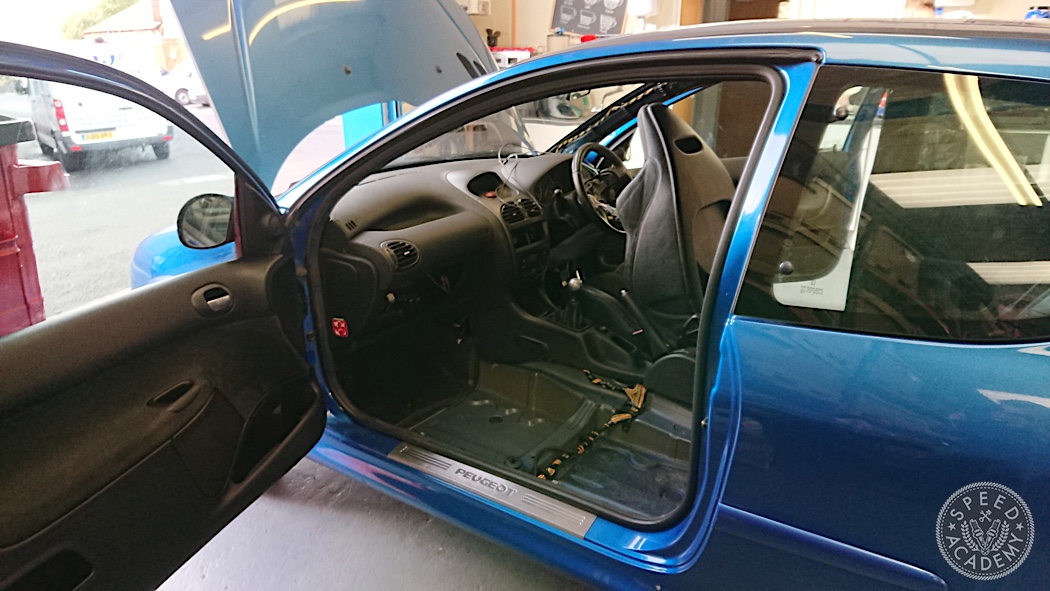
As I mentioned in my last post, one of the jobs I planned to tackle next was removing and cancelling the airbags that won’t be in the car in its finished state. The car will be fitted with race seats and harnesses along with an aftermarket race steering wheel. As such, there’s a need for the airbags in the seats and steering wheel to be cancelled out in such a way that the car won’t show any faults.
Whilst I’m not proclaiming to be an expert, whenever working on airbags the battery needs to be disconnected for sufficient time to allow any residual charge in the electrical system to dissipate to prevent inadvertent airbag detonation. On the 206, like many cars, when an airbag is disconnected from the vehicle, and the car is started, an airbag warning light illuminates, and the multi-function display will show an airbag fault. As the car needs to remain usable on the road, these faults would result in a MOT failure (or roadworthy failure for those outside the UK); by installing an electrical shunt, the system ‘sees’ an airbag connected, even though there isn’t one, and the system won’t show a fault. A shunt will often come with an aftermarket steering wheel boss to cancel out the drivers airbag, but as I hadn’t ordered my steering boss yet, for the rest of the airbags, and the seatbelt pretensioners I didn’t really want to pay the extortionate amount that online stores and eBay sellers were charging for pre-made shunts. After a lot of reading through forums, I bought a bunch of 3 Ohm resistors from my local electrical shop and cracked on.
This was quite time consuming, as I wanted to check that each shunt had been correctly installed before moving on to the next, so after installing the shunt (in a temporary manner, if all is fine I’ll go through the permanent installation in a future post), the battery would be connected, car started to check for faults, and the battery disconnected again before waiting for the charge to dissipate and moving on to the next airbag.
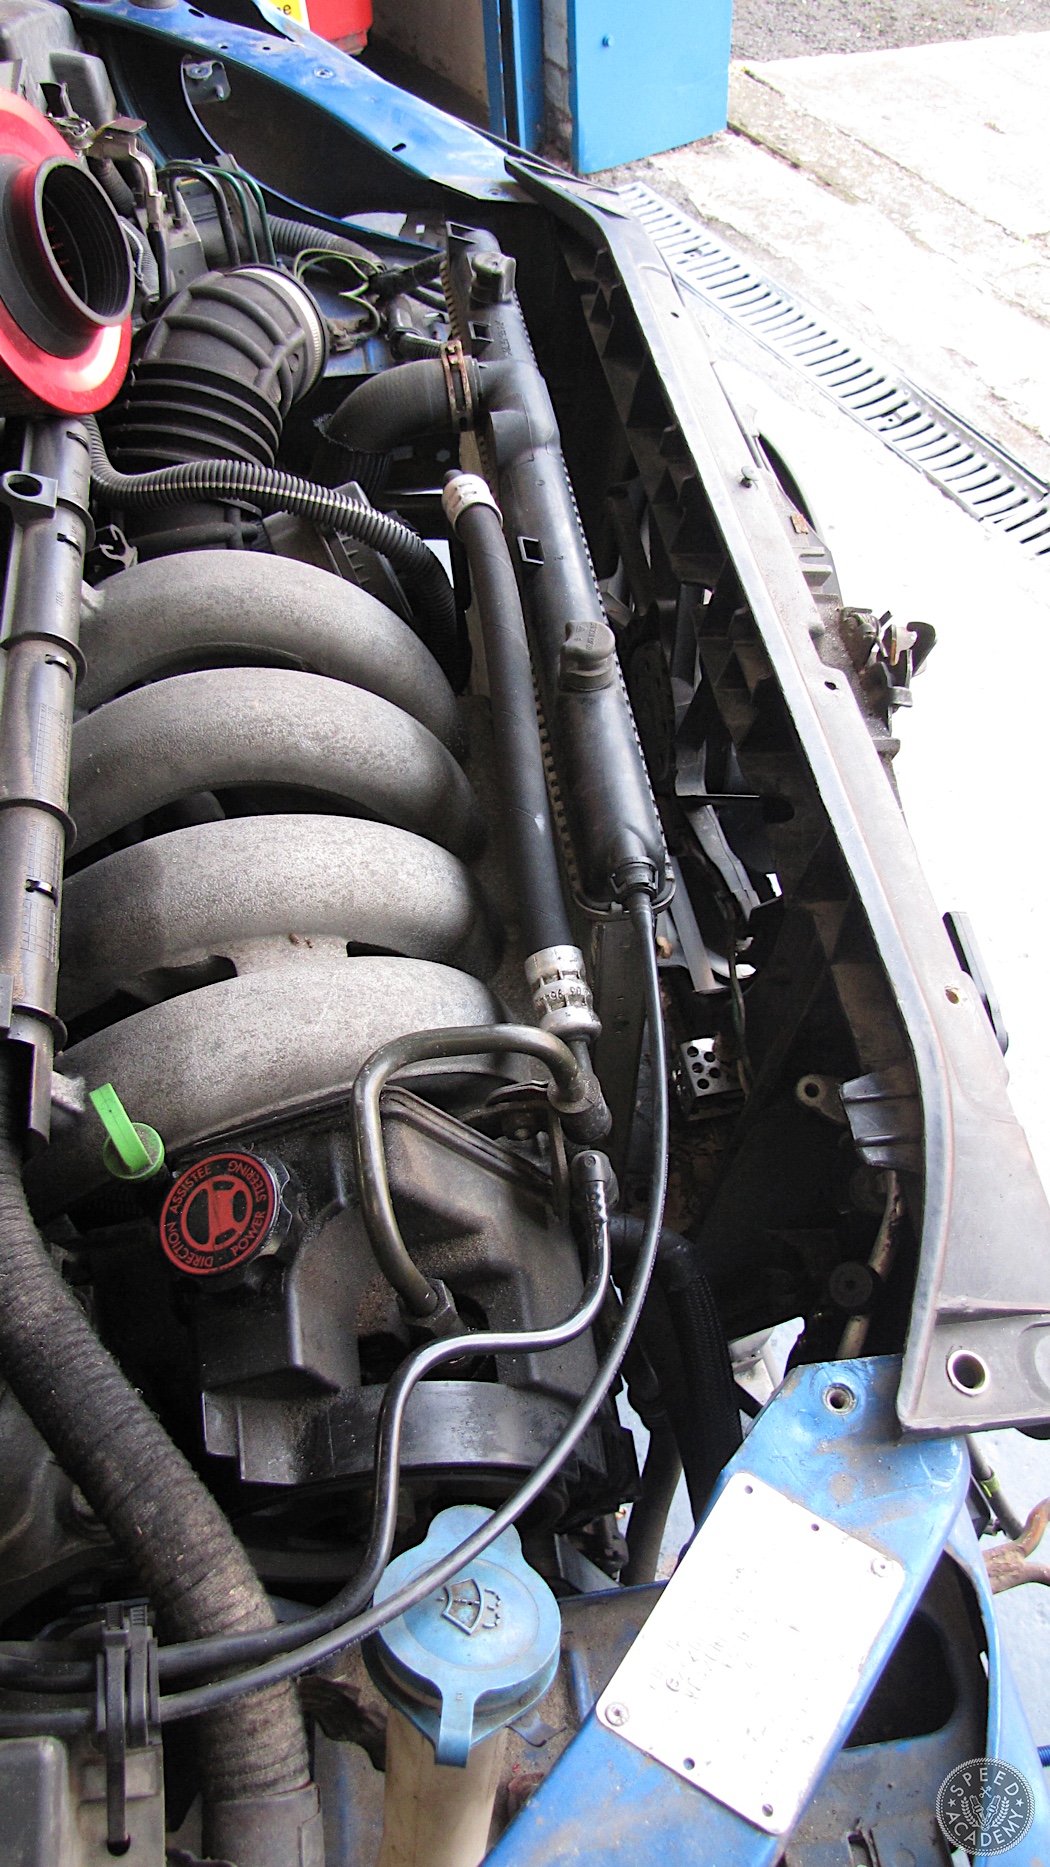
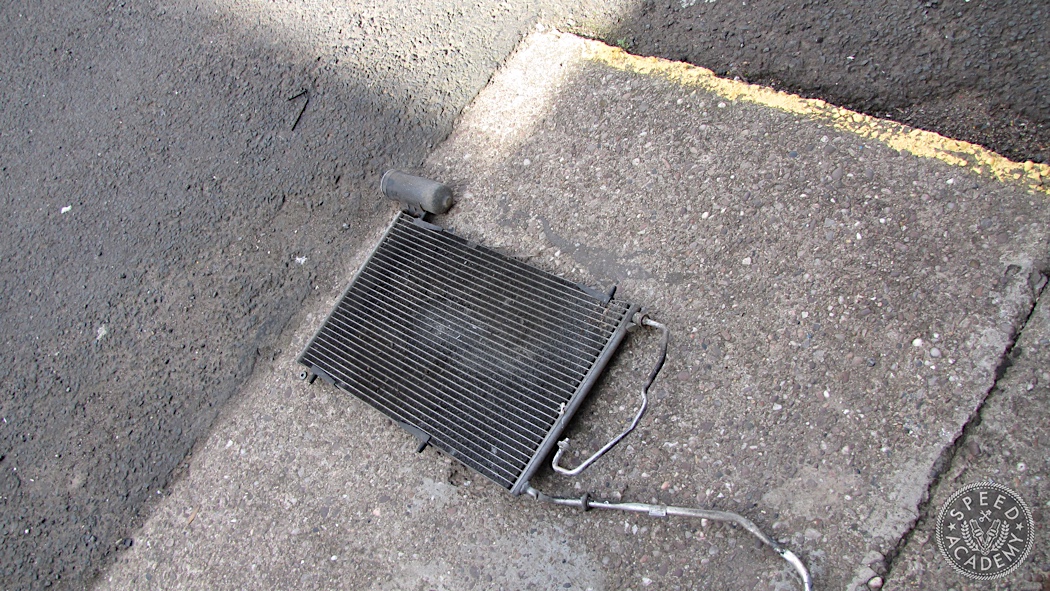
Throughout the day, whilst I was waiting to move on to the next airbag, I managed to get the front bumper support removed, and partially removed the radiator shroud enough to gain access to the air conditioning condenser and drier. As the system had been drained of refrigerant, I was able to cut the lines to these items, and remove them from the car, without putting the car on the hoist. This did leave a number of air conditioning lines still installed in the car, but my plan is to remove these once the heater matrix and interior blower fan/climate control unit is removed.
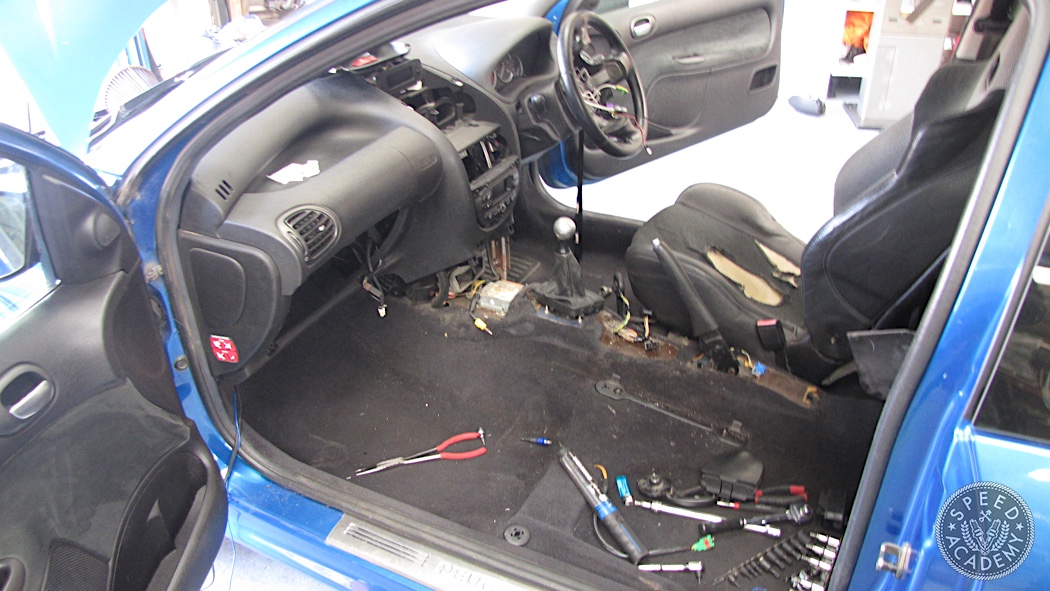
Having cancelled out all the airbags I’d planned to, and the car showing no airbag faults, I still had a bit of time to work on the car, and managed to get the carpets and sound deadening underneath removed from the car. These are fairly straight forward to take out once the seats are removed, and just require the odd piece here and there to be cut with a box cutter. The insulation underneath the carpet was quite stubborn in places, it is a vinyl backed foam, so where I couldn’t get access to the edge of the insulation I ended up having to tear or cut the foam, until I can get better access when I take the dash out.
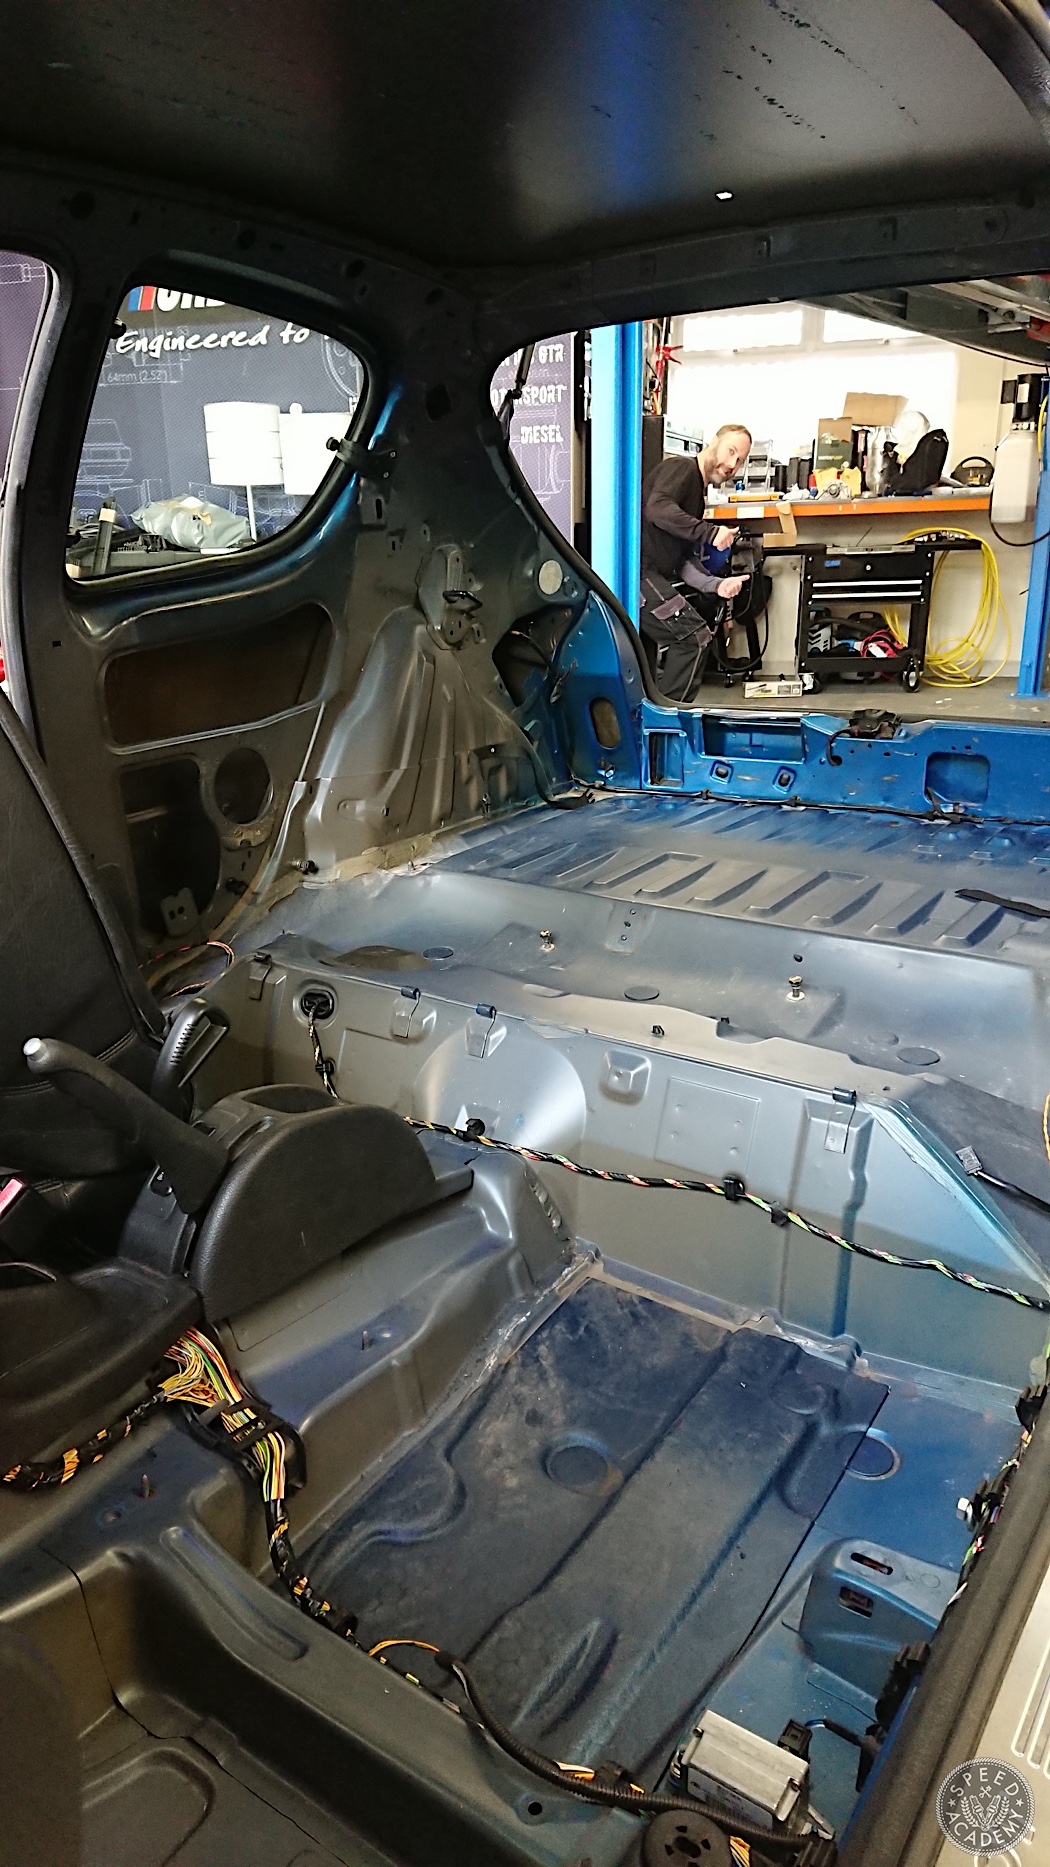
I removed the rear seat, parcel shelf, and boot (trunk) carpet, these came out fairly easily, and I raced on to the boot lining. A few plastic clips and a bit of persuasion and these too came free quickly, the only point of interest being that the boot light was housed in one of the linings and had to be disconnected to allow it’s removal. The rear pillar trim came away quite easily as well, and I moved on to removing the rear seat side trim, the trim came away easily, however the rear seatbelts were threaded through the panels, so these needed to be taken out before I could fully remove the side trim.
With the rear trim removed, I moved on to the B pillar trim and removing the driver & passenger seatbelts. These are a little more tricky as the upper point on the belt is height adjustable, and the belts have a pre-tensioner which needs to be de-activated similar to the airbags.
Working from the rear of the car forward, the next parts to tackle were the sun visors, interior lights and A pillar trim which all came out without too much hassle. The A pillar trim housed the ultrasonic sensors for the alarm system, which I left connected for the moment, until I investigate the effects of their removal. With these parts out I could finally move on to the roof lining.
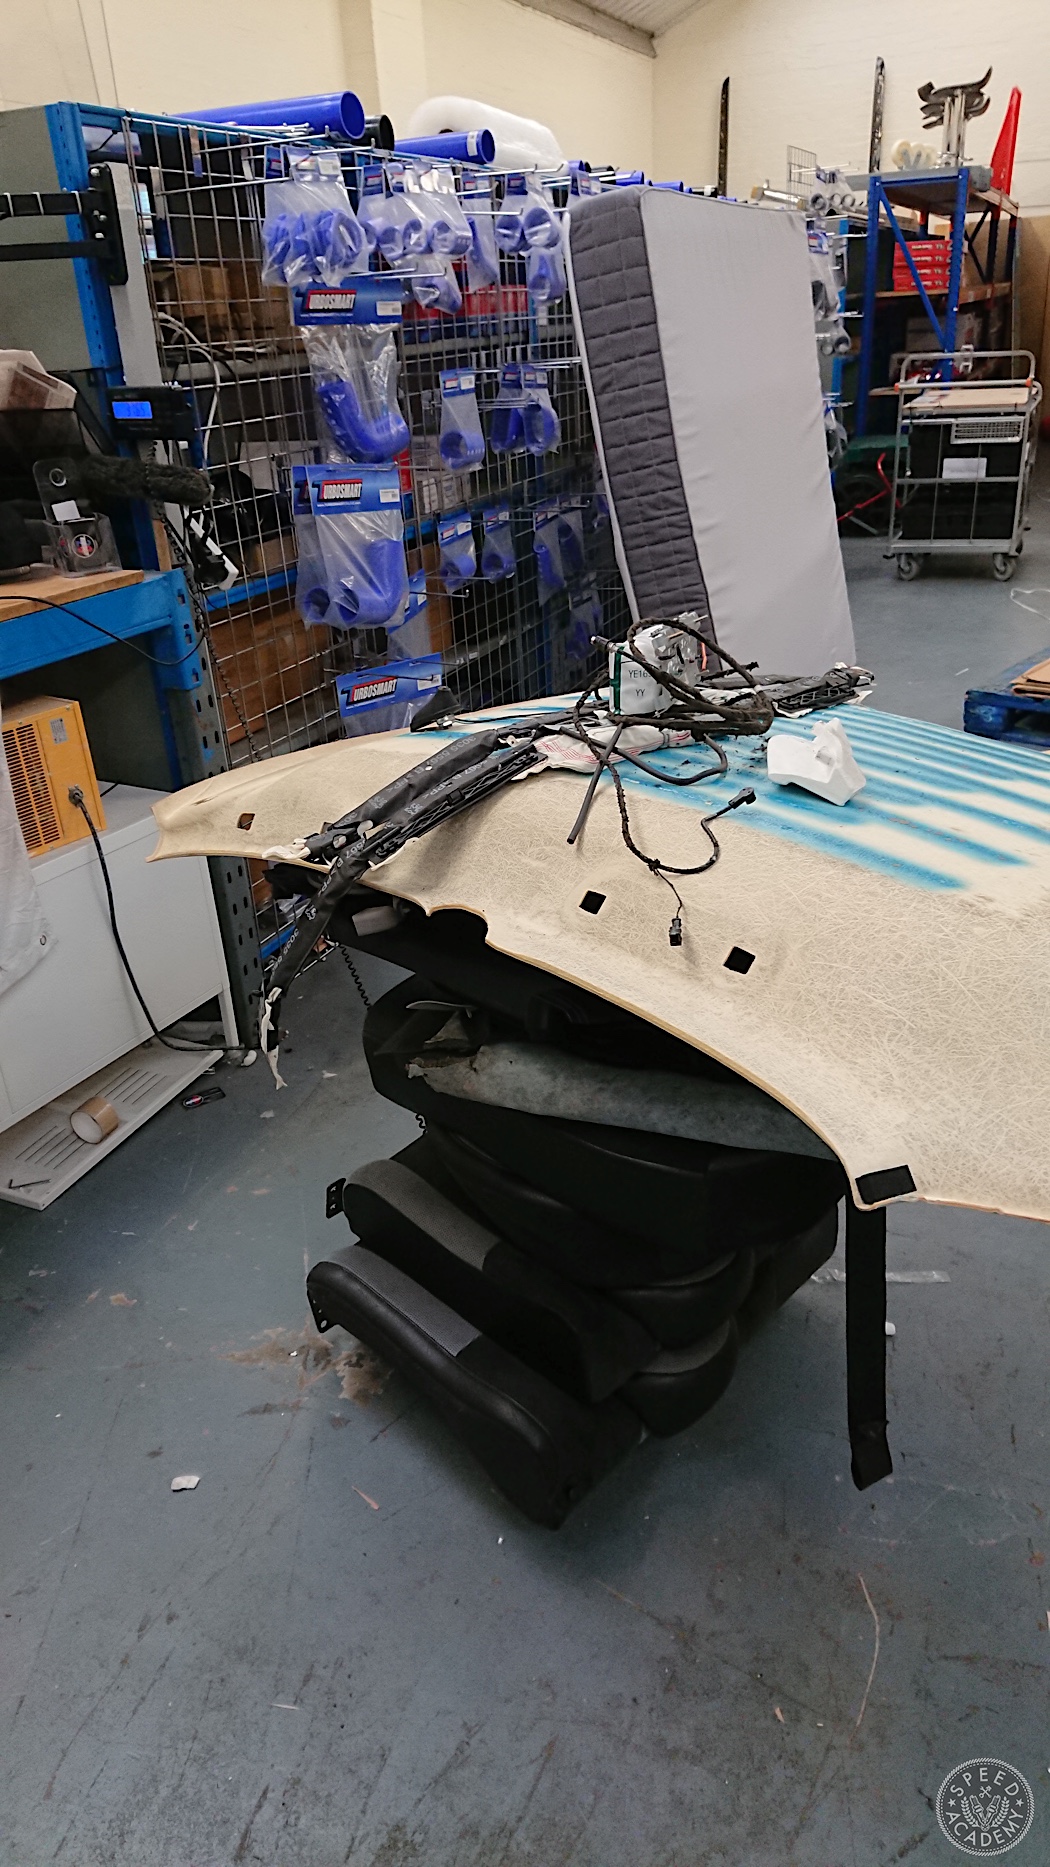
There wasn’t any special trick or technique to removing the roof lining, it just required brute force and patience, as it’s only held in place with contact adhesive. As I was removing the roof lining the force was causing the roof to buckle, luckily I had a mate in the workshop today, and to minimise the buckling, he sat in the car holding the roof skin up whilst I pulled out the lining through the rear hatch. With the roof lining out, the fittings for the radio aerial and rear window washer were accessible, having already removed the stereo, it was quite easy to unbolt the aerial and remove the full length of the cable. The rear washer hose was a bit more difficult, as it is passes down behind the dash and I couldn’t quite spot where it exited the cabin. Through process of elimination, I determined which of the two washer hoses exiting the pump was for the rear, cut the hose, drained the fluid, and pulled the hose through; this left one fitting on the pump open, which I capped for the time being, with the thought that I’ll probably replace the pump with a single output variant.
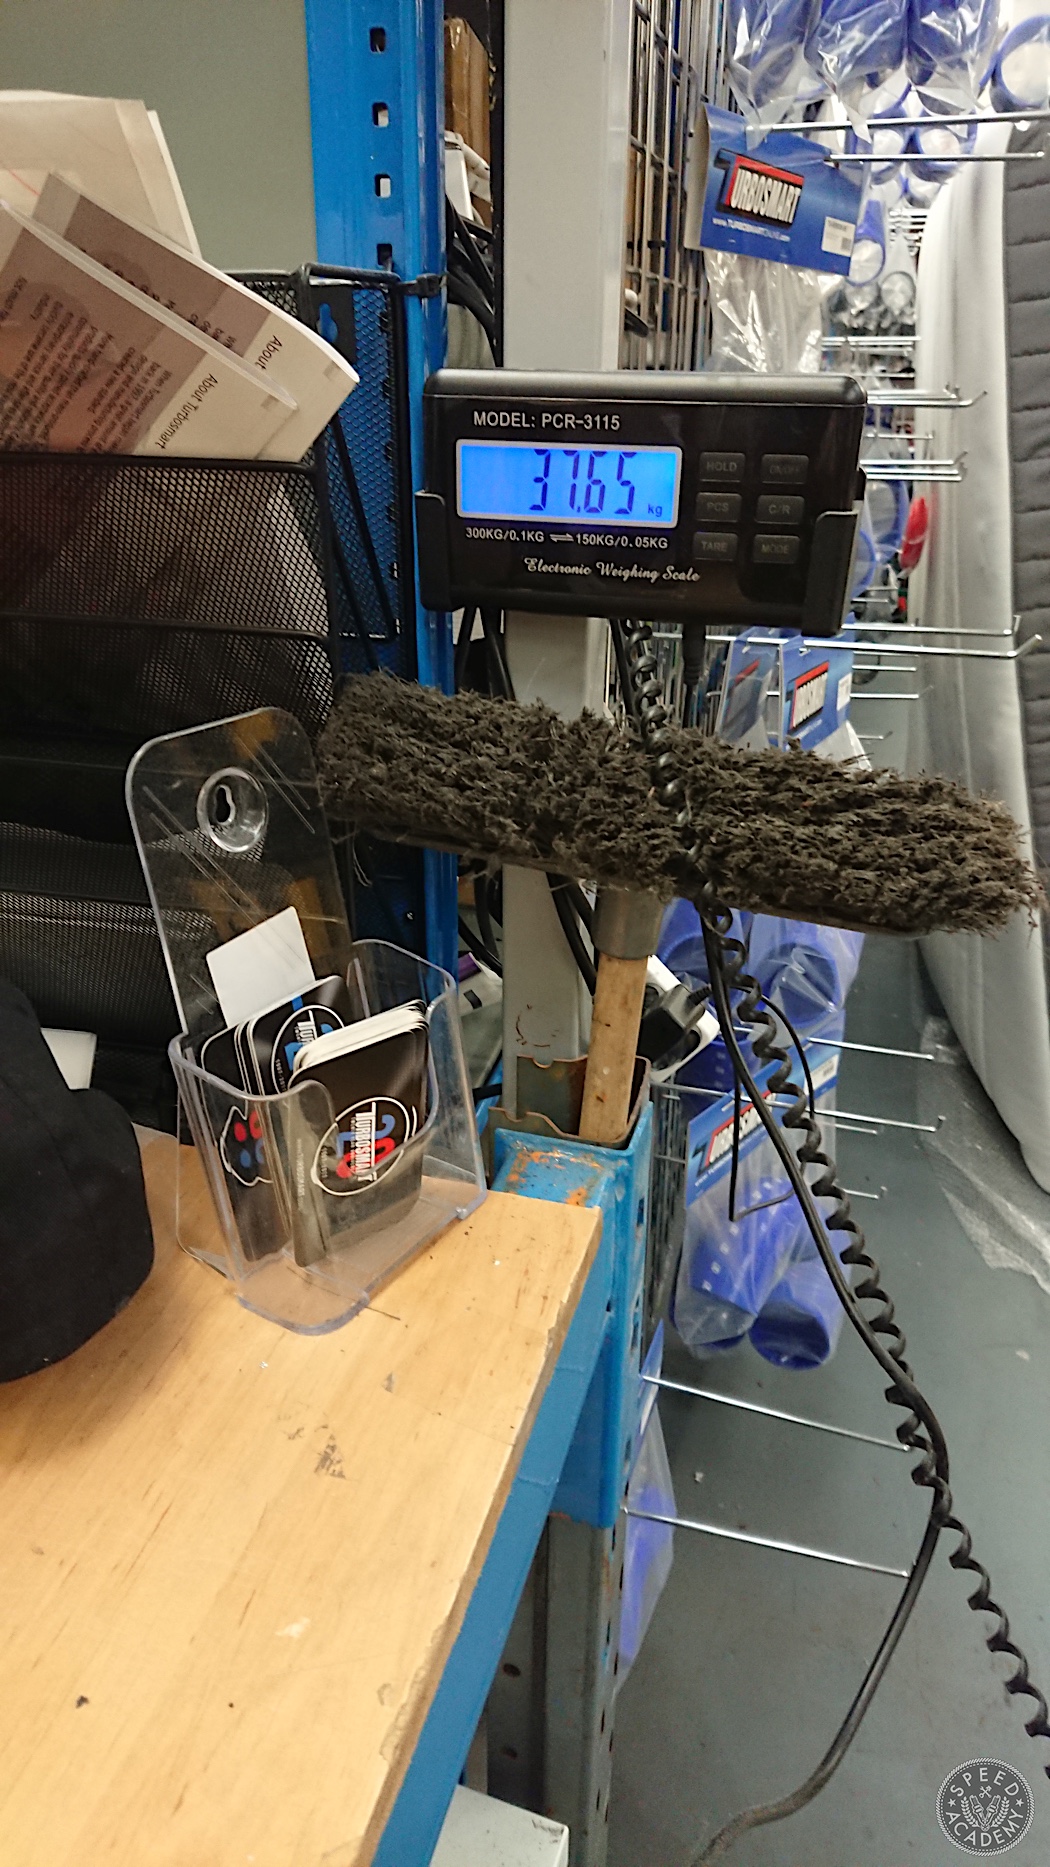
I also pulled out the head unit whilst I was in weight saving mode and weighed everything up; all up I managed to take 37 kg (just over 80-lbs) out of the car today (not including drivers seat which is still in the car). With available working time drawing to a close, I vacuumed out the car and packed everything away, ready for the next work day. Next time I’ll be working to remove the heater matrix/blower fan/climate control unit from behind the dashboard.
Thanks for reading, and as always, please like/follow/share the James Performance Engineering facebook page and stay tuned for future updates.