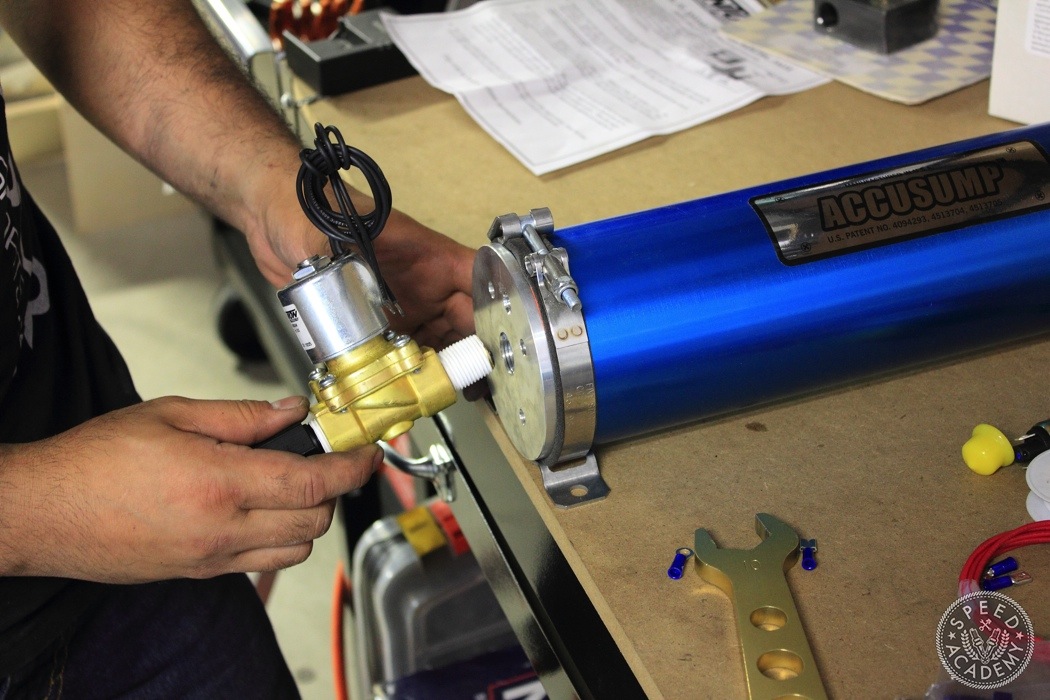
Make sure that you take your time when installing the EPCV assembly into the reservoir. Cross threading here will pretty much ruin the reservoir and your day. If it’s not obvious enough, stop turning if the assembly looks crooked or you feel resistance after only a turn or two. Once you have the assembly fully threaded in, resist the urge to use the EPCV body as a wrench lever to tighten the assembly. This can bend the valve inside and cause the EPCV to malfunction. Instead, use a wrench to tighten it properly.
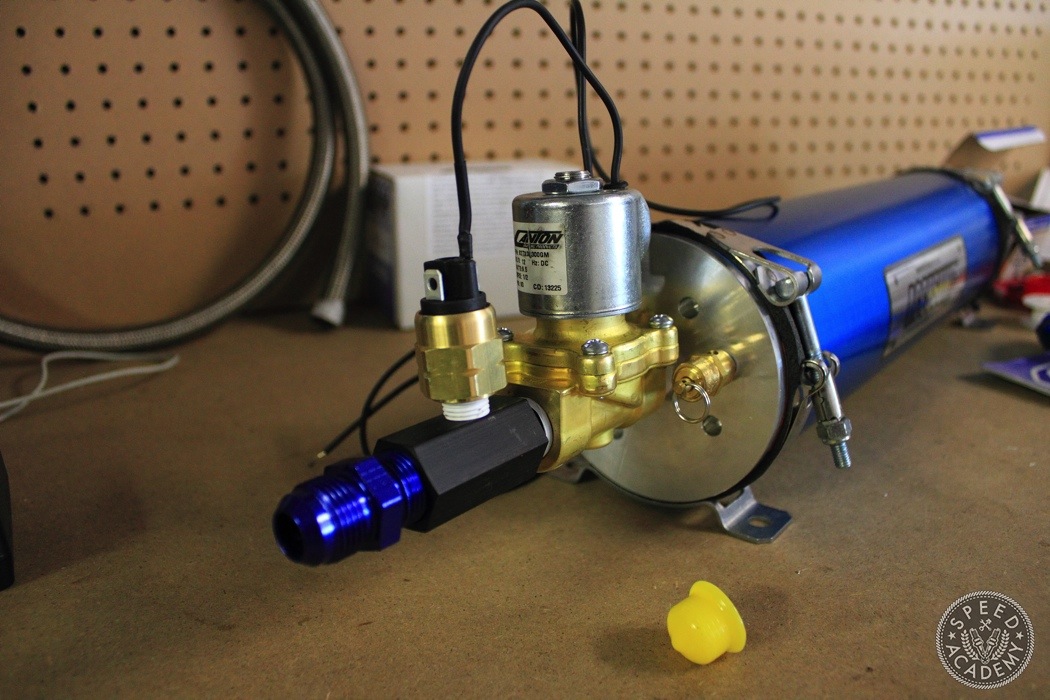
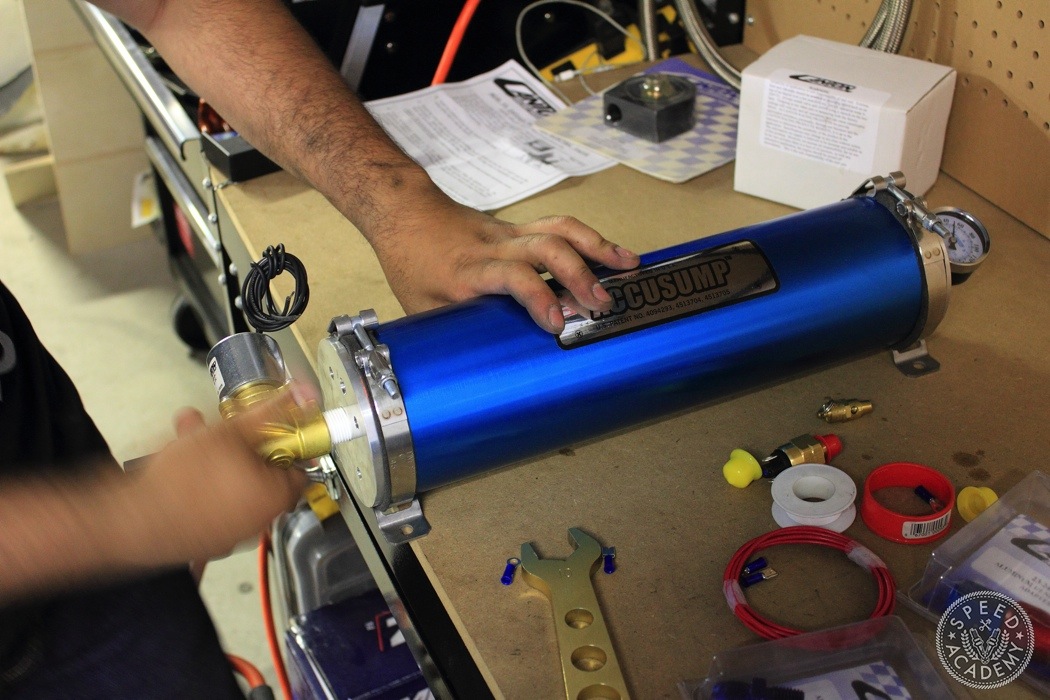
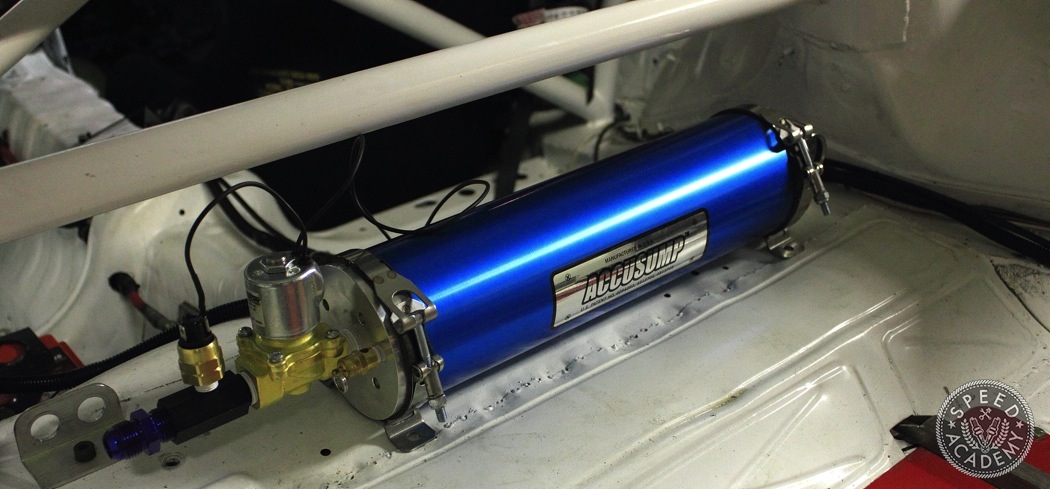
Once EPCV is securely mounted the Schrader valve can be reinstalled. Nothing should be in the way to interfere with the movement of the Schrader valve. At this point the pressure sensor can be installed as well, using the supplied -10AN to metric fitting at the end of the EPCV assembly. That’s it for the canister assembly, it’s time to find a mounting solution.
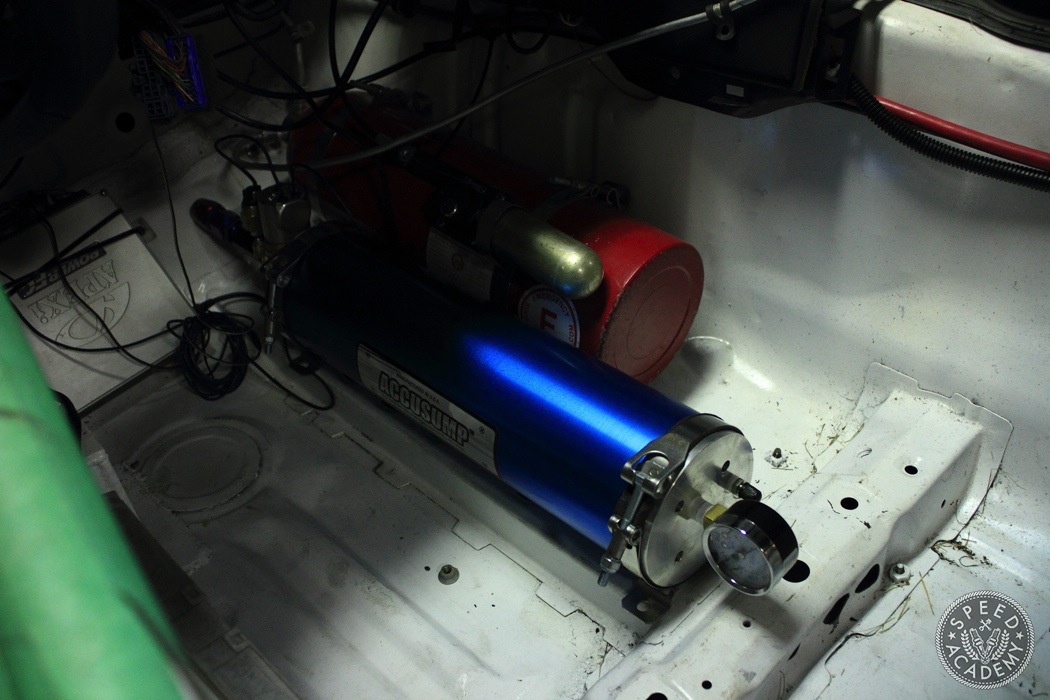
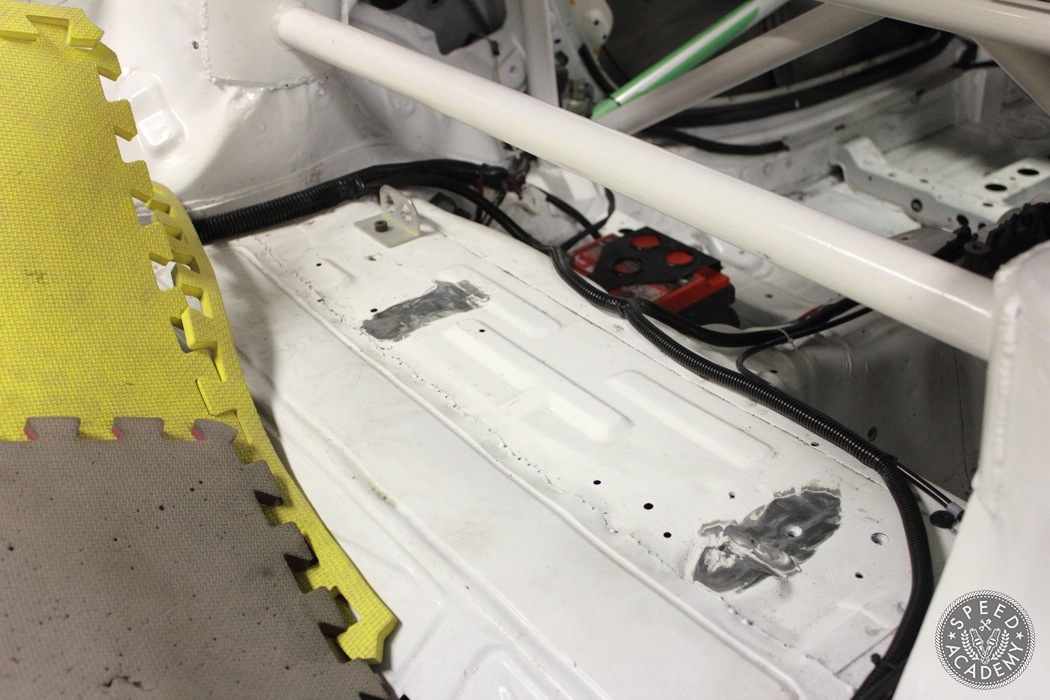
I had two locations in mind to mount the reservoir: on the passenger side floor or on the rear bulkhead of the hatch. Initially the passenger side floor seemed to be the easier and simpler choice. It would require less hose therefore, less weight and a shorter distance to the engine. But the thought of scalding hot and flammable oil being sprayed onto me in the case of a mishap outweighed the advantages so the rear bulkhead mounting position was chosen. There are plans to build a rear bulkhead panel to completely seal the rear hatch area from the cabin over the winter.
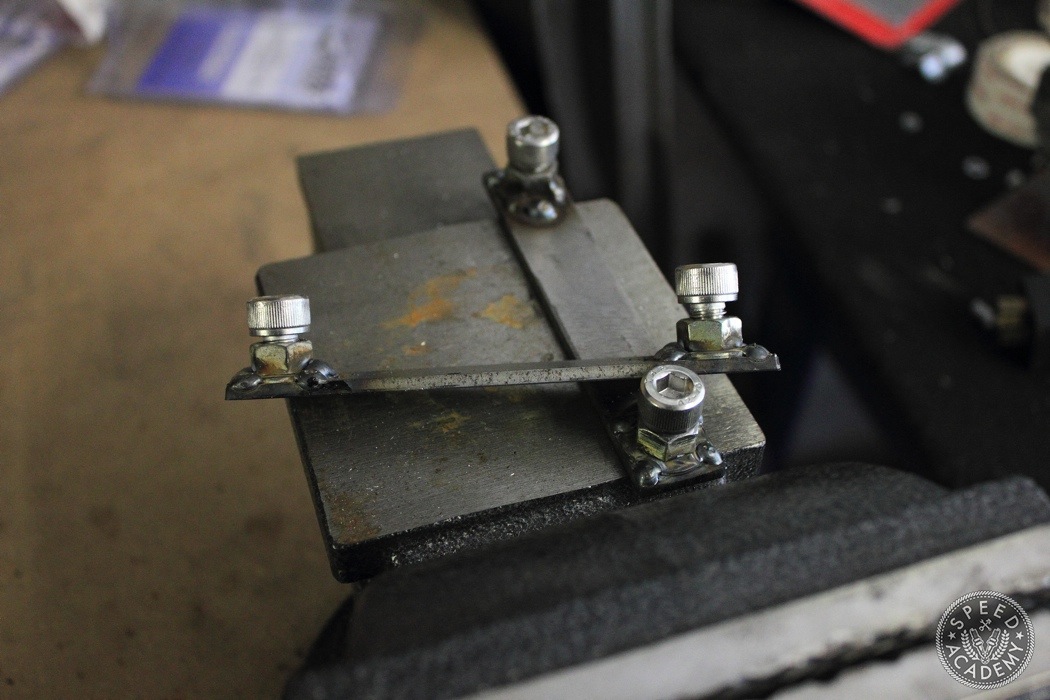
Since there was no way to get under the area where the Accusump brackets were to be bolted down other than dropping the rear sub-frame I opted for a simpler solution. I made a bracket out of steel flat bar to which I welded captive nuts. These plates would then be welded onto the bulkhead, allowing me to fasten the reservoir securely and easily.
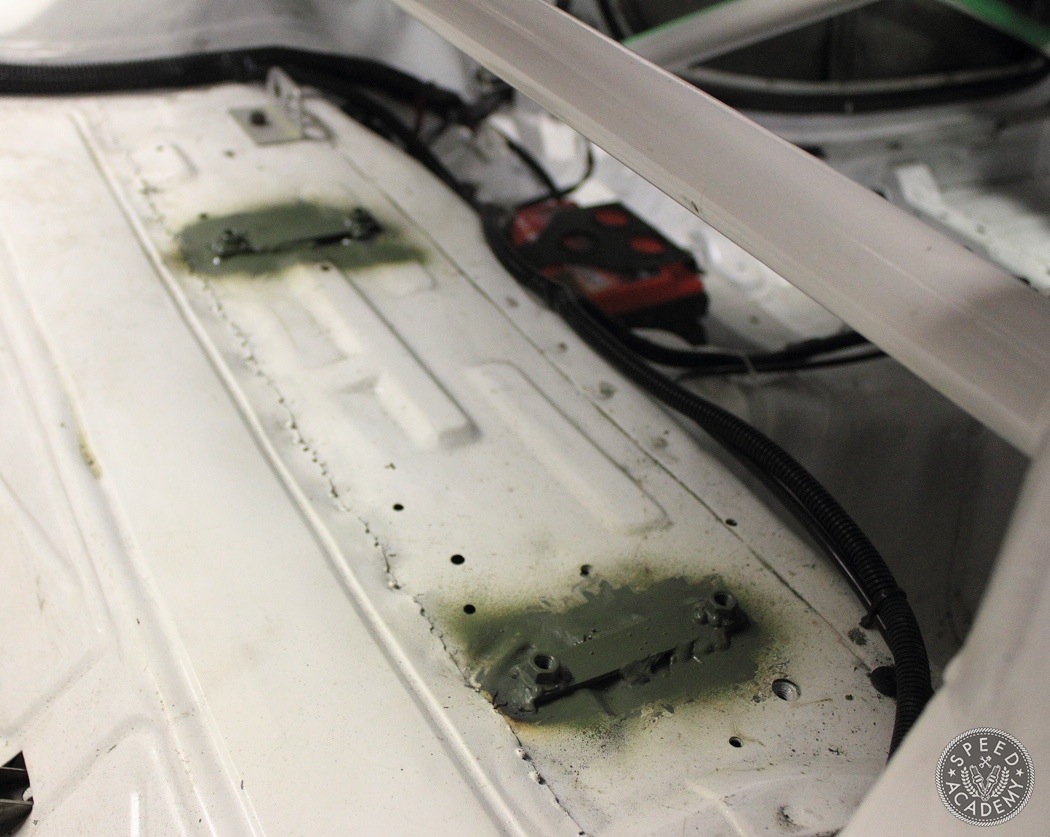
The area was prepped and the mounting plates were stitch welded in place. After that it was just a matter of priming (seen here) and painting them to match the rest of the body.
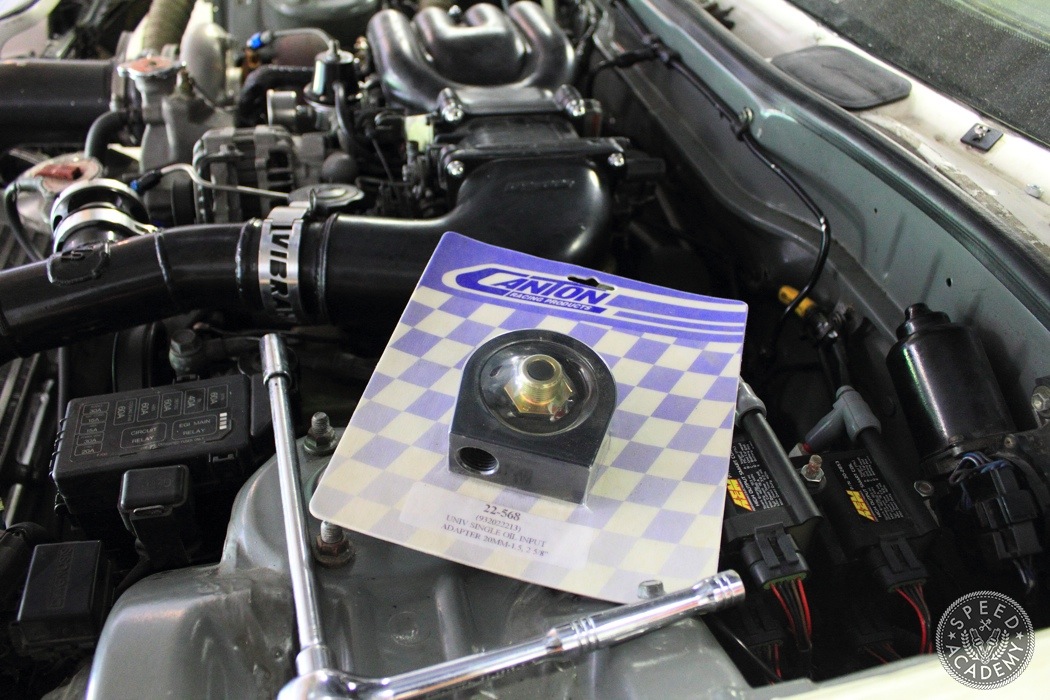
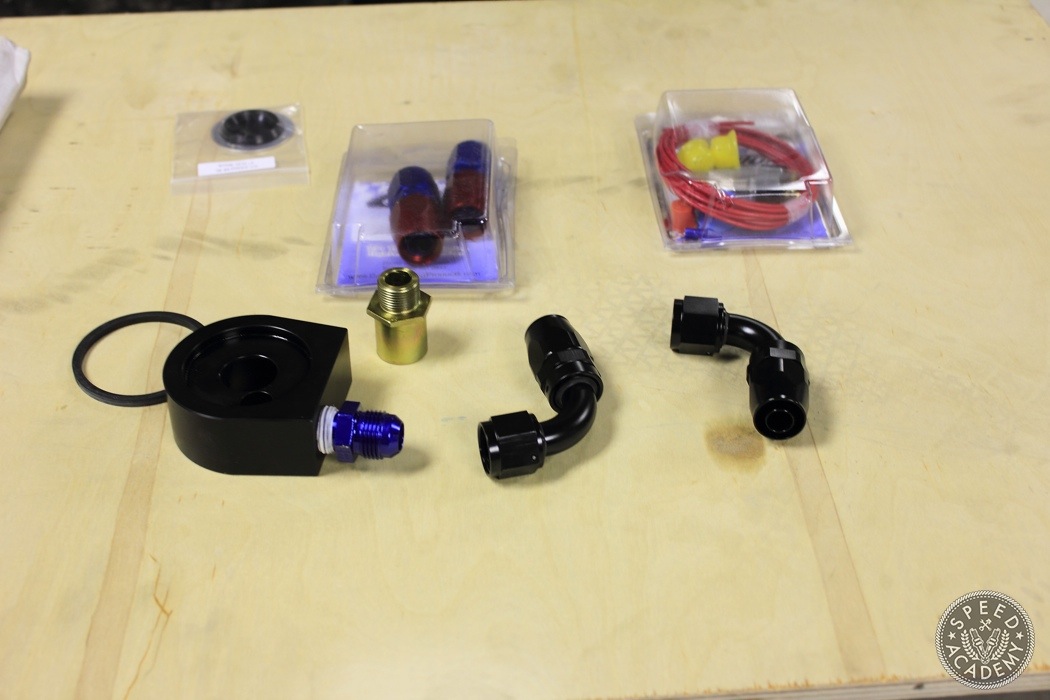
While the paint was drying I moved onto the engine side of things. The Canton oil sandwich plate with 90-degree -10AN to metric fittings would make routing the hose more efficient.
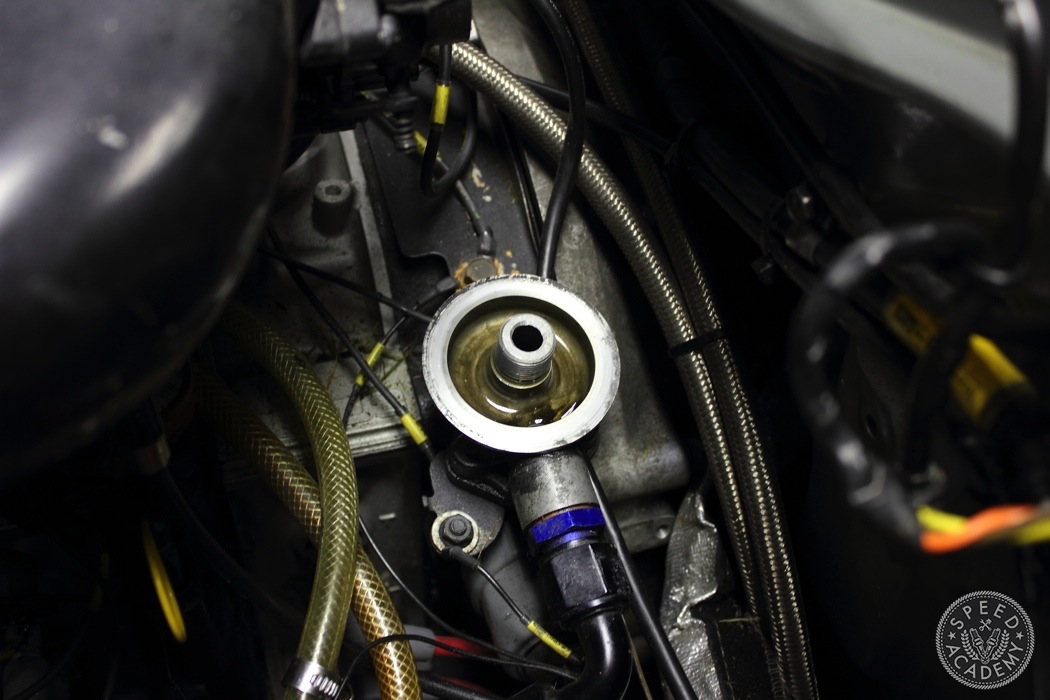
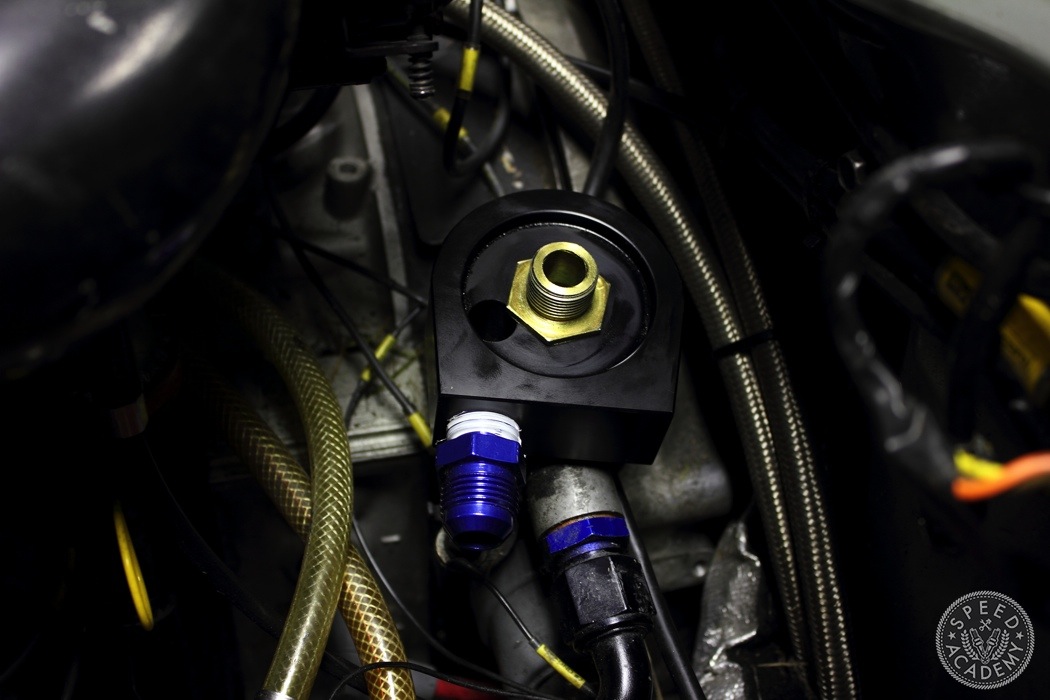
It goes without saying but I’ll do so anyways. Make sure the oil pedestal surface is smooth and clean. Debris here will cause a leak. Installing the sandwich plate is as simple as placing it onto the OE filter thread then securing it with the insert.
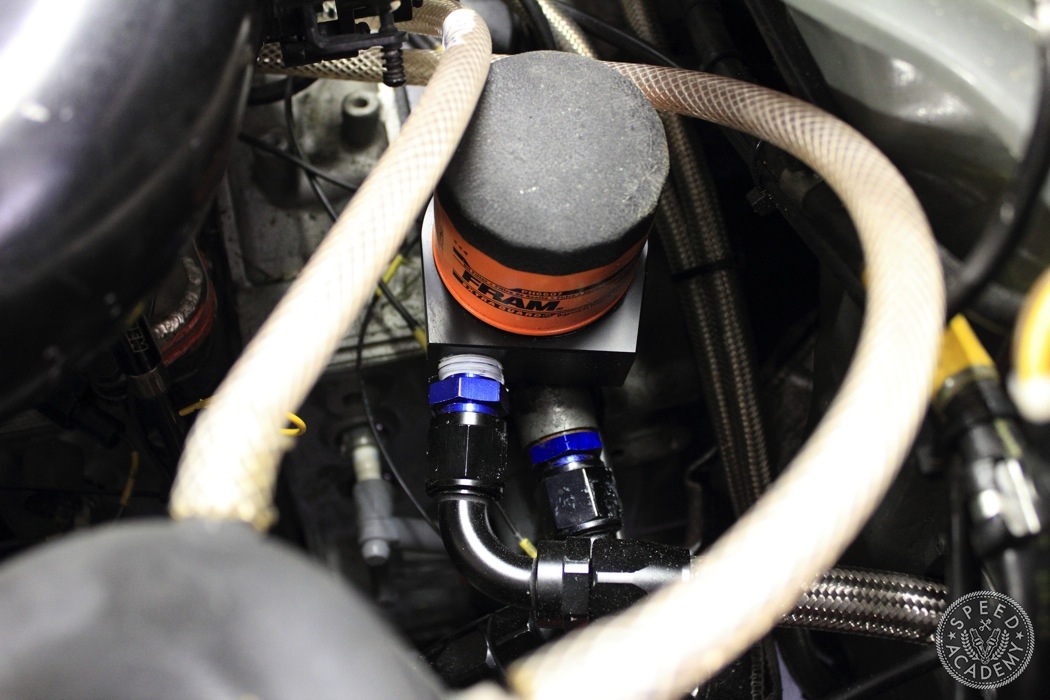
Tighten the fittings and throw an oil filter on, yes I use a FRAM! And you’re one step closer to competition.
Great article Ken! Makes me want to do this on Project Grip S14!
Thanks Pete! Such a pretty straight forward install! Accusump all our cars!