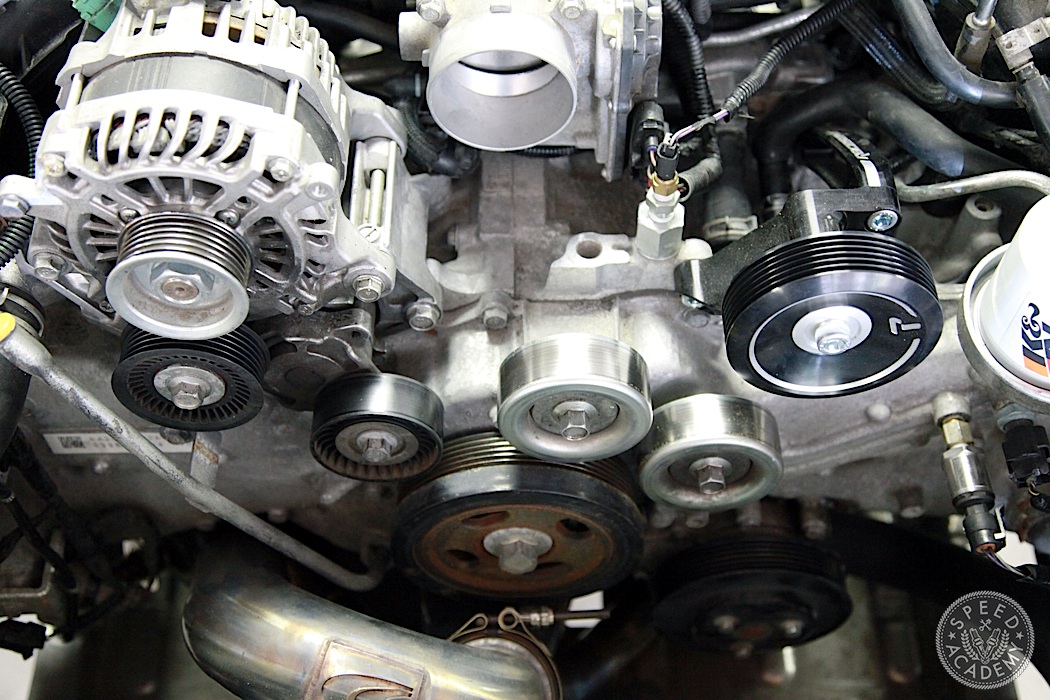
Before
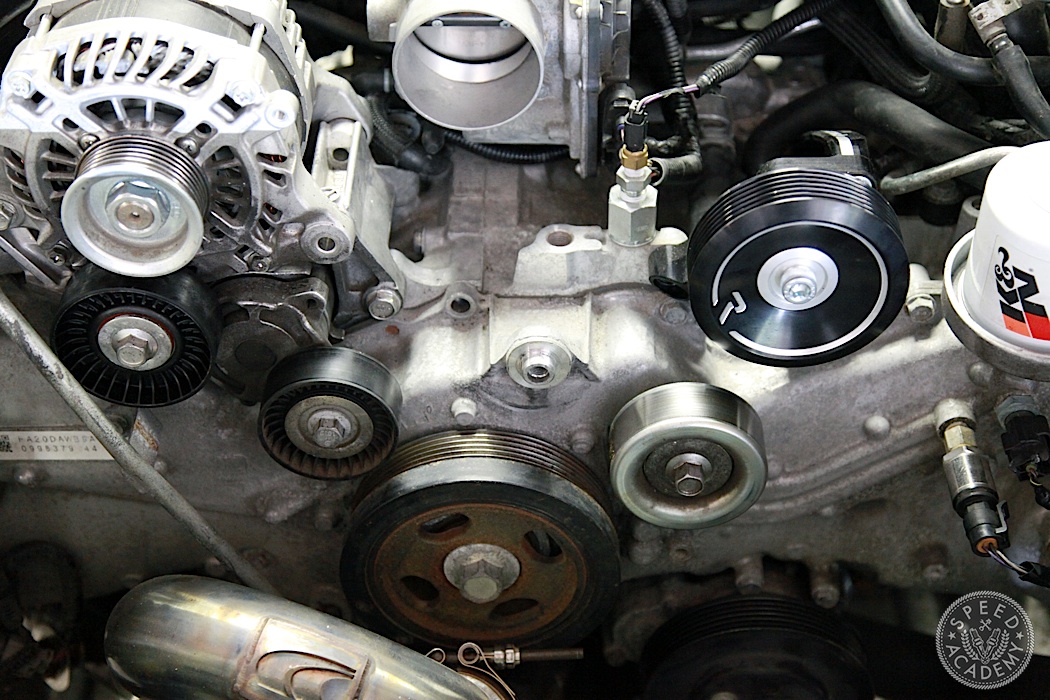
After
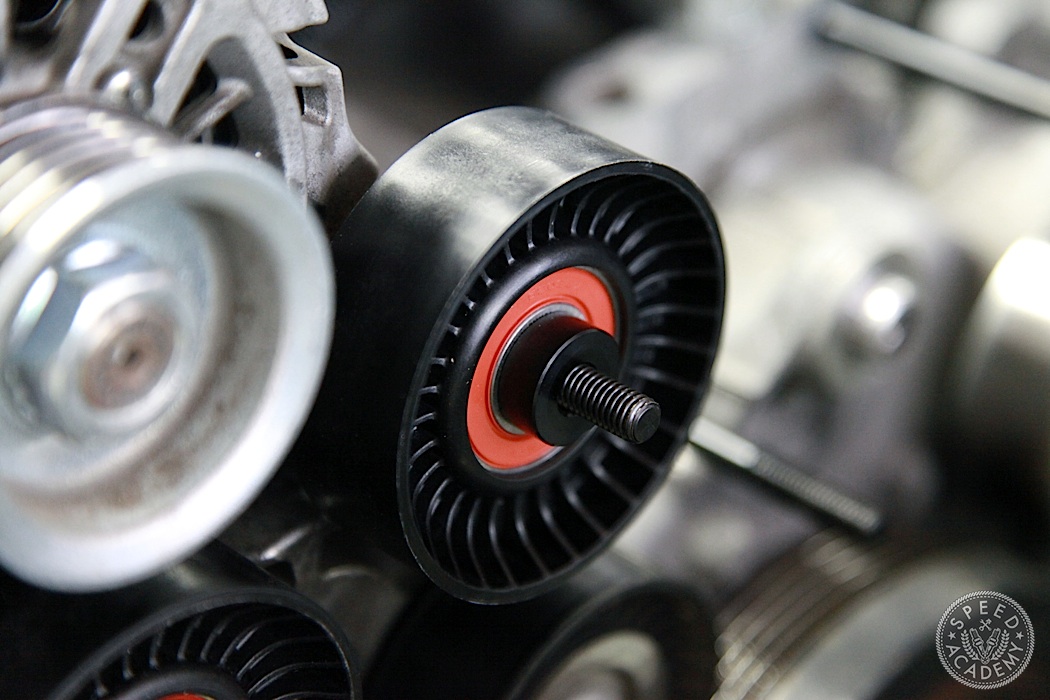
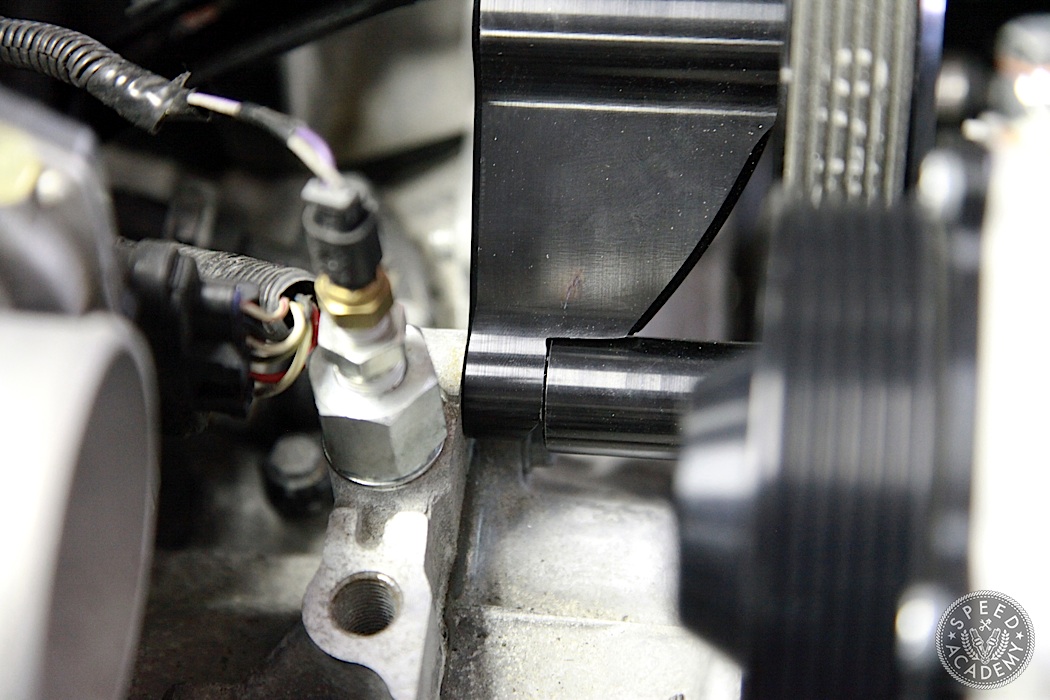
Steps 15 thru 20 are all about prepping the front of the engine to accept the Jackson Racing mounting bracket and Rotrex supercharger. For starters you remove the OE belt by pushing the automatic belt tensioner down and slipping the belt off the pulleys with the slack detensioning it provides. What you’re left with is easy access to all the pulleys, the upper/central steel idler pulley needing to be removed (simply remove the bolt that fastens it to engine). You also need to replace the plastic pulley directly below the alternator with the 76mm flat pulley provided by Jackson Racing and remove the long alternator mounting bolt, the inner A/C compressor mounting bolt (or in our case Raceseng A/C Delete Kit) and the bolt on the front cover directly below the throttle body and behind and to the left of the steel idler pulley that’s been removed.
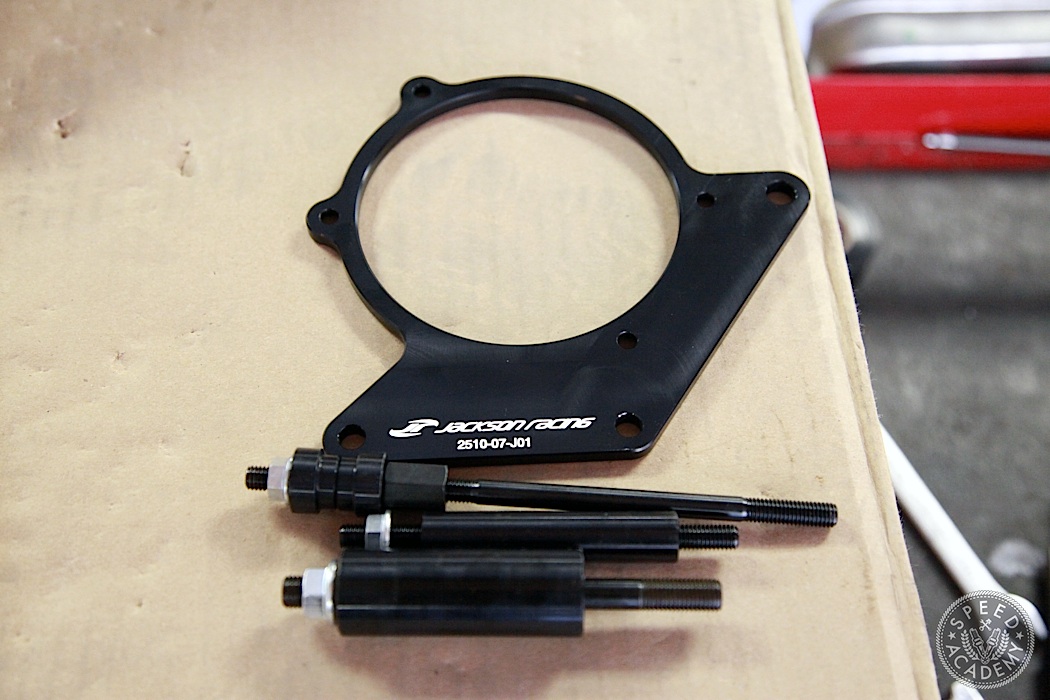
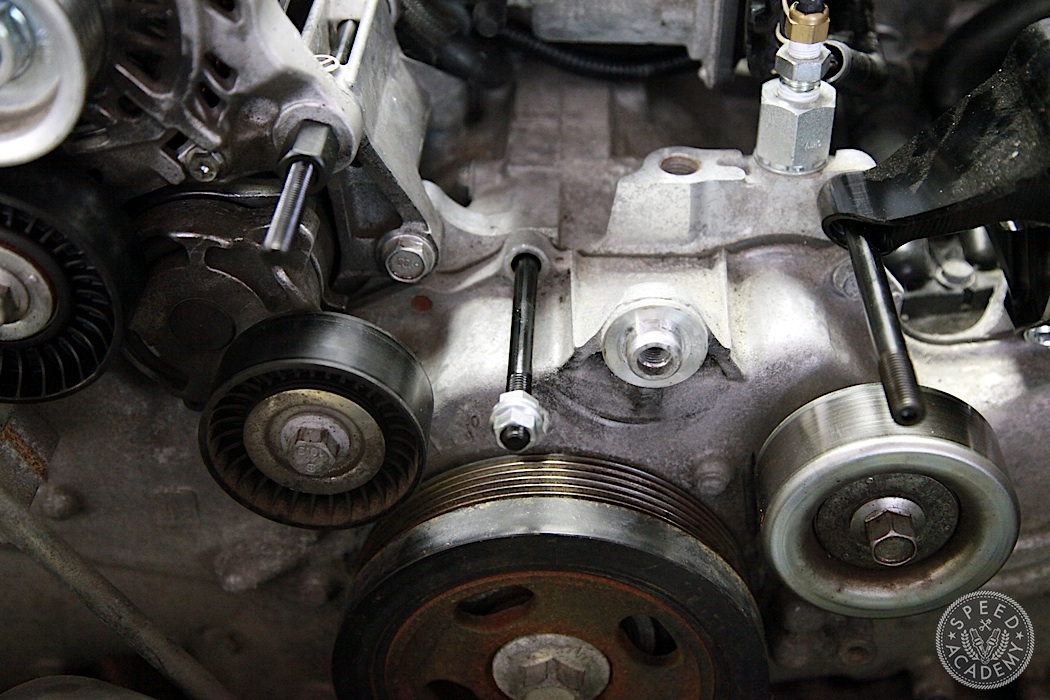
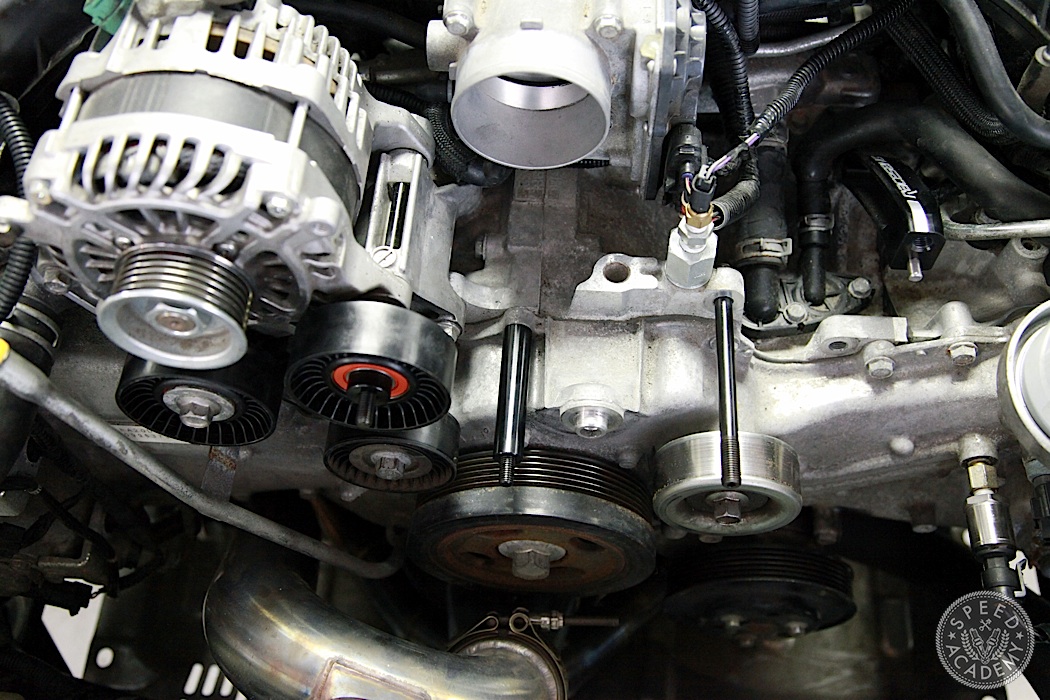
As you can see, all of these bolt holes are put to use by Jackson Racing as stud locations for their Rotrex mounting bracket, which we installed as outlined in Steps 21 thru 24 in the JR manual.
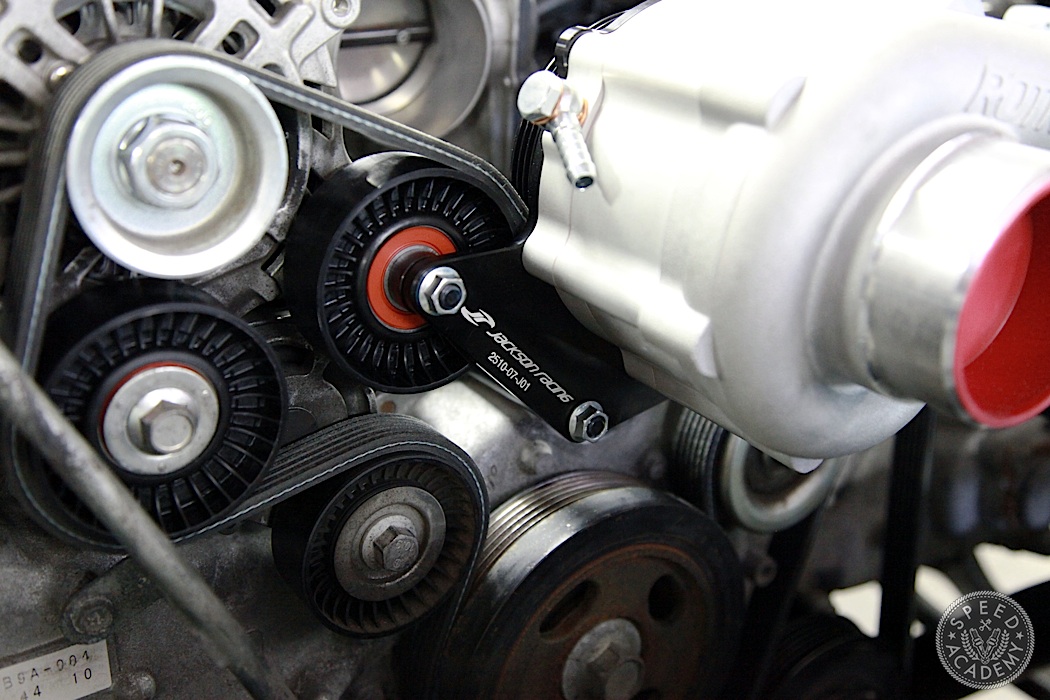
Step 25, 26 and 27 cover installing the 76mm idler pulley onto the JR alternator stud, using the supplied stepped 8mm spacer studs on either side to position it inline with the rest of the pulleys.
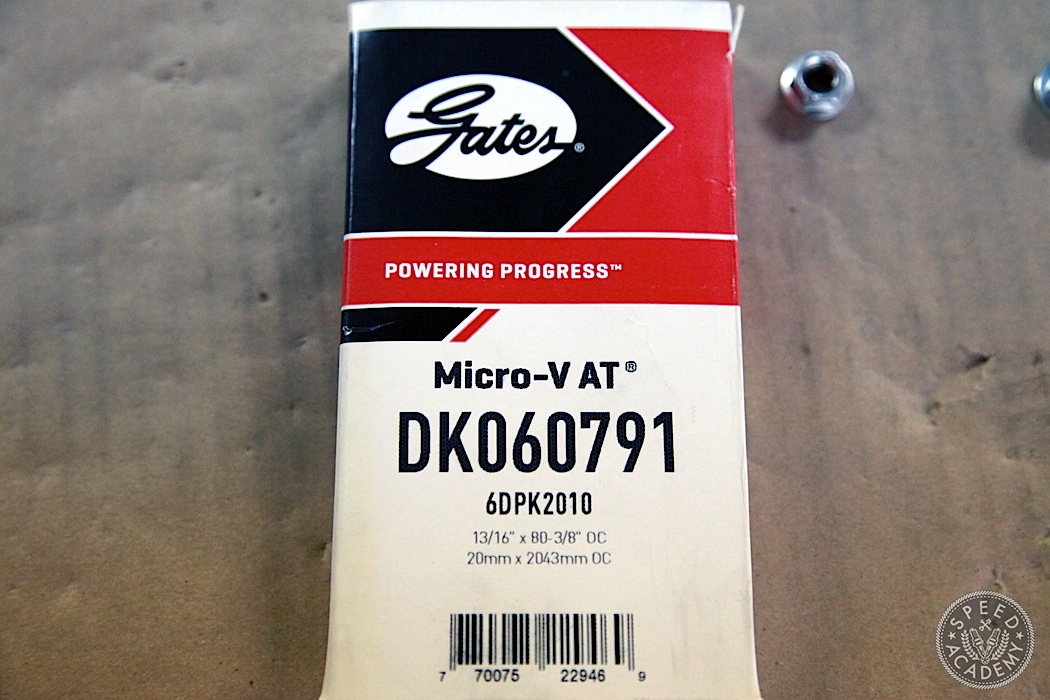

Steps 28 and 29 are placing spacers on the other two studs and then Step 30 is to loosely route the supplied serpentine belt, which as we mention in the video is a high quality Gates belt that has proven to be extremely reliable on this and other JR supercharger kits. However, as you can see here, we’ve removed the Raceseng A/C Delete bracket and pulley because we discovered the stud spacer supplied by JR is designed to work with the OE A/C compressor which has a 17mm thick flat flange while the Raceseng bracket has a much thicker and angled flange.
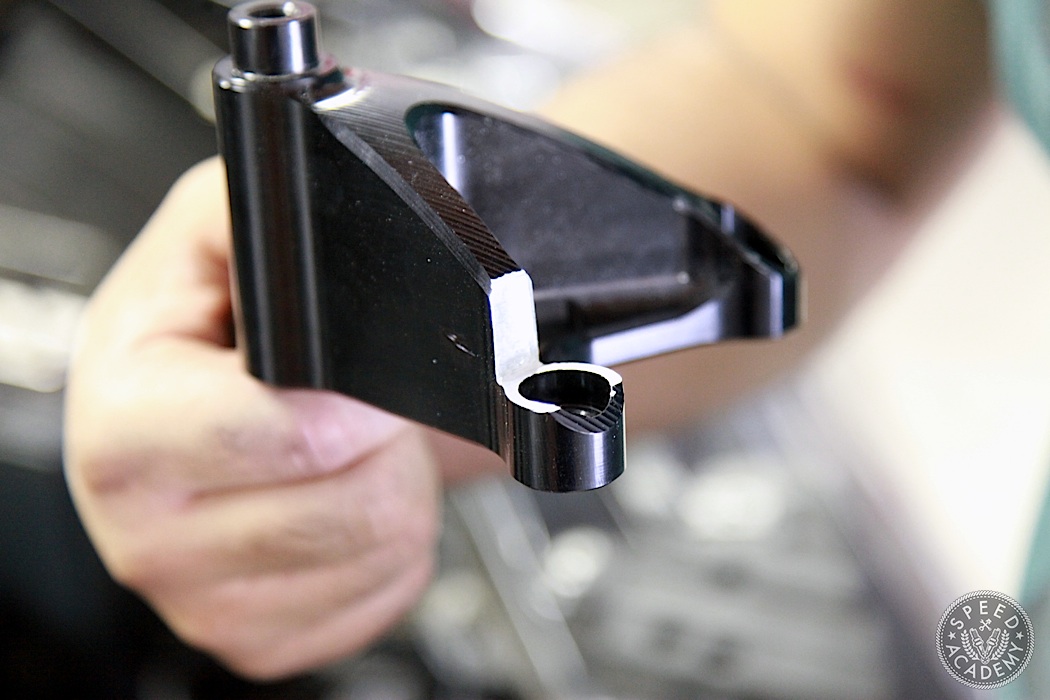
The solution was to modified the Raceseng bracket so that it’s compatible with the Jackson Racing stud spacer. Jarrett Seng, the head honcho at Raceseng, has given this modification the thumbs up as he feels it does not compromise the strength of the bracket. Phew!
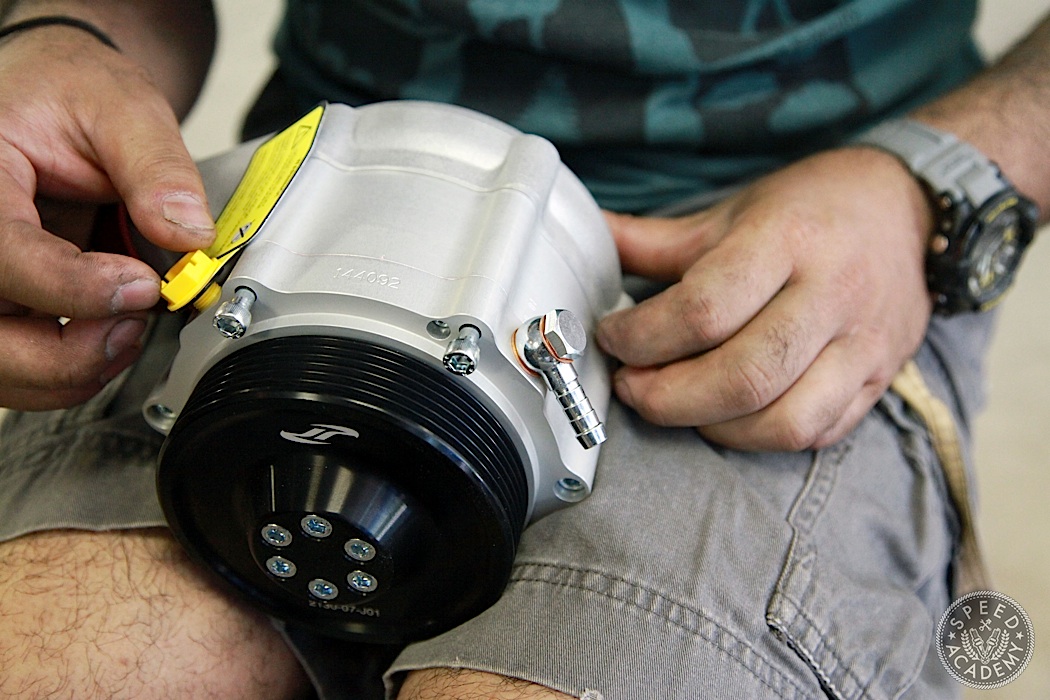
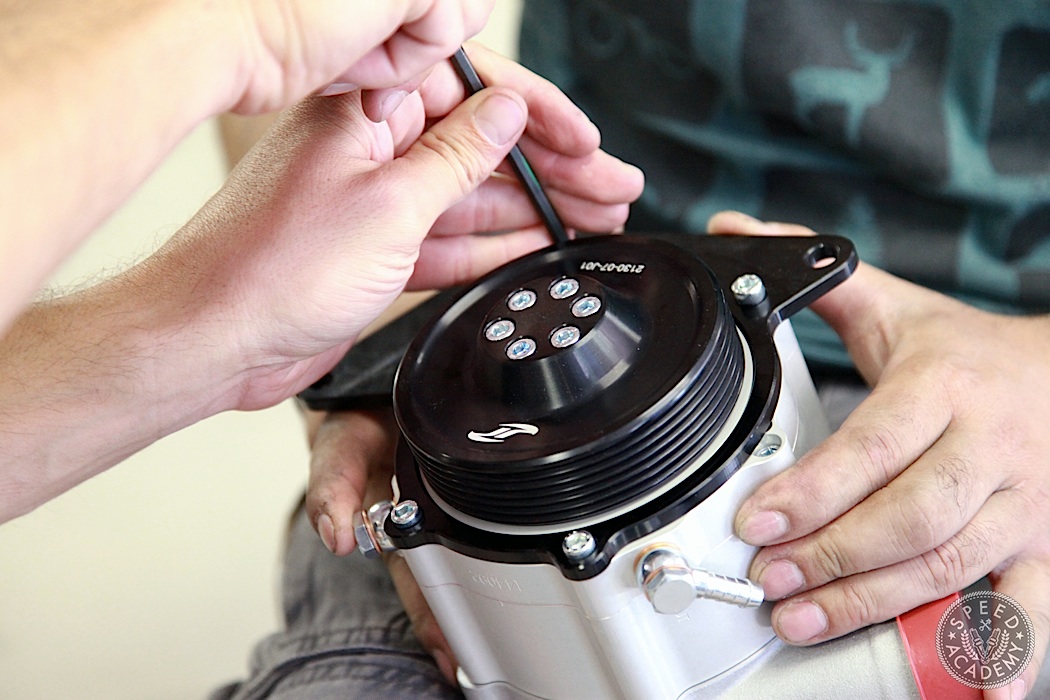
This meant we could move on to Steps 31 thru 33, which require installing the oil feed banjo bolts to the Rotrex supercharger and then bolting the Jackson Racing mounting bracket to the supercharger, using a bit of the supplied Loctite on each of the allen head bolts.
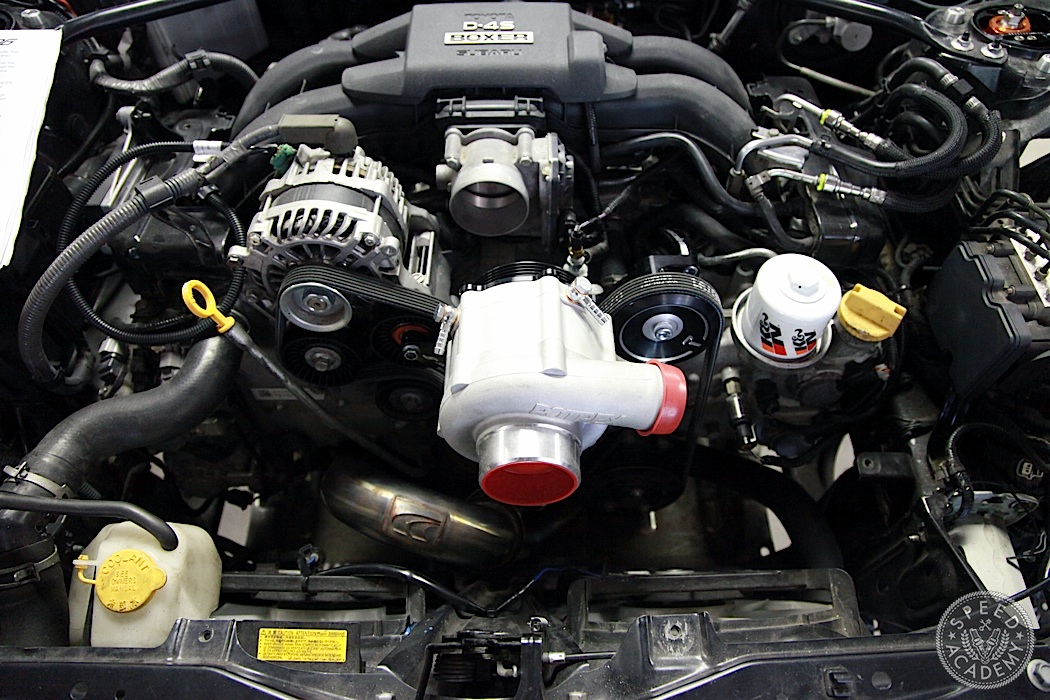
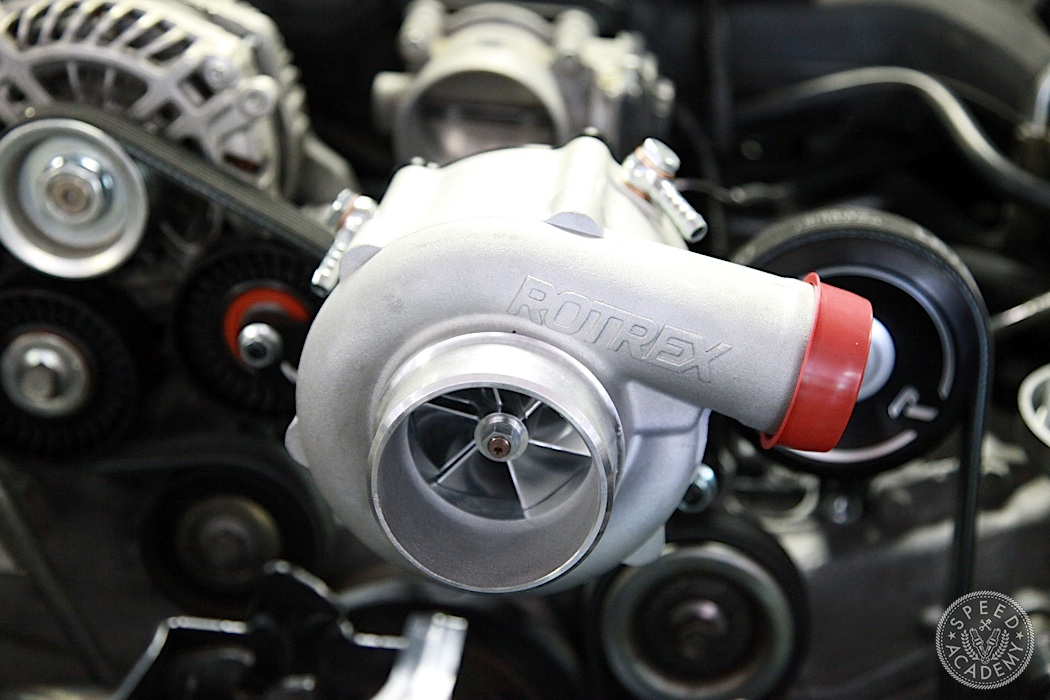
And BAM just like that we were ready to locate the mounting bracket and supercharger onto the studs. Once the nuts were tightened down to secure the supercharger in position, we cranked down on the automatic tensioner pulley and routed the Gates belt. This felt like a major milestone in the install, since we now had a ultra sexy Rotrex C30-94 attached to our FA20. Mmm, mmm, good.

Now it was time to install the oil coolers and intercooler, all of which is a straight bolt-on affair thanks to the cleverly engineered mounting brackets supplied with the kit. The process begins with Steps 36 thru 38 which cover bolting the top side mounting bracket to the intercooler with the supplied allen head bolts.
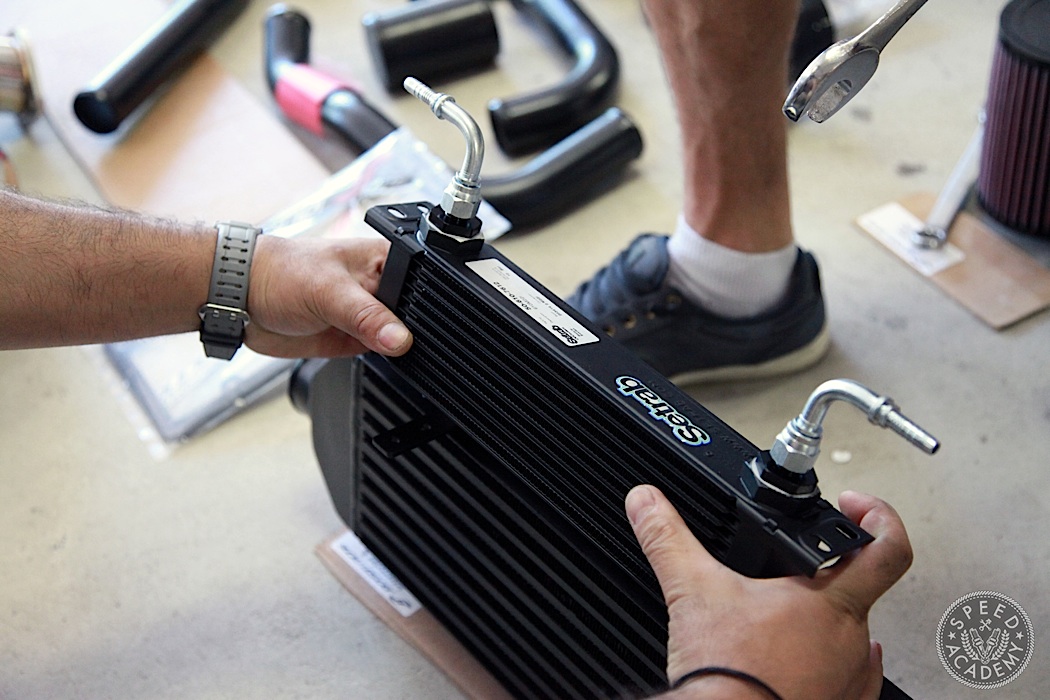
Step 39 is installing the fittings to the Rotrex oil cooler, with the 90-degree elbow fittings pointed in opposite directions since the lines will route in from either side of the engine bay.

If we weren’t running the Jackson Racing track engine oil cooler we’d then mount the Rotrex cooler to that top mount bracket like this.
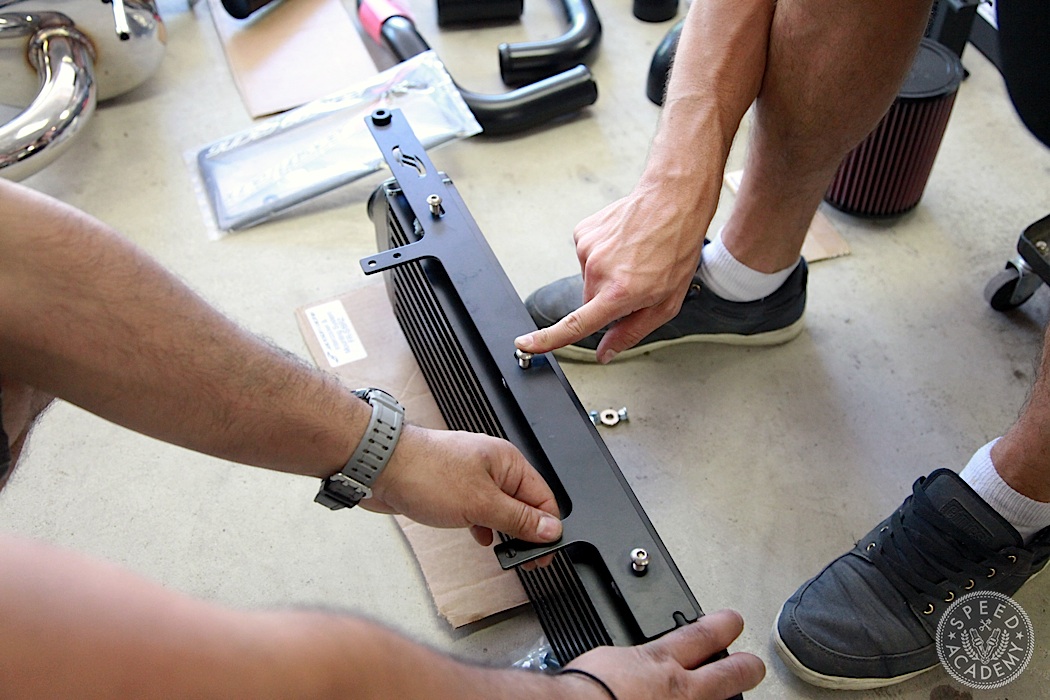
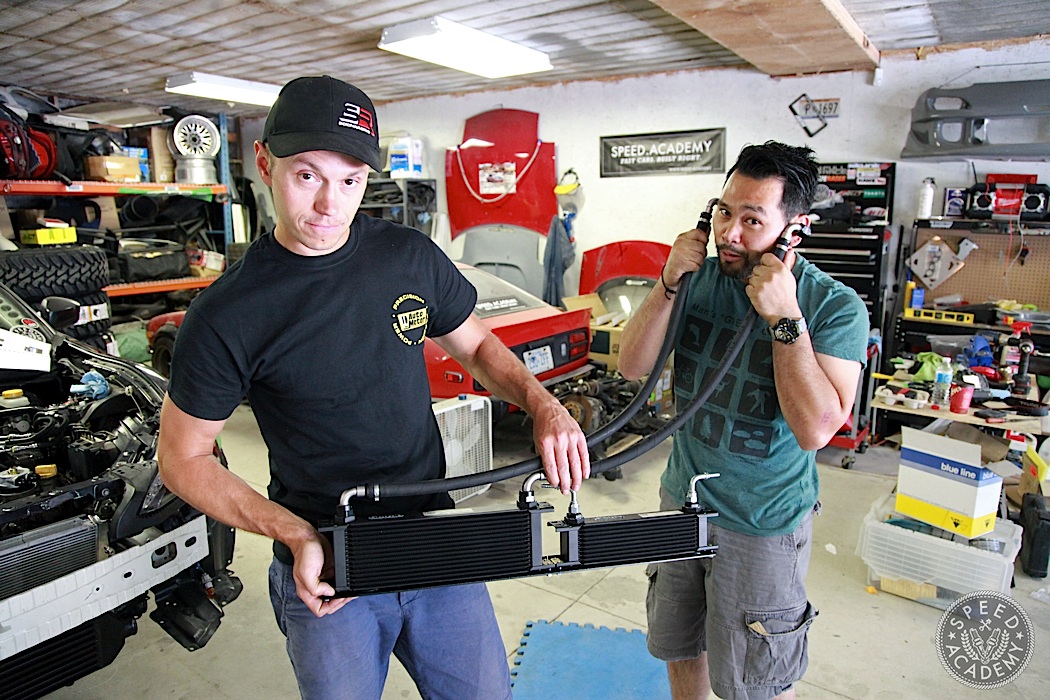
But because the track engine oil cooler kit comes with a dual cooler mounting bracket, we instead mounted the two coolers like this (as explained in the separate manual for the engine oil cooler kit). The mounting bracket is really nicely designed and the coolers bolt in place via cushion-isolated washers (those gold rectangular suckers you can see on the bottom mounting tab on each side of both coolers) to protect the coolers from excessive vibration.
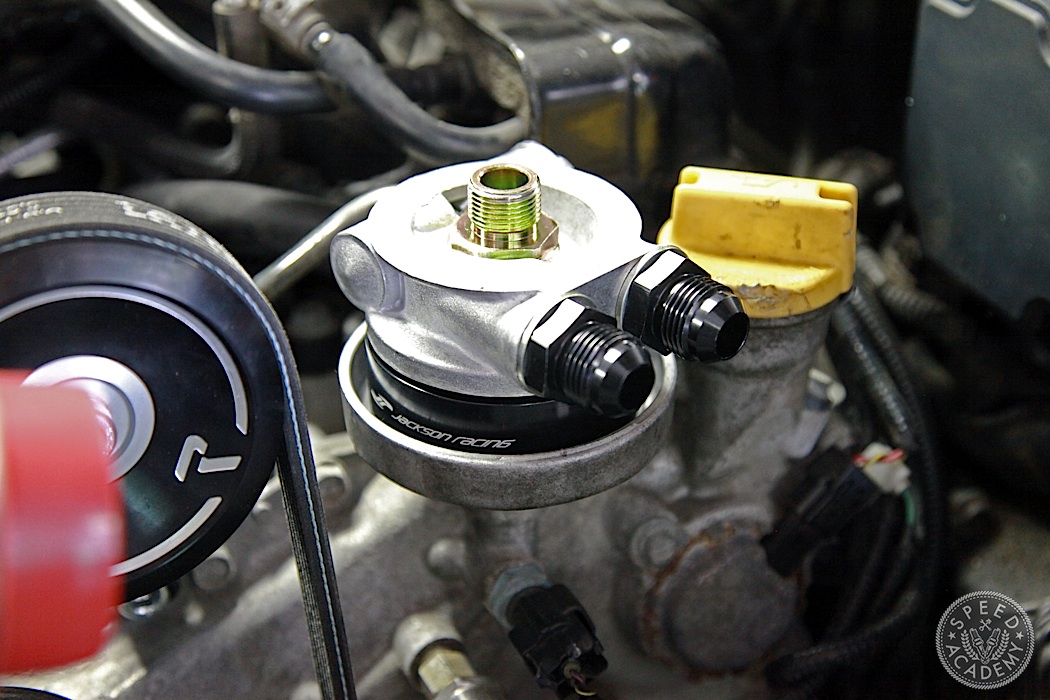
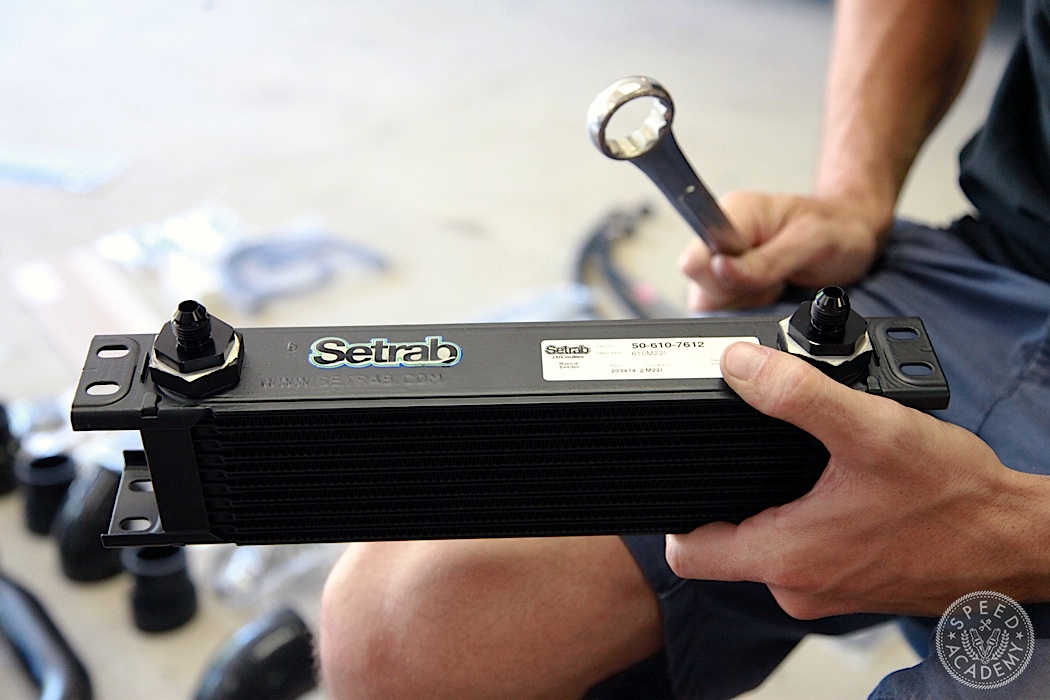
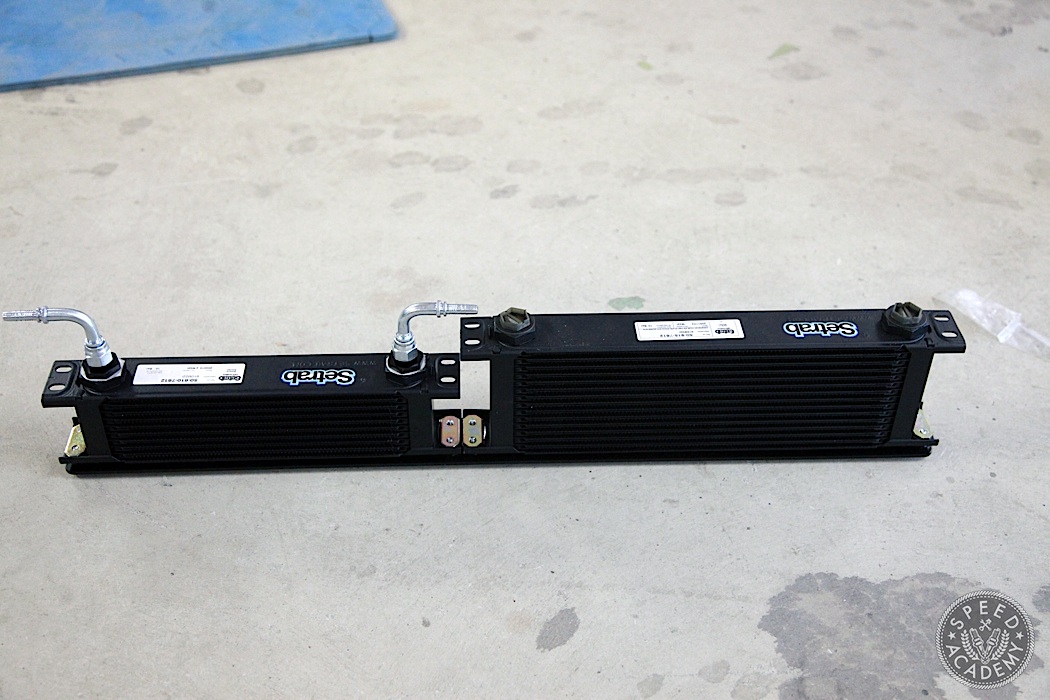
Next we installed the engine oil cooler sandwich adapter at the filter location and fastened the preassembled engine oil cooler lines to the big 15-row Setrab unit. The lines passed Ken’s highly scientific “pressure test” procedure, so it was time mount this very slick setup to the intercooler and get back to the SC manual step-by-step instructions.
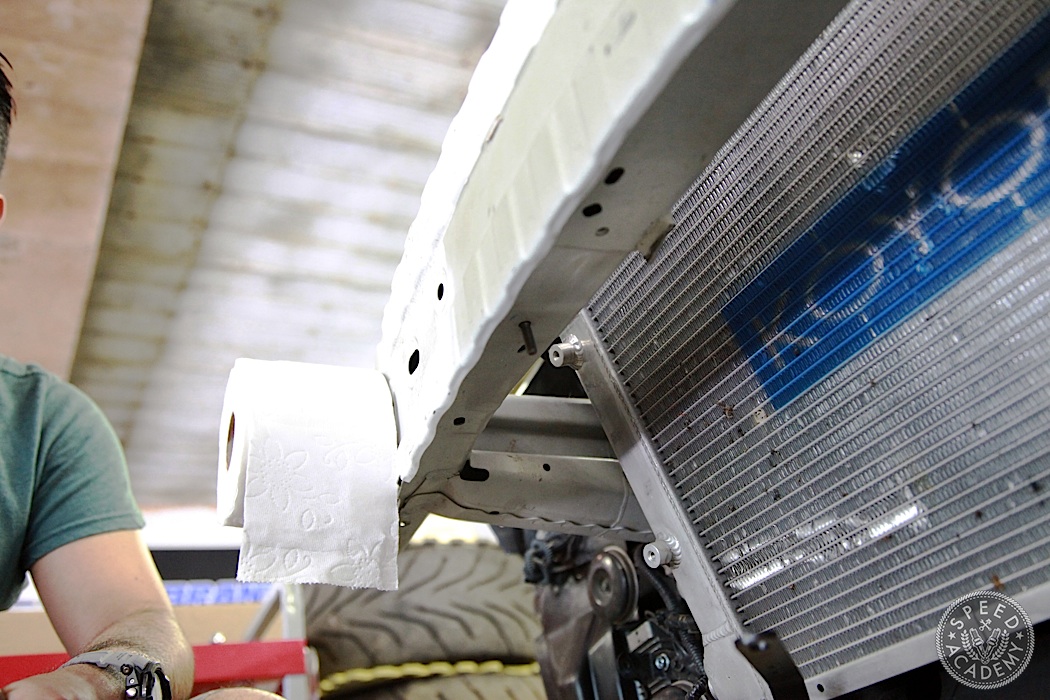
Note: toilet paper not included with the JR kit. It’s there to protect us from the tow hook arm, plus it came in handy for trips to the loo.

Steps 42 thru 45 require installing a couple of studs (not Peter and Ken) to the underside of the front bumper rebar from which the intercooler will hang.

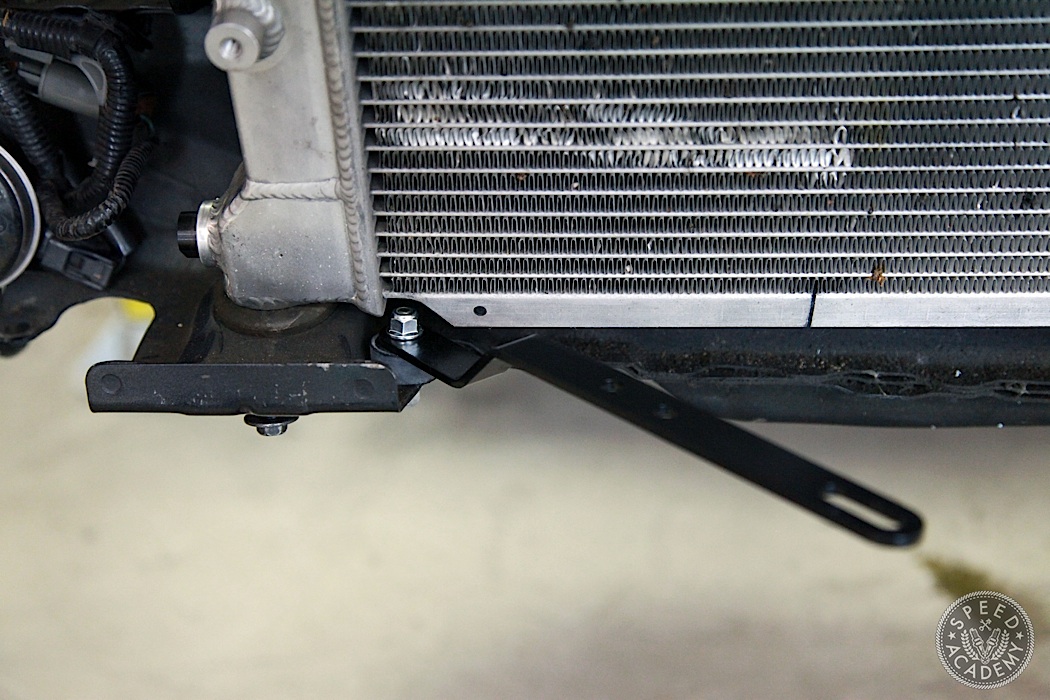
We had previously installed the front mount intercooler to ensure there was no interference with our splitter design, so that meant the bottom mounting brackets with rubber isolators had already been bolted in place using existing holes in the lower rad support, a process covered in Steps 46 and 47.
This guide really helped me fill in the gaps for my install. ThankS so much for the post. Race on bros!
How may I purchase a Jackson racing kit for my FR-S